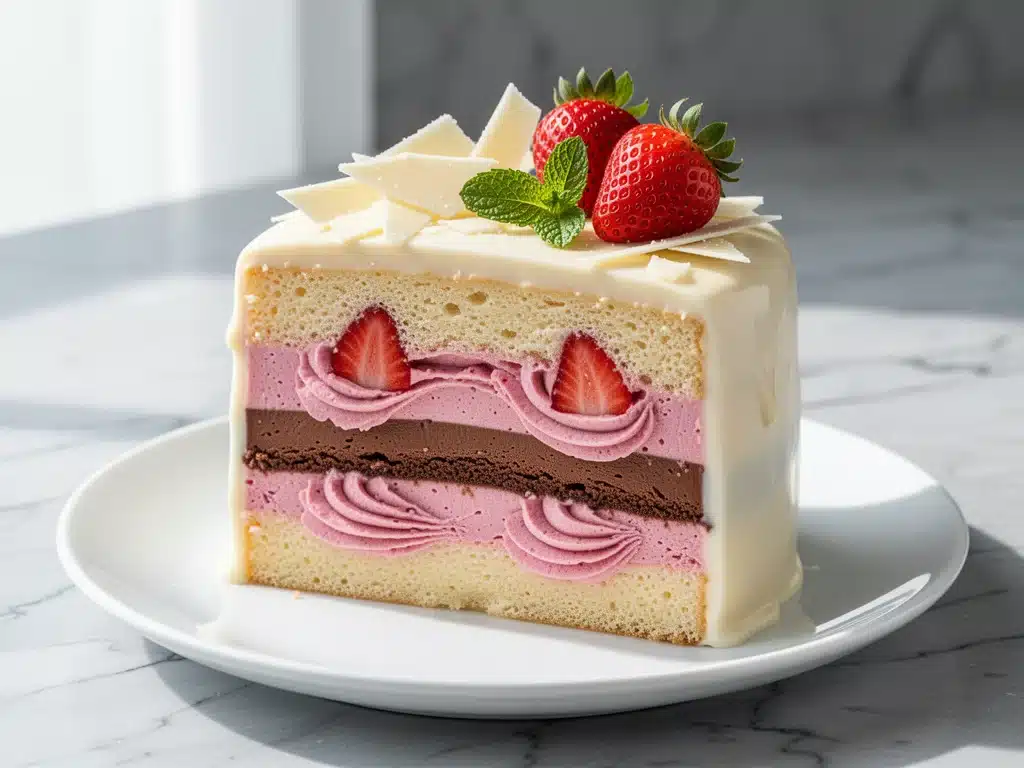
I still remember the first time I made a Neapolitan layer cake from scratch. It was my daughter’s fifth birthday, and I had convinced myself that I could pull off the three-color, three-flavor masterpiece that I’d seen in picture books. I bought three different boxes of cake mix. I had three different cans of frosting. I stood over three separate bowls, feeling like a mad scientist who had lost control of the experiment.
The result? It tasted fine. But it looked like a muddy disaster. The layers didn’t stack straight. The chocolate bled into the vanilla. And when I finally cut into it, the colors weren’t the bright, cheerful stripes I had promised. They were a grayish-brown mess. My daughter looked at it, then at me, and said, “It’s pretty, Mommy.” I knew then that I needed to stop faking it and learn how to do this right.
That was ten years ago. Today, this Neapolitan Layer Cake is the only dessert I make for birthdays. It’s not just because it’s nostalgic (though the pink, white, and chocolate stripes never fail to get kids excited). It’s because I’ve finally cracked the code on how to keep the flavors distinct, the layers level, and the frosting smooth. I’ve tested this recipe more times than I can count—sometimes all three batters at once, sometimes one at a time when I’m being lazy. The version below is the winner. It’s moist, it’s sturdy enough to stack without collapsing, and the vanilla layer actually tastes like real vanilla, not that chemical aftertaste you get from cheap extracts.
If you’re intimidated by a three-layer cake, don’t be. I’ve walked my teenage son through this recipe over the phone while he was at college, and he made it perfectly. This cake is approachable, forgiving, and absolutely stunning when you get it right. Let’s get baking.
Why You’ll Love This Recipe
There are about a dozen reasons I keep coming back to this Neapolitan Layer Cake, but here are the big ones that actually matter when you’re standing in your kitchen at 6 PM on a Tuesday (or a Saturday, because let’s be honest, baking takes time).
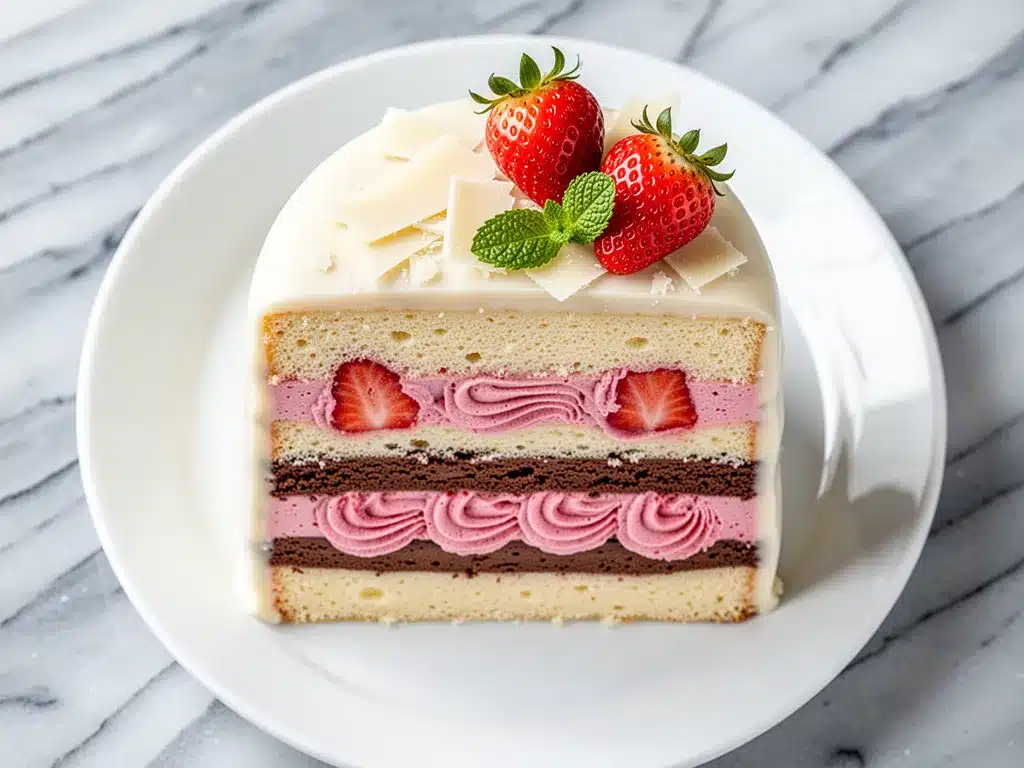
It’s a Showstopper — Seriously, the visual impact of this cake is insane. Three distinct colors—chocolate, vanilla, strawberry—stacked up with crisp white frosting? It looks like it came from a high-end bakery, but it’s made in your home kitchen. I’ve served this at potlucks and watched people stop mid-chip to stare at it. It’s the kind of dessert that demands attention.
Three Flavors in One Bite — Most cakes force you to choose. Chocolate or vanilla? Strawberry or red velvet? This one lets you have it all. I love that you can get a bite that’s mostly chocolate, one that’s pure vanilla, and one that’s fruity. It keeps the taste interesting from the first slice to the last. My husband says it’s like getting three desserts for the price of one.
Actually Moist, Not Dry — A lot of homemade layer cakes end up dry, especially the chocolate ones. This recipe uses buttermilk and oil (along with butter) to keep every crumb tender. I’ve made this cake three days in advance, wrapped it up, and it still tasted fresh. The moisture holds up, which is huge for party planning.
Great for Beginners — I know, I know. “Three layers” sounds scary. But the technique is basically the same as a standard two-layer cake. You just split the batter. If you can follow a standard cake recipe, you can do this. I’ve tested this with people who have never baked before, and they all succeeded. The key is just staying organized.
Perfect for Celebrations — Whether it’s a birthday, a graduation, or just because it’s Tuesday, this cake fits. It’s festive without being overly complicated. I’ve made it for kids and adults alike. The kids love the colors; the adults love that it’s not overly sweet (thanks to the balanced buttercream).
This is my go-to when I want to impress but still feel like I’m having fun in the kitchen. It’s reliable, it’s delicious, and it brings back that childhood magic of Neapolitan ice cream, but elevated.
Ingredients You’ll Need
Here’s the thing about Neapolitan cake: you’re making three separate cakes, essentially. But don’t panic. You’re using the same base recipe, just divided. Here’s what you need to get started.
For the Cake Batters (Makes 3 Layers)
All-purpose flour (3 cups / 375g) — The foundation. Don’t use self-rising flour; you need to control the leavening. Spoon it into your measuring cup and level it off. I’ve weighed mine every time to ensure consistency.
Granulated sugar (1 ½ cups / 300g) — Standard white sugar. It provides structure and sweetness. Don’t reduce this too much, or the cake will be dense.
Baking powder (2 teaspoons) — And baking soda (½ teaspoon). This combo helps the cake rise evenly. Make sure yours isn’t expired! I keep a fresh tin because old leavening is the #1 reason cakes don’t rise.
Salt (1 teaspoon) — Just a pinch to balance the sweetness. Don’t skip it.
Unsalted butter (½ cup / 115g, softened) — This adds richness and flavor. Room temperature is key. If you microwave it, it’ll melt. Softened means you can indent it with your finger.
Vegetable oil (½ cup / 120ml) — This is my secret weapon. Butter gives flavor, but oil keeps the cake moist for days. It’s a hybrid approach that works perfectly.
Eggs (4 large, room temperature) — Again, room temp. Cold eggs can cause the batter to curdle when you add the dairy. I take them out of the fridge 30 minutes before I start.
Buttermilk (1 cup / 240ml) — This tenderizes the gluten and adds a slight tang. If you don’t have buttermilk, make your own: add 1 tablespoon of white vinegar or lemon juice to a measuring cup, then fill the rest with milk. Let it sit for 5 minutes until it curdles. Works every time.
Vanilla extract (2 teaspoons) — Use real vanilla. The cheap stuff tastes like alcohol and chemicals. I use Nielsen-Massey or Bourbon vanilla.
For the Chocolate Layer
Unsweetened cocoa powder (¼ cup / 25g) — Good quality cocoa makes a huge difference. I use Hershey’s Special Dark for a deeper flavor, but regular Dutch-processed works too. Avoid “natural” cocoa if you can help it; it can taste a bit acidic.
For the Strawberry Layer
Strawberry jam or preserves (3 tablespoons) — This is better than using fresh strawberries, which can add too much water and make the batter soggy. Use a smooth, seedless jam if you can. I like Smucker’s or a local brand. It gives that authentic pink color and flavor without watering down the cake.
Powdered sugar (1 teaspoon) — Just a touch to help balance the tartness of the jam.
For the Vanilla Buttercream Frosting
Unsalted butter (1 cup / 225g, softened) — You need a lot of butter here. Make sure it’s soft but not melted. If it’s shiny, it’s too warm.
Powdered sugar (4 cups / 480g) — Sift this! Lumps in powdered sugar are the enemy of smooth frosting. I sift it twice to be safe.
Heavy cream (3-4 tablespoons) — Add this gradually to get the right consistency. Start with 3 tablespoons; add more if it’s too thick.
Vanilla extract (2 teaspoons) — And a pinch of salt. The salt is crucial to cut the sweetness.
Food coloring (Gel-based, pink) — I strongly recommend gel food coloring. Liquid coloring will thin out your frosting and make it runny. Just a small dab of pink gel is enough for the strawberry layer if you want to tint the frosting, but I usually keep the frosting white to let the cake colors pop.
Equipment Needed
You don’t need fancy gadgets for this, but having the right tools makes the difference between a struggle and a smooth process.
Three 8-inch round cake pans — This is non-negotiable. You need three identical pans. If you don’t have three, you can bake two batches, but then you’ll need to wait for the oven to cool down, which takes forever. I bought a set of three on sale at a kitchen supply store for under $20.
Parchment paper — Cut circles to line the bottoms of the pans. This guarantees the cake releases easily. Grease the pans, place the parchment, and grease the parchment again. Trust me on this.
Electric mixer — Handheld or stand mixer. Creaming the butter and sugar by hand is possible but painful. I use my stand mixer on medium speed.
Three mixing bowls — Or just wash and reuse one. I use three small bowls to keep the batters separate once I divide them.
Wire cooling rack — Essential for cooling the cakes evenly. If you leave them in the pans, they’ll steam and get soggy on the bottom.
Offset spatula — For spreading frosting smoothly. A regular spatula works, but an offset gives you better control.
Cake turntable (optional) — If you want professional-looking sides, this helps. But I’ve frosted this cake on a lazy Susan or just by hand, and it still looks great.
How to Make It: Step-by-Step
Alright, let’s make this! I’m walking you through exactly how I do it, including the little tricks I’ve picked up over the years.
Step 1: Prep Your Pans and Oven (10 minutes)
Preheat your oven to 350°F (175°C). This is critical. If your oven is too cold, the cake won’t rise. If it’s too hot, the edges will burn before the center cooks. While it heats, grease your three 8-inch pans. Line the bottoms with parchment paper, grease again, and lightly flour the sides. Tap out the excess flour. This ensures the cake doesn’t stick and releases cleanly.
Step 2: Mix the Base Batter (5 minutes)
In a large bowl, whisk together the flour, baking powder, baking soda, and salt. Set this aside. In the bowl of your mixer, beat the softened butter and sugar on medium-high speed for about 3-4 minutes, until it’s light and fluffy. This incorporates air, which helps the cake rise. Add the eggs one at a time, beating well after each addition. Scrape down the sides of the bowl with a spatula.
Mix in the vegetable oil and vanilla extract. Then, add the flour mixture and buttermilk alternately, starting and ending with the flour. Mix on low speed until just combined. Do not overmix! Overmixing develops gluten, which makes the cake tough. Stop as soon as you don’t see streaks of flour.
Step 3: Divide the Batter (5 minutes)
This is the key step. Divide the batter equally among three bowls. You want roughly 1/3 for each layer. If you have a kitchen scale, use it to ensure they’re equal weight. This helps them bake evenly and stack neatly.
Bowl 1 (Vanilla): Leave this as is. This is your vanilla layer.
Bowl 2 (Chocolate): Add the cocoa powder and mix until fully incorporated. The batter will be dark and rich.
Bowl 3 (Strawberry): Stir in the strawberry jam and powdered sugar. The batter will turn a beautiful pink. If you want a deeper pink, add a drop of gel food coloring, but the jam usually gives enough color.
Step 4: Bake the Layers (25-30 minutes)
Pour each batter into a prepared pan. Smooth the tops with a spatula. Bake for 25-30 minutes. The cakes are done when a toothpick inserted into the center comes out clean or with just a few moist crumbs. Rotate the pans halfway through baking if your oven has hot spots.
Let the cakes cool in the pans for 10 minutes, then turn them out onto a wire rack to cool completely. This step is crucial. If you try to frost a warm cake, the frosting will melt and slide off. I usually bake these the night before, but if you’re in a rush, you can speed up cooling by putting them in the fridge for an hour (uncovered) or freezer for 20 minutes.
Step 5: Make the Frosting (10 minutes)
While the cakes cool, make the vanilla buttercream. Beat the softened butter on medium-high speed until it’s pale and creamy, about 3 minutes. Add the sifted powdered sugar one cup at a time, mixing on low. Once all the sugar is in, add the vanilla, salt, and 3 tablespoons of heavy cream. Beat on high for 2-3 minutes until it’s fluffy and smooth. If it’s too thick, add another tablespoon of cream. If it’s too thin, add a little more sugar.
Step 6: Assemble the Cake (15 minutes)
Place the first cake layer (I usually start with chocolate) on a cake stand or plate. Spread a generous layer of frosting on top. Place the second layer (vanilla) on top, then frost again. Top with the third layer (strawberry). This is the “crumb coat” stage, but for Neapolitan, we’re doing the final coat.
Frost the top and sides of the cake. Use an offset spatula to create smooth sides. If you want a textured look, you can use a comb or just swirl the frosting with the back of a spoon. The contrast of the pink, white, and chocolate cake layers against the white frosting is what makes this look special.
Step 7: Chill and Serve
Refrigerate the cake for at least 30 minutes to set the frosting. This makes slicing much easier. When you’re ready to serve, slice with a sharp knife. Wipe the knife clean between cuts for neat slices.
Expert Tips & Tricks
Here’s everything I’ve learned from making this dozens of times. These tips will save you from my mistakes.
Equal Weights are Key
Don’t guess the batter amounts. Use a kitchen scale to divide the batter. If one layer is thicker than the others, it will take longer to bake, and your cake will be lopsided. Equal weight = even baking = straight stack.
Room Temperature Ingredients
I can’t stress this enough. Cold eggs and cold butter won’t emulsify properly. Your batter will look curdled, and your cake won’t rise evenly. Take your eggs and butter out of the fridge at least an hour before you start.
Don’t Overmix the Batter
Once you add the flour, mix until *just* combined. Overmixing leads to a tough, dense cake. You want a tender crumb. It’s okay if there are a few tiny lumps.
Cool Completely
Warm cake + cold frosting = melted disaster. Let the cakes cool completely on a wire rack. If you’re impatient, you can freeze them for 20 minutes, but don’t rush it.
Use Gel Food Coloring
If you decide to tint your strawberry batter or frosting, use gel food coloring. Liquid coloring adds too much water, which can throw off the batter consistency and make the frosting runny.
Crumb Coat (Optional but Recommended)
If you want a super smooth finish, apply a thin layer of frosting first, chill for 15 minutes, then apply the final layer. This traps any loose crumbs so your final frosting is clean.
Variations & Substitutions
Once you’ve nailed the basic version, here’s how you can mix it up. I’ve tried all of these.
Red Velvet Twist
Swap the strawberry layer for a red velvet layer. Add 1 tablespoon of cocoa powder and 1 teaspoon of red food coloring to the base batter. It’s a classic combo.
Chocolate Buttercream
Don’t want vanilla frosting? Make chocolate buttercream by adding ¼ cup cocoa powder to the frosting recipe. It’s rich and decadent.
Fresh Fruit Layer
Instead of jam, you can fold in finely chopped fresh strawberries to the batter. But be careful—this adds moisture. You may need to reduce the buttermilk slightly by 1-2 tablespoons.
Gluten-Free Option
Use a 1:1 gluten-free flour blend. The texture will be slightly different but still delicious. I’ve used Bob’s Red Mill and it works well.
Vegan Version
Use vegan butter and milk, and flax eggs instead of regular eggs. The jam works as is. It’s not quite as rich, but it’s still a nice treat.
Serving & Storage
How to Serve:
This cake is best served at room temperature. If you take it straight from the fridge, let it sit for 20 minutes before slicing. The flavors are more pronounced when it’s not cold.
Side Dishes:
I usually serve this with fresh berries or a simple fruit salad. It’s sweet enough that you don’t need anything heavy. A cup of coffee or tea goes perfectly with the slices.
Storage Instructions:
Refrigerator: Store in an airtight container or covered with plastic wrap for up to 4 days. The cake actually stays moist longer when refrigerated.
Freezing: You can freeze the unfrosted cake layers. Wrap them tightly in plastic wrap and then foil. They’ll last for 2 months. Thaw in the fridge overnight before frosting.
Reheating: You don’t need to reheat this cake. Just let it come to room temperature. If you microwave it, it’ll get weirdly soft and the frosting will melt.
Nutrition Information
I’m not a nutritionist, but here’s the breakdown if you’re tracking. This is a rich dessert, so enjoy in moderation.
Per Serving (based on 12 slices):
– Calories: 450
– Protein: 5g
– Carbs: 60g
– Fiber: 1g
– Sugar: 42g
– Fat: 22g
– Saturated Fat: 13g
– Cholesterol: 65mg
– Sodium: 280mg
What’s Good: It’s a treat, so it’s not going to be a health food. But it does provide some energy from the carbs and a bit of protein from the dairy.
What to Know: High in sugar and saturated fat due to the butter, sugar, and frosting. If you’re watching your intake, stick to one small slice.
My Take: Life’s too short to stress over cake calories. This is a celebration dessert. Make it, share it, and enjoy it. If you want to lighten it up, use less frosting or swap half the butter for Greek yogurt in the cake batter (though it changes the texture).
Final Thoughts
So that’s my Neapolitan Layer Cake! I’ve talked you through every step, and I hope you feel confident trying it. I remember that first disastrous attempt, and I’m so glad I stuck with it. This cake is worth the effort because it brings people together. Whether it’s a kid’s birthday or a casual get-together, this dessert always gets a smile.
Make it yours! Adjust the sweetness, swap the jam for a different fruit preserve, or add sprinkles on top. The best recipes are the ones you adapt to your family’s tastes. If you make this, drop a comment and let me know how it turned out! I love hearing your successes (and your mistakes—those are fun to troubleshoot too).
Happy baking! And I hope your kitchen smells amazing while you’re making it.
Frequently Asked Questions
Can I use box cake mix for this?
You can! If you’re short on time, use three boxes of white cake mix. Divide the batter as instructed. For the chocolate layer, add ¼ cup cocoa powder. For the strawberry layer, add ¼ cup strawberry jelly and a drop of red food coloring. It won’t taste quite as rich as from-scratch, but it’s still delicious and much faster. I’ve done this for last-minute parties.
Why did my cake layers sink in the middle?
This usually happens for two reasons: opening the oven door too early, or underbaking. Don’t open the oven until at least 20 minutes have passed. Also, make sure your baking powder and soda are fresh. If they’re old, they won’t lift the cake properly. Let the cakes cool in the pan for 10 minutes before turning them out; this helps them set.
Can I make this cake a day ahead?
Yes! In fact, it’s better the next day. Bake and frost the cake, then store it covered in the fridge. Let it come to room temperature before serving. The flavors meld together overnight, making it even more delicious.
How do I keep the layers from sliding?
Make sure your cake layers are completely flat. If they have domed tops, trim them off with a serrated knife. A flat surface is essential for stacking. Also, apply a thin layer of frosting to the first layer to create a “sticky” base for the next layer to grip.
Can I freeze the finished cake?
I wouldn’t recommend freezing the frosted cake. The buttercream can separate or become grainy when thawed. It’s better to freeze the unfrosted cake layers. Wrap them tightly in plastic and foil, and they’ll keep for up to 2 months. Thaw in the fridge and frost when ready.
What’s the best way to cut the cake neatly?
Use a sharp, long knife. Dip it in hot water and wipe it dry before each cut. This prevents the frosting from sticking and tearing the cake. Clean the knife between every slice for the neatest presentation.
Pin This Recipe!
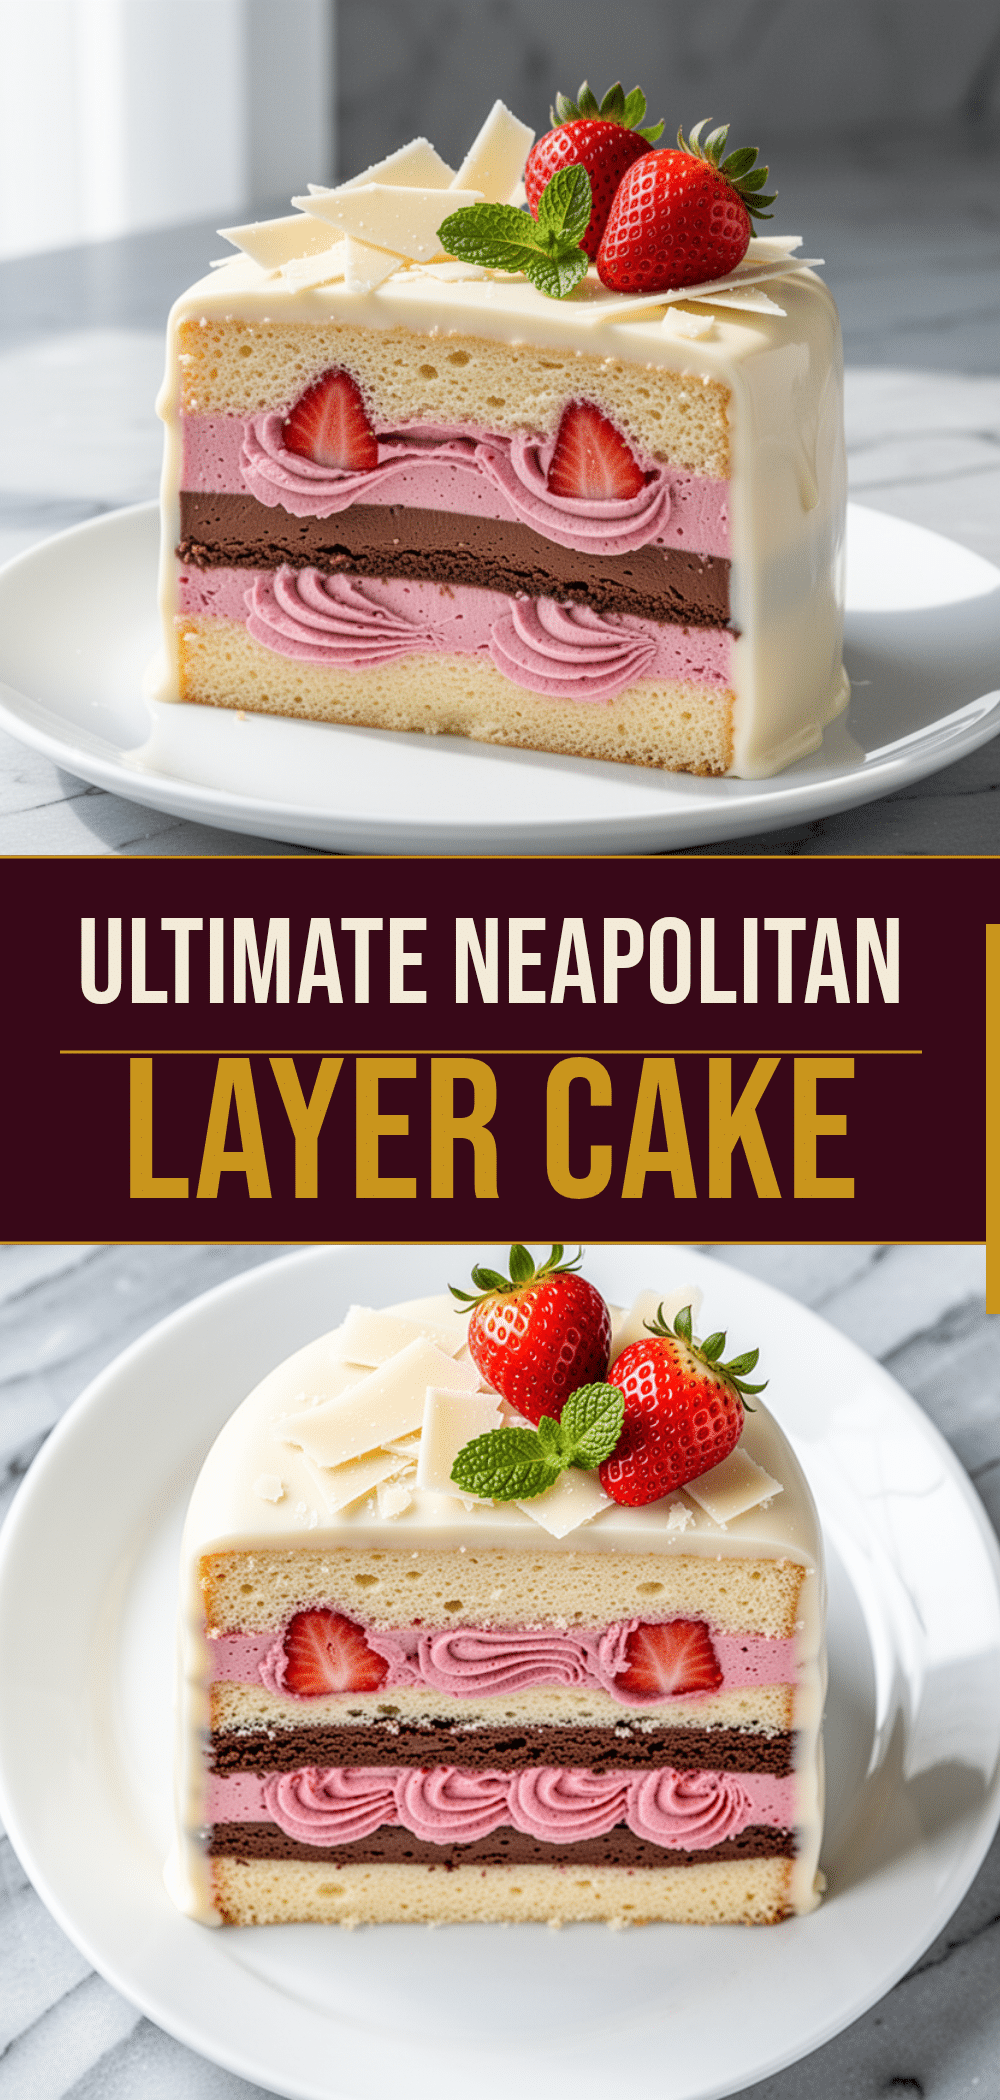
Neapolitan Layer Cake: Best Homemade 3-Layer Dessert
- Total Time: 1 hour
- Yield: 12 servings 1x
Description
A nostalgic and stunning three-layer cake featuring distinct chocolate, vanilla, and strawberry flavors with smooth vanilla buttercream frosting. This recipe ensures moist layers, distinct colors, and a professional finish that is approachable for beginners.
Ingredients
- 3 cups (375g) all-purpose flour
- 1 ½ cups (300g) granulated sugar
- 2 teaspoons baking powder
- ½ teaspoon baking soda
- 1 teaspoon salt
- ½ cup (115g) unsalted butter, softened
- ½ cup (120ml) vegetable oil
- 4 large eggs, room temperature
- 1 cup (240ml) buttermilk
- 2 teaspoons vanilla extract
- ¼ cup (25g) unsweetened cocoa powder (for chocolate layer)
- 3 tablespoons strawberry jam or preserves (for strawberry layer)
- 1 teaspoon powdered sugar (for strawberry layer)
- 1 cup (225g) unsalted butter, softened (for frosting)
- 4 cups (480g) powdered sugar, sifted (for frosting)
- 3–4 tablespoons heavy cream (for frosting)
- 2 teaspoons vanilla extract (for frosting)
- Pinch of salt (for frosting)
- Gel-based pink food coloring (optional)
Instructions
- Preheat oven to 350°F (175°C). Grease three 8-inch round cake pans, line bottoms with parchment paper, grease again, and lightly flour the sides.
- In a large bowl, whisk together flour, baking powder, baking soda, and salt. Set aside.
- In a mixer bowl, beat softened butter and sugar on medium-high speed for 3-4 minutes until light and fluffy.
- Add eggs one at a time, beating well after each addition. Scrape down the bowl sides.
- Mix in vegetable oil and vanilla extract.
- Add flour mixture and buttermilk alternately, starting and ending with flour. Mix on low speed until just combined. Do not overmix.
- Divide batter equally among three bowls (approx. 1/3 each). Use a kitchen scale for accuracy.
- Leave Bowl 1 as is for the vanilla layer.
- Add cocoa powder to Bowl 2 and mix until incorporated for the chocolate layer.
- Stir strawberry jam and powdered sugar into Bowl 3 for the strawberry layer.
- Pour each batter into a prepared pan. Bake for 25-30 minutes or until a toothpick inserted comes out clean. Rotate pans halfway through if needed.
- Cool cakes in pans for 10 minutes, then turn out onto a wire rack to cool completely.
- While cakes cool, make frosting: Beat softened butter until pale and creamy (3 minutes).
- Add sifted powdered sugar one cup at a time on low speed.
- Add vanilla, salt, and 3 tablespoons heavy cream. Beat on high for 2-3 minutes until fluffy. Adjust consistency with more cream or sugar if needed.
- Assemble cake: Place first layer (chocolate) on stand, frost, add second layer (vanilla), frost, then top with third layer (strawberry).
- Frost top and sides with remaining buttercream using an offset spatula.
- Refrigerate for at least 30 minutes to set frosting before slicing.
Notes
Ensure all ingredients are at room temperature for proper emulsification. Do not overmix the batter to avoid a tough cake. Cool cakes completely before frosting to prevent melting. Use gel food coloring if tinting batter/frosting to avoid altering consistency. For best results, bake layers a day ahead or let cake sit overnight to meld flavors.
- Prep Time: 30 minutes
- Cook Time: 30 minutes
- Category: Dessert
- Cuisine: American
Nutrition
- Serving Size: 1 slice
- Calories: 450
- Sugar: 42
- Sodium: 280
- Fat: 22
- Saturated Fat: 13
- Carbohydrates: 60
- Fiber: 1
- Protein: 5
Keywords: Neapolitan cake, layer cake, birthday cake, chocolate vanilla strawberry cake, homemade cake, three layer cake, dessert recipe



