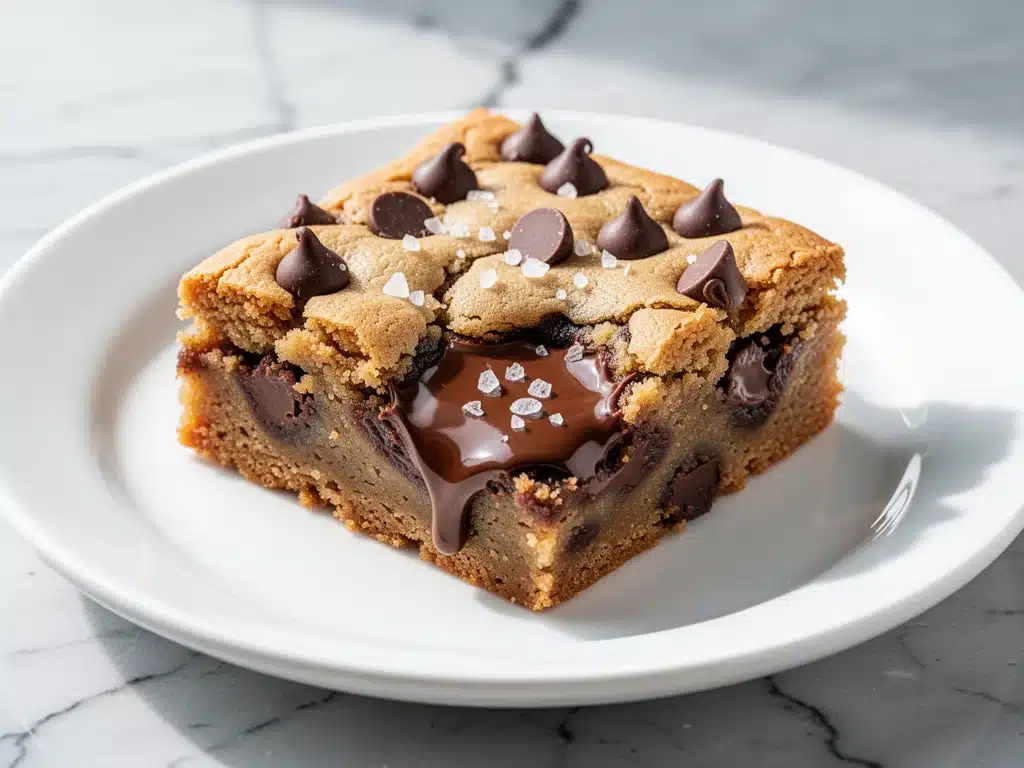
I still remember the exact moment these bars changed my life. It was a Tuesday in November, the kind of night where the house is quiet, the kids are finally asleep, and I’m standing in my kitchen staring into the pantry like it holds the secrets to the universe. I was exhausted. Not just “tired” exhausted, but “I have zero mental bandwidth for baking” exhausted. I wanted something sweet, something warm, and something that didn’t involve a complex recipe with twelve ingredients I didn’t have or techniques I didn’t feel like learning.
So I did what any desperate home cook does: I opened the fridge, grabbed what was there, and threw it together. I had butter, brown sugar, flour, chocolate chips, and eggs. That’s it. Five ingredients. I mixed them in a bowl, dumped the dough into a pan, and prayed. When I pulled them out of the oven twenty minutes later, the smell hit me first—that warm, buttery, caramelized chocolate aroma that makes you want to cancel all your plans and just eat straight from the pan. (I did, in fact, do exactly that.)
These Ultra-Gooey Chocolate Chip Cookie Bars are not just a recipe; they are a lifeline for busy parents and tired cooks. They are the antidote to takeout cravings when you’re too exhausted to order. They’re the dessert that comes together before the dishwasher finishes its cycle. And the best part? They’re infinitely better than the boxed mixes we’ve all fallen back on during hard weeks. I’ve made these at least twenty times since that Tuesday, tweaking the timing just a hair to get that perfect chewy center with slightly crisp edges. If you’ve ever stared at a clock wondering if you can actually bake something before dinner gets cold, these bars are for you.
Why You’ll Love This Recipe
Let’s be real for a second. Baking cookies from scratch is great, but making individual cookies? That’s a whole production. You have to roll them, space them out, watch each one individually so they don’t burn, and then clean up the cookie sheet. These bars cut out the fuss and keep all the flavor. Here’s why they’ve become my go-to when I need a win in the kitchen:
Stupid Simple Ingredients — Seriously, I’m not kidding. You likely have all five ingredients in your kitchen right now. Flour, butter, sugar, eggs, chocolate chips. No fancy extracts, no obscure flours, no trips to the store at 8pm. It’s the culinary equivalent of hitting “easy mode” but tasting like hard work.
Lightning Fast — From start to finish, these take about 35 minutes. But the active time is maybe 10 minutes. You mix, you spread, you bake. I’ve made these while helping my kid with homework on the counter next to me. It’s not distracting; it’s background noise.
Perfectly Gooey Texture — There is nothing worse than a dry, crumbly bar. These are dense, chewy, and gooey in the best way possible. The brown sugar creates that deep molasses flavor, and the extra butter keeps them moist for days. I’m talking about the kind of texture that makes you take a deep breath before your first bite.
One Pan Cleanup — This is the biggest selling point for me. One 9×13 pan. That’s it. No dozen cookie sheets, no rolling pins, no piping bags. Just one pan to wash. When you’re running on three hours of sleep, this single fact is worth the recipe alone.
Makes Amazing Leftovers — These actually taste better the next day. The flavors meld together overnight, and the texture gets even chewier. I deliberately make a double batch on weekends because I know they’ll be the highlight of my Monday morning coffee break.
This is my answer to “what’s for dessert?” when I have nothing left in the tank. No complicated techniques, no weird ingredients, just reliable, delicious comfort food that makes everyone happy.
Ingredients You’ll Need
Here’s the beauty of this recipe: it’s short, sweet, and doesn’t require a grocery run. I’m particular about three things here, and I’ll tell you exactly why, but for the most part, this is pantry-friendly goodness.
Unsalted Butter (1 cup / 226g) — I use unsalted so I can control the saltiness. You’ll want to soften this. Not melt it, just soft enough that your finger leaves an indent. If you’re in a rush, cut it into cubes and microwave for 15-second bursts. Don’t let it turn to liquid soup, though.
Brown Sugar (1 cup / 200g) — This is the star of the show. Dark brown sugar gives you that deep, molasses-rich flavor and keeps the bars chewy. Light brown works too, but dark is better for that “gooey” texture. Pack it down tight when you measure.
Granulated Sugar (½ cup / 100g) — This balances the sweetness and helps with the crisp edges. Don’t skip it. If you use only brown sugar, the bars might be too soft and cake-like. The white sugar gives them structure.
Eggs (2 large) — Room temperature eggs mix in easier, but I don’t stress if they’re cold. They just need to bind everything together. Crack them into the bowl and whisk until smooth.
All-Purpose Flour (2 cups / 250g) — Standard flour works perfectly. Don’t go fancy with cake flour or bread flour. I always spoon and level my flour because scooping directly from the bag packs it down and makes the bars dense (in a bad way). If you’re worried about gluten development, don’t overmix the batter once you add the flour.
Baking Soda (1 teaspoon) — This helps the bars spread and brown. Make sure it’s fresh! If your baking soda is older than six months, it might not work, and you’ll end up with hard little bricks. Test it by dropping a little in vinegar—if it fizzes, you’re good.
Salt (½ teaspoon) — Even though we’re using unsalted butter, salt is crucial. It pops the chocolate flavor. I use kosher salt, but table salt works too. Just use a bit less if you’re using table salt.
Vanilla Extract (1 teaspoon) — Pure vanilla, please. The cheap imitation stuff tastes chemical and ruins the whole thing. A little goes a long way here.
Chocolate Chips (2 cups / 340g) — This is where you can have fun. I use a mix of semi-sweet and milk chocolate chips. Semi-sweet keeps it from being too sweet, and milk chocolate adds creaminess. You can also throw in some chopped chocolate bar chunks for extra gooey pockets. Do not use baking chocolate bars unless you know what you’re doing—this recipe is designed for chips.
Optional: Sea Salt Flakes — For the top. If you love that sweet-and-salty combo, sprinkle these on right after they come out of the oven. It elevates the whole thing.
Equipment Needed
You don’t need fancy gadgets for this. Here’s what I actually use, and what works.
9×13 Inch Baking Pan — Standard glass or metal pan works. I prefer glass because it bakes more evenly, but metal is faster. Grease it well with butter or non-stick spray. Don’t skip this, or you’ll be scraping burnt chocolate off the bottom for hours.
Large Mixing Bowl — Something big enough to hold all the ingredients without spilling when you add the flour. I use a 4-quart bowl.
Electric Mixer or Wooden Spoon — I use a hand mixer for the butter and sugars because it creams them faster. But honestly? A wooden spoon works fine if you have the arm strength. I’ve done it both ways, and the result is the same.
Spatula — A flexible silicone spatula is best for scraping the bowl and spreading the dough evenly. You want that uniform thickness for even baking.
Cooling Rack — Essential. Don’t try to cut these hot, or you’ll get a mess. Let them sit on a rack so air circulates underneath.
How to Make It: Step-by-Step
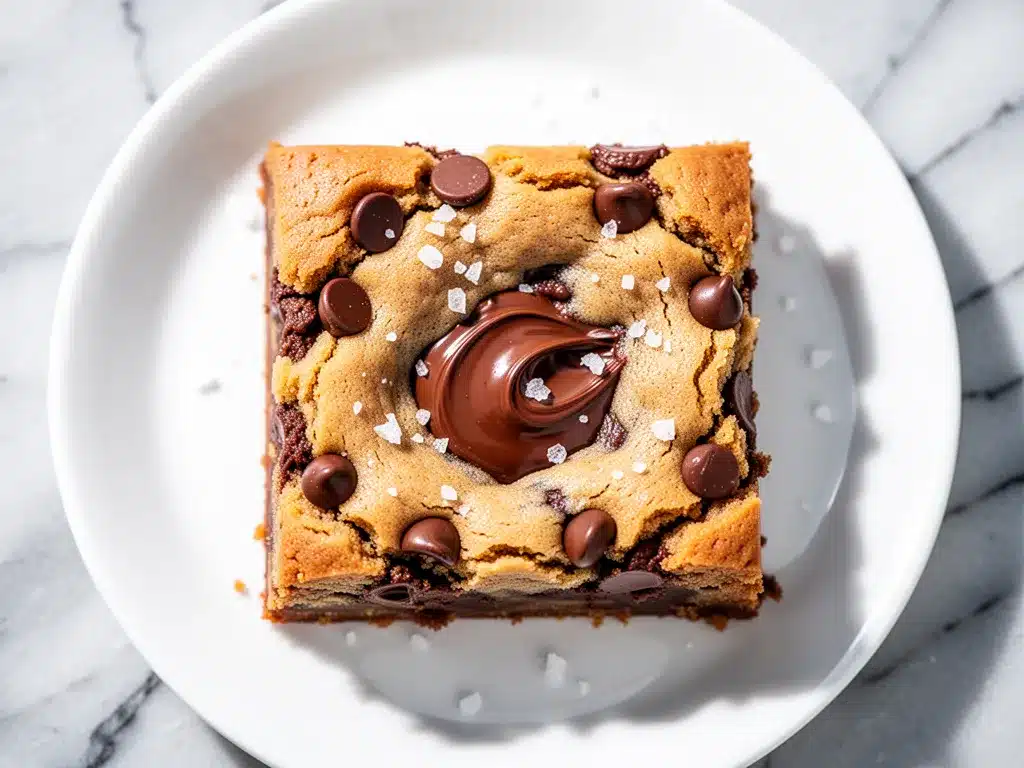
Alright, let’s make these. I’m walking you through exactly how I do it, including the little tricks I’ve picked up over dozens of batches.
Step 1: Prep Your Pan and Oven (2 minutes)
Preheat your oven to 350°F (175°C). This needs to be hot enough to set the edges but gentle enough to cook the center. Grease your 9×13 pan generously. I use butter because it adds flavor, but cooking spray is easier. Line the pan with parchment paper if you want easy removal later, but greasing is usually enough.
Step 2: Cream the Butter and Sugars (3 minutes)
In your large bowl, combine the softened butter, brown sugar, and granulated sugar. Mix them until they are smooth and combined. You don’t need to cream them until fluffy like you would for cookies—just get rid of the lumps. This takes about 2 minutes with a mixer or 3 minutes with a spoon. The mixture should look like wet sand.
Step 3: Add Eggs and Vanilla (1 minute)
Crack in the two eggs and add the vanilla extract. Mix until fully incorporated. The batter might look a little curdled at first—that’s normal. Just keep mixing until it’s smooth. It should look glossy and rich.
Step 4: Mix in the Dry Ingredients (2 minutes)
Add the flour, baking soda, and salt. Mix on low speed or stir gently with a spoon. Stop as soon as the white streaks of flour disappear. Overmixing here develops gluten, which makes the bars tough. We want tender and chewy, not bread-like. It should take less than a minute.
Step 5: Fold in the Chocolate Chips (1 minute)
Dump in the chocolate chips. Fold them in gently. You want them distributed evenly, but you don’t need to be perfect. Some clumps are good. That’s where the extra gooeyness comes from.
Step 6: Spread and Bake (18-20 minutes)
Spread the dough evenly into your prepared pan. Use a wet spatula or your fingers (if you don’t mind dirtying them) to smooth the top. Bake for 18-20 minutes. Here’s the key: look for edges that are golden brown and a center that still looks slightly underbaked. It will jiggle a little when you shake the pan. This is crucial. If the center looks set, they will dry out as they cool.
Step 7: Cool and Cut (30 minutes)
Let the bars cool in the pan for at least 30 minutes. I know this is the hardest part. The temptation to cut into them hot is real. But they are molten lava hot and will fall apart. Patience pays off. Once they’re cool enough to handle, cut into squares. I usually do 12 or 16 squares, depending on how much self-control I have.
Expert Tips & Tricks
Here’s everything I’ve learned from making these dozens of times. These tips will save you from my mistakes.
Don’t Overbake
This is the #1 mistake people make. Pull them out when they look slightly underdone. They continue cooking on the hot pan as they cool. Overbaked bars are dry bars. Underbaked bars are gooey bars. Aim for gooey.
Use Room Temperature Butter
If your butter is too cold, it won’t mix well with the sugar, and you’ll end up with pockets of hard butter. If it’s melted, the bars will spread too much and become cakey. Softened is the sweet spot.
Measure Flour Correctly
I cannot stress this enough. Scooping flour packs it down, leading to dry, crumbly bars. Spoon the flour into your measuring cup and level it off with a knife. This simple change makes a huge difference in texture.
Chill the Dough (Optional)
If you have time, chill the dough in the fridge for 30 minutes before baking. This helps the flavors meld and prevents the bars from spreading too thin. It’s not necessary, but it’s a nice touch if you’re planning ahead.
Save the Parchment
If you line your pan with parchment paper, you can lift the entire block of bars out once they’re cool. This makes cutting much cleaner and keeps the pan pristine.
Storage is Key
These bars stay fresh for up to 5 days in an airtight container at room temperature. If your kitchen is hot, refrigerate them, but let them come to room temperature before eating for the best texture.
Variations & Substitutions
Once you’ve nailed the basic version, here’s how you can mix it up. I’ve tried all of these.
Nutella Bars
Swirl ½ cup of Nutella into the batter before baking. It creates these amazing marbled ribbons of hazelnut and chocolate. My kids lose their minds over this version.
Peanut Butter Chip
Swap the chocolate chips for peanut butter chips. Or add ½ cup of creamy peanut butter to the batter for a salty-sweet combo. It’s like a Reese’s cup in bar form.
White Chocolate Macadamia
Use white chocolate chips and add ½ cup of chopped macadamia nuts. It’s richer and more tropical. Great for holiday gifts.
Double Chocolate
Add ¼ cup of cocoa powder to the dry ingredients and use dark chocolate chips. It’s intense, bitter, and delicious. Perfect for coffee pairing.
Gluten-Free
Use a 1:1 gluten-free flour blend. The texture is almost identical. I’ve used Bob’s Red Mill and King Arthur, and both work well. Just make sure your baking soda is fresh.
Dairy-Free
Use vegan butter sticks (not tub margarine) and dairy-free chocolate chips. These work surprisingly well. The texture is slightly less chewy, but still good.
Serving & Storage
How to Serve:
I serve these warm with a scoop of vanilla ice cream. The contrast of hot bar and cold ice cream is heaven. But they’re also great plain with a glass of cold milk. I usually cut them into 16 squares for parties, or 12 if I’m feeling generous.
Side Dishes:
These are a dessert, so they stand alone. But if you’re having a casual dinner, they pair well with creamy roasted tomato basil soup for a cozy meal. Or serve them alongside overnight cinnamon roll french toast for a sweet brunch.
Storage Instructions:
Store in an airtight container at room temperature for up to 5 days. If you live in a humid climate, refrigerate them, but bring to room temp before eating. They do not freeze well because the texture changes upon thawing. Make them fresh or keep them in the fridge.
Nutrition Information
I’m not a nutritionist, but here’s the breakdown if you’re tracking. Keep in mind, these are rich bars, so portion control is key.
Per Serving (1 of 16 bars):
– Calories: 220
– Protein: 3g
– Carbs: 32g
– Fiber: 1g
– Sugar: 22g
– Fat: 10g
– Saturated Fat: 6g
– Cholesterol: 30mg
– Sodium: 120mg
What’s Good:
– Quick energy from the carbs
– Calcium from the butter and eggs
– Easy to share
What to Know:
– High in sugar and saturated fat
– Not suitable for low-sugar diets
– Contains gluten and dairy
My Take:
Look, these are cookie bars. They’re meant to be a treat. Enjoy them as a special indulgence rather than a daily snack. When I want something lighter, I stick to overnight vanilla chia pudding with berries, but on weeknights when I need comfort, these bars are unmatched.
Final Thoughts
So that’s my Ultra-Gooey Chocolate Chip Cookie Bars! I’ve probably talked your ear off at this point, but when you make a recipe this often, you have a lot to say about it. These bars have saved my weeknight dinners more times than I can count. They’re my answer to “what’s for dessert?” when I’m tired, don’t want takeout, and still want something that tastes really good. My kids are happy, my husband’s happy, and I’m happy because I’m not stressed about baking.
Make it yours! Try different chocolate chips, add nuts, or swirl in Nutella. The best recipes are the ones you adapt to your family’s tastes. If you make this, drop a comment and let me know what you think! I love hearing how recipes turn out in your kitchen. And if something doesn’t work, tell me that too—I’m here to help troubleshoot.
Happy baking! And I hope your kitchen smells half as good as mine does right now.
Frequently Asked Questions
Can I use melted butter instead of softened butter?
You can, but the texture will be different. Melted butter makes the bars more cake-like and less chewy. If you must use melted butter, let it cool slightly before mixing, and don’t worry if the batter looks a bit oily. It still tastes good, just not as gooey.
Why did my bars turn out dry?
Most likely, you overbaked them or measured too much flour. Pull them out when the center still looks slightly underdone. Also, make sure you’re spooning and leveling your flour, not scooping it. This is the most common mistake.
Can I make these ahead of time?
Yes! Make the dough and keep it in the fridge for up to 2 days. When you’re ready, bake as directed. You might need to add 2-3 minutes to the bake time if the dough is cold. Or bake them fully and store in an airtight container for 5 days.
Can I use dark chocolate chunks instead of chips?
Absolutely. Chunks melt differently than chips, creating bigger gooey pockets. I love using a chopped bar of high-quality dark chocolate for this. Just make sure you have enough volume—about 2 cups of chunks.
How do I store leftovers?
Keep them in an airtight container at room temperature for up to 5 days. If your kitchen is hot, refrigerate them. Let them come to room temperature before eating for the best texture. Do not freeze them.
Can I double this recipe?
I don’t recommend doubling it in a 9×13 pan. The dough will be too thick and won’t bake evenly. If you want to double, use two 9×13 pans and bake them simultaneously, or stick to one batch and enjoy the leftovers.
Pin This Recipe!
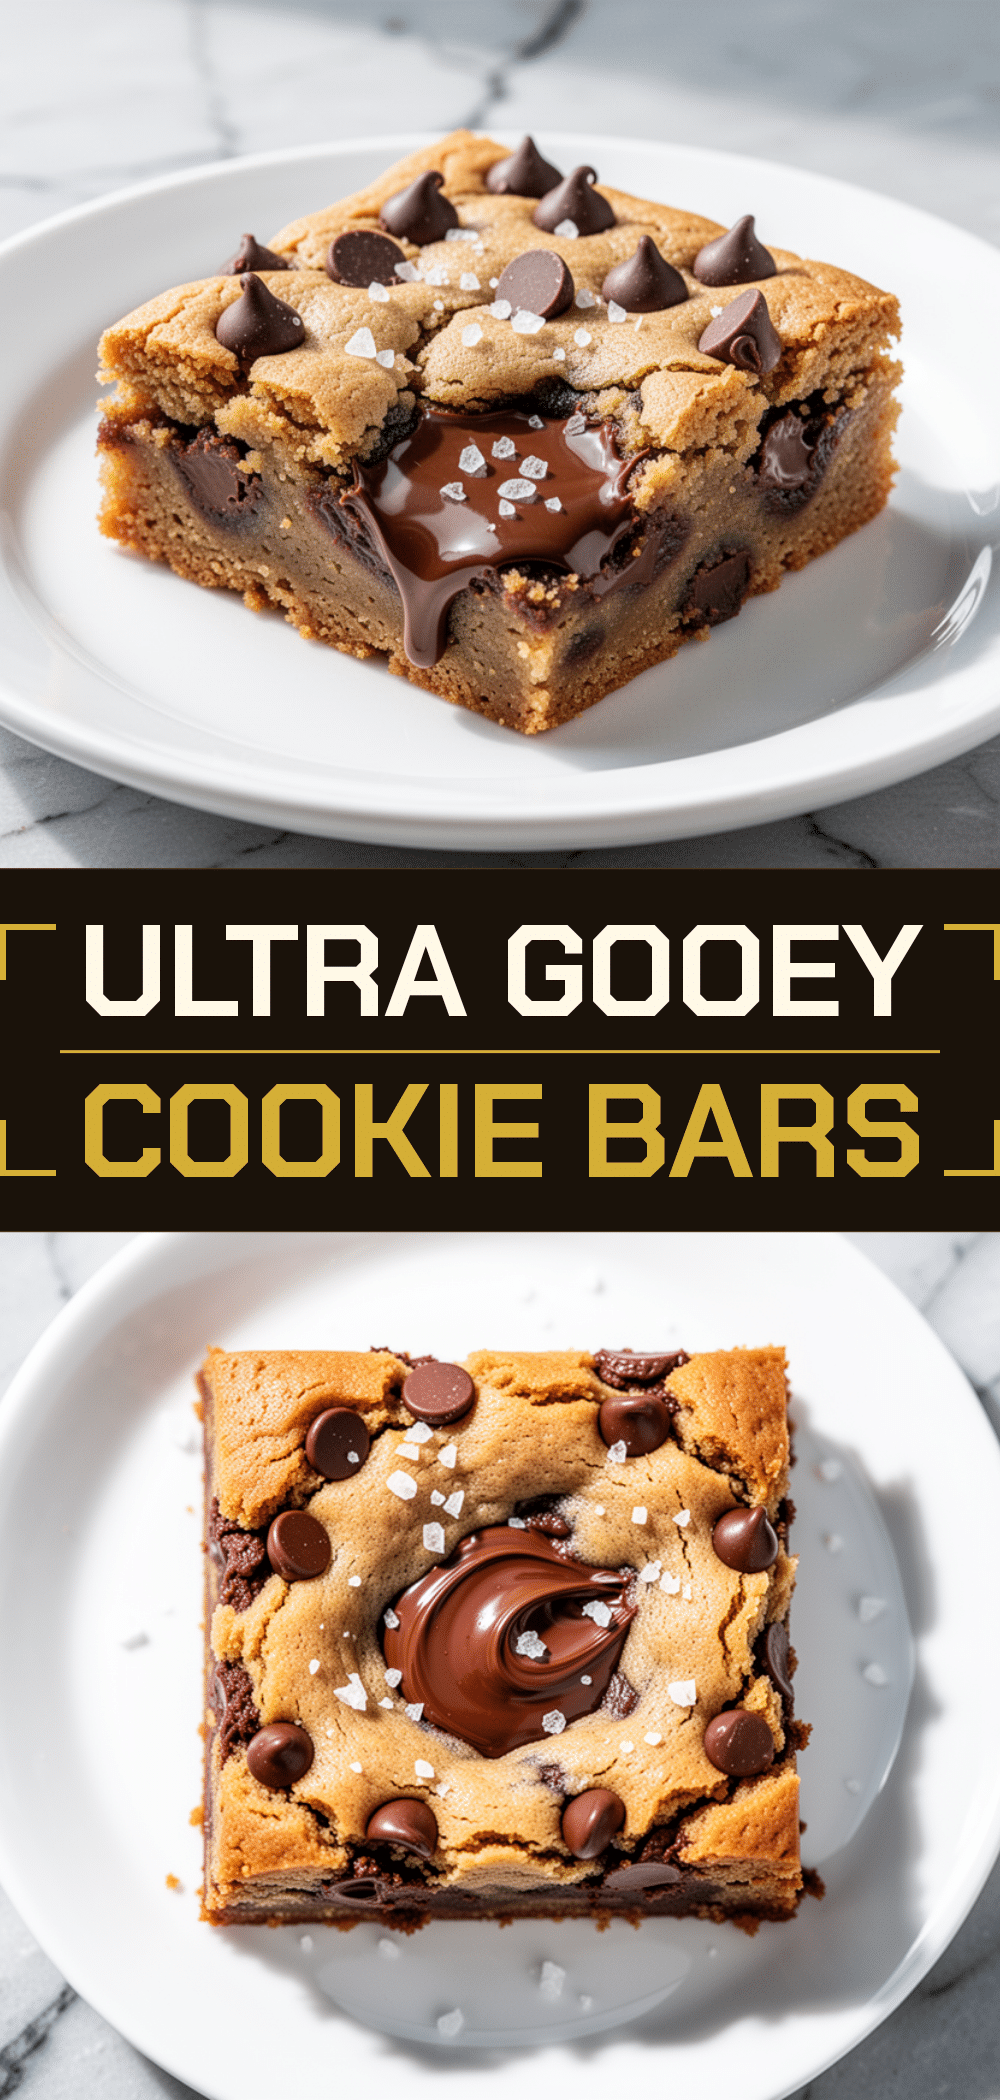
Ultra-Gooey Chocolate Chip Cookie Bars: 5-Ingredient Easy Weeknight Treat
- Total Time: 35 minutes
- Yield: 16 servings 1x
Description
These ultra-gooey chocolate chip cookie bars are a simple, 5-ingredient weeknight dessert that delivers a chewy, molasses-rich texture with minimal effort. Perfect for busy parents, they require just one pan and come together in under 35 minutes.
Ingredients
- 1 cup (226g) unsalted butter, softened
- 1 cup (200g) dark brown sugar, packed
- 1/2 cup (100g) granulated sugar
- 2 large eggs, room temperature
- 1 teaspoon vanilla extract
- 2 cups (250g) all-purpose flour
- 1 teaspoon baking soda
- 1/2 teaspoon salt
- 2 cups (340g) chocolate chips (semi-sweet and/or milk)
- Sea salt flakes (optional, for topping)
Instructions
- Preheat oven to 350°F (175°C) and grease a 9×13 inch baking pan generously with butter or non-stick spray.
- In a large mixing bowl, combine the softened butter, brown sugar, and granulated sugar. Mix until smooth and combined, resembling wet sand (about 2-3 minutes).
- Add the eggs and vanilla extract to the butter mixture. Mix until fully incorporated and glossy.
- Add the flour, baking soda, and salt. Mix on low speed or stir gently with a spoon just until the flour streaks disappear. Do not overmix.
- Fold in the chocolate chips gently until evenly distributed.
- Spread the dough evenly into the prepared pan. Bake for 18-20 minutes, or until edges are golden brown but the center still looks slightly underbaked and jiggles.
- Let the bars cool in the pan for at least 30 minutes before cutting into squares.
- Optional: Sprinkle with sea salt flakes immediately after removing from the oven.
Notes
Do not overbake; the bars continue to cook on the hot pan as they cool. Measure flour by spooning it into the cup and leveling it off to avoid dry bars. For best texture, let bars cool completely before cutting. Store in an airtight container at room temperature for up to 5 days. Do not freeze.
- Prep Time: 10 minutes
- Cook Time: 20 minutes
- Category: Dessert
- Cuisine: American
Nutrition
- Serving Size: 1 bar (1 of 16)
- Calories: 220
- Sugar: 22
- Sodium: 120
- Fat: 10
- Saturated Fat: 6
- Carbohydrates: 32
- Fiber: 1
- Protein: 3
Keywords: chocolate chip cookie bars, easy dessert, weeknight baking, gooey bars, 5 ingredient recipe, one pan dessert, chocolate chip bars



