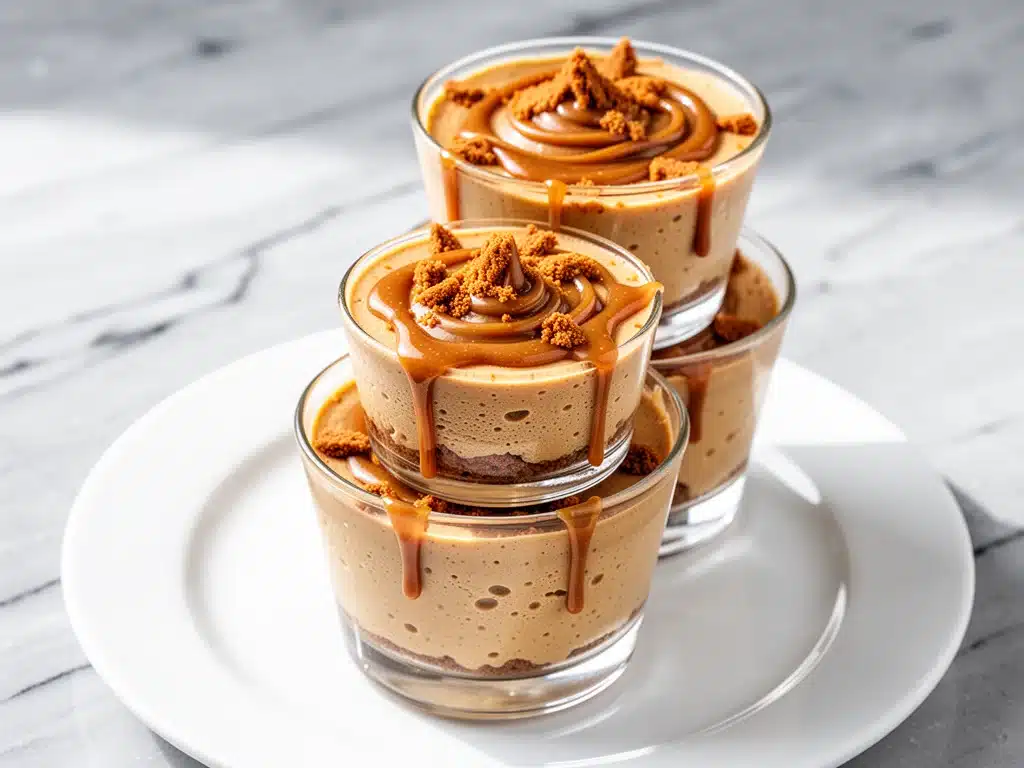
It was 9:30 PM on a Tuesday, and I was standing in my kitchen, staring into the open fridge like it held the secrets of the universe. The kids were asleep, the house was quiet, and my husband had just mentioned, “I really want something sweet, but I don’t want to make a whole cake.” You know that feeling? It’s that specific kind of craving that hits right before bed. Not a full meal, not a snack, but a dessert that feels indulgent without the commitment of baking at midnight.
So, I did what I always do when I’m tired and craving sugar: I raided the pantry. I found a jar of Biscoff spread (you know the one, the cookie butter that tastes like caramelized cookies), some cream cheese, and a package of Oreos. Thirty minutes later, I had these No-Bake Biscoff Cheesecake Cups sitting on the counter, drizzled with warm cookie butter, and my husband looked at me like I’d just cooked him a five-course meal.
This recipe has become our secret weapon for late-night cravings, post-dinner treats, or even when I need a quick dessert to bring to a neighbor’s house last minute. It’s essentially cheesecake, but without the water bath, the cracking crust, or the four hours of chilling time. It’s creamy, it’s crunchy, it’s got that deep, spiced caramel flavor that feels like autumn in a spoon, and it comes together in about 15 minutes of active work.
I’ve made these cups at least a dozen times since that random Tuesday night. I’ve tweaked the ratios, tested different cookies, and argued with my kids over who gets the last one (spoiler: it’s always the one with the most drizzle). If you’ve been looking for a way to satisfy a sweet tooth without turning your kitchen into a flour bomb, this is it. It’s the perfect blend of comfort and convenience, and honestly? It’s better than anything you’d buy at a bakery.
Why You’ll Love This Recipe
There are a few reasons why these cups have earned a permanent spot in my weekly dessert rotation, but let’s be real—the main reason is that they are ridiculously easy. Here’s the breakdown of why this no-bake Biscoff cheesecake works so well:
- Zero Baking Required — Seriously, the only heat involved is warming the cookie butter for the drizzle. No oven, no preheating, no waiting for things to cool down. It’s pure assembly.
- 15 Minutes or Less — I timed it. From opening the package to the first spoonful, it takes 15 minutes. This is the fastest dessert I make, beating out even my 2-minute coconut flour mug cake which is already pretty quick.
- Texture Heaven — You get the crunch of the cookie crust, the smooth density of the cheesecake filling, and the silky warmth of the drizzle. It’s all the best parts of a cheesecake in a manageable cup size.
- Perfect Portion Control — Because they’re individual cups, there’s no slice-and-worry about it being too big. It’s a single-serving indulgence that feels fancy but isn’t overwhelming.
- Pantry Staples — You likely have most of these ingredients already. Cookie butter, cream cheese, cookies, and heavy cream are things I keep on hand because I’m a sucker for easy desserts.
I’ve served these to friends who thought I’d spent hours in the kitchen, and they were shocked when I told them it was a no-bake recipe. It’s the kind of dessert that makes you look like a pro chef without the stress. Plus, they travel well. I’ve taken a few to office potlucks, and they always disappear faster than my game day sugar cookies.
Ingredients You’ll Need
Here’s the best part: you don’t need a specialty grocery store for this. Most of this is standard pantry fare, with one or two specific items that make all the difference. I’m going to break down exactly what you need and why.
For the Cookie Crust
Chocolate Sandwich Cookies (24 cookies, about 120g) — I use Oreos. Specifically, the regular ones. The dark chocolate flavor pairs perfectly with the sweet cookie butter. If you want a lighter option, you can use vanilla wafers or graham crackers, but the chocolate adds a nice depth. Crush them fine—you want sand, not chunks.
Unsalted Butter (4 tablespoons / 56g) — This binds the crumbs together. Melt it until it’s golden and liquid. Don’t use margarine; it doesn’t have the same richness.
For the Cheesecake Filling
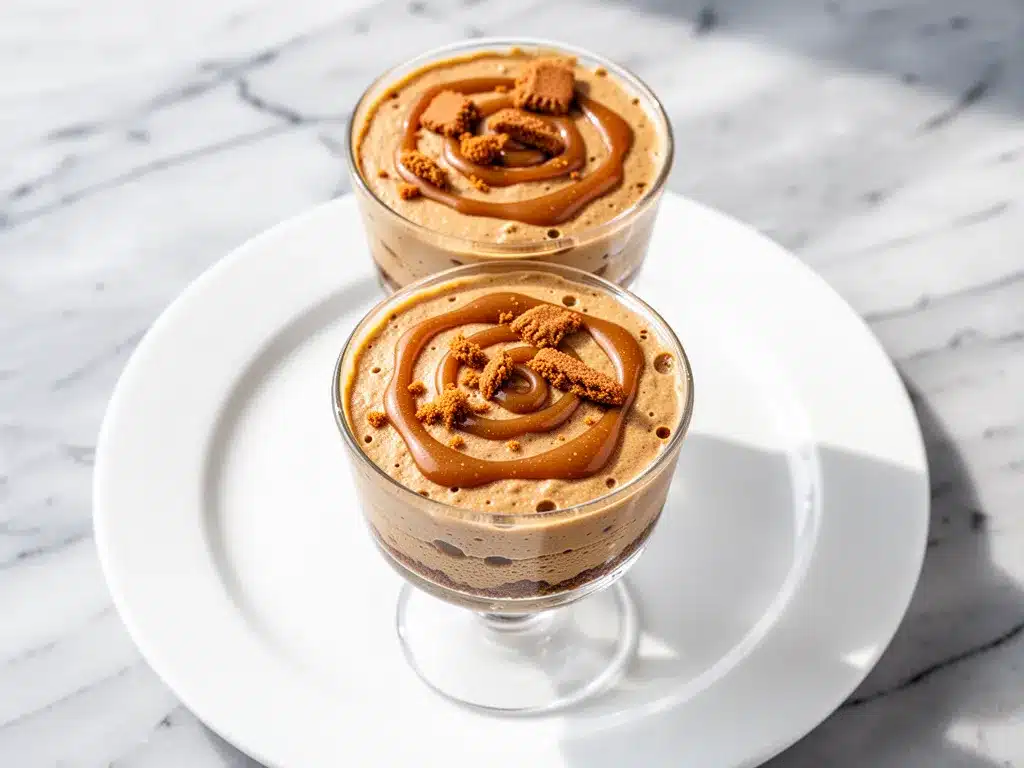
Full-Fat Cream Cheese (8 ounces / 225g) — This is non-negotiable. Low-fat cream cheese has too much water and will make the filling runny. Let it sit out for 15 minutes before you start so it’s soft. If you try to beat cold cream cheese, you’ll get lumps, and nobody wants lumps in their cheesecake.
Heavy Whipping Cream (1 cup / 240ml) — Cold heavy cream is what gives this the airy, mousse-like texture. Without it, you’re just making sweet cream cheese. Whip it to stiff peaks—this is the secret to the “cup” structure.
Cookie Butter Spread (1/3 cup / 80g) — This is the star. I use Biscoff, but any brand of spiced cookie butter works. It’s sweet, spicy, and buttery. This goes into the filling and the drizzle.
Powdered Sugar (1/4 cup / 30g) — Just enough to sweeten it up. Cookie butter is already sweet, so you don’t need a lot. Taste before adding more.
Vanilla Extract (1 teaspoon) — Enhances the flavor. Pure vanilla, please. That fake stuff will throw off the balance.
For the Warm Drizzle
Cookie Butter Spread (2-3 tablespoons) — This is separate from the filling amount. You’ll warm this up to make a pourable sauce.
Heavy Cream (1-2 teaspoons) — Just a splash to thin out the cookie butter so it drizzles nicely instead of clumping.
Mini Chocolate Chips (Optional) — I sprinkle a few on top for extra crunch and chocolatey bits. It’s like a cookie butter brownie in a cup.
Equipment Note
You’ll need 6-8 small cups. I use ramekins, but you can also use mason jars, tall glasses, or even silicone muffin liners. Just make sure they’re sturdy enough to hold the weight of the filling.
Equipment Needed
You don’t need fancy gadgets for this. Here’s what I actually use:
- Food Processor or Ziplock Bag — To crush the cookies. A food processor is faster, but a rolling pin and a bag works if you’re trying to avoid extra dishes.
- Mixer — A hand mixer or stand mixer makes whipping the cream cheese and cream much easier. Doing this by arm is possible, but why suffer?
- Microwave-Safe Bowl — For melting the butter and warming the drizzle.
- Spatula — A rubber spatula is essential for folding the whipped cream into the cheese mixture without deflating it.
- Measuring Cups and Spoons — Standard stuff. Precision matters here, especially with the cream cheese.
I keep a set of small ramekins specifically for desserts like this. They’re cheap, stackable, and look elegant when you serve them. If you don’t have ramekins, any small glass or ceramic cup will do.
How to Make It: Step-by-Step
Alright, let’s make these cups! I’m walking you through exactly how I do it, including the little tricks that keep the texture perfect.
Step 1: Crush the Cookies (5 minutes)
Take your 24 cookies and remove the filling if you want a pure chocolate crust, or leave it in for a sweeter, softer base. I usually leave the filling in because it adds to the cookie-butter vibe. Place the cookies in a food processor and pulse until you have fine, sandy crumbs. If you’re using a bag, seal them up and roll over them with a rolling pin until they’re fine dust. Pour the crumbs into a bowl.
Step 2: Make the Crust (2 minutes)
Melt the 4 tablespoons of butter in the microwave. Pour it over the cookie crumbs and stir until the mixture looks like wet sand. It should hold together when you pinch it. If it’s too dry, add a teaspoon more butter. Divide the mixture evenly among your 6-8 cups. Press it down firmly with the bottom of a glass. You want a flat, compact layer. Set them aside while you make the filling.
Step 3: Whip the Cream (3 minutes)
In a large bowl, pour your cold heavy cream. Beat it with your mixer on medium-high speed until stiff peaks form. This means when you lift the beaters, the cream stands up straight and doesn’t droop. Don’t over-whip it into butter, but don’t under-whip it either. This airy base is what makes the cheesecake light instead of dense.
Step 4: Beat the Cheese (3 minutes)
In a separate bowl, beat the softened cream cheese until it’s completely smooth and creamy. No lumps allowed. Add the powdered sugar, vanilla extract, and the 1/3 cup of cookie butter. Beat on medium speed until everything is combined and smooth. The mixture should be pale and fluffy.
Step 5: Fold It Together (2 minutes)
This is the crucial step. Add about one-third of the whipped cream to the cheese mixture and stir it in to lighten it up. Then, gently fold in the remaining whipped cream using your spatula. Use a cutting motion, going from the bottom up. You want to keep as much air in the mixture as possible. Stop when there are no streaks of white cream left, but the mixture is still airy.
Step 6: Assemble and Chill (10 minutes active, rest is passive)
Spoon or pipe the filling into your prepared cups, right on top of the crust. Fill them almost to the top. Smooth the tops with a spoon. Now, you need to chill them. You can eat them immediately if you’re impatient, but they’ll hold their shape much better if you pop them in the fridge for at least 30 minutes. If you’re making these ahead, they’ll last in the fridge for up to 3 days.
Step 7: The Warm Drizzle (2 minutes)
Just before serving, warm the 2-3 tablespoons of cookie butter in a small microwave-safe bowl. Add 1-2 teaspoons of heavy cream and stir. Microwave for 15-20 seconds and stir again. It should be a pourable, warm sauce. Drizzle generously over each cup. If you’re using mini chocolate chips, sprinkle them on top right now while the drizzle is still wet so they stick.
Expert Tips & Tricks
Here’s everything I’ve learned from making these dozens of times. These tips will save you from my mistakes.
Keep Everything Cold
Except the cream cheese (which should be room temp for mixing, but cold isn’t terrible), your heavy cream must be cold. If your cream is warm, it won’t whip. I keep my bowl and beaters in the fridge for 10 minutes before whipping. It makes a huge difference.
Don’t Skip the Firm Press
If you don’t press the crust down firmly, it’ll crumble when you scoop. Use a flat-bottomed glass or a small measuring cup to pack it tight. It creates a solid foundation.
Warm Drizzle Consistency
If your drizzle is too thick, add more cream, one teaspoon at a time. If it’s too thin, add a tiny bit more cookie butter. You want it to drizzle in a ribbon, not pour like water.
Storage Is Key
These are best eaten within 24 hours for the best texture. After that, the crust can get a little soggy if the filling is too wet. If you’re meal prepping, make the crust and filling separately, assemble right before serving, and drizzle immediately.
Cookie Butter Substitutes
If you can’t find Biscoff, you can use Nutella mixed with a little cinnamon and brown sugar, or even almond butter with honey. But honestly, nothing beats the authentic spiced cookie butter flavor. It’s worth seeking out.
Variations & Substitutions
Once you’ve nailed the basic version, here’s how you can mix it up. I’ve tried all of these.
Gluten-Free Version
Use gluten-free chocolate sandwich cookies (like Kinnikinnick or store brand) and make sure your cookie butter is certified GF. The rest of the ingredients are naturally gluten-free.
Lighter Version
Swap the heavy cream for Greek yogurt (full fat) and use light cream cheese. It won’t be as airy or rich, but it’s lower in calories. I sometimes do this when I’m trying to be “healthy,” though I usually just eat the real thing.
Double Chocolate
Add 2 tablespoons of cocoa powder to the cream cheese mixture. It turns it into a chocolate cookie butter cheesecake, which is insane.
Strawberry Swirl
Before chilling, swirl a tablespoon of strawberry jam or pureed strawberries into the top of each cup. It adds a nice tart contrast to the sweet cookie butter.
Seasonal Twist
For fall, add a pinch of nutmeg and cinnamon to the filling. For summer, swap the chocolate cookies for vanilla wafers and add a lemon zest twist to the cream.
Serving & Storage
How to Serve: I usually serve these straight from the fridge, garnished with a dollop of whipped cream and a drizzle of warm cookie butter. They look fancy enough for dinner parties but are casual enough for a Tuesday night snack. Pair them with a cup of coffee or a glass of cold milk.
Side Dishes: These are desserts, so they don’t need sides. But if you’re having a dessert party, I like to serve them alongside my cozy maple cinnamon rice pudding for a variety of textures.
Refrigerator: Store in an airtight container for up to 4 days. They might get a little soft, but they’ll still taste good.
Freezing: You can freeze these, but the texture of the whipped cream might change slightly upon thawing. Freeze for up to 1 month. Thaw in the fridge overnight. I wouldn’t recommend freezing the drizzle separately—it might separate.
Pro Tip: If you’re making these for a crowd, prepare the crusts and fillings the day before. Assemble and drizzle right before serving. This keeps the drizzle warm and the crust crisp.
Nutrition Information
I’m not a nutritionist, but here’s the breakdown if you’re tracking. These are rich, so a little goes a long way.
Per Serving (based on 6 cups):
- Calories: 380
- Protein: 6g
- Carbs: 32g
- Fiber: 1g
- Sugar: 24g
- Fat: 26g
- Saturated Fat: 16g
What’s Good: It’s a treat, so don’t expect it to be a health food. But it does have some protein from the cream cheese and calcium. If you’re watching sugar, reduce the powdered sugar and use unsweetened cookie butter alternatives.
Final Thoughts
So that’s my go-to no-bake Biscoff cheesecake cups! I’ve probably talked your ear off at this point, but when you make a recipe this often, you have a lot to say about it. This has saved my dessert game more times than I can count. It’s my answer to “what’s for dessert” when I’m tired, don’t want to bake, and still want something that tastes really good.
Make it yours! Try different cookies, swap the drizzle for caramel, or add fruit. The best recipes are the ones you adapt to your family’s tastes. If you make this, drop a comment and let me know what you think! I love hearing how recipes turn out in your kitchen. And if something doesn’t work, tell me that too—I’m here to help troubleshoot.
Happy cooking! And I hope your kitchen smells half as good as mine does right now.
Frequently Asked Questions
Can I use whipped cream from a can?
You can, but fresh whipped cream tastes so much better. The can stuff has stabilizers and doesn’t have the same light, airy texture. If you’re in a pinch, it works, but I recommend whipping your own for the best results.
Why did my cheesecake filling turn out runny?
This usually happens if the heavy cream wasn’t whipped stiff enough, or if the cream cheese wasn’t smooth before mixing. Make sure your cream forms stiff peaks, and don’t overmix the final batter or you’ll deflate it.
Can I make these ahead of time?
Yes! You can assemble the crust and filling up to 24 hours in advance. Just add the warm drizzle right before serving so it doesn’t soak into the crust or lose its warmth.
What if I don’t have a food processor?
No problem. Put the cookies in a heavy-duty ziplock bag and crush them with a rolling pin, a meat mallet, or even a heavy pan. It takes a bit more elbow grease, but it works perfectly.
Can I use peanut butter instead of cookie butter?
You can, but the flavor will be different. Peanut butter is saltier and less sweet. If you use it, add a little more powdered sugar and maybe a teaspoon of vanilla to balance it out. It’s good, but it’s not the same as the cookie butter version.
How long do these last in the fridge?
They’re best eaten within 2-3 days. After that, the crust might get a bit soggy, and the texture of the filling might change. They won’t spoil, but the quality drops.
Is there a dairy-free option?
Yes! Use vegan cream cheese (like Miyoko’s or Kite Hill), vegan heavy cream (like Silk or So Delicious), and check that your cookie butter is dairy-free (most Biscoff is actually dairy-free, but double-check). Use vegan cookies for the crust.
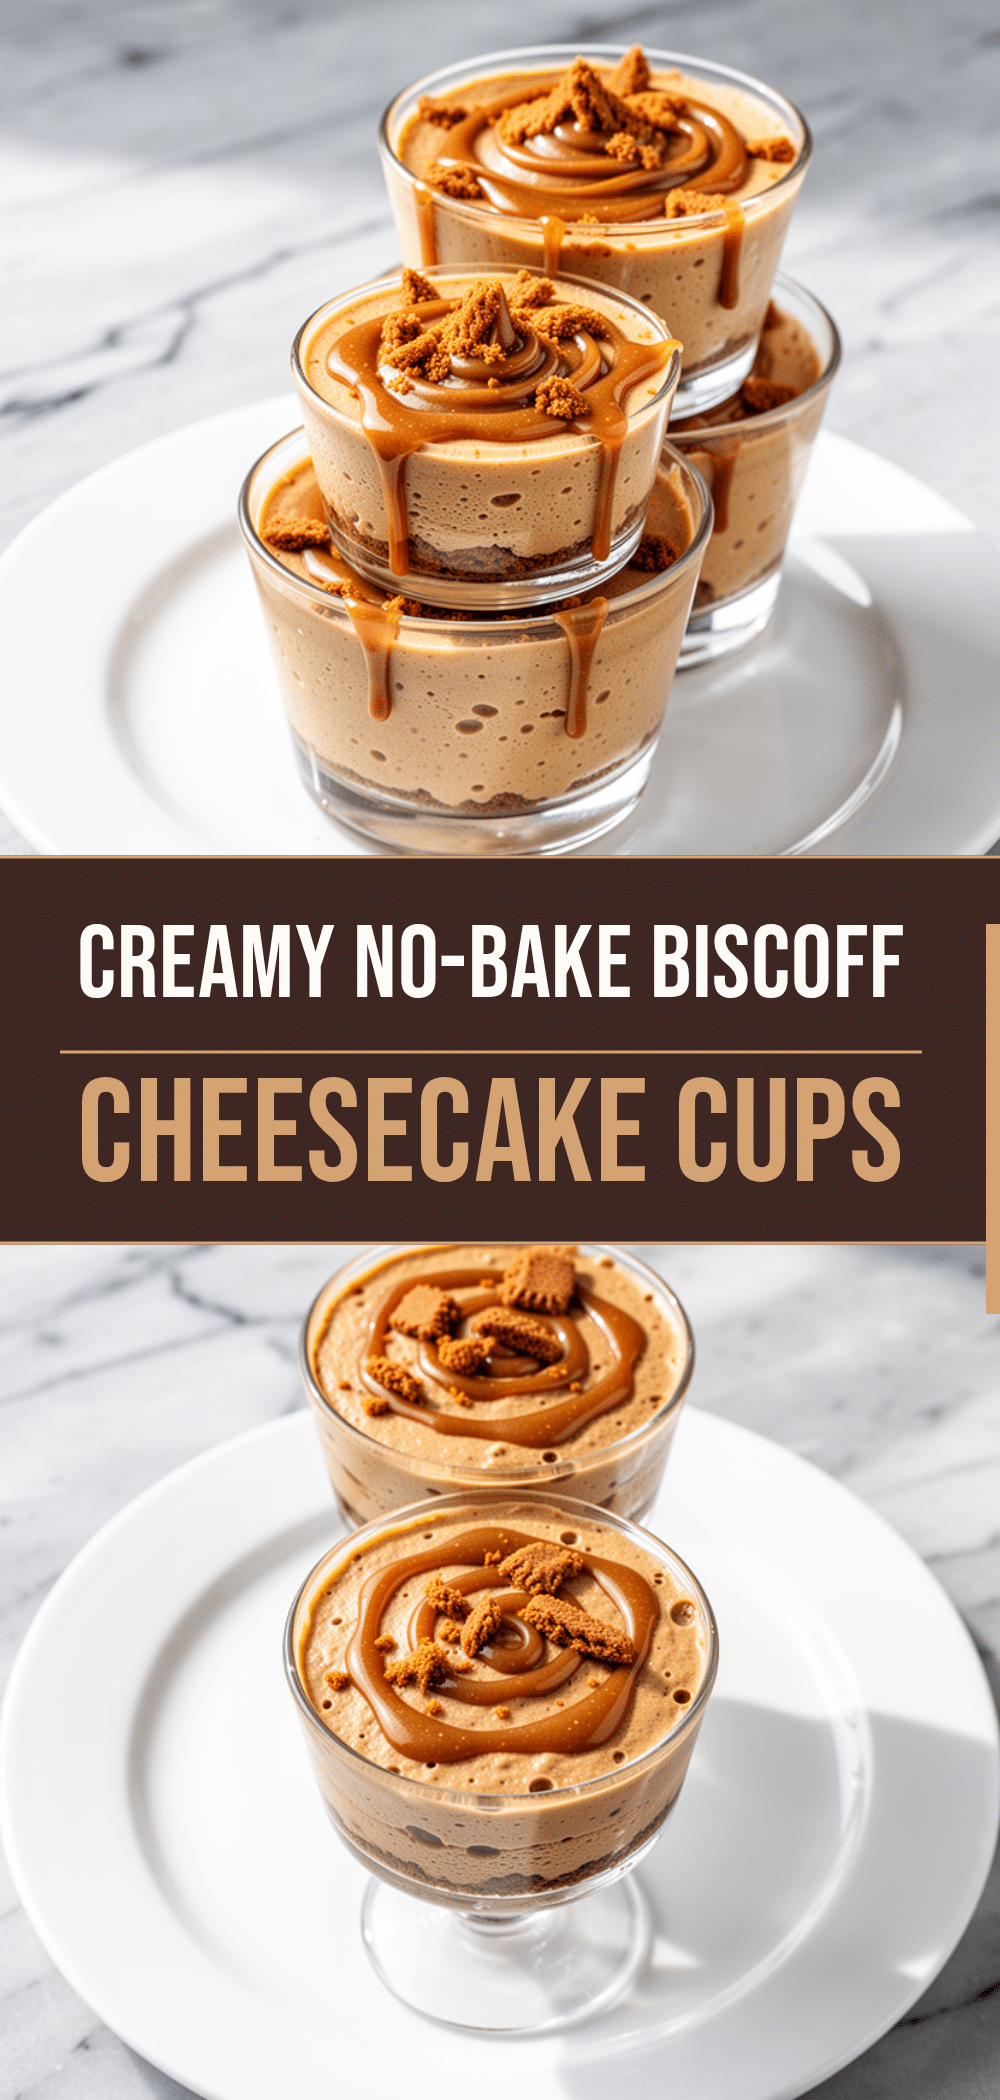
Pin This Recipe!
No-Bake Biscoff Cheesecake Cups
- Total Time: 45 minutes
- Yield: 6 servings 1x
Description
These easy, no-bake Biscoff cheesecake cups come together in just 15 minutes. Featuring a crunchy chocolate cookie crust, a creamy spiced cookie butter filling, and a warm drizzle, they are the perfect indulgent dessert for late-night cravings or last-minute gatherings.
Ingredients
- 24 chocolate sandwich cookies (about 120g, such as Oreos)
- 4 tablespoons unsalted butter (56g)
- 8 ounces full-fat cream cheese (225g), softened
- 1 cup heavy whipping cream (240ml), cold
- 1/3 cup cookie butter spread (80g)
- 1/4 cup powdered sugar (30g)
- 1 teaspoon vanilla extract
- 2–3 tablespoons cookie butter spread (for drizzle)
- 1–2 teaspoons heavy cream (for drizzle)
- Mini chocolate chips (optional, for garnish)
Instructions
- Crush the chocolate sandwich cookies into fine crumbs using a food processor or by placing them in a sealed bag and rolling with a rolling pin.
- Melt the 4 tablespoons of butter in the microwave and stir it into the cookie crumbs until the mixture resembles wet sand.
- Divide the crust mixture among 6-8 small cups or ramekins and press down firmly with the bottom of a glass to create a compact layer. Set aside.
- In a large bowl, whip the cold heavy cream on medium-high speed until stiff peaks form.
- In a separate bowl, beat the softened cream cheese until smooth. Add the powdered sugar, vanilla extract, and 1/3 cup cookie butter, beating until combined and fluffy.
- Lighten the cheese mixture by stirring in one-third of the whipped cream. Gently fold in the remaining whipped cream using a spatula until no streaks remain.
- Spoon the filling into the prepared cups over the crust. Chill in the refrigerator for at least 30 minutes to set.
- Just before serving, warm the 2-3 tablespoons of cookie butter with 1-2 teaspoons of heavy cream in the microwave. Stir until smooth and pourable.
- Drizzle the warm cookie butter sauce over the chilled cups and sprinkle with mini chocolate chips if desired.
Notes
Ensure the heavy cream is very cold to achieve stiff peaks. The cream cheese should be softened to room temperature for smooth mixing. For best texture, consume within 24 hours, though they can be stored in the fridge for up to 3-4 days. The crust may become soggy if stored too long. You can make the crust and filling up to 24 hours in advance, but add the warm drizzle right before serving.
- Prep Time: 15 minutes
- Cook Time: 0 minutes
- Category: Dessert
- Cuisine: American
Nutrition
- Serving Size: 1 cup
- Calories: 380
- Sugar: 24
- Fat: 26
- Saturated Fat: 16
- Carbohydrates: 32
- Fiber: 1
- Protein: 6
Keywords: no-bake, Biscoff, cheesecake, cookie butter, easy dessert, 15 minute dessert, individual desserts, fall dessert, chocolate cookie crust



