It was 9 PM on a Tuesday, and I was staring into my refrigerator like it owed me money. The light flickered, revealing a sad container of wilted spinach, a jar of pickles, and, sitting on the middle shelf, a tub of plain Greek yogurt that had been staring at me for three days. I was craving something sweet. Not a candy bar—that’s just sugar and regret. Not ice cream—that melts too fast and leaves me with brain freeze. I wanted something creamy, tangy, and satisfying, but I also wanted to feel like I wasn’t committing a crime against my health.
So, I did what any desperate home cook does: I threw things together. I had a bag of frozen mixed berries, a package of cream cheese, and that yogurt. I figured, what’s the worst that could happen? A weird texture? A sour flavor? I hit “bake” and went to bed, expecting to throw it in the trash by morning.
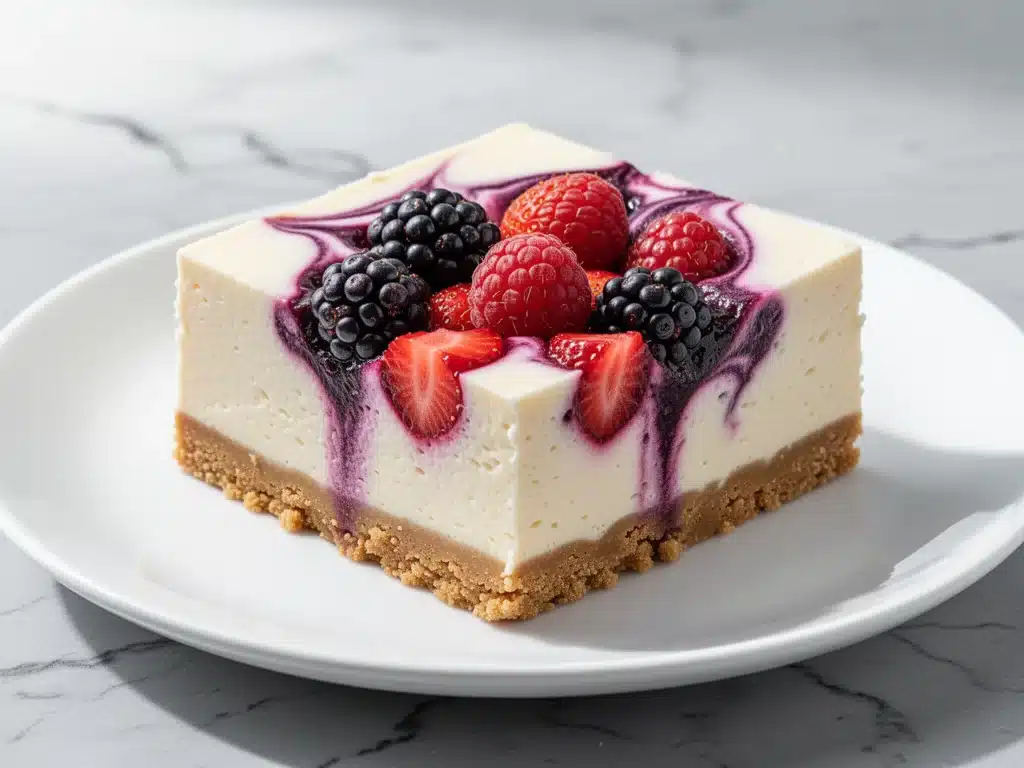
The next morning, the smell pulled me out of bed before my alarm even went off. It smelled like a bakery, but lighter. I cut a square of these High-Protein Greek Yogurt Cheesecake Bars with Mixed Berry Swirl and took a bite. My eyes literally widened. It was rich, tangy, creamy, and had that perfect fruity punch from the berries. And the best part? It was packed with protein. I’m talking real, muscle-building, breakfast-for-dessert protein.
I’ve made these bars about twelve times since that night. I’ve tested different berry combinations, tweaked the sweetness, and figured out exactly how to get that perfect sliceable texture without loading it up with heavy cream or tons of sugar. This recipe is my answer to “I want cake, but I also want to be a responsible adult.” It’s simple, it’s delicious, and it’s genuinely good for you. If you’re tired of heavy, dense cheesecakes that leave you feeling sluggish, you need to try these bars. They’re the perfect bridge between a cheat meal and a healthy snack.
Why You’ll Love This Recipe
There are a lot of “healthy” desserts out there. Most of them taste like cardboard with a hint of stevia. Not this one. These High-Protein Greek Yogurt Cheesecake Bars with Mixed Berry Swirl are the real deal. Here’s why they’ve earned a permanent spot in my weekly rotation:
- Stupid Simple Ingredients — Seriously, you only need five main ingredients. No weird supplements, no hard-to-find flours. Just yogurt, cream cheese, berries, sweetener, and a crust. If you can blend, you can make this.
- High Protein Power — This isn’t just a treat; it’s a protein bomb. One bar can give you a significant chunk of your daily protein needs. I’ve had these for breakfast, as a post-workout snack, and as dessert. They keep you full.
- Zero Baking Stress — Wait, no baking? Actually, these are baked, but they’re baked at a low temperature for a short time. They’re forgiving. If you overbeat them, they’re still good. If you underbake them slightly, they’re just extra creamy. There’s no way to ruin this.
- Berry Swirl Magic — The mixed berry swirl isn’t just decoration. It adds natural sweetness and acidity that cuts through the richness of the cheese. Plus, it looks gorgeous. I’ve served these to guests who didn’t even know they were eating “healthy” until I told them.
- Meal Prep Friendly — I make a batch on Sunday, and I have my snacks sorted for the week. They store well in the fridge for up to a week, and they actually taste better after sitting for a day as the flavors meld together.
- Gluten-Free Option — The crust is naturally gluten-free if you use almond flour or oats. This makes them perfect for my gluten-sensitive friends and family.
Real talk: this is the easiest win you can have in the kitchen. It feels indulgent, but it fuels your body. It’s the kind of recipe that makes you feel smart for choosing it.
Ingredients You’ll Need
Here’s the best part: you probably have most of this already. I’m particular about a few things here, but mostly, this is a pantry-and-fridge staple recipe.
For the Crust
Almond Flour (1 cup / 100g) — This gives the crust a nutty, tender crunch. If you don’t have almond flour, you can use rolled oats (pulse them in a blender first) or gluten-free 1-to-1 baking flour. I prefer almond flour because it doesn’t get soggy.
Unsalted Butter (3 tablespoons / 42g), melted — Adds richness and helps the crust hold together. Coconut oil works too if you’re dairy-free, but the flavor is different.
Granulated Erythritol or Monk Fruit (1 tablespoon / 12g) — I use a zero-calorie sweetener to keep the sugar low. Regular sugar works fine if you don’t mind the carbs. Honey or maple syrup can also work, but they’ll make the crust chewier.
Pinch of Salt — Essential to balance the sweetness. Don’t skip it.
For the Cheesecake Filling
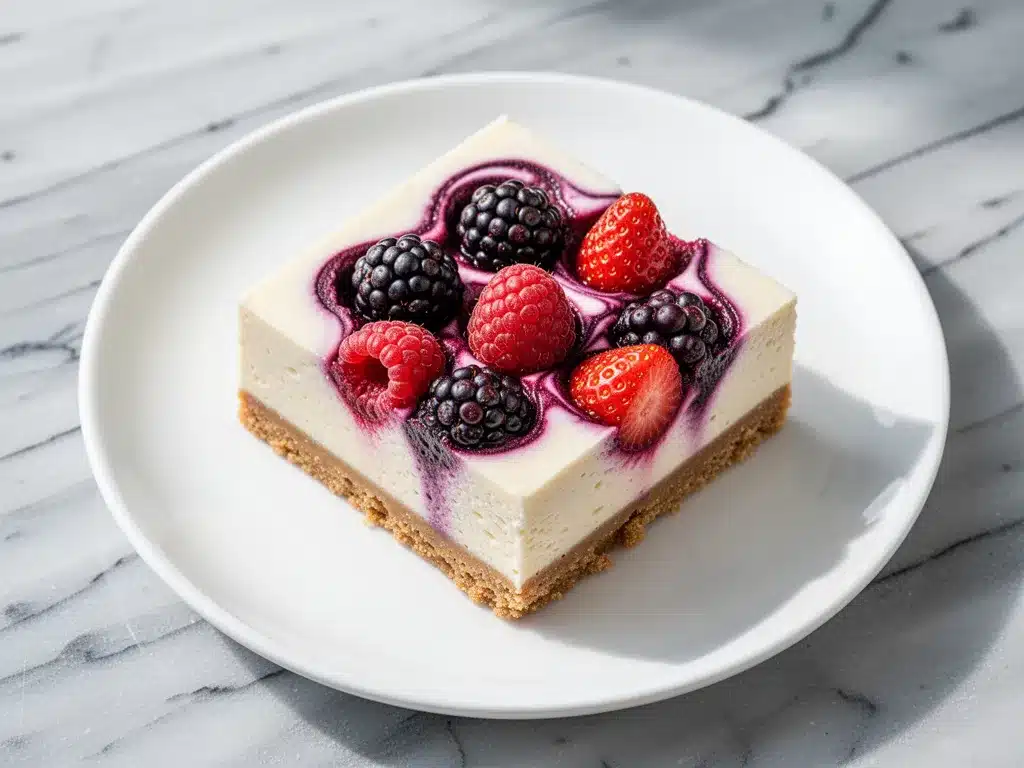
Greek Yogurt (2 cups / 450g) — Full-fat plain Greek yogurt is non-negotiable. Low-fat or non-fat will make the bars grainy and less creamy. I use Fage or Chobani. The higher the protein content, the better for this recipe.
Cream Cheese (8 oz / 225g), softened — This is the classic cheesecake base. Make sure it’s softened to room temperature so it blends smoothly. Lumps are the enemy here.
Vanilla Extract (1 teaspoon / 5ml) — Pure vanilla, please. Artificial vanilla tastes chemical in a delicate dessert like this.
Eggs (2 large) — These bind the filling and help it set. Don’t try to skip them or sub with flax eggs; the structure won’t work.
Stevia or Additional Sweetener (to taste) — Depending on your yogurt and berry sweetness, you might want a bit more. I usually add about 1-2 tablespoons of my zero-calorie sweetener, but taste the batter before baking.
For the Berry Swirl
Mixed Berries (1 cup / 150g) — Frozen or fresh. I use a blend of strawberries, blueberries, and raspberries. Frozen works great because they’re already thawed and juicy.
Water (1-2 tablespoons) — Just enough to help the berries break down into a sauce.
Agave or Honey (1 teaspoon) — Optional, if your berries are tart. I usually skip this because the berries are sweet enough.
Cornstarch (1 teaspoon) — Helps thicken the berry sauce so it swirls nicely without bleeding into the entire bar.
Equipment Needed
You don’t need fancy equipment for this. Here’s what I actually use:
8×8 Inch Baking Pan — I use a glass pan because it heats evenly. Metal works too, but you might need to reduce the baking time by a few minutes. Line it with parchment paper for easy removal.
Food Processor or Blender — For the crust. If you don’t have one, just mix the crust ingredients in a bowl with a fork. For the filling, an electric hand mixer or stand mixer is best to get it smooth. A whisk works, but it takes arm muscles.
Saucepan — Small, for cooking down the berries.
Spatula — For scraping the bowl and swirling the berries.
Measuring Cups and Spoons — Standard stuff.
Parchment Paper — Essential for clean slices. Grease the paper too.
How to Make It: Step-by-Step
Alright, let’s make this! I’m walking you through exactly how I do it, including the little tricks I’ve picked up to ensure your bars are perfectly set and delicious.
Step 1: Prep Your Pan and Oven
Preheat your oven to 325°F (165°C). Line your 8×8 inch baking pan with parchment paper, leaving an overhang on the sides like handles. This is crucial for lifting the bars out later. Grease the parchment lightly with butter or cooking spray.
Step 2: Make the Crust
In a food processor, pulse the almond flour, melted butter, sweetener, and salt until it looks like wet sand. Press this mixture firmly and evenly into the bottom of your prepared pan. Use the bottom of a measuring cup to pack it down tight. A loose crust = crumbling bars. Bake the crust for 8-10 minutes until it’s lightly golden. Let it cool completely while you make the filling. This step prevents a soggy bottom.
Step 3: Prepare the Berry Swirl
While the crust bakes, put the mixed berries, water, and sweetener in a small saucepan over medium heat. Cook for 5-7 minutes, mashing the berries with a fork until they break down and release their juices. Mix the cornstarch with a teaspoon of cold water to make a slurry, then stir it into the berries. Cook for 1 more minute until thickened. Remove from heat and let it cool completely. You can speed this up by putting it in the fridge. Cold berry sauce swirls better and doesn’t melt the cheesecake batter.
Step 4: Make the Cheesecake Filling
In a large bowl, beat the softened cream cheese until smooth and creamy. This takes about 2 minutes. Add the Greek yogurt, vanilla, and sweetener. Beat on low speed until just combined. Do not overmix once you add the eggs. Crack in the eggs and beat gently until smooth. The batter should be thick, creamy, and lump-free.
Step 5: Assemble the Bars
Pour the cheesecake batter over the cooled crust. Spread it out evenly with a spatula. Now for the fun part: the swirl. Drop spoonfuls of the cooled berry sauce over the batter. Use a knife or toothpick to gently swirl it through. Don’t over-swirl; you want distinct ribbons of red and white, not pink mush. Take your time with this. It’s therapeutic.
Step 6: Bake and Cool
Bake at 325°F (165°C) for 25-30 minutes. The edges should be set, but the center should still have a slight jiggle. It will firm up as it cools. Do not overbake, or the texture will become dense. Turn off the oven and crack the door open, leaving the bars inside for 30 minutes. This gradual cooling helps prevent cracking.
Step 7: Chill and Slice
Remove from the oven and let it cool to room temperature. Then, refrigerate for at least 4 hours, preferably overnight. Cold bars slice cleanly. Warm bars are a mess. Use the parchment handles to lift the whole block out, then slice into 12 squares with a sharp knife. Wipe the knife between cuts for clean edges.
Expert Tips & Tricks
Here’s everything I’ve learned from making these dozens of times. These tips will save you from my mistakes.
Room Temperature is Key
Make sure your cream cheese and eggs are at room temperature before mixing. Cold cream cheese creates lumps that you can’t beat out. If you forget, microwave the cream cheese for 15-second intervals until it’s soft to the touch. This ensures a silky, smooth texture.
Don’t Overmix the Batter
Once you add the eggs, mix just until combined. Overmixing incorporates too much air, which can cause the cheesecake to rise and then fall, leading to cracks. Gentle is better.
Cool Completely Before Swirling
I cannot stress this enough. If your berry sauce is hot, it will melt into the batter and you’ll just get a pink cheesecake. Cool it down, or even freeze it for 10 minutes. Thick, cold berry dollops create that beautiful marbled effect.
Chill, Chill, Chill
I know it’s tempting to eat them warm. Resist. These bars need time to set. The yogurt and cream cheese need to firm up in the fridge. I usually make them the night before. They taste better after sitting for a day as the flavors meld.
Sharp Knife for Slicing
Use a sharp chef’s knife. Dip it in hot water and wipe it dry between each cut. This ensures clean, professional-looking slices without dragging the creamy filling.
Variations & Substitutions
Once you’ve nailed the basic version, here’s how you can mix it up. I’ve tried all of these.
Different Berries
Strawberry swirl is classic. Blueberry swirl is tangy and beautiful. Raspberry swirl is intense and tart. You can also use a mix of blackberries and blueberries. Just make sure to adjust the sweetener if your berries are very tart.
Chocolate Chip
Skip the berry swirl and fold ½ cup of chocolate chips into the batter before pouring it over the crust. Simple and delicious. Or swirl in a little chocolate sauce.
Gluten-Free
The almond flour crust is naturally gluten-free. If you use oats for the crust, make sure they are certified gluten-free. The rest of the ingredients are naturally GF.
Dairy-Free
Use coconut yogurt instead of Greek yogurt and vegan cream cheese. The texture will be slightly different, but still tasty. You can also use coconut oil instead of butter in the crust.
Vegan
This is trickier because of the eggs and dairy. You can try using a vegan cream cheese alternative and silken tofu blended with lemon juice instead of yogurt. But honestly, for a true vegan version, a no-bake cashew cheesecake might be better. I haven’t perfected a vegan baked version of this yet.
Serving & Storage
How to Serve
I serve these straight from the fridge. They’re firm, cool, and refreshing. I usually pair them with a cup of black coffee or tea. They’re also great alongside a light lunch salad. For a special occasion, I garnish them with a fresh berry and a mint leaf.
Storage Instructions
Refrigerator: Store in an airtight container for up to 5 days. They actually taste better after day 2. Layer them with parchment paper if stacking to prevent sticking.
Freezer: Yes, you can freeze these! Wrap individual bars in plastic wrap, then put them in a freezer bag. They’ll last for up to 2 months. Thaw in the fridge overnight. The texture might be slightly softer, but still good.
Reheating: I don’t recommend reheating these. They’re best served cold. If you must, let them come to room temperature for 15 minutes.
Meal Prep
I make a batch every Sunday. I portion them out into individual containers for grab-and-go snacks. They’re perfect for lunchboxes or post-workout fuel. I’ve even had them as a late-night dessert when I’m trying to stick to my protein goals.
Nutrition Information
I’m not a nutritionist, but here’s the breakdown if you’re tracking. These numbers are estimates based on almond flour crust and zero-calorie sweetener.
Per Serving (1 of 12 bars):
- Calories: 140
- Protein: 12g
- Carbs: 6g
- Fiber: 2g
- Sugar: 3g (natural from berries)
- Fat: 9g
What’s Good: High protein, low sugar, gluten-free option. Great for muscle recovery.
What to Know: Higher in fat from the cream cheese and almond flour. Sodium is moderate.
My Take: This is a guilt-free indulgence. It satisfies the sweet tooth without the sugar crash. It’s a smart choice for anyone watching their macros.
Final Thoughts
So that’s my go-to High-Protein Greek Yogurt Cheesecake Bars with Mixed Berry Swirl! I’ve probably talked your ear off at this point, but when you make a recipe this often, you have a lot to say about it.
This has saved my sweet tooth more times than I can count. It’s my answer to “I want dessert, but I also want to feel good.” My kids love them, my husband loves them, and I love them because they’re easy and healthy. Make it yours! Try different berries, adjust the sweetness, or add a chocolate drizzle. The best recipes are the ones you adapt to your tastes.
If you make this, drop a comment and let me know what you think! I love hearing how recipes turn out in your kitchen. And if something doesn’t work, tell me that too—I’m here to help troubleshoot.
Happy baking! And I hope your kitchen smells half as good as mine does right now.
Frequently Asked Questions
Can I use low-fat Greek yogurt?
You can, but the texture won’t be as creamy. Full-fat yogurt gives that rich, cheesecake-like consistency. If you must use low-fat, add a little extra cream cheese to compensate. But trust me, full-fat is worth it.
Why did my cheesecake crack?
Cracking usually happens from overmixing (too much air) or overbaking (dry edges). Make sure to mix gently, don’t overbake (leave a slight jiggle), and cool the bars gradually in the turned-off oven. It’s common, and it still tastes good!
Can I use fresh berries instead of frozen?
Yes! Just chop them up slightly smaller. Fresh berries might have less liquid, so you might need to cook them a bit longer to get the same consistency for the swirl. Frozen berries are convenient because they’re already thawed and juicy.
How do I keep the bars from sticking to the pan?
Parchment paper is your best friend. Line the pan with a cross of parchment paper, leaving overhangs on two sides. Grease the parchment too. This ensures easy removal and clean slices.
Can I make this in a springform pan?
Absolutely! A 9-inch springform pan works great. Just adjust the baking time slightly—it might take a few minutes longer because the layer is thinner. Check for doneness at 25 minutes.
What if I don’t have almond flour?
Use rolled oats (pulse into flour) or gluten-free all-purpose flour. The texture will be slightly different, but still delicious. Graham cracker crumbs can also work for a more traditional cheesecake crust.
Can I freeze these bars?
Yes! Wrap individual bars tightly in plastic wrap, then put them in a freezer bag. They’ll last for up to 2 months. Thaw in the fridge overnight. They’re a great meal prep option.
Pin This Recipe!
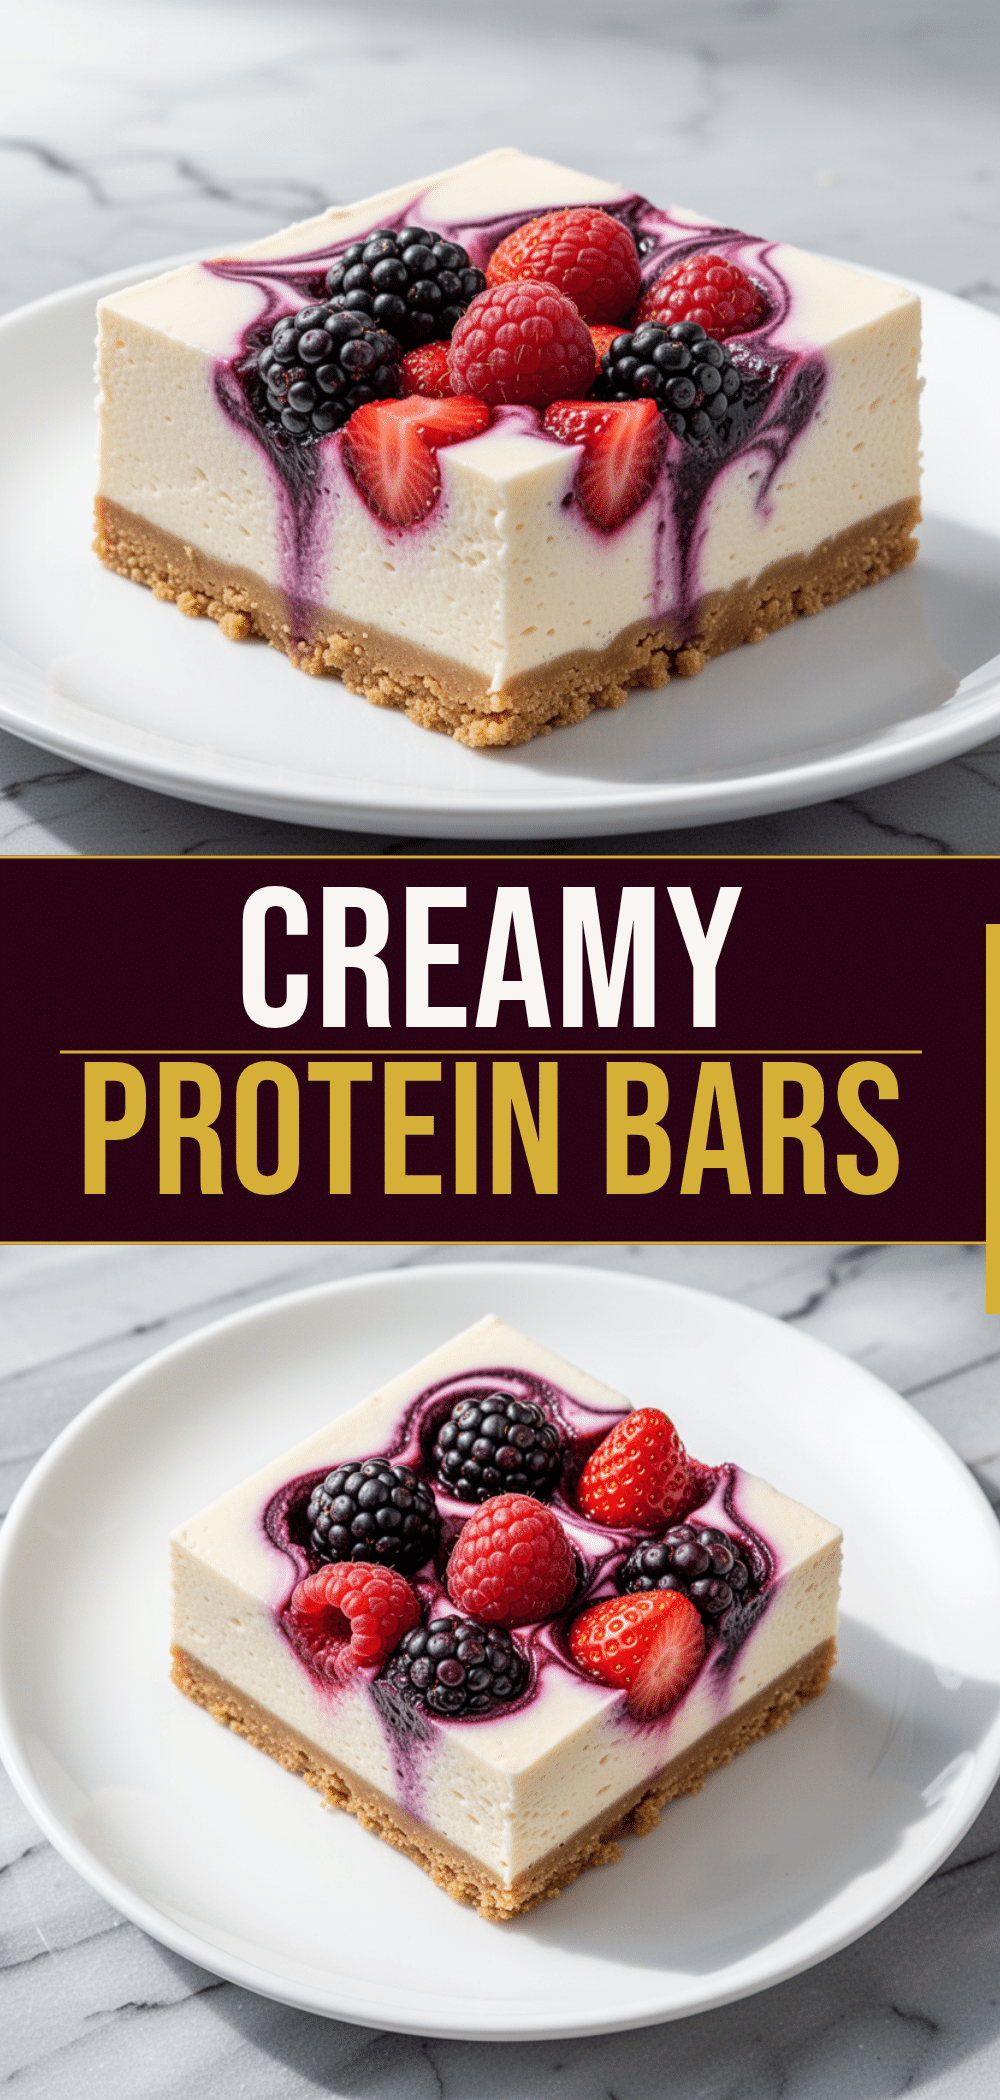
High-Protein Greek Yogurt Cheesecake Bars with Mixed Berry Swirl
- Total Time: 65 minutes
- Yield: 12 servings 1x
Description
A simple, high-protein dessert made with just five main ingredients. These creamy, tangy bars feature a nutty almond flour crust, a rich Greek yogurt and cream cheese filling, and a natural mixed berry swirl.
Ingredients
- 1 cup (100g) Almond Flour
- 3 tablespoons (42g) Unsalted Butter, melted
- 1 tablespoon (12g) Granulated Erythritol or Monk Fruit
- Pinch of Salt
- 2 cups (450g) Full-fat plain Greek Yogurt
- 8 oz (225g) Cream Cheese, softened
- 1 teaspoon Vanilla Extract
- 2 large Eggs
- 1–2 tablespoons Stevia or Additional Sweetener (to taste)
- 1 cup (150g) Mixed Berries (frozen or fresh)
- 1–2 tablespoons Water
- 1 teaspoon Agave or Honey (optional)
- 1 teaspoon Cornstarch
Instructions
- Preheat oven to 325°F (165°C). Line an 8×8 inch baking pan with parchment paper, leaving an overhang on the sides, and grease lightly.
- In a food processor, pulse almond flour, melted butter, sweetener, and salt until it resembles wet sand. Press firmly into the bottom of the prepared pan.
- Bake the crust for 8-10 minutes until lightly golden. Let it cool completely.
- While the crust bakes, combine mixed berries, water, and sweetener in a small saucepan over medium heat. Cook for 5-7 minutes, mashing berries until they break down.
- Mix cornstarch with a teaspoon of cold water to make a slurry, stir into the berries, and cook for 1 more minute until thickened. Remove from heat and cool completely.
- In a large bowl, beat softened cream cheese until smooth. Add Greek yogurt, vanilla, and sweetener, beating on low until combined.
- Add eggs and beat gently just until smooth. Do not overmix.
- Pour batter over the cooled crust and spread evenly. Drop spoonfuls of cooled berry sauce over the batter and swirl gently with a knife.
- Bake at 325°F (165°C) for 25-30 minutes until edges are set but the center has a slight jiggle.
- Turn off the oven, crack the door open, and let bars cool inside for 30 minutes to prevent cracking.
- Remove from oven and cool to room temperature. Refrigerate for at least 4 hours or overnight.
- Lift bars out using parchment handles and slice into 12 squares with a sharp knife.
Notes
Ensure cream cheese and eggs are at room temperature for a smooth batter. Do not overmix after adding eggs to prevent cracking. The berry sauce must be completely cool before swirling to prevent melting the batter. For clean slices, dip a sharp knife in hot water and wipe dry between cuts.
- Prep Time: 20 minutes
- Cook Time: 45 minutes
- Category: Dessert
- Cuisine: American
Nutrition
- Serving Size: 1 bar
- Calories: 140
- Sugar: 3
- Sodium: 45
- Fat: 9
- Saturated Fat: 4
- Carbohydrates: 6
- Fiber: 2
- Protein: 12
Keywords: high protein, greek yogurt cheesecake, healthy dessert, gluten-free, meal prep, berry swirl, low sugar, easy baking



