It was 6:45 PM on a Tuesday, and I was staring into the abyss of my kitchen pantry. You know the look. The fridge is humming aggressively, the kids have been arguing over a toy for twenty minutes, and the clock is ticking louder than usual. I had promised dinner would be on the table by 7:00, but my brain was completely fried from a workday that felt like it lasted three days. I didn’t want takeout (my wallet was already crying), and I definitely didn’t have the mental energy to wash a dozen bowls or chop vegetables.
Then I saw it. A dented can of applesauce. A bag of flour. Some spices that had been sitting in the back of the cupboard since October.
I threw them together in a single mixing bowl. No electric mixer. No fancy techniques. Just a whisk and some elbow grease. Thirty minutes later, the smell of cinnamon and warm baked apples filled the house, and my kids rushed in like they smelled a feast. It turned out to be the best thing we ate all week. Not because it was complicated, but because it was simple, comforting, and required almost zero cleanup.
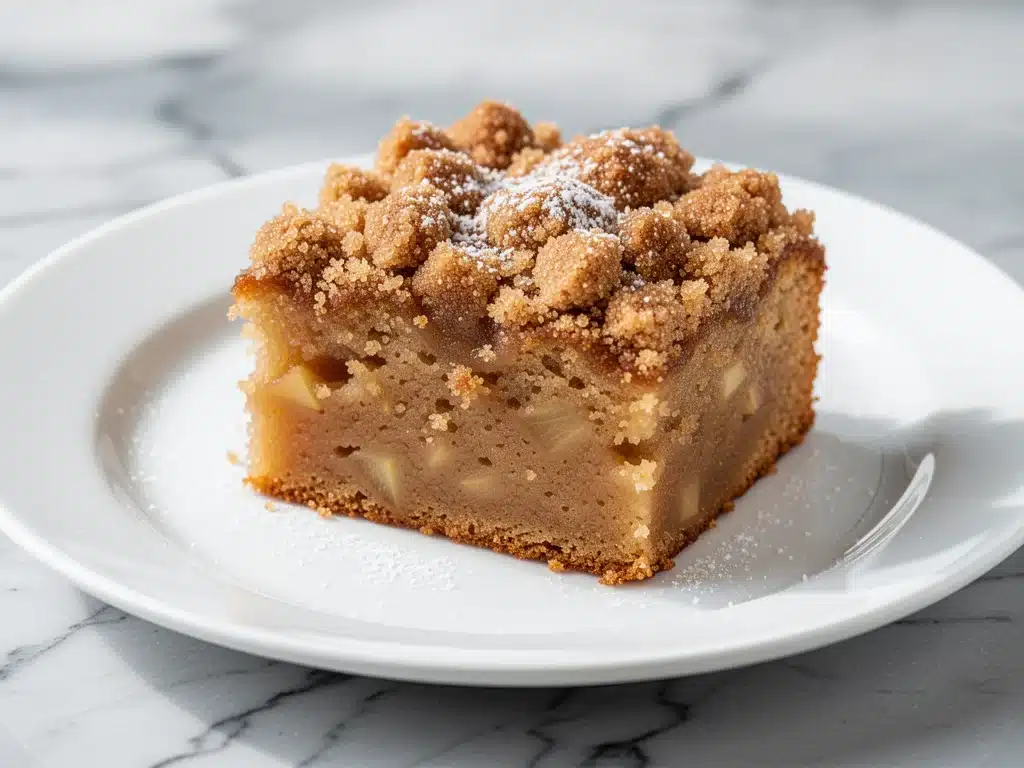
This easy one-bowl applesauce snack cake has become my secret weapon for those “I have nothing left in me” evenings. It’s moist, spiced, and tastes like autumn in a bite. I’ve made it at least a dozen times since that Tuesday, tweaking the spice ratios and testing different applesauce brands, and I can confidently say this is the ultimate backup plan for busy parents. If you’re tired of complicated desserts that require a trip to the store, you need this recipe in your rotation.
Why This One-Bowl Applesauce Snack Cake Is a Game-Changer
Let’s be real: most weeknight dessert recipes are a lie. They claim to be “quick,” but then they require three separate bowls, an electric mixer, and twenty minutes of prep time. This one-bowl applesauce snack cake is different. It respects your time and your energy levels.
Here’s why I keep coming back to this recipe:
- Zero Cleanup Stress — Seriously, just one bowl and one loaf pan. That’s it. I can wash that while the cake bakes. If you can boil water, you can make this. I’ve had my teenager make it solo over FaceTime, and it turned out perfect.
- Ready in 35 Minutes — From mixing to cooling, it’s under an hour. But the active time is only about 10 minutes. I make this when I get home from work exhausted, and it practically makes itself.
- Pantry Staples Only — You probably have every ingredient in your house right now. Flour, sugar, oil, baking powder, cinnamon, and applesauce. No weird specialty items. No last-minute dash to the grocery store.
- Perfectly Moist Texture — Applesauce replaces the butter or oil usually needed for moisture. The result is a cake that stays soft for days. It doesn’t dry out like traditional quick breads. I actually prefer it the next day.
- Kid-Approved Flavor — It tastes like apple pie but feels like a snack. My picky eaters think it’s a treat, not a vegetable-loaded health food. I’ve served this to my vegetarian sister, my gluten-free neighbor (with swaps), and my husband’s coworkers. Everyone asks for the recipe.
This is my go-to when I need dessert to just work. No drama, no mess, just reliable, delicious food that makes the evening feel a little lighter.
Ingredients You’ll Need
Here’s the best part: this one-bowl applesauce snack cake relies on ingredients you likely already have. I’m not asking you to buy anything special. Here’s what you need and why I choose these specific items.
For the Cake Base
Applesauce (1 cup / 245g) — Unsweetened is key here. I use Mott’s or a generic store brand. The unsweetened kind lets you control the sugar level. If you use sweetened, reduce the sugar in the recipe by half, or it’ll be cloying. This is the star player that keeps the cake moist.
Vegetable Oil or Canola Oil (½ cup / 120ml) — I use vegetable oil because it has a neutral flavor. You can use melted coconut oil if you’re avoiding soy, but it might add a slight coconut taste. Olive oil is too strong for this; you want the apple and cinnamon to shine.
Granulated Sugar (¾ cup / 150g) — Regular white sugar works perfectly. Brown sugar adds a molasses note, which is nice, but white sugar keeps it light and tender. Don’t reduce the sugar too much, or the texture will suffer.
Large Eggs (2 large) — Room temperature eggs mix better, but cold ones work fine in a pinch. They provide structure and help the cake rise. Crack them directly into the bowl with the wet ingredients.
Vanilla Extract (1 teaspoon) — Pure vanilla makes a huge difference. The cheap imitation stuff tastes chemical. I keep a bottle of McCormick or Nielsen-Massey in my cabinet.
For the Dry Mix
All-Purpose Flour (1 ½ cups / 190g) — Standard flour is fine. I don’t bother with cake flour for this; the applesauce provides enough tenderness. Spoon and level your flour so you don’t pack it down, or the cake will be dense.
Baking Powder (1 teaspoon) — Check your expiration date! Old baking powder is the #1 reason cakes don’t rise. If it’s been sitting for years, toss it and buy a new can. It’s cheap insurance.
Baking Soda (½ teaspoon) — This reacts with the acidity in the applesauce to help the cake rise. Don’t skip it.
Salt (½ teaspoon) — Essential. It balances the sweetness. I use kosher salt, but table salt works too. Just use half the amount if using table salt.
For the Spice Profile
Cinnamon (1 ½ teaspoons) — The backbone of this cake. I use ground cinnamon, not sticks. For a deeper flavor, I sometimes swap half for pumpkin pie spice, but pure cinnamon is classic.
Nutmeg (¼ teaspoon) — Freshly grated is best, but pre-ground is fine. Don’t overdo it; it’s a background note, not the main event.
Optional Add-ins — I love adding ½ cup of chopped walnuts or pecans for crunch. Or a handful of raisins if I’m feeling nostalgic. Diced apples (Granny Smith) work too, but they need to be small so they cook through.
Equipment Needed
You don’t need fancy gadgets for this. Here’s what I actually use.
One Large Mixing Bowl — I use a 4-quart glass or ceramic bowl. It needs to be big enough to whisk everything without splattering. Any large bowl works.
Whisk — A standard wire whisk is perfect. Forks work in a pinch, but a whisk makes the batter smooth faster.
9×5 Inch Loaf Pan — Standard size. I line mine with parchment paper for easy removal, but greasing it well with oil spray works too. Don’t use a smaller pan, or the cake will overflow.
Measuring Cups and Spoons — Standard stuff. Dollar store versions work fine for this recipe.
Cooling Rack — Optional but recommended. It stops the cake from steaming in the pan, which makes the bottom soggy.
How to Make It: Step-by-Step
Alright, let’s make this! I’m walking you through exactly how I do it, including the little tricks I’ve picked up over time.
Step 1: Prep Your Oven and Pan (5 minutes)
Preheat your oven to 350°F (175°C). This needs to be hot before the batter goes in. Grease your 9×5 loaf pan with cooking spray or butter. If you have parchment paper, lay it in the pan with an overhang on the sides. This is the secret to getting the cake out intact. If you skip the paper, you’ll be digging for crumbs later.
Step 2: Mix the Wet Ingredients (3 minutes)
In your large bowl, combine the unsweetened applesauce, vegetable oil, sugar, eggs, and vanilla extract. Whisk vigorously for about 1-2 minutes. You want the sugar to dissolve slightly and the mixture to look smooth and emulsified. It should look like a thick, creamy batter. If you see lumps of sugar, keep whisking. This step takes less time than you think.
Step 3: Add the Dry Ingredients (2 minutes)
Add the flour, baking powder, baking soda, salt, cinnamon, and nutmeg directly into the wet mixture. Don’t sift it unless you’re feeling extra fussy. Just dump it all in.
Step 4: Stir Until Just Combined (1 minute)
Switch to a spatula or keep using the whisk. Stir gently until the flour disappears. Crucial Tip: Do not overmix! Once you see no more dry streaks of flour, stop. Overmixing develops gluten, which makes the cake tough and dense. It’s okay if it looks a little lumpy. Lumpy is good here. Smooth is better, but lumpy is safe.
Step 5: Pour and Bake (40-45 minutes)
Pour the batter into your prepared loaf pan. Smooth the top with your spatula. Place it in the center of the oven. Bake for 40-45 minutes. After 30 minutes, check the top. If it’s browning too fast, tent it loosely with aluminum foil. The cake is done when a toothpick inserted into the center comes out clean or with just a few moist crumbs. It should not be wet batter.
Step 6: Cool Completely (30 minutes)
Let the cake cool in the pan for 10 minutes, then transfer it to a wire rack to cool completely. This is the hardest part. You will smell it. It smells like a bakery. But if you cut it hot, it will fall apart. Wait. Trust me.
Expert Tips & Tricks
Here’s everything I’ve learned from making this dozens of times. These tips will save you from my mistakes.
Use Room Temperature Eggs — Cold eggs can cause the oil to solidify slightly, leading to a grainy batter. If you forget, run them under warm water for 2 minutes before cracking. It makes the batter smoother and the cake more uniform.
Don’t Skimp on Cinnamon — This is an applesauce cake. The spice is the flavor. If you reduce the cinnamon, it just tastes like sweet bread. I use 1.5 teaspoons, and it’s perfect. If you love spice, go to 2 teaspoons.
Check Your Applesauce — Make sure it’s unsweetened. Sweetened applesauce is basically apple jam, and it will throw off the sugar balance in the cake. I’ve made this mistake twice, and the cake was too sweet to enjoy.
The Toothpick Test — Ovens vary. Your cake might be done in 38 minutes or 48. Start checking at 35. If the toothpick has wet batter, keep baking. If it has moist crumbs, it’s done. A clean toothpick means it’s perfect.
Storage is Key — This cake keeps well at room temperature for 3 days, covered. It actually gets moister on day 2. I usually make it Sunday night and eat it through Wednesday.
Variations & Substitutions
Once you’ve nailed the basic version, here’s how you can mix it up. I’ve tried all of these.
Gluten-Free Version — Swap the all-purpose flour for a 1:1 gluten-free baking blend (like King Arthur or Bob’s Red Mill). It works perfectly. No texture change. I’ve made this for my gluten-free friend, and she couldn’t tell the difference.
Vegan Applesauce Cake — Replace the eggs with two “flax eggs” (2 tablespoons ground flaxseed mixed with 6 tablespoons water, let sit for 5 minutes). Replace the sugar with coconut sugar if you prefer. It’s moist and delicious. My vegan niece loves it.
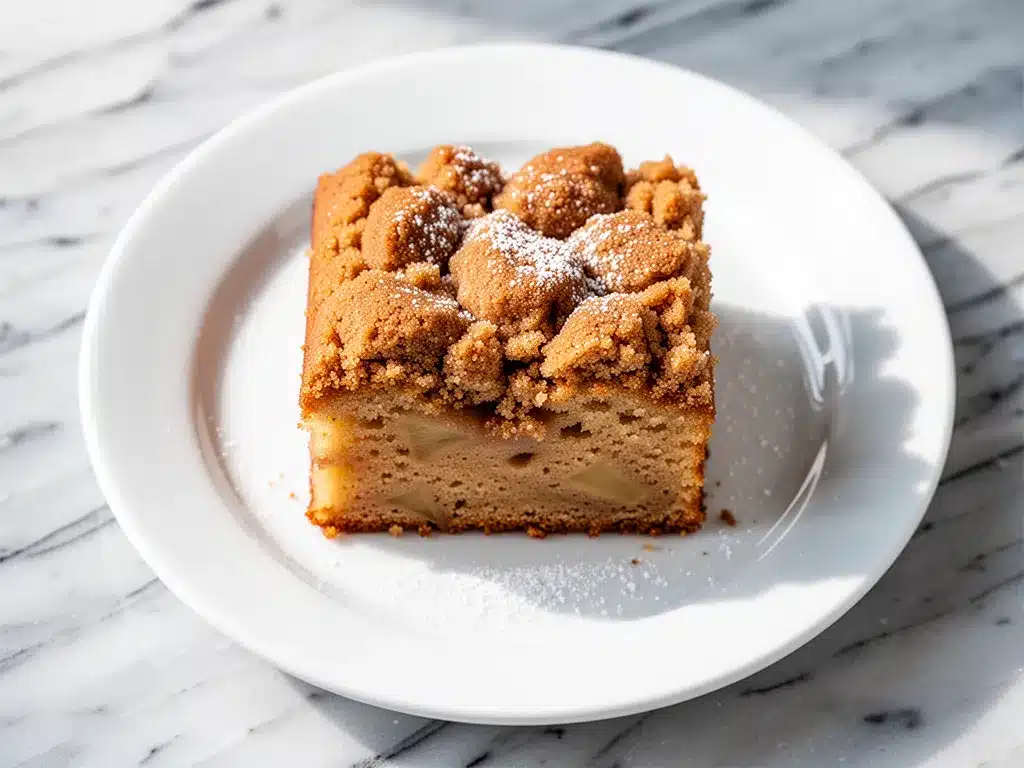
Spiced Apple Crumble Topping — Before baking, sprinkle a mixture of ¼ cup flour, 2 tablespoons brown sugar, and 1 tablespoon cold butter on top. It creates a crunchy, crumbly crust. It’s like a mini apple crumble. So good.
Cream Cheese Frosting — If you want to make it a real dessert, mix 4oz softened cream cheese, 2 tablespoons powdered sugar, and ½ teaspoon vanilla. Spread it on top after the cake cools. It’s rich and tangy, balancing the sweet cake.
Add-Ins — Chopped walnuts, pecans, or raisins are classic. I also love adding a swirl of peanut butter into the batter before baking. It adds protein and flavor. My kids go crazy for the peanut butter swirl.
Serving & Storage
How to Serve — I usually serve this plain, sliced thickly with a cup of coffee or tea. But here are other ways I’ve enjoyed it:
- Warm with Ice Cream — Microwave a slice for 30 seconds and top with vanilla ice cream. It’s like a deconstructed apple pie.
- With Whipped Cream — A dollop of homemade whipped cream adds elegance.
- Breakfast Cake — Slice it for breakfast with a latte. It’s sweet enough but not too heavy.
Storage Instructions
Room Temperature: Store in an airtight container or wrapped tightly in plastic wrap for up to 3 days. It stays moist.
Refrigerator: It can last up to 5 days in the fridge, but it might dry out slightly. Bring it to room temperature before eating.
Freezing: Yes, it freezes well! Slice the cake, wrap individual slices in plastic wrap, then put them in a freezer bag. They last 3 months. Thaw at room temperature for 30 minutes. Perfect for meal prep.
Pro Tip: If your kitchen is dry, the cake might stale faster. Add a slice of bread to the container to help retain moisture. It sounds weird, but it works.
Nutrition Information
I’m not a nutritionist, but here’s the breakdown if you’re tracking. This is based on 8 slices.
- Calories: 210
- Protein: 3g
- Carbs: 35g
- Fiber: 1g
- Sugar: 20g
- Fat: 8g
- Saturated Fat: 1g
- Cholesterol: 25mg
- Sodium: 220mg
What’s Good: Lower in fat than traditional butter cakes. Applesauce adds some fiber. It’s a lighter dessert option.
What to Know: Still contains sugar and flour. It’s not a “health food,” but it’s a reasonable treat. If you’re watching carbs, use the gluten-free flour and reduce sugar slightly.
My Take: This is comfort food. It’s sweet, spiced, and satisfying. Enjoy it as a treat, not a meal replacement. Pair it with tea or coffee for a balanced snack.
Final Thoughts
So that’s my easy one-bowl applesauce snack cake! I’ve probably talked your ear off at this point, but when you make a recipe this often, you have a lot to say about it.
This has saved weeknight desserts more times than I can count. It’s my answer to “what’s for dessert” when I’m tired, don’t want to order out, and still want something homemade. My kids are happy, my husband’s happy, and I’m happy because I’m not stressed about cooking.
Make it yours! Try different spices, add nuts, or top it with cream cheese. The best recipes are the ones you adapt to your family’s tastes.
If you make this, drop a comment and let me know what you think! I love hearing how recipes turn out in your kitchen. And if something doesn’t work, tell me that too—I’m here to help troubleshoot.
Happy baking! And I hope your kitchen smells half as good as mine does right now.
Frequently Asked Questions
Can I use sweetened applesauce?
You can, but you need to adjust the sugar. If you use sweetened applesauce, reduce the granulated sugar in the recipe from ¾ cup to ½ cup. Otherwise, the cake will be overly sweet. I always recommend unsweetened for better control.
Why did my cake turn out dense?
Usually, this means you overmixed the batter. Once the flour is added, mix only until combined. Also, check your baking powder. If it’s old, it won’t rise properly. And make sure you didn’t pack the flour down in the measuring cup.
Can I use banana instead of applesauce?
Yes! Mashed ripe banana works similarly. It will add a banana flavor, so it’s less of an “apple” cake and more of a “banana bread” texture. Use the same amount (1 cup). It’s delicious.
How do I store leftovers?
Keep it in an airtight container at room temperature for up to 3 days. For longer storage, wrap slices in plastic and freeze for up to 3 months. Thaw at room temperature.
Can I make this in a muffin tin?
Absolutely. Fill muffin liners ⅔ full. Bake at 350°F for 18-22 minutes. Check with a toothpick. They’re perfect for school lunches or quick snacks.
Is this cake gluten-free?
Not by default, as it uses all-purpose flour. But you can easily swap in a 1:1 gluten-free flour blend. The texture remains moist and tender.
Can I add chocolate chips?
Yes! ½ cup of semi-sweet chocolate chips adds a nice contrast. Fold them in gently at the end. It’s like a chocolate apple cake. My kids love it.
Pin This Recipe!
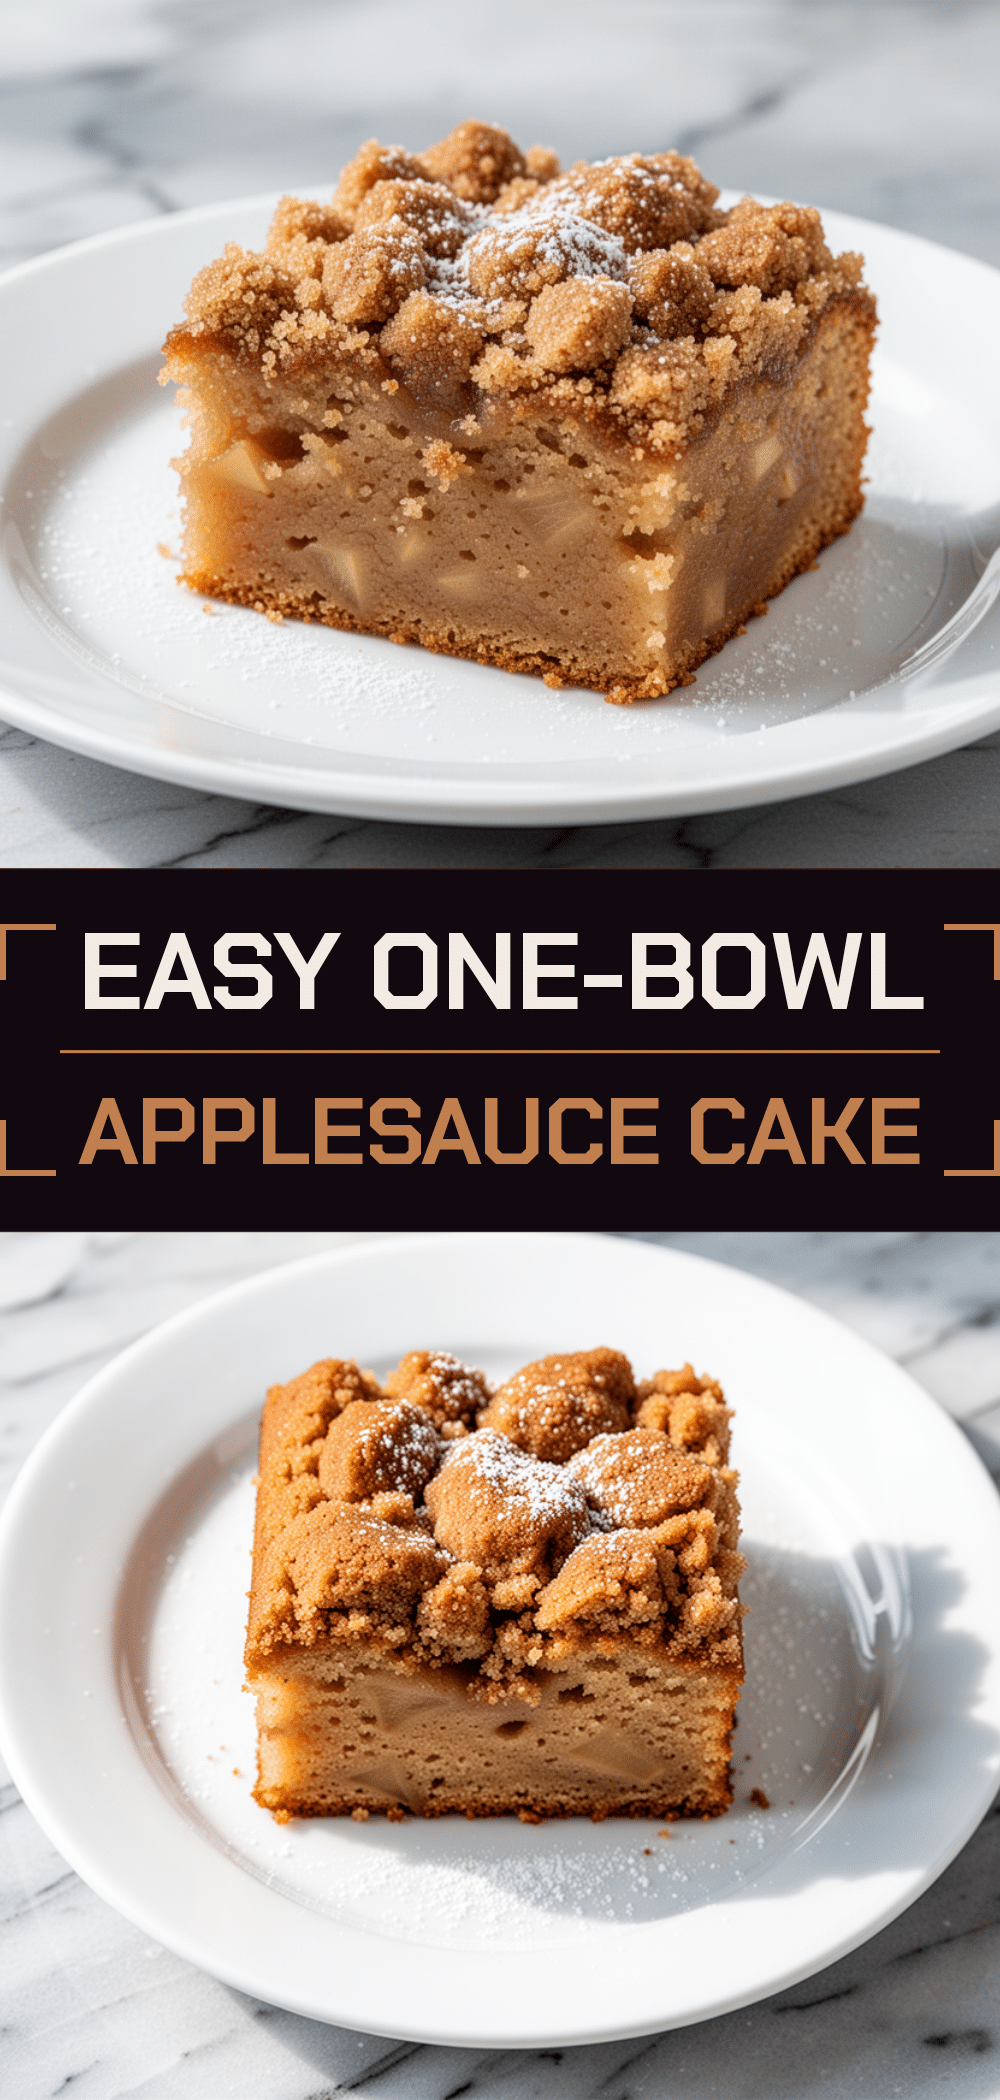
Easy One-Bowl Applesauce Snack Cake
- Total Time: 50-55 minutes
- Yield: 8 servings 1x
Description
A moist, spiced weeknight dessert made in a single bowl with pantry staples. This quick applesauce cake requires minimal cleanup and is perfect for busy parents.
Ingredients
- 1 cup (245g) unsweetened applesauce
- ½ cup (120ml) vegetable oil or canola oil
- ¾ cup (150g) granulated sugar
- 2 large eggs
- 1 teaspoon vanilla extract
- 1 ½ cups (190g) all-purpose flour
- 1 teaspoon baking powder
- ½ teaspoon baking soda
- ½ teaspoon salt
- 1 ½ teaspoons ground cinnamon
- ¼ teaspoon nutmeg
- Optional: ½ cup chopped walnuts, pecans, or raisins
Instructions
- Preheat oven to 350°F (175°C). Grease a 9×5 inch loaf pan with cooking spray or butter, optionally lining with parchment paper.
- In a large mixing bowl, combine applesauce, oil, sugar, eggs, and vanilla extract. Whisk vigorously for 1-2 minutes until smooth and emulsified.
- Add flour, baking powder, baking soda, salt, cinnamon, and nutmeg directly to the wet ingredients.
- Stir gently with a spatula or whisk until just combined. Do not overmix; stop when no dry streaks of flour remain.
- Pour batter into the prepared loaf pan and smooth the top.
- Bake for 40-45 minutes, or until a toothpick inserted into the center comes out clean or with moist crumbs. Tent with foil if browning too quickly after 30 minutes.
- Cool in the pan for 10 minutes, then transfer to a wire rack to cool completely before slicing.
Notes
Use unsweetened applesauce to control sugar levels. Ensure baking powder is fresh for proper rising. Do not overmix the batter to avoid a dense texture. The cake keeps well at room temperature for 3 days and freezes well for up to 3 months.
- Prep Time: 10 minutes
- Cook Time: 40-45 minutes
- Category: Dessert
- Cuisine: American
Nutrition
- Serving Size: 1 slice
- Calories: 210
- Sugar: 20
- Sodium: 220
- Fat: 8
- Saturated Fat: 1
- Carbohydrates: 35
- Fiber: 1
- Protein: 3
Keywords: applesauce cake, one bowl dessert, quick weeknight dessert, easy baking, moist cake, gluten-free option, vegan option



