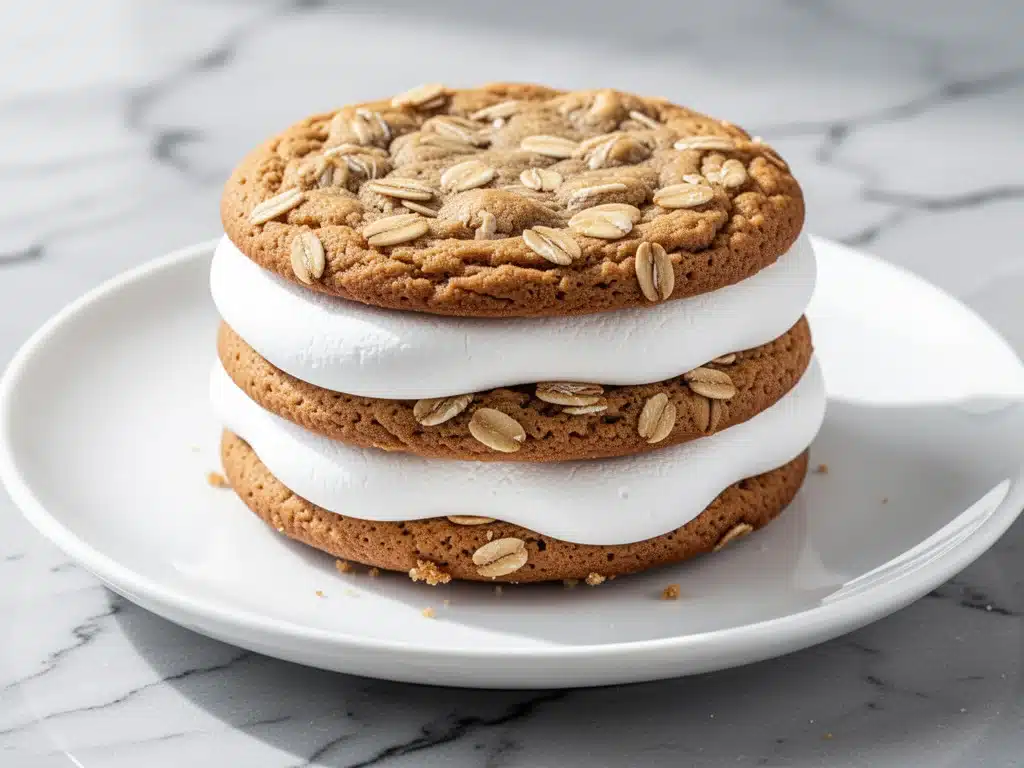
I still remember the exact afternoon I decided to stop buying those little pink-and-white sandwich cookies from the grocery store and actually make them at home. I was standing in the cereal aisle, staring at the familiar box, feeling a strange mix of nostalgia and guilt. The ones you buy are fine, sure. But they’re dry. The filling is that strange, overly sweet confection that cracks when you bite it, and the cookie? It’s more cake than oatmeal.
My grandmother used to make something similar, but hers was always a bit denser, chewier, and far less sugary. I wanted to bridge that gap. I wanted the nostalgia of the boxed version but with the texture of a real, homemade treat. So, I spent the better part of a rainy Saturday in my kitchen, testing doughs, tweaking butter ratios, and failing at marshmallow fluff more times than I’d like to admit.
By Sunday evening, I had it. The cookies were soft, chewy, and packed with oats. The filling was pillowy, not too sweet, and held together perfectly. I brought a plate to work on Monday, expecting polite nods. Instead, my coworkers formed a line. “Where did you get these?” “Can I have the recipe?” “My kids would lose their minds over these.”
That was three years ago. Now, these chewy oatmeal cream pies with fluffy marshmallow filling are the star of every family gathering, bake sale, and last-minute dessert emergency. Everyone always asks for them because they taste like comfort. They taste like childhood, but better. And the best part? They’re actually easier to make than you think, and they freeze beautifully for later.
Why You’ll Love This Recipe
There are about ten reasons I keep making this recipe, but here are the big ones that keep me coming back to the oven.
Texture Perfection — I’ve tested dozens of oatmeal cookie recipes, and most turn out crispy or crumbly. Not these. The secret is in the butter-to-sugar ratio and the brown sugar. These cookies stay soft and chewy for days, which is exactly what you need to sandwich that fluffy filling between without it crushing.
The Filling Isn’t Just Sugar — Many homemade marshmallow recipes are just powdered sugar and corn syrup. Boring. This filling uses a bit of egg white (cooked gently) or a simple meringue-style base with marshmallow fluff to give it that airy, cloud-like texture. It’s sweet, but it’s balanced. It doesn’t stick to your teeth.
Make-Ahead Magic — This is my go-to when I need a dessert for a potluck or a bake sale. You can make the cookies a day ahead, let them cool completely, then assemble them. They actually get better after sitting in the fridge overnight, as the cookies soften slightly and meld with the filling. It’s like a homemade Girl Scout Tagalong meets a classic oatmeal cookie.
Customizable Flavor — While the classic vanilla filling is iconic, you can switch things up. Swap vanilla for almond extract, add a pinch of cinnamon to the dough, or even use chocolate chips in the cookies. But honestly? The classic version is the one that gets the most compliments.
Budget-Friendly — Oats, flour, butter, sugar. These are pantry staples. You don’t need expensive ingredients or fancy equipment. It’s a cheap way to make a high-impact dessert that looks and tastes like you spent hours in the kitchen.
Ingredients You’ll Need
Here’s the best part: you probably have most of this already in your pantry. I’m particular about three ingredients here, and I’ll tell you exactly why.
For the Chewy Oatmeal Cookies
Old-Fashioned Rolled Oats (3 cups / 270g) — Do not use quick oats. They’re too fine and will make the cookies cakey. Old-fashioned oats give you that chewy, hearty texture. I use Quaker brand because it’s consistent, but any good rolled oats work.
Unsalted Butter (1 cup / 225g) — Softened to room temperature. This is crucial. If your butter is too cold, it won’t cream properly with the sugar. If it’s melted, the cookies will spread too much and lose their shape. I leave mine on the counter for an hour before starting.
Brown Sugar (1 cup / 200g) — Packed. Brown sugar adds moisture and chewiness. I use dark brown sugar for a deeper molasses flavor, but light brown works too. This is what makes the cookies soft.
Granulated Sugar (½ cup / 100g) — Just enough sweetness to balance the brown sugar. Don’t skip this entirely, or the cookies won’t spread properly.
Eggs (2 large) — Room temperature eggs blend better into the batter. I take them out of the fridge while the butter softens.
Vanilla Extract (2 teaspoons) — Use real vanilla, not imitation. It makes a huge difference in the flavor profile.
All-Purpose Flour (2 cups / 250g) — Spoon and level your flour. Don’t scoop directly from the bag, or you’ll pack too much in, leading to dry cookies.
Baking Soda (1 teaspoon) — For lift. Make sure it’s fresh. If it’s old, your cookies won’t rise.
Salt (½ teaspoon) — Enhances the flavor. Don’t skip it.
Cinnamon (1 teaspoon) — Optional but recommended. It adds warmth that pairs perfectly with the oats.
For the Fluffy Marshmallow Filling
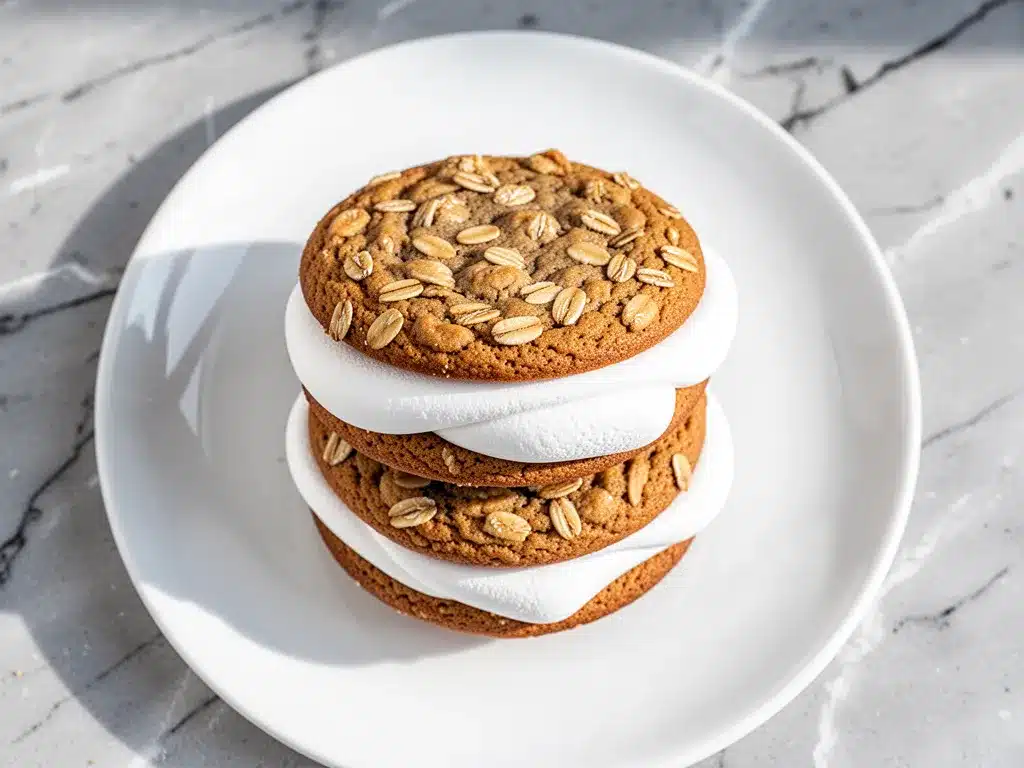
Marshmallow Fluff (1 jar / 15 oz) — Yes, the store-bought kind. It’s the base for that classic taste. I’ve tried making marshmallow from scratch, and while it’s delicious, it’s a pain for this recipe. The Fluff gives you the right texture and stability.
Butter (½ cup / 115g) — Softened. This adds richness and helps the filling hold its shape.
Powdered Sugar (2 cups / 240g) — Sifted. This thickens the filling and adds sweetness. Sifting prevents lumps.
Milk or Cream (2-3 tablespoons) — To adjust consistency. You want it spreadable but not runny.
Vanilla Extract (1 teaspoon) — For flavor.
Pinch of Salt — To cut the sweetness.
Equipment Needed
You don’t need fancy equipment for this. Here’s what I actually use.
Stand Mixer or Hand Mixer — Creaming the butter and sugar takes some effort. A mixer saves your arms. I use my KitchenAid, but a hand mixer works just as well.
Large Mixing Bowls — One for wet ingredients, one for dry. I use glass bowls because they’re easy to clean.
Baking Sheets — Two standard half-sheet pans. I line them with parchment paper. No grease needed. Parchment ensures even baking and easy cleanup.
Cooling Rack — Essential. You need the cookies to cool completely before assembling, or the filling will melt.
Offset Spatula — For spreading the filling. A regular butter knife works, but an offset spatula makes it easier to get a smooth layer.
Ruler — Optional, but helpful for measuring cookie size. I aim for 2-inch diameter cookies for uniformity.
How to Make It: Step-by-Step
Alright, let’s make this! I’m walking you through exactly how I do it, including the little tricks I’ve picked up.
Step 1: Prep Your Dough (10 minutes)
Preheat your oven to 350°F (175°C). Line two baking sheets with parchment paper. In a medium bowl, whisk together the flour, baking soda, salt, and cinnamon. Set this aside.
Step 2: Cream the Butter and Sugars (3-4 minutes)
In a large bowl, beat the softened butter, brown sugar, and granulated sugar together until light and fluffy. This takes about 3 minutes with a mixer. You want the mixture to look pale and airy. This step incorporates air, which helps the cookies rise.
Step 3: Add Wet Ingredients (1 minute)
Add the eggs one at a time, beating well after each addition. Mix in the vanilla extract. Scrape down the sides of the bowl to ensure everything is combined.
Step 4: Combine Dry and Wet (2 minutes)
Gradually add the flour mixture to the butter mixture, mixing on low speed until just combined. Do not overmix. Overmixing develops gluten, which makes cookies tough.
Step 5: Fold in the Oats (1 minute)
Stir in the rolled oats using a wooden spoon or spatula. The dough will be thick and chunky. This is normal.
Step 6: Scoop and Bake (12-14 minutes)
Scoop about 2 tablespoons of dough per cookie onto the prepared baking sheets, spacing them about 2 inches apart. They will spread. Bake for 12-14 minutes, or until the edges are golden brown but the centers still look slightly soft. They will firm up as they cool.
Step 7: Cool Completely (30 minutes)
Let the cookies cool on the baking sheet for 5 minutes, then transfer them to a wire rack to cool completely. This is critical. If they’re warm, the filling will melt and slide off.
Step 8: Make the Filling (10 minutes)
In a medium bowl, beat the softened butter until creamy. Add the marshmallow fluff and mix until smooth. Gradually add the sifted powdered sugar, milk, vanilla, and salt. Beat on medium-high until light and fluffy. If it’s too thick, add more milk. If too thin, add more powdered sugar.
Step 9: Assemble the Cream Pies (15 minutes)
Take a cooled cookie and spread a generous amount of filling on the flat side. Top with another cookie, flat side down. Gently press down to spread the filling to the edges. Repeat with remaining cookies.
Expert Tips & Tricks
Here’s everything I’ve learned from making this dozens of times. These tips will save you from my mistakes.
Uniform Size Matters — Use a cookie scoop or measure your dough. If cookies are different sizes, the filling will look uneven. I use a 2-tablespoon scoop for consistency.
Don’t Overbake — The cookies should look slightly underdone in the center when you take them out. They continue to cook on the hot baking sheet. Overbaked cookies are dry and crumbly, which ruins the chewy texture.
Chill the Dough (Optional) — If your kitchen is warm, chill the dough for 30 minutes before baking. This prevents the cookies from spreading too much and helps them hold their shape.
Filling Consistency — The filling should be thick enough to hold its shape but soft enough to spread. Think peanut butter consistency. If it’s too runny, it will leak out. If it’s too stiff, it will crack.
Storage is Key — Store assembled cream pies in an airtight container at room temperature for up to 3 days. If your kitchen is humid, store them in the fridge. They’ll last up to a week.
Freezing — You can freeze the unbaked dough balls for up to 3 months. Just bake them straight from frozen, adding 1-2 minutes to the bake time. You can also freeze the assembled pies for up to 2 months. Thaw in the fridge overnight.
Variations & Substitutions
Once you’ve nailed the basic version, here’s how you can mix it up. I’ve tried all of these.
Chocolate Chip Oatmeal — Add 1 cup of semi-sweet chocolate chips to the dough. This turns them into chocolate chip oatmeal cream pies, which are amazing.
Peanut Butter Swirl — Add 2 tablespoons of peanut butter to the filling. It adds a nice salty-sweet contrast.
Coconut Version — Add 1 cup of shredded coconut to the dough and use coconut extract in the filling. It’s tropical and delicious.
Gluten-Free — Use a 1:1 gluten-free flour blend. The texture might be slightly different, but it still works. I’ve used Bob’s Red Mill 1:1 blend with good results.
Vegan — Use vegan butter and egg replacer (like flax eggs). For the filling, use vegan marshmallow fluff (like Dandies) and vegan butter. It’s surprisingly close to the original.
Serving & Storage
How to Serve: These are perfect for lunchboxes, bake sales, or afternoon snacks. They pair well with a glass of cold milk or a cup of coffee. I also like to serve them at room temperature, as the filling is softer and more spreadable.
Storage: Store in an airtight container at room temperature for up to 3 days. If you live in a humid climate, store them in the fridge. They’ll last up to a week. Do not freeze assembled pies if you want the filling to stay fluffy; it can become icy. Instead, freeze the cookies and filling separately, then assemble after thawing.
Reheating: You don’t need to reheat these. But if they’ve been in the fridge and the filling is too hard, let them sit at room temperature for 15 minutes before serving.
Nutrition Information
I’m not a nutritionist, but here’s the breakdown if you’re tracking. Note that these are estimates based on standard ingredients.
Per Serving (based on 12 pies):
- Calories: 320
- Protein: 4g
- Carbs: 45g
- Fiber: 2g
- Sugar: 28g
- Fat: 14g
- Saturated Fat: 8g
- Cholesterol: 45mg
- Sodium: 180mg
What’s Good: Oats provide some fiber. The cookies are made with real butter and oats, not processed fillers.
What to Know: These are definitely a treat. They’re high in sugar and calories. Enjoy in moderation. If you want to lighten it up, reduce the sugar in the dough by ¼ cup and use less filling.
Final Thoughts
So that’s my go-to chewy oatmeal cream pies with fluffy marshmallow filling! I’ve probably talked your ear off at this point, but when you make a recipe this often, you have a lot to say about it.
This has saved me from buying overpriced, dry store-bought versions for years. It’s my answer to “what’s for dessert” when I want something nostalgic, comforting, and easy to share. My kids are happy, my coworkers are happy, and I’m happy because I’m not stressed about cooking.
Make it yours! Try different add-ins, swap in your favorite extracts, or adjust the sweetness. The best recipes are the ones you adapt to your family’s tastes.
If you make this, drop a comment and let me know what you think! I love hearing how recipes turn out in your kitchen. And if something doesn’t work, tell me that too—I’m here to help troubleshoot.
Happy baking! And I hope your kitchen smells half as good as mine does right now.
Frequently Asked Questions
Can I use quick oats instead of old-fashioned oats?
I don’t recommend it. Quick oats are too fine and will make the cookies cakey and dense. Old-fashioned rolled oats give you that chewy, hearty texture that’s essential for this recipe. If you must use quick oats, pulse them in a blender a few times to break them up slightly, but it won’t be the same.
Why did my cookies spread too much?
This usually happens if the butter was too soft or melted, or if the dough wasn’t chilled. Make sure your butter is softened but still holds its shape. Also, don’t skip the parchment paper, and space the cookies at least 2 inches apart. If your kitchen is warm, chill the dough for 30 minutes before baking.
Can I make the filling from scratch?
Yes, you can make marshmallow fluff from scratch using egg whites, sugar, and corn syrup, but it’s a bit technical and requires a candy thermometer. For this recipe, store-bought marshmallow fluff is the easiest and most consistent way to get that classic taste and texture. If you want a homemade version, try my football sunday frosted sugar cookies for a similar filling technique.
How do I store the assembled cream pies?
Store them in an airtight container at room temperature for up to 3 days. If you live in a humid climate, store them in the fridge. They’ll last up to a week. Do not freeze assembled pies if you want the filling to stay fluffy; it can become icy. Instead, freeze the cookies and filling separately, then assemble after thawing.
Can I freeze the dough?
Absolutely! Scoop the dough into balls and freeze them on a baking sheet. Once frozen, transfer them to a freezer bag. They’ll keep for up to 3 months. Bake them straight from frozen, adding 1-2 minutes to the bake time.
What if my filling is too runny?
Add more sifted powdered sugar, ¼ cup at a time, until it reaches the desired consistency. If it’s still too thin, chill it in the fridge for 15 minutes. The cold will help it firm up.
Can I use margarine instead of butter?
You can, but the flavor and texture won’t be as good. Butter adds richness and helps the cookies spread properly. Margarine has a higher water content, which can make the cookies cakey. I strongly recommend using real butter.
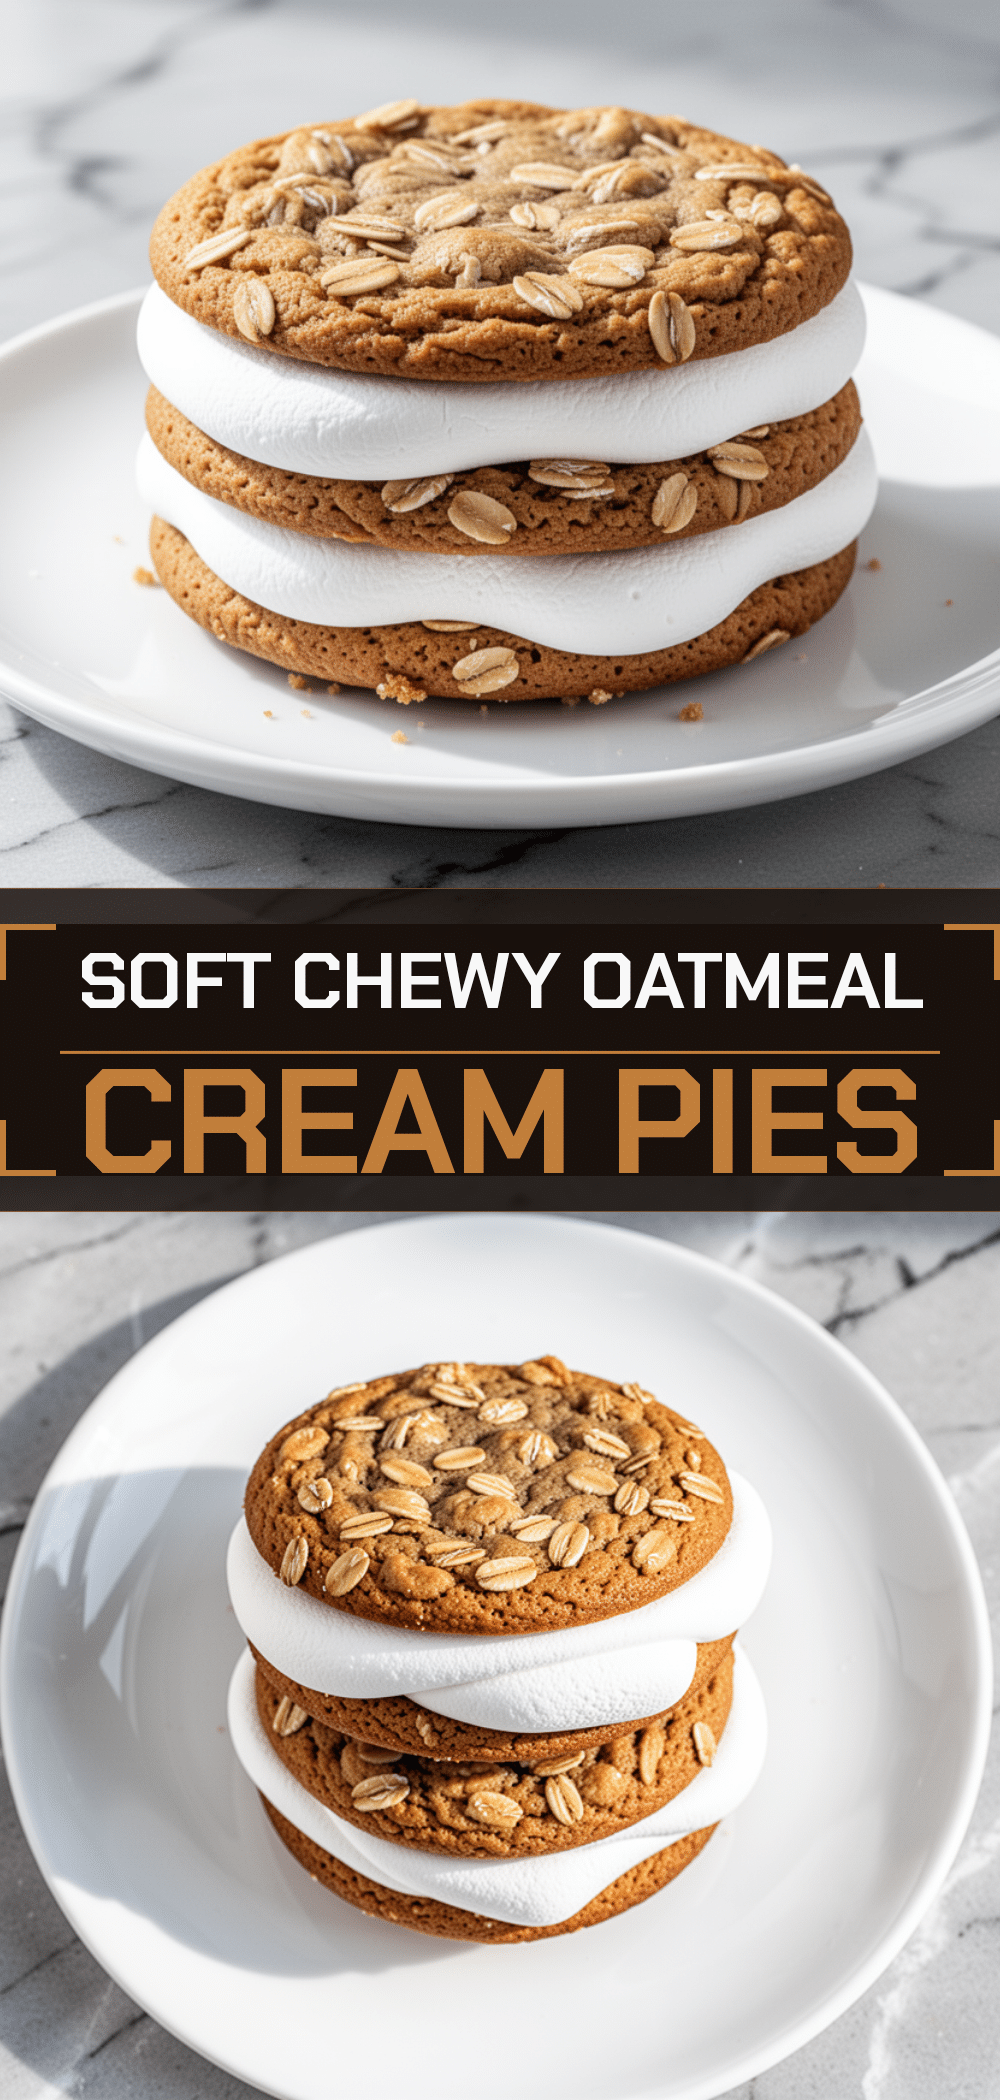
Pin This Recipe!
Chewy Oatmeal Cream Pies: Best Homemade Marshmallow Recipe
- Total Time: 44 minutes
- Yield: 12 servings 1x
Description
Soft, chewy oatmeal cookies sandwiched with a fluffy, pillowy marshmallow filling. These homemade cream pies are nostalgic, budget-friendly, and easier to make than you think.
Ingredients
- 3 cups (270g) Old-Fashioned Rolled Oats
- 1 cup (225g) Unsalted Butter, softened
- 1 cup (200g) Brown Sugar, packed
- ½ cup (100g) Granulated Sugar
- 2 large Eggs, room temperature
- 2 teaspoons Vanilla Extract
- 2 cups (250g) All-Purpose Flour
- 1 teaspoon Baking Soda
- ½ teaspoon Salt
- 1 teaspoon Cinnamon
- 1 jar (15 oz) Marshmallow Fluff
- ½ cup (115g) Butter, softened
- 2 cups (240g) Powdered Sugar, sifted
- 2–3 tablespoons Milk or Cream
- 1 teaspoon Vanilla Extract
- Pinch of Salt
Instructions
- Preheat oven to 350°F (175°C). Line two baking sheets with parchment paper.
- In a medium bowl, whisk together flour, baking soda, salt, and cinnamon. Set aside.
- In a large bowl, beat softened butter, brown sugar, and granulated sugar until light and fluffy (about 3 minutes).
- Add eggs one at a time, beating well after each addition. Mix in vanilla extract.
- Gradually add the dry ingredients to the butter mixture on low speed until just combined. Do not overmix.
- Stir in rolled oats using a wooden spoon or spatula.
- Scoop about 2 tablespoons of dough per cookie onto prepared sheets, spacing 2 inches apart.
- Bake for 12-14 minutes until edges are golden brown but centers look slightly soft.
- Let cookies cool on the baking sheet for 5 minutes, then transfer to a wire rack to cool completely.
- In a medium bowl, beat softened butter until creamy. Add marshmallow fluff and mix until smooth.
- Gradually add sifted powdered sugar, milk, vanilla, and salt. Beat on medium-high until light and fluffy.
- Spread filling on the flat side of a cooled cookie. Top with another cookie and gently press to spread filling to edges.
Notes
Do not use quick oats as they make the cookies cakey. Ensure butter is softened but not melted. Cool cookies completely before assembling to prevent filling from melting. Store in an airtight container at room temperature for up to 3 days, or up to a week in the fridge if humid. Dough and assembled pies can be frozen separately.
- Prep Time: 30 minutes
- Cook Time: 14 minutes
- Category: Dessert
- Cuisine: American
Nutrition
- Serving Size: 1 cream pie
- Calories: 320
- Sugar: 28
- Sodium: 180
- Fat: 14
- Saturated Fat: 8
- Carbohydrates: 45
- Fiber: 2
- Protein: 4
Keywords: oatmeal cream pies, marshmallow filling, homemade cookies, chewy oatmeal cookies, dessert recipe, bake sale treats



