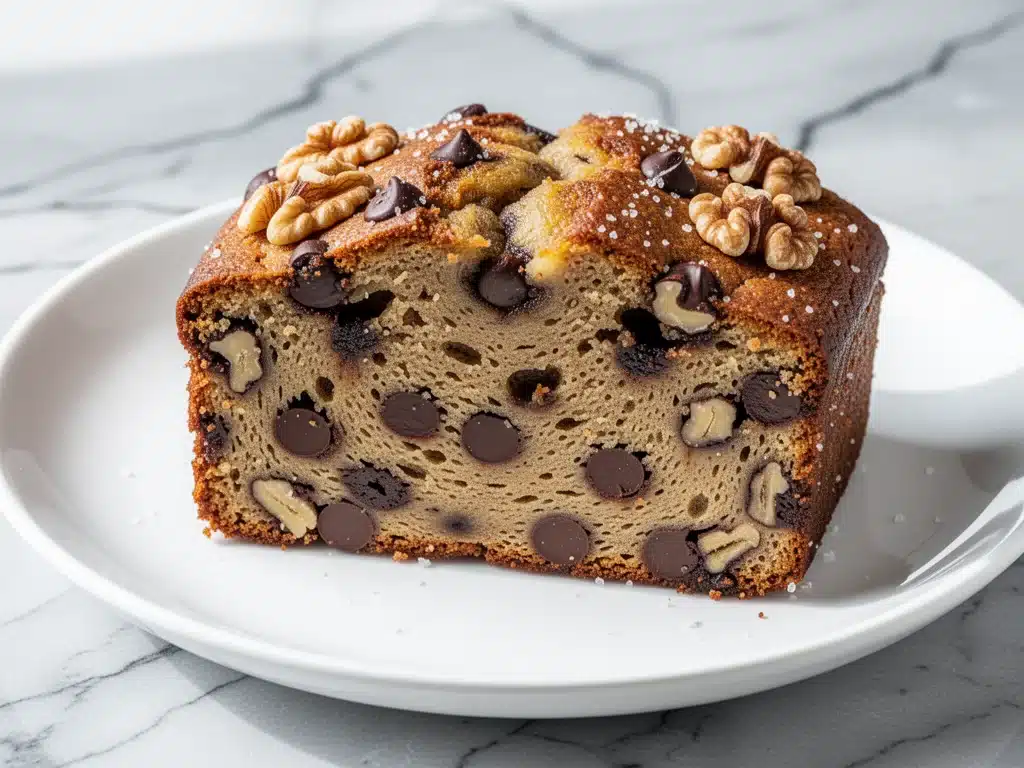
It was 6:30 AM on a Saturday, and I was staring at four overripe bananas that were looking at me like they were judging my life choices. They were covered in black spots, soft enough to burst if I looked at them too hard, and screaming to be used. I didn’t want to make smoothies. I didn’t want to bake cookies. I just wanted something warm, sweet, and comforting that I could share with my family without worrying about dairy or eggs.
So I threw together a quick batter in a single bowl, tossed in some chocolate chips and walnuts, and popped it in the oven. When the smell hit the kitchen twenty minutes later—rich, buttery, and deeply sweet—I knew I had struck gold. My kids devoured it. My partner asked for the recipe. And I’ve been making this vegan chocolate chip banana bread with walnuts almost every week since.
I’ve tested this recipe more times than I care to admit. Some versions were too dense. Others fell apart in the middle. But this one? This one is the winner. It’s moist without being soggy, sweet but not cloying, and packed with crunch from the walnuts. Best of all? It’s a true five-ingredient recipe (plus the chocolate chips). If you can mash a banana, you can make this bread. And I promise you, it will impress everyone who takes a bite.
Why You’ll Love This Vegan Banana Bread
There are a million banana bread recipes out there, but this specific version has completely changed how I think about plant-based baking. It’s not about mimicking meat or cheese; it’s about making something that just tastes incredible. Here’s why this loaf keeps coming out of my oven:
- Zero Failure Rate — Seriously. I’ve made this for beginners who’ve never baked a thing in their lives, and they’ve pulled out perfect loaves. No sifting, no complex techniques, no weird vegan substitutes you can’t pronounce. Just mash, mix, bake.
- Uses Up Your Spent Fruit — We all have that bag of bananas in the back of the fruit bowl that we’ve been ignoring. This recipe is the hero they need. The riper the bananas, the sweeter and more flavorful your bread will be. It’s basically composting in reverse.
- Perfectly Moist Texture — A lot of vegan breads turn out dry or crumbly because they lack the binding power of eggs. I use applesauce (yes, really) to keep this loaf incredibly tender and moist for days. It stays fresh on the counter without drying out.
- The Crunch Factor — Toasted walnuts add a sophisticated nuttiness that balances the sweetness of the chocolate and bananas. It elevates this from a simple snack to a proper dessert or brunch item.
- One Bowl Cleanup — This is the most important part for me. I mix everything in one large bowl. One bowl. One spatula. If you’re like me and hate doing dishes, this recipe is a lifesaver.
This is my go-to when I need a quick breakfast, a mid-afternoon snack, or a last-minute dessert for guests. It’s reliable, delicious, and makes my house smell like a bakery.
Ingredients You’ll Need
Here’s the best part: you probably have almost all of these ingredients already. This isn’t a recipe that requires a special trip to the store for obscure vegan gels or flax eggs. It’s simple, wholesome, and pantry-friendly.
The Base
Ripe bananas (3 large / about 1 ½ cups mashed) — This is the star. They need to be very ripe. I mean, black-and-brown ripe. If they’re yellow, they won’t be sweet enough. Mash them with a fork until smooth. You want about 1 ½ cups of mash.
Applesauce (½ cup / 120ml) — Unsweetened, plain applesauce. This replaces the oil and eggs. It adds moisture and structure without making the bread greasy. I use unsweetened so I can control the sugar level, but sweetened works if you’re really craving something sweet.
Maple syrup (⅓ cup / 80ml) — I prefer maple syrup over white sugar because it adds a subtle depth of flavor that complements the bananas. Brown sugar works too, but maple syrup keeps it strictly vegan and adds a nice caramel note. Agave nectar is a fine substitute if you don’t have maple.
Vanilla extract (1 teaspoon) — Don’t skip this. It brings out the flavor of the bananas. Use real vanilla extract, not the imitation stuff. Your bread will taste better.
The Dry Mix
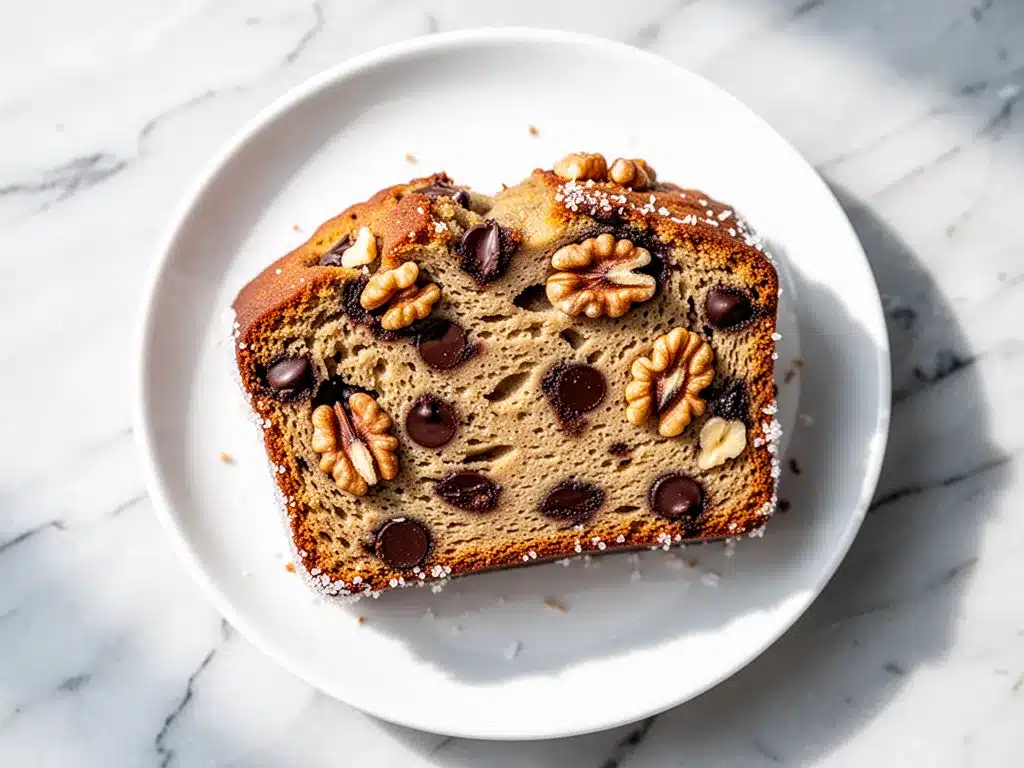
All-purpose flour (1 ½ cups / 190g) — Standard white flour works perfectly. I don’t recommend whole wheat flour unless you want a denser, heartier loaf. For that light, fluffy texture, stick with all-purpose.
Baking soda (1 teaspoon) — This is what makes the bread rise. Make sure it’s fresh! If your baking soda is old and clumpy, swap it out. It’s cheap insurance for a good rise.
Salt (½ teaspoon) — Even in a sweet bread, salt is crucial. It balances the sweetness and enhances the banana flavor. Don’t skimp on it.
The Mix-Ins
Walnuts (½ cup / 60g, chopped) — I toast my walnuts first for extra flavor, but raw works too. Chop them into small pieces so you get a bit in every bite. Pecans work great if you prefer those.
Chocolate chips (½ cup / 80g) — Semi-sweet or dark chocolate chips are my go-to. They don’t get too sweet and melt beautifully. Vegan chocolate chips are available in most stores now, but standard chips often work too (just check the label). I like a good mix of chocolate and banana.
Quick tips: I always keep a bag of frozen bananas in my freezer. When they turn brown, I peel them, break them in half, and freeze them. Then I just throw a frozen banana into a bowl, microwave for 30 seconds, and mash. It’s a huge time-saver.
Equipment Needed
You don’t need fancy gadgets for this. Here’s what I actually use.
Large mixing bowl — I use a 4-quart stainless steel bowl. It needs to be big enough to mash the bananas and mix the batter without spilling. Any big bowl works.
Fork or potato masher — For mashing the bananas. A fork works fine if you’re doing it by hand, but a masher is faster. I use my masher because I’m lazy.
Wooden spoon or silicone spatula — For mixing. You don’t need a mixer. This is a hand-mix recipe. A sturdy spoon works perfectly.
9×5 inch loaf pan — Standard metal or glass loaf pan. I prefer metal because it conducts heat better and gives me a nice crust. If you don’t have a loaf pan, you can make muffins. Bake time will be shorter, about 20-25 minutes.
Parchment paper — I line my pan with parchment. It makes cleanup effortless and helps the bread slide out easily. Greasing the pan alone works, but parchment is foolproof.
Cooling rack — Essential for letting the bread cool properly so it doesn’t get soggy on the bottom.
How to Make It: Step-by-Step
Alright, let’s make this! I’m walking you through exactly how I do it. It’s super simple, but there are a few tricks to ensure it’s perfect.
Step 1: Prep Your Pan and Oven (5 minutes)
Preheat your oven to 350°F (175°C). Line your 9×5 loaf pan with parchment paper, leaving an overhang on the sides. This acts as a handle when you lift the bread out. Grease the parchment lightly with a little oil or cooking spray. It helps the batter stick to the paper so it doesn’t slide around.
Step 2: Mash the Bananas (2 minutes)
In your large mixing bowl, add the peeled bananas. Use a fork or potato masher to mash them until they’re as smooth as possible. I like them very smooth because it distributes the banana flavor evenly. If there are big chunks, the bread might be uneven. Aim for about 1 ½ cups of mash.
Step 3: Mix the Wet Ingredients (2 minutes)
To the mashed bananas, add the applesauce, maple syrup, and vanilla extract. Whisk them together with a fork or spoon until well combined. The mixture should look like a thick, fragrant liquid. This step is quick and easy.
Step 4: Add the Dry Ingredients (2 minutes)
Add the flour, baking soda, and salt to the wet mixture. Gently stir everything together with your wooden spoon. Be careful not to overmix! You want just enough stirring to incorporate the flour. A few small lumps are okay. Overmixing develops gluten, which makes the bread tough and dense instead of tender. Stop as soon as you see no more white streaks of flour.
Step 5: Fold in the Mix-Ins (1 minute)
Gently fold in the chopped walnuts and chocolate chips. Use a spatula to gently lift the batter from the bottom and turn it over. This ensures the nuts and chips are distributed without crushing the batter. You want pockets of chocolate and crunch in every slice.
Step 6: Bake (50-60 minutes)
Pour the batter into your prepared loaf pan. Smooth the top with your spatula. Bake in the preheated oven for 50-60 minutes. After 40 minutes, I usually check the bread. If the top is browning too quickly, I tent it loosely with aluminum foil. This prevents burning while the inside finishes cooking.
Step 7: The Toothpick Test (1 minute)
To check if it’s done, insert a toothpick into the center of the loaf. It should come out clean or with just a few moist crumbs attached. If there’s wet batter on it, it needs more time. Check every 5 minutes after the 50-minute mark. Oven temperatures vary, so trust your toothpick, not just the timer.
Step 8: Cool Completely (1 hour)
Remove the pan from the oven and let it cool in the pan for 10 minutes. Then, use the parchment overhang to lift the bread out onto a cooling rack. Let it cool completely before slicing. I know this is hard, but cutting into hot banana bread makes it gummy and messy. Letting it cool sets the crumb and makes slicing clean.
Pro tip: If you’re impatient like me, you can slice it warm, but the texture won’t be as good. Patience pays off.
Expert Tips & Tricks
Here’s everything I’ve learned from making this dozens of times. These tips will save you from my mistakes.
- Banana Ripeness is Non-Negotiable — The riper the bananas, the sweeter the bread. Brown-spotted bananas are ideal. If your bananas are still yellow, bake them in their peels at 300°F for 15 minutes to speed up the ripening. They’ll turn black and become sweeter.
- Don’t Overmix the Batter — This is the #1 mistake people make. Stir just until combined. Lumpy batter is fine. Smooth batter means overworked gluten, which means tough bread.
- Toast Your Walnuts — If you have an extra 5 minutes, toast the walnuts in a dry pan over medium heat for 3-4 minutes until fragrant. It adds a depth of flavor that raw nuts just don’t have. It’s a small step that makes a big difference.
- Use Room Temperature Ingredients — If your applesauce or maple syrup is cold, it can shock the batter. Let them sit out for 15 minutes before mixing. It helps everything emulsify better.
- Check Your Baking Soda — If your baking soda is old, your bread won’t rise. Test it by dropping a little vinegar on it. If it fizzes, it’s good. If not, toss it and buy a new box.
Variations & Substitutions
Once you’ve nailed the basic version, here’s how you can mix it up. I’ve tried all of these.
Gluten-Free Version
Swap the all-purpose flour for a 1-to-1 gluten-free flour blend. I use Bob’s Red Mill or King Arthur. The texture might be slightly denser, but it still tastes great. Add an extra tablespoon of applesauce if the batter feels too thick.
Dairy-Free Chocolate Chips
Standard chocolate chips often contain milk fat. Look for bags labeled “vegan” or “dairy-free.” Enjoy Life brand is a popular choice. Dark chocolate squares chopped up work too, though they might melt more than chips.
No Walnuts?
Nuts are optional. If you’re allergic or just don’t like them, leave them out. You can substitute with seeds like pumpkin seeds (pepitas) or sunflower seeds for crunch. Or just make it plain chocolate chip banana bread. Still delicious.
Double the Chocolate
Why not? Increase the chocolate chips to 1 cup. For chocolate lovers, this is the way to go. You can also swirl in a tablespoon of peanut butter or almond butter before baking for a marbled effect.
Muffin Variation
Divide the batter into a 12-cup muffin tin lined with liners. Bake at 350°F for 20-25 minutes. Check with a toothpick. These are perfect for grab-and-go breakfasts or packing in lunches.
Serving & Storage
How to serve and store your bread for maximum freshness.
How to Serve
I usually serve this warm, sliced thick. It’s perfect with a cup of coffee or tea. For a treat, toast a slice and spread it with a little vegan butter or cream cheese. It’s amazing that way.
Side Dishes: This pairs well with fresh fruit, a side of yogurt, or even a simple green salad if you’re making it for brunch. It’s versatile enough for breakfast or dessert.
Storage Instructions
Room Temperature: Store the cooled bread in an airtight container or wrapped tightly in plastic wrap at room temperature for up to 3 days. It stays moist and delicious.
Refrigerator: If your kitchen is hot or humid, store it in the fridge for up to 5 days. Let it come to room temperature before eating for the best texture.
Freezer: Yes, you can freeze banana bread! Wrap slices tightly in plastic wrap, then in foil or place in a freezer bag. Freeze for up to 3 months. Thaw at room temperature or microwave for 30 seconds.
Reheating: Microwave a slice for 15-20 seconds to warm it up. Or toast it in the oven at 300°F for 5-10 minutes. Toasting brings back that fresh-baked crust.
Pro tip: If the bread seems dry after a day or two, wrap it in a damp paper towel and microwave for 10 seconds. It’ll steam back to life.
Nutrition Information
I’m not a nutritionist, but here’s the breakdown if you’re tracking. These are estimates based on a 10-slice loaf.
| Per Slice | Amount |
|---|---|
| Calories | 220 |
| Protein | 3g |
| Carbs | 38g |
| Fiber | 2g |
| Sugar | 18g |
| Fat | 7g |
| Saturated Fat | 1g |
| Sodium | 180mg |
What’s Good: It’s naturally free of dairy and eggs. The walnuts add healthy fats and protein. Bananas provide potassium and fiber.
What to Know: It’s still a treat. The sugar comes from the bananas and maple syrup, so it’s not low-sugar, but it’s better than a cake. Moderation is key.
Final Thoughts
So that’s my go-to vegan chocolate chip banana bread with walnuts! I’ve probably talked your ear off at this point, but when you make a recipe this often, you have a lot to say about it.
This has saved weeknight snacks more times than I can count. It’s my answer to “what’s for dessert?” when I want something sweet but healthy-ish. My kids are happy, my partner’s happy, and I’m happy because I’m not stressed about baking. It’s simple, reliable, and delicious.
Make it yours! Try different nuts, swap the chocolate for dried cranberries, or add a dash of cinnamon. The best recipes are the ones you adapt to your family’s tastes.
If you make this, drop a comment and let me know what you think! I love hearing how recipes turn out in your kitchen. And if something doesn’t work, tell me that too—I’m here to help troubleshoot.
Happy baking! And I hope your kitchen smells half as good as mine does right now.
Frequently Asked Questions
Can I use oil instead of applesauce?
You can, but the texture will be different. Oil makes the bread richer and more tender, but applesauce keeps it lighter and less greasy. If you use oil, use about ⅓ cup of neutral oil like canola or vegetable oil. The applesauce version is my favorite because it’s moist without being heavy.
Why did my banana bread turn out dense?
Usually, this means you overmixed the batter. Stir just until the flour is incorporated. Also, check your baking soda. If it’s old, it won’t leaven properly. And make sure you’re using ripe bananas—underripe bananas don’t have enough sugar or moisture.
Can I make this gluten-free?
Yes! Use a 1-to-1 gluten-free flour blend. The result might be slightly denser, but it’s still delicious. I’ve used Bob’s Red Mill and King Arthur with great success. Just make sure your baking powder and chocolate chips are also certified gluten-free.
How do I know when the banana bread is done?
Use the toothpick test. Insert a toothpick into the center. If it comes out clean or with a few moist crumbs, it’s done. If there’s wet batter, bake for 5 more minutes and check again. The top should be golden brown and spring back when lightly touched.
Can I freeze banana bread?
Absolutely. Wrap the whole loaf or individual slices tightly in plastic wrap, then in foil or a freezer bag. Freeze for up to 3 months. Thaw at room temperature or microwave for 30 seconds. It tastes almost as good as fresh.
What if I don’t have maple syrup?
Agave nectar or brown sugar works well. If using brown sugar, use ¾ cup and reduce any other liquids slightly. Maple syrup adds a unique flavor, but the bread will still taste good with other sweeteners.
Can I add other mix-ins?
Of course! Try dried cranberries, blueberries, or chopped pecans. You can also add a teaspoon of cinnamon or nutmeg for extra spice. Just keep the total mix-ins to about 1 cup so the batter doesn’t get too heavy.
Pin This Recipe!
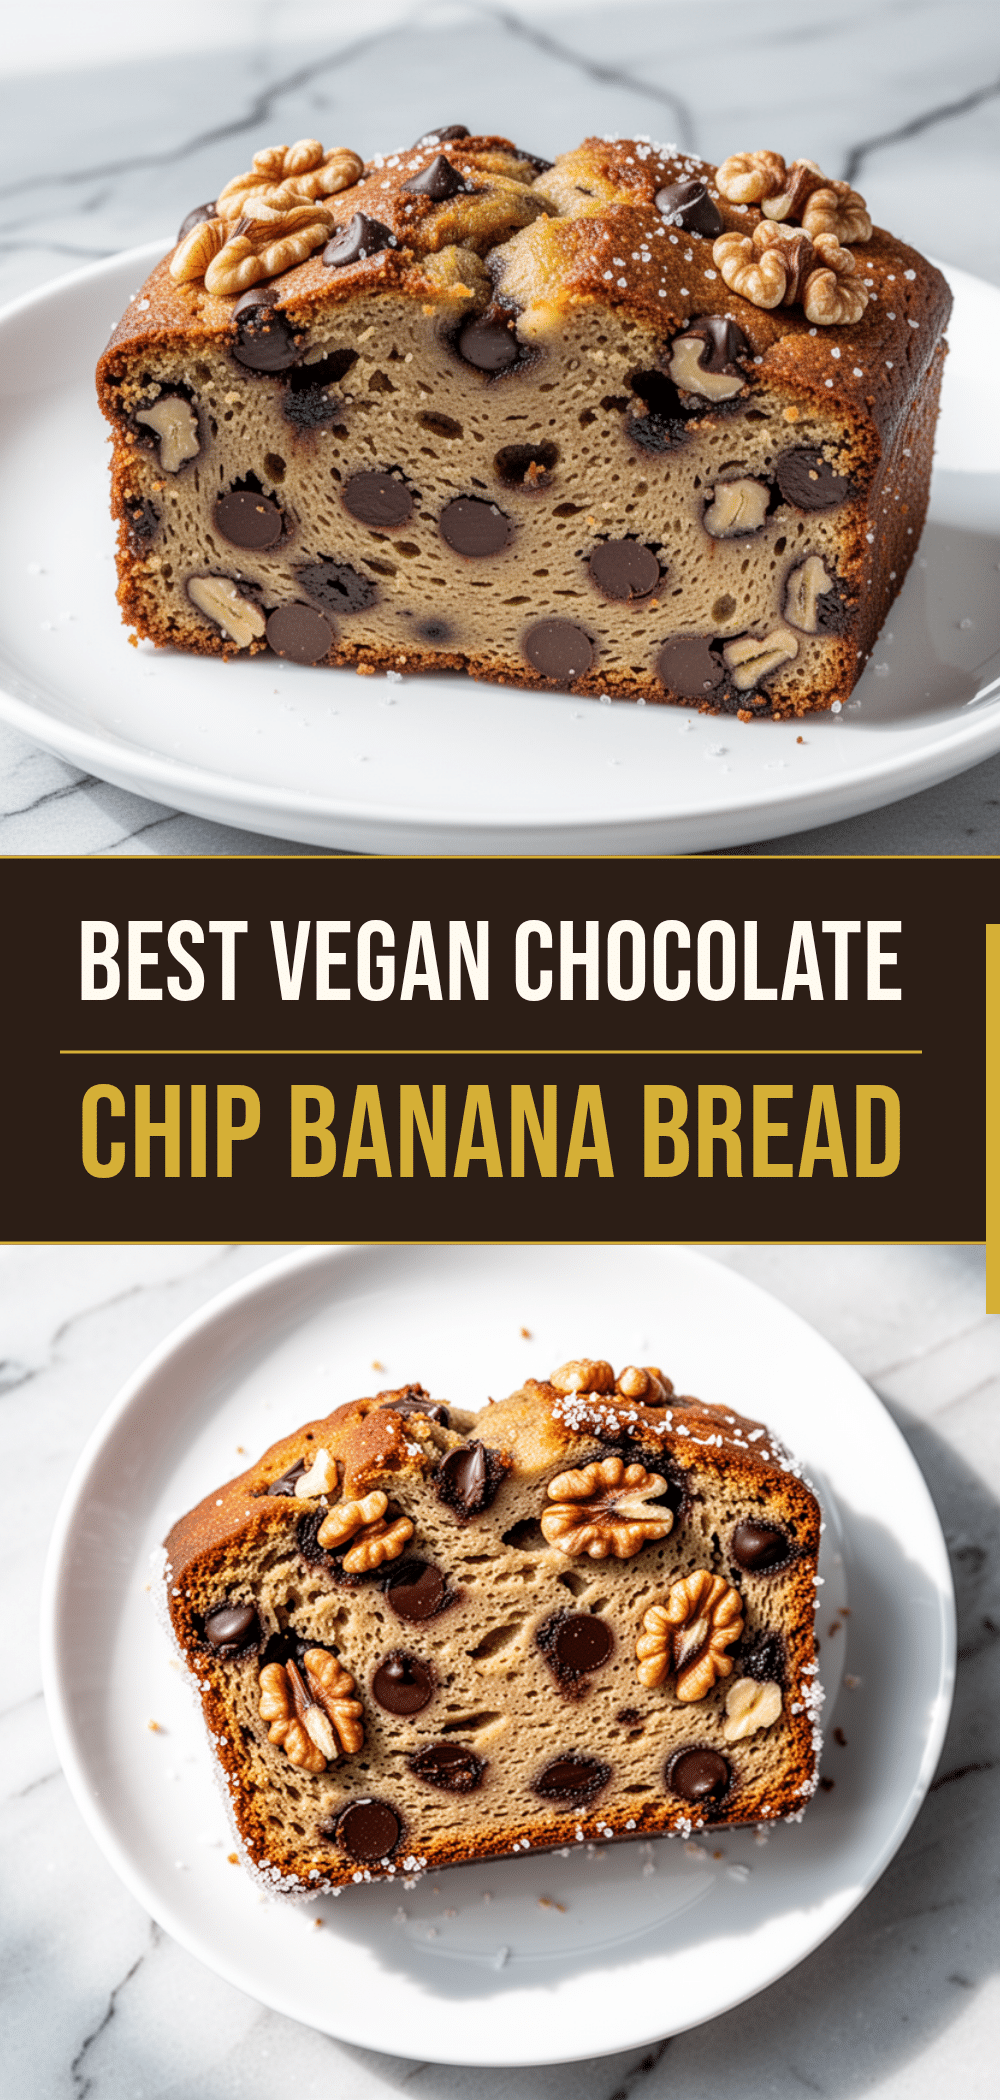
Vegan Chocolate Chip Banana Bread: 5-Ingredient Easy Recipe
- Total Time: 1 hour 10 minutes
- Yield: 10 servings 1x
Description
A moist, sweet, and easy vegan banana bread made with just five main ingredients plus chocolate chips and walnuts. This one-bowl recipe uses applesauce instead of oil or eggs for a tender crumb and requires minimal cleanup.
Ingredients
- 3 large ripe bananas (about 1 ½ cups mashed)
- ½ cup unsweetened plain applesauce
- ⅓ cup maple syrup
- 1 teaspoon vanilla extract
- 1 ½ cups all-purpose flour
- 1 teaspoon baking soda
- ½ teaspoon salt
- ½ cup chopped walnuts
- ½ cup semi-sweet or dark chocolate chips
Instructions
- Preheat oven to 350°F (175°C). Line a 9×5 inch loaf pan with parchment paper, leaving an overhang on the sides, and lightly grease the parchment.
- In a large mixing bowl, mash the peeled bananas until smooth using a fork or potato masher.
- Add the applesauce, maple syrup, and vanilla extract to the mashed bananas. Whisk until well combined.
- Add the flour, baking soda, and salt to the wet mixture. Gently stir with a wooden spoon until just incorporated; do not overmix. A few small lumps are okay.
- Gently fold in the chopped walnuts and chocolate chips using a spatula.
- Pour the batter into the prepared loaf pan and smooth the top.
- Bake for 50-60 minutes. If the top browns too quickly after 40 minutes, tent loosely with aluminum foil.
- Check for doneness by inserting a toothpick into the center; it should come out clean or with a few moist crumbs.
- Let the bread cool in the pan for 10 minutes, then lift it out using the parchment overhang and transfer to a cooling rack to cool completely before slicing.
Notes
Ensure bananas are very ripe (black and brown spots) for maximum sweetness. Do not overmix the batter to avoid a dense texture. Toasting walnuts beforehand adds extra flavor. The bread can be stored at room temperature for 3 days, in the fridge for 5 days, or frozen for up to 3 months.
- Prep Time: 10 minutes
- Cook Time: 50-60 minutes
- Category: Dessert
- Cuisine: American
Nutrition
- Serving Size: 1 slice
- Calories: 220
- Sugar: 18
- Sodium: 180
- Fat: 7
- Saturated Fat: 1
- Carbohydrates: 38
- Fiber: 2
- Protein: 3
Keywords: vegan banana bread, chocolate chip banana bread, easy vegan recipe, gluten-free option, one bowl baking, healthy breakfast, plant-based dessert



