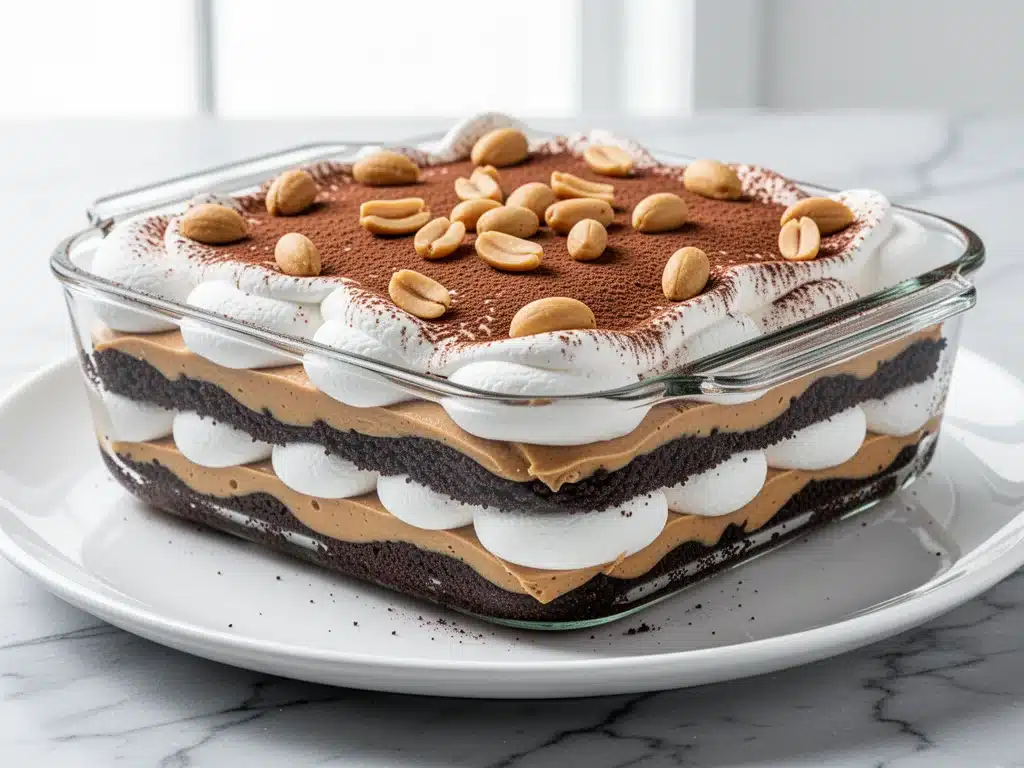
My husband walked into the kitchen, wiped a streak of whipped cream off his chin, and asked, “Is this the same dessert you made for the potluck?” I nodded, trying to hide the fact that I’d just scraped the last bit from the bottom of the 9×13 pan. He looked at the empty dish, then at me, with that specific mix of suspicion and admiration that only comes after eating something dangerously good.
“Because this tastes like it took hours,” he said. “And definitely involved an oven.”
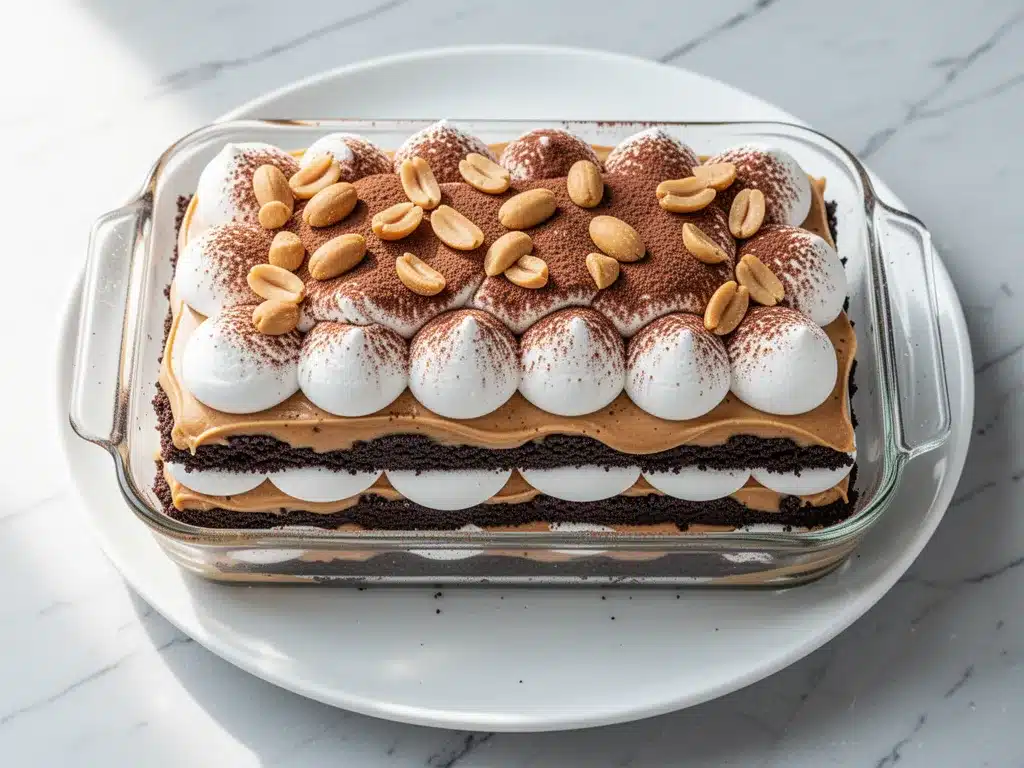
I laughed. If only he knew. This no-bake chocolate peanut butter lasagna has been our family’s secret weapon for three years. It’s the dessert I pull out when I need to impress in-laws, when the kids beg for something sweet after dinner, or when I’m too tired to turn on the oven but still want to feel like a culinary genius. It’s rich, it’s creamy, it’s layered with crunchy texture, and it requires zero baking skills.
Here’s the thing about “lasagna” desserts: they’re not about the technique. They’re about the assembly. You’re essentially building a giant, edible Oreo with peanut butter cups thrown in for good measure. And let me tell you, once you try this, you’ll never go back to store-bought cakes or complicated pies. It’s faster than ordering takeout, tastes infinitely better, and the best part? You can make it the night before. It actually gets better as it sits in the fridge, letting those flavors meld together into something magical.
I’ve made this recipe at least a dozen times, tweaking the ratios until it was perfect. Some people go heavy on the peanut butter; I prefer a balanced chocolate-to-peanut-butter ratio that hits that sweet-salty spot every time. This isn’t just a dessert; it’s a mood. It’s comfort food in dessert form.
Why You’ll Love This Recipe
There are a million dessert recipes out there, but this no-bake chocolate peanut butter lasagna keeps me coming back for one simple reason: it’s foolproof. Seriously. If you can spread cream cheese and crush cookies, you can make this. Here’s why it’s become a staple in our house:
- Zero Baking Required — No preheating, no watching for browning, no opening the oven door and losing heat. I make this on hot summer days when I don’t want to heat up the kitchen. It’s pure assembly line fun.
- Make-Ahead Magic — This is the ultimate prep-ahead dessert. I assemble it the night before a party, and it sets perfectly overnight. When I pull it out, it’s firm enough to slice cleanly but creamy enough to melt in your mouth. It’s basically dessert meal prep.
- Texture Explosion — Every bite has something different. The crunchy cookie crust, the smooth chocolate pudding layer, the tangy peanut butter cream, and the fluffy whipped topping. It’s not just one-note sweetness; it’s a complex texture experience.
- Uses Simple Ingredients — You don’t need exotic flours or hard-to-find spices. This uses pantry staples and fridge basics. Cream cheese, peanut butter, chocolate pudding mix, whipped topping, and cookies. That’s it. No fancy equipment needed.
- Kid-Approved (and Adult-Approved) — My picky 8-year-old thinks this is “fancy cake,” and my husband thinks it’s restaurant-quality. It bridges the gap between a simple treat and a special occasion dessert without the fuss.
- Budget-Friendly — This feeds a crowd for under $15. Compare that to a slice of fancy cheesecake at a bakery, and this is a no-brainer. Plus, you control the sugar levels, so you can tweak it if you want.
Real talk: this is my go-to when I need a dessert that looks impressive but takes almost no effort. It’s the culinary equivalent of wearing jeans and a nice blouse—effortlessly chic.
Ingredients You’ll Need
Here’s the best part: you probably have most of these ingredients already. This recipe relies on high-quality store-bought shortcuts to keep it easy, but the quality of a few key items makes a huge difference. I’m particular about the peanut butter and the pudding mix, so pay attention to those.
For the Crust
Chocolate Sandwich Cookies (24 cookies, about 210g) — I use Oreo cookies because they hold up well and have that classic chocolate flavor. You can use any chocolate sandwich cookie, but avoid the ones with too much cream filling, or your crust will be too soft. Crush them into fine crumbs.
Unsalted Butter (6 tablespoons / 85g, melted) — This binds the crumbs together. Use real butter, not margarine. The flavor difference is noticeable. Melt it in the microwave or a small saucepan.
Granulated Sugar (2 tablespoons / 25g) — Optional, but I add it because Oreos are sweet, but the crust needs a little extra crunch and sweetness to balance the creamy layers. If you’re using very sweet cookies, you can skip this.
For the Chocolate Pudding Layer
Instant Chocolate Pudding Mix (2 packages / 510g total) — I use Jell-O or a generic brand. The instant kind is crucial here because it sets quickly without cooking. Do not use the “cook and serve” kind, or you’ll be boiling milk for twenty minutes. Two packages give you enough pudding to fill the layers generously.
Whole Milk (4 cups / 960ml) — Use cold whole milk for the best texture. Skim milk makes it too thin. The fat content helps the pudding set properly.
Chocolate Syrup (½ cup / 120ml) — This is my secret weapon. It deepens the chocolate flavor and makes the layer glossy. I use Hershey’s, but any thick chocolate syrup works. Don’t skip this; it adds that “fudge” quality.
For the Peanut Butter Cream Layer
Block Cream Cheese (16 ounces / 450g, softened) — This is non-negotiable. Do not use cream cheese spread from a tub. It has too much water and air, and your lasagna will be soupy. Let the blocks sit on the counter for 30 minutes until they’re soft enough to beat easily.
Smooth Peanut Butter (1 cup / 250g) — I use Jif or Skippy smooth. Natural peanut butter separates and can make the layer greasy, so stick to the standard kind with hydrogenated oils. It stabilizes the cream cheese.
Powdered Sugar (½ cup / 60g) — Sweetens the peanut butter layer and helps stabilize the mixture. Sift it if it’s lumpy.
For the Topping
Whipped Topping (1 large tub / 12 ounces, thawed) — Cool Whip or a store-brand equivalent. Thaw it according to the package instructions. This lightens up the dense layers below and adds a fluffy finish.
Chocolate Chips (½ cup / 85g) — Semi-sweet or milk chocolate. I chop them roughly for a more rustic look, but whole chips work too. They add a nice crunch on top.
Peanut Butter Cups (4 cups, chopped) — Mini Reese’s Peanut Butter Cups, chopped into bite-sized pieces. This is where the dessert gets its name. You can use regular Reese’s cups chopped up, but the mini ones distribute better. Don’t be shy with these; they’re the stars of the show.
Equipment You’ll Need
You don’t need fancy gadgets for this. Here’s what I actually use:
9×13 Inch Baking Dish — A glass Pyrex dish works best because you can see the layers. A metal pan works too, but glass holds cold better, which helps the lasagna set. Just make sure it’s clean and dry.
Food Processor or Ziplock Bag — To crush the cookies. A food processor is fastest, but I often use a rolling pin and a heavy-duty ziplock bag when I’m feeling lazy. Crush them until they’re fine crumbs, like sand.
Electric Hand Mixer or Stand Mixer — Essential for the cream cheese and peanut butter layer. You want it smooth and lump-free. Mixing by hand is possible but requires serious arm strength and patience.
Spatula — A large rubber spatula for spreading the layers evenly. A flat-edded spatula helps get clean sides.
Measuring Cups and Spoons — Standard stuff. Accurate measurements matter here because the pudding needs the right liquid-to-powder ratio.
Large Mixing Bowls — You’ll need at least two large bowls: one for the pudding and one for the peanut butter cream. A third bowl for the whipped topping is helpful.
How to Make It: Step-by-Step
Alright, let’s make this! I’m walking you through exactly how I do it, including the little tricks I’ve picked up over the years. This process takes about 20 minutes of active work, plus chilling time.
Step 1: Prepare the Crust (5 minutes)
Crush your chocolate cookies into fine crumbs. If using a food processor, pulse until you have uniform crumbs. If using a bag, roll over them with a rolling pin until they’re sandy. In a medium bowl, mix the crumbs with the melted butter and sugar (if using) until it looks like wet sand. Press this mixture firmly and evenly into the bottom of your 9×13 dish. Use the bottom of a measuring cup to pack it down tight. A loose crust will crumble when you slice it. Place the dish in the fridge while you make the filling.
Step 2: Make the Chocolate Pudding Layer (5 minutes)
In a large bowl, whisk together the two packages of instant chocolate pudding mix and the sugar (if your pudding mix doesn’t already have sugar). Gradually whisk in the cold milk. Continue whisking for about 2 minutes until the mixture thickens. Fold in the chocolate syrup until well combined. Pour this over the chilled crust and spread it evenly. Use a spatula to smooth the top. Return the dish to the fridge for 15 minutes to set slightly. This prevents the next layer from mixing with the pudding.
Step 3: Make the Peanut Butter Cream Layer (5-7 minutes)
In another large bowl, beat the softened cream cheese until smooth and creamy. This is crucial—no lumps allowed. Add the peanut butter and powdered sugar. Beat on medium speed until fully combined and smooth. You want a uniform, pale orange mixture. If it looks grainy, keep beating. Spread this layer evenly over the set chocolate pudding layer. Smooth the top carefully. Return to the fridge for another 15 minutes. The goal is a firm layer that won’t mix with the whipped topping.
Step 4: Add the Topping and Mix-Ins (5 minutes)
Take your thawed whipped topping and gently fold it into the bowl. If you want, you can fold in half of the chopped peanut butter cups and chocolate chips now, but I prefer to save some for the top for visual appeal. Spread the whipped topping evenly over the peanut butter layer. It should be smooth and fluffy. Don’t press down too hard; you want to keep the air in it.
Step 5: Garnish and Chill (Unlimited time)
Sprinkle the remaining chopped peanut butter cups and chocolate chips over the top. Press them in gently so they stick. Now, the most important step: cover the dish tightly with plastic wrap or a lid and refrigerate for at least 4 hours, but ideally overnight. This allows the layers to firm up and the flavors to marry. If you cut it too soon, it will be messy. Patience pays off.
Total Time: About 20 minutes active, plus 4+ hours chilling.
Expert Tips & Tricks
Here’s everything I’ve learned from making this dozens of times. These tips will save you from my early mistakes.
Softened Cream Cheese is Key
If your cream cheese is cold, you’ll get lumps in your peanut butter layer that you can’t beat out. Take it out of the fridge 30-60 minutes before you start. If you’re in a hurry, microwave it in 5-second bursts, checking frequently. It should be soft enough to leave a dent when you poke it.
Don’t Skip the Chilling Between Layers
I know it’s tempting to rush and assemble everything at once. But if you put the peanut butter cream on the pudding before it sets, you’ll get muddy, swirly layers. That’s not bad, but it’s not the clean, distinct layers that make this lasagna look professional. Give each layer 15 minutes to set.
Use Smooth Peanut Butter
Natural peanut butter separates into oil and solids. While that’s healthy, it makes this dessert greasy and unstable. Standard peanut butter has stabilizers that keep the layer firm and creamy. Trust me on this.
Chop the Peanut Butter Cups Small
If you chop them too large, you’ll get giant chunks of peanut butter that are hard to bite through. Aim for bite-sized pieces, about ¼ inch. This ensures every forkful has a bit of crunch.
Thaw Whipped Topping Properly
If your Cool Whip is still icy, it won’t fold in smoothly. Let it thaw in the fridge overnight or in a bowl of warm water for 10 minutes. It should be soft and spreadable, not frozen.
Common Mistakes (and how to avoid them)
Mistake: Crust falls apart
Fix: You didn’t press it down hard enough, or you didn’t use enough butter. Make sure the crumbs are coated in butter and pack them tightly with the bottom of a cup.
Mistake: Layers are muddy
Fix: You didn’t let the layers set. Wait the 15 minutes between each layer. Also, make sure your whipped topping is thick, not runny.
Mistake: Dessert is too sweet
Fix: Adjust by using semi-sweet chocolate chips and less powdered sugar in the peanut butter layer. You can also use dark chocolate pudding mix if you want a deeper chocolate flavor.
Variations & Substitutions
Once you’ve nailed the basic version, here’s how you can mix it up. I’ve tried all of these.
Strawberry Shortcake Version
Swap the chocolate pudding for vanilla pudding. Use vanilla wafers for the crust. Add a layer of sliced fresh strawberries between the pudding and cream cheese layers. Top with whipped cream and strawberries. It’s like a strawberry lasagna.
Mint Chocolate Chip
Add ½ teaspoon peppermint extract to the whipped topping. Use mint chocolate chip cookies for the crust. Top with chocolate chips. It tastes like an After Eight mint.
Cookie Butter Version
Swap the peanut butter for Biscoff spread (cookie butter). Use graham crackers for the crust. Top with crushed Biscoff cookies. It’s warm, spiced, and delicious.
Gluten-Free
Use gluten-free chocolate sandwich cookies and verify your pudding mix and peanut butter are gluten-free. Most are, but always check labels.
Dairy-Free
Use dairy-free cream cheese (like Miyoko’s), dairy-free peanut butter, dairy-free chocolate pudding mix, and coconut whipped topping. It’s not exactly the same, but it’s surprisingly close.
Serving & Storage
How to Serve:
Slice with a sharp knife dipped in hot water for clean cuts. Wipe the knife between slices. Serve chilled. I like to garnish each slice with a tiny whole peanut butter cup on top for presentation.
Side Dishes:
This is rich, so it doesn’t need much. A simple green salad or some fresh berries balances the sweetness. I also serve it with hot coffee or cold milk.
Storage:
Store in the refrigerator, covered, for up to 5 days. It actually tastes better on day 2 and 3 as the flavors meld. Do not freeze it, as the whipped topping and cream cheese can separate and become grainy when thawed.
Reheating:
Do not reheat. Eat it cold. It’s meant to be chilled.
Nutrition Information
I’m not a nutritionist, but here’s the breakdown if you’re tracking. This is a rich dessert, so portion control is key.
Per Serving (based on 12 servings):
- Calories: 380
- Protein: 6g
- Carbs: 42g
- Fiber: 2g
- Sugar: 32g
- Fat: 22g
- Saturated Fat: 10g
- Cholesterol: 25mg
- Sodium: 350mg
Look, this is comfort food with cream cheese and chocolate. It’s not a diet recipe. But it’s way better than takeout, costs less, and I know exactly what’s in it. When I want to make it lighter, I use half-fat cream cheese and less sugar in the pudding. But usually? I just eat a reasonable portion and enjoy it.
Final Thoughts
So that’s my go-to no-bake chocolate peanut butter lasagna! I’ve probably talked your ear off at this point, but when you make a recipe this often, you have a lot to say about it.
This has saved dessert nights more times than I can count. It’s my answer to “what’s for dessert” when I’m tired, don’t want to bake, and still want something that tastes really good. My kids are happy, my husband’s happy, and I’m happy because I’m not stressed about cooking.
Make it yours! Try different cookie flavors, swap the peanut butter for almond butter, or add different toppings. The best recipes are the ones you adapt to your family’s tastes.
If you make this, drop a comment and let me know what you think! I love hearing how recipes turn out in your kitchen. And if something doesn’t work, tell me that too—I’m here to help troubleshoot.
Happy cooking! And I hope your kitchen smells half as good as mine does right now.
Frequently Asked Questions
Can I use graham crackers instead of Oreos?
Yes! Graham crackers work great for the crust. You’ll need about 20-24 full sheets, crushed. Just mix them with the butter and sugar as usual. It gives a slightly sweeter, more traditional “pie crust” flavor. I’ve used them when I couldn’t find Oreos, and they’re delicious.
Why did my pudding layer stay runny?
This usually happens if the milk wasn’t cold enough or if you didn’t whisk long enough. Instant pudding needs cold milk to set properly. Also, make sure you’re using the instant kind, not the cook-and-serve kind. If it’s still runny after 15 minutes, put it in the freezer for 10 minutes to speed it up.
Can I make this ahead for a party?
Absolutely! This is actually better made ahead. Assemble it the night before and let it chill overnight. The layers will set perfectly, and the flavors will meld. It’s one of the best make-ahead desserts I know.
Why did my peanut butter layer separate?
This happens if the cream cheese was too cold or if the peanut butter was too warm. Make sure both are at room temperature and beat them until smooth. If it looks oily, keep beating—it should come together. Also, ensure you’re using standard peanut butter, not natural.
Can I freeze this lasagna?
I don’t recommend it. The whipped topping and cream cheese don’t freeze well. They become grainy and watery when thawed. It’s best eaten fresh from the fridge. If you must freeze the crust, do so separately, but the layers won’t hold up.
Can I use homemade whipped cream instead of Cool Whip?
You can, but it won’t be as stable. Homemade whipped cream can deflate over time, especially if the layers underneath are soft. If you use homemade, whip it stiff and fold it in gently. It will taste fresher, but the texture won’t be as fluffy and long-lasting as Cool Whip.
Is this dessert suitable for kids?
Yes! It’s a hit with kids because it’s sweet, creamy, and has cookie pieces. Just be mindful of the peanut allergy. If you have kids with nut allergies, swap the peanut butter for sunflower seed butter or almond butter (if nuts are allowed). The texture and flavor will be slightly different, but still tasty.
Pin This Recipe!
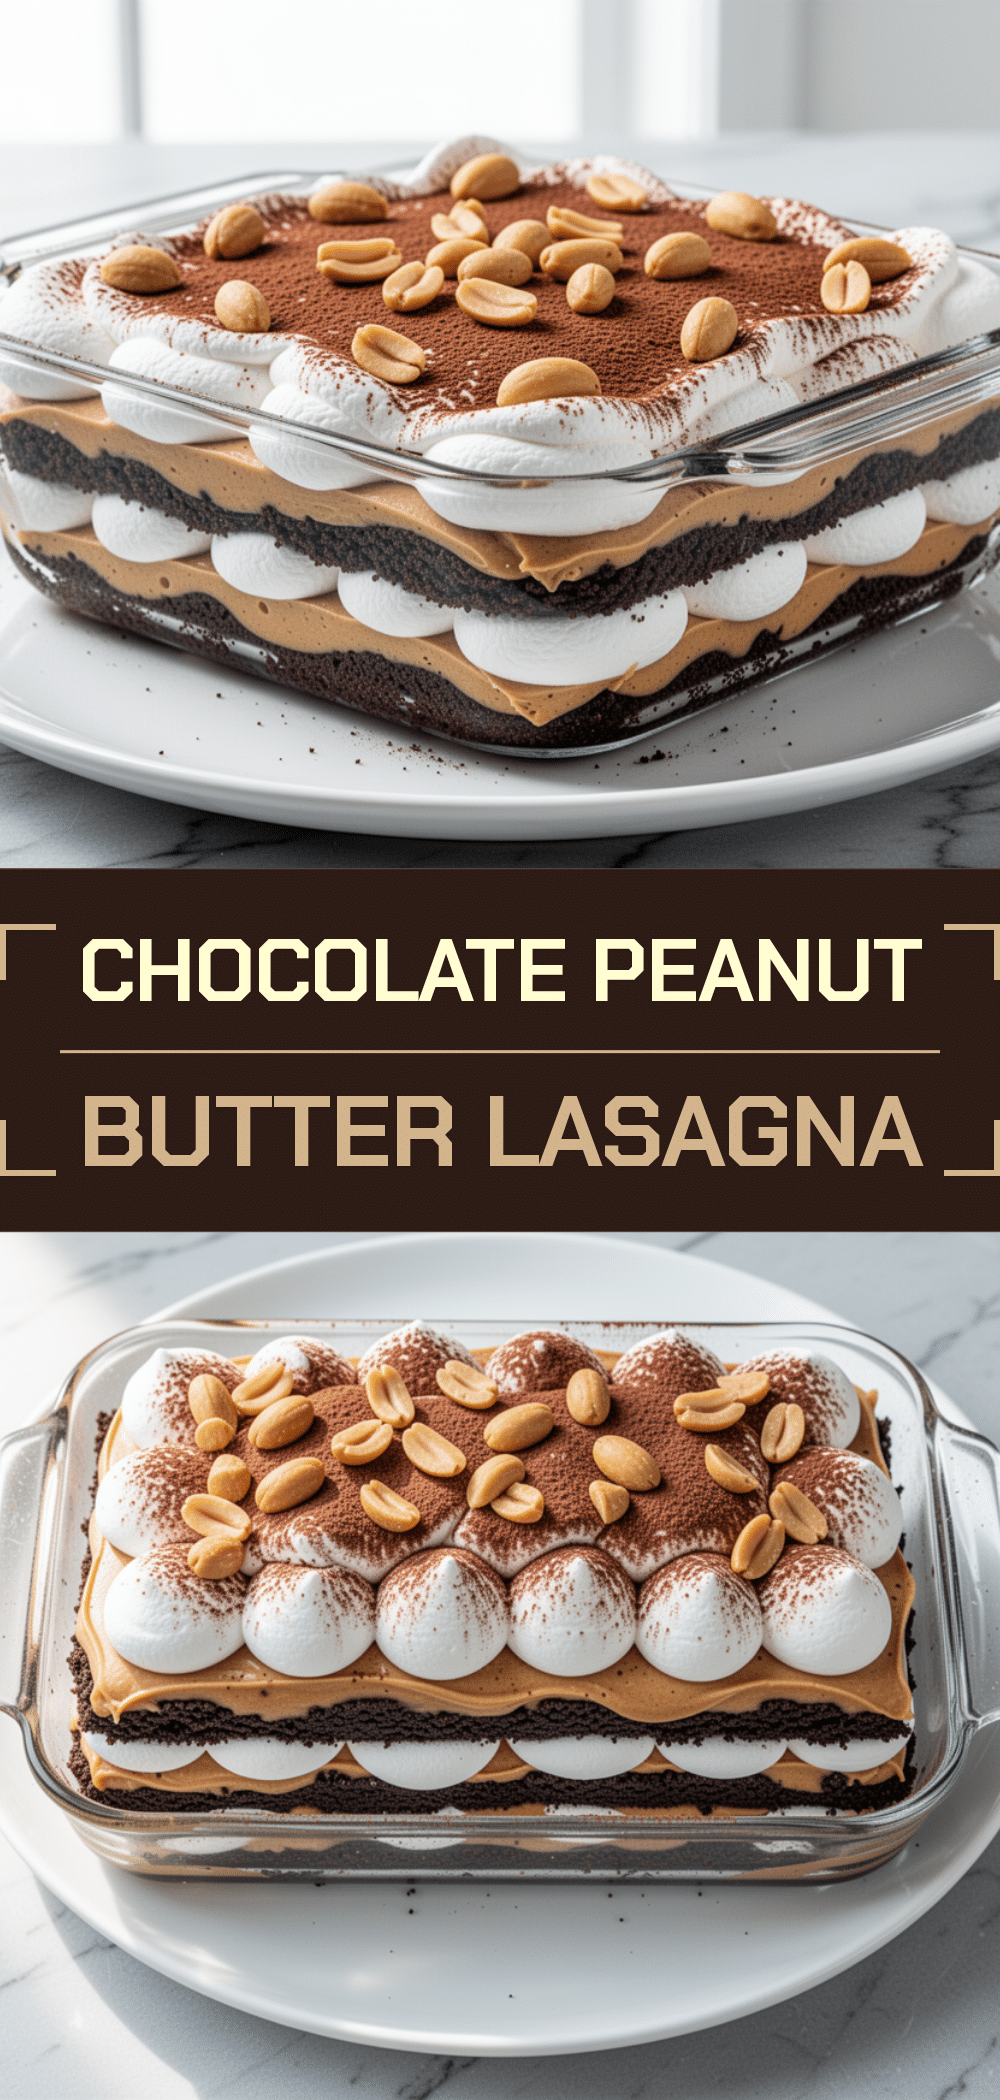
No-Bake Chocolate Peanut Butter Lasagna
- Total Time: 4 hours 20 minutes
- Yield: 12 servings 1x
Description
A rich, creamy, and layered no-bake dessert that combines chocolate cookie crust, chocolate pudding, peanut butter cream, and whipped topping. It requires zero baking skills and is perfect for make-ahead entertaining.
Ingredients
- 24 chocolate sandwich cookies (about 210g, such as Oreos)
- 6 tablespoons unsalted butter, melted
- 2 tablespoons granulated sugar (optional)
- 2 packages (510g total) instant chocolate pudding mix
- 4 cups cold whole milk
- ½ cup chocolate syrup
- 16 ounces block cream cheese, softened
- 1 cup smooth peanut butter
- ½ cup powdered sugar
- 1 large tub (12 ounces) whipped topping, thawed
- ½ cup semi-sweet or milk chocolate chips
- 4 cups mini peanut butter cups, chopped
Instructions
- Crush chocolate cookies into fine crumbs. Mix with melted butter and sugar (if using) until resembling wet sand. Press firmly into the bottom of a 9×13 inch dish and refrigerate.
- In a large bowl, whisk instant chocolate pudding mix and cold milk for 2 minutes until thickened. Fold in chocolate syrup. Pour over the chilled crust and spread evenly. Refrigerate for 15 minutes to set.
- In another large bowl, beat softened cream cheese until smooth. Add peanut butter and powdered sugar, beating until fully combined and smooth. Spread over the set pudding layer. Refrigerate for another 15 minutes.
- Gently fold thawed whipped topping. Spread evenly over the peanut butter layer.
- Sprinkle remaining chopped peanut butter cups and chocolate chips over the top. Press gently to adhere.
- Cover tightly and refrigerate for at least 4 hours, ideally overnight, to allow layers to firm up and flavors to meld.
Notes
Ensure cream cheese is softened to avoid lumps. Use smooth peanut butter, not natural, to prevent greasiness. Let each layer set for 15 minutes to maintain distinct layers. Do not freeze, as whipped topping and cream cheese may separate upon thawing. For gluten-free version, use GF cookies and verify other ingredients are GF.
- Prep Time: 20 minutes
- Cook Time: 0 minutes
- Category: Dessert
- Cuisine: American
Nutrition
- Serving Size: 1 slice
- Calories: 380
- Sugar: 32
- Sodium: 350
- Fat: 22
- Saturated Fat: 10
- Carbohydrates: 42
- Fiber: 2
- Protein: 6
Keywords: no-bake dessert, chocolate peanut butter lasagna, make-ahead dessert, easy dessert, party dessert, kid-friendly dessert



