It was 11:30 PM on a Tuesday, and I was standing in my kitchen in my pajamas, staring at a takeout bag that smelled suspiciously like burnt sugar and regret. I had promised my kids dessert after their late piano recital, and in my exhaustion, I’d opted for the “easy” route: a plate of cold, congealed churros from the mall food court. They ate them, but I saw the look in my daughter’s eyes. It wasn’t delight. It was disappointment. And honestly? It was my fault.
That night, I made a promise to myself. No more sad, soggy takeout churros. If I was going to feed my family something sweet, it was going to be worth the effort. The next morning, I woke up with one thought burning in my brain: churro cheesecake bars. Not the complicated, individual-pipe version that requires a pastry bag and three hours of patience. No. I wanted the lazy version. The version that tastes like a bakery masterpiece but comes together in one pan.
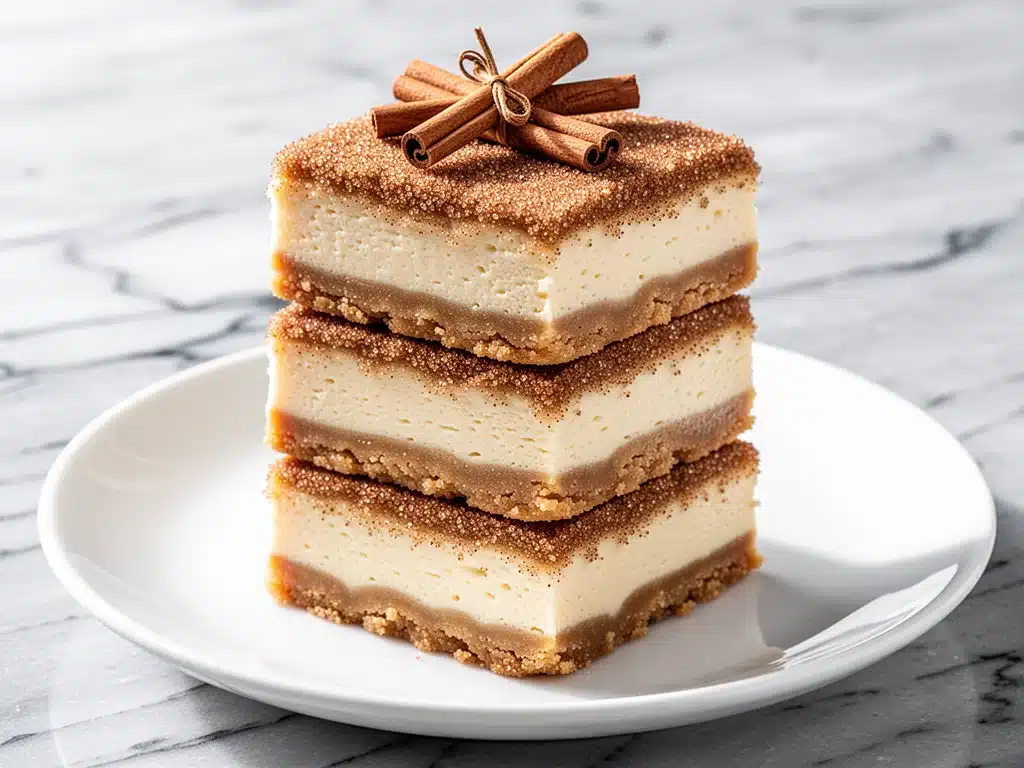
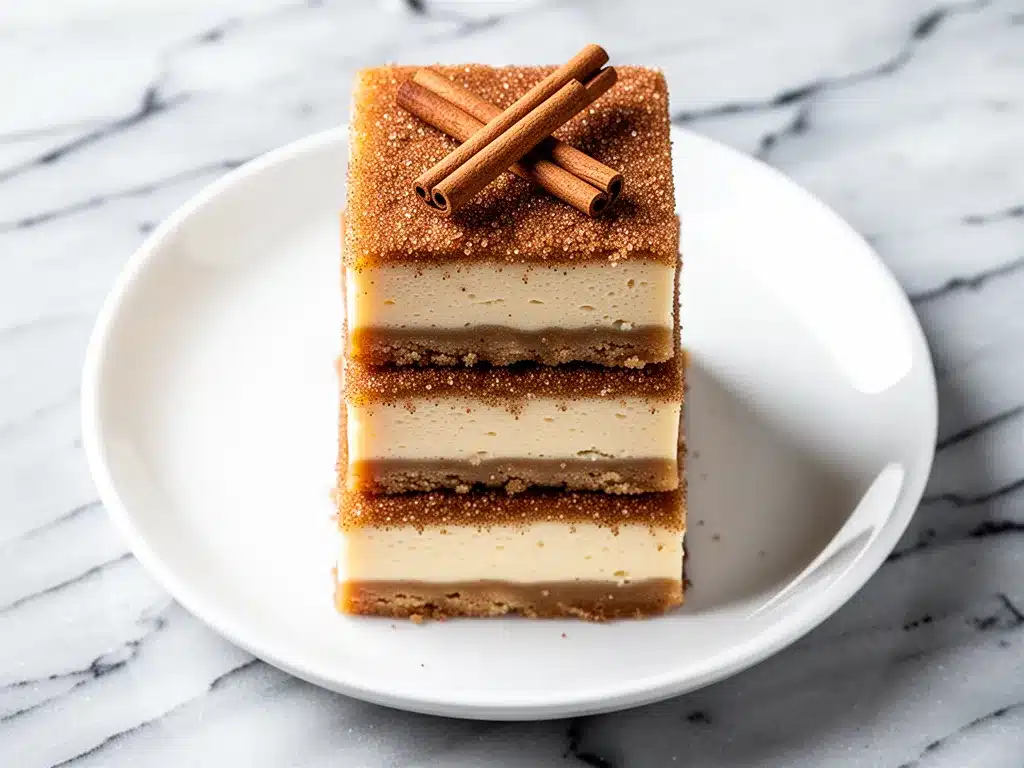
So, I spent the next weekend testing, burning, and tweaking. I tried using store-bought dough (big mistake—it gets too chewy). I tried baking the crust first (it sank). I tried using only cream cheese (too dense). But after about five iterations, I finally nailed it. These Homemade Churro Cheesecake Bars are the perfect intersection of lazy and luxurious. They have that iconic cinnamon-sugar crunch on top, a tangy, rich cheesecake middle, and a buttery, cake-like base that holds everything together. They are better than takeout, better than the mall, and honestly? Better than most bakery versions I’ve paid $6 a piece for.
Now, these bars are my secret weapon. When I don’t have time to bake a whole cake, but I need to impress a dinner party or just bribe my kids into doing the dishes, I pull these out. They look fancy. They taste incredible. And the best part? You only need one bowl and a 9×13 pan. If you’re looking for a dessert that screams “I tried” without actually trying too hard, you’ve found it. Let’s get into why this is the ultimate crowd-pleaser.
Why You’ll Love This Recipe
There are a dozen reasons I keep coming back to these churro cheesecake bars, but let’s be real—they’re not just about the taste. It’s about the whole experience of making them. Here is why this recipe has earned a permanent spot in my rotation:
- Zero Pastry Skills Required — Seriously. You do not need to pipe churro dough. You don’t need a deep fryer. You don’t need a degree in French patisserie. This recipe uses a simple cake-like base that you just press into the pan. If you can mix batter and spread cream cheese, you can make this. I’ve made this while holding a toddler on my hip. It works.
- One Bowl, One Pan — Cleanup is the enemy of dessert. I hate washing twelve different bowls and pans just to make something sweet. This recipe uses one mixing bowl for the batter, one for the filling, and one 9×13 baking dish. That’s it. When I’m done, I have maybe four dishes to wash. That’s a win in my book.
- Texture Heaven — This is where the magic happens. You get the soft, fluffy cheesecake layer, the tender cake base, and then that crucial cinnamon-sugar topping that gives you a little crunch with every bite. It’s the same textural contrast as a real churro, but in bar form. It’s addictive. I’ve caught myself eating these for breakfast. Don’t judge me.
- Make-Ahead Friendly — These bars actually get better after sitting in the fridge for a few hours. The flavors meld together, the crust sets up nicely, and they become easier to cut into clean squares. I usually make these the night before a gathering, so I’m not stressing in the kitchen when guests arrive. It’s a stress-free dessert strategy.
- Customizable Flavor — While the classic cinnamon-sugar is my go-to, this base is a blank canvas. You can add chocolate chips to the cheesecake layer, swap the cinnamon for pumpkin spice in the fall, or drizzle caramel on top. It’s versatile enough to fit any season or occasion.
This recipe has completely changed my dessert game. It’s my answer to “what’s for dessert?” when I want something special but don’t have all day. It’s reliable, delicious, and always gets compliments. Even my husband, who claims he doesn’t have a sweet tooth, asks for seconds.
Ingredients You’ll Need
Here’s the best part: you probably have most of these ingredients already. This isn’t a recipe that requires a trip to three different specialty stores. It’s pantry-friendly with just a few dairy items you might need to grab.
For the Cake Base
Yellow cake mix (1 box / 15.25 oz) — I use the standard box mix here. Don’t feel bad about it! It provides the perfect tender, cake-like texture that mimics the inside of a churro. I like Duncan Hines or Betty Crocker. If you want to go from scratch, you can, but this is the shortcut that saves time.
Vegetable oil (1/3 cup / 80ml) — Oil keeps the cake moist. Butter works too, but oil makes it richer and more tender. Melted butter is a fine substitute if you prefer that flavor.
Eggs (2 large) — Room temperature eggs mix better. If you forget to take them out, just drop them in a bowl of warm water for 5 minutes.
Water or milk (1/3 cup / 80ml) — The box mix instructions will tell you to use water, but I always swap it for milk. It adds a bit more richness and flavor to the base.
For the Cheesecake Layer
Cream cheese (8 oz / 225g, softened) — This is non-negotiable. Use full-fat brick cream cheese, not the spreadable kind in a tub. It needs to be softened to room temperature so it mixes smoothly. Lumps in the cheesecake are a nightmare.
Granulated sugar (1/2 cup / 100g) — Standard white sugar. It sweetens the cheesecake without overpowering the tang.
Sour cream (1/2 cup / 120g) — This is the secret ingredient for tang and creaminess. It also helps prevent cracking. Don’t skip it. I’ve tried without it, and the texture is just… flatter.
Vanilla extract (1 teaspoon) — Pure vanilla. The fake stuff tastes chemical, and in a dessert this simple, you’ll notice.
Egg (1 large) — Just one egg to bind the cheesecake layer.
For the Cinnamon-Sugar Topping
Granulated sugar (1/2 cup / 100g) — You’ll use this twice: once in the topping, and you might need a little extra for the pan if you’re being fancy.
Ground cinnamon (1 tablespoon) — Use fresh cinnamon if you can. Old cinnamon loses its punch. Smell it before you use it; if it doesn’t smell strong, buy a new jar.
Butter (2 tablespoons, melted) — This helps the sugar stick to the top and adds that rich churro flavor.
Optional: Caramel Sauce — For the ultimate indulgence, have a bottle of store-bought caramel sauce on hand for drizzling. It’s not in the base recipe, but it’s highly recommended.
Equipment Needed
You don’t need fancy equipment for this. Here’s what I actually use:
9×13 inch baking pan — I prefer glass or ceramic because it heats evenly. If you use metal, the edges might get too dark, so keep an eye on it. Grease it well with butter or non-stick spray.
Large mixing bowls — You’ll need two. One for the cake batter, one for the cheesecake filling. If you don’t have two big ones, just wash the first one quickly in between.
Electric mixer — Hand mixer or stand mixer. You need this to beat the cream cheese until it’s smooth. Doing this by hand is possible but painful. Don’t torture yourself.
Whisk — For mixing the cake batter and the cinnamon sugar.
Paper towels or brush — For greasing the pan evenly.
Cooling rack — Essential. Do not cut these while they’re hot. They’ll fall apart. Let them cool completely.
How to Make It: Step-by-Step
Alright, let’s make this! I’m walking you through exactly how I do it, including the little tricks I’ve picked up.
Step 1: Prep Your Pan and Oven (5 minutes)
Preheat your oven to 350°F (175°C). Grease your 9×13 baking pan thoroughly. I like to butter the pan and then dust it with a little flour, shaking out the excess. This ensures nothing sticks. If you’re lazy, non-stick cooking spray works too, but butter gives a better flavor.
Step 2: Make the Cake Base (5 minutes)
In a large bowl, combine the cake mix, oil, eggs, and milk (or water). Beat on medium speed for about 2 minutes until smooth. The batter will be thick. Pour this into your prepared pan. Use a spatula or your hands (greased!) to press it evenly into the bottom. It should be a flat, even layer. Bake this for 15 minutes. It won’t be fully cooked—it’s just a base. Remove from the oven and let it cool slightly while you make the filling. This par-bake sets the crust so it doesn’t get soggy.
Step 3: Make the Cheesecake Filling (5 minutes)
In a separate bowl, beat the softened cream cheese and sugar until smooth and creamy. This is crucial—no lumps! Add the sour cream, vanilla, and egg. Beat on low speed just until combined. Don’t overmix once the egg is in, or you’ll incorporate too much air, which can cause cracking. Pour this mixture over the warm cake base. Use a knife to swirl it gently if you want a marble effect, or just leave it smooth. I usually leave it smooth for that classic cheesecake look.
Step 4: Add the Topping and Bake (35-40 minutes)
In a small bowl, mix the 1/2 cup sugar and the cinnamon. Sprinkle this evenly over the cheesecake layer. Then, drizzle the melted butter over the top. This is what creates that crispy, churro-like top. Return the pan to the oven and bake for 35-40 minutes. The edges should be set, and the center should have a slight jiggle—like Jell-O, but firmer. It will firm up as it cools.
Step 5: Cool Completely (1-2 hours)
This is the hardest part. Let the bars cool in the pan on a wire rack. Do not cut them yet! They need to set. If you cut them warm, they will be a mushy mess. I usually let them cool for at least an hour, then pop them in the fridge for another hour. Cold bars cut much cleaner.
Step 6: Slice and Serve
Once cooled, lift the bars out of the pan using the edges of the parchment paper (if you lined it) or just slice directly in the pan. Cut into squares. Drizzle with caramel if you’re feeling fancy. Enjoy!
Expert Tips & Tricks
Here’s everything I’ve learned from making these dozens of times. These tips will save you from my mistakes.
Room Temperature is Key
Your cream cheese and eggs MUST be room temperature. Cold cream cheese creates lumps that you can’t beat out. If you’re in a rush, microwave the cream cheese (still in wrapper) for 15-20 seconds, or cut it into small cubes and let them sit out for 30 minutes. It’s worth the wait.
Don’t Overmix the Batter
Once you add the egg to the cheesecake mixture, mix on low speed and stop as soon as it’s combined. Overmixing adds air, which leads to cracks. Cracks aren’t the end of the world, but they’re not pretty. If you want to avoid cracks, you can also place a pan of hot water on the bottom rack of your oven while it bakes for steam.
The Cinnamon-Sugar Ratio
I like a heavy hand with the cinnamon. If you love that churro flavor, add an extra teaspoon of cinnamon to the topping. But don’t go crazy, or it’ll taste like a spice cookie. The balance is key.
Storage Matters
These bars keep well in the fridge for up to 5 days. Store them in an airtight container. If you’re bringing them to a party, take them out 30 minutes before serving. Cold cheesecake loses some of its creamy texture, and room-temp is where the flavor shines.
Freezing Option
Yes, you can freeze these! Wrap the whole pan tightly in plastic wrap and foil, or cut them into bars and freeze them on a tray before bagging. They’ll last for 2 months. Thaw in the fridge overnight. They’re still good after freezing, though the texture might be slightly denser.
Variations & Substitutions
Once you’ve nailed the basic version, here’s how you can mix it up. I’ve tried all of these.
Chocolate Chip Churro Bars
Add 1/2 cup of semi-sweet chocolate chips to the cheesecake layer before baking. The chocolate melts into pockets of goodness. It’s like a dessert pizza.
Pumpkin Spice Version
Swap the cinnamon for pumpkin pie spice. Add 1/4 cup of pumpkin puree to the cheesecake mixture (reduce sour cream by 1/4 cup). Perfect for fall. This pairs beautifully with my fall pumpkin pie cheesecake vibes.
Caramel Swirl
Before baking, drizzle 1/2 cup of caramel sauce over the cheesecake layer and use a toothpick to swirl it in. It creates a beautiful marbled effect and adds a salty-sweet kick.
Gluten-Free Option
Use a gluten-free yellow cake mix. Most major brands have good GF versions. The rest of the ingredients are naturally gluten-free, so this works seamlessly.
Dairy-Free
Use dairy-free cream cheese (like Miyoko’s), dairy-free butter, and dairy-free milk. The texture might be slightly different, but it’s still delicious. I’ve made this for my lactose-intolerant friend, and she loved it.
Serving & Storage
How to Serve:
I usually serve these at room temperature. They look rustic and homemade. For a dinner party, I cut them into smaller squares—they’re rich! Garnish with a dollop of whipped cream and a sprinkle of extra cinnamon. It looks professional.
Side Dishes:
These are sweet, so pair them with something savory or tart. A simple green salad with a lemon vinaigrette cuts through the richness. Or serve alongside coffee or strong tea. I also love pairing them with my cozy cinnamon rice pudding for a double-cinnamon feast.
Storage Instructions:
Refrigerator: Store in an airtight container for up to 5 days. The cheesecake layer will firm up in the fridge, which is good for cutting.
Freezer: Freeze for up to 2 months. Wrap tightly to prevent freezer burn.
Reheating: You don’t need to reheat these. In fact, I prefer them cold or room temp. If you must warm them, microwave a square for 10 seconds. Don’t overdo it, or the cream cheese will weep.
Nutrition Information
I’m not a nutritionist, but here’s the breakdown if you’re tracking. Keep in mind, these are rich, sweet bars, so portions matter.
Per Serving (based on 16 bars):
- Calories: 280
- Protein: 4g
- Carbs: 32g
- Fiber: 0g
- Sugar: 22g
- Fat: 14g
- Saturated Fat: 7g
My Take:
Look, this is a dessert. It’s cake and cheesecake. It’s not going to be a salad. But it’s homemade, so you control the sugar and quality of ingredients. When I make these, I enjoy one square with my coffee. It’s a treat, not a meal. If you want to lighten it up, use a sugar-free cake mix and light cream cheese, though the texture will change.
Final Thoughts
So that’s my go-to Homemade Churro Cheesecake Bars! I’ve probably talked your ear off at this point, but when you make a recipe this often, you have a lot to say about it.
This has saved my dessert game more times than I can count. It’s my answer to “what’s for dessert?” when I’m tired, don’t want takeout, and still want something that tastes really good. My kids are happy, my husband’s happy, and I’m happy because I’m not stressed about cooking.
Make it yours! Try different add-ins, swap in your favorite spices, or just enjoy the classic. The best recipes are the ones you adapt to your family’s tastes. If you make this, drop a comment and let me know what you think! I love hearing how recipes turn out in your kitchen. And if something doesn’t work, tell me that too—I’m here to help troubleshoot.
Happy baking! And I hope your kitchen smells half as good as mine does right now.
Frequently Asked Questions
Can I use a different cake mix flavor?
Absolutely. Vanilla cake mix is standard, but white cake mix works too. For a spicier kick, try apple spice or pumpkin spice cake mix. Just adjust the liquid in the recipe if the mix calls for different amounts. I’ve used apple spice cake mix for a fall version, and it was amazing.
Why did my cheesecake crack?
Cracking is usually caused by overmixing (too much air) or baking at too high a temperature. Make sure you mix the cheesecake batter on low speed and stop as soon as it’s combined. Also, ensure your oven temperature is accurate. If your oven runs hot, the cheesecake can rise too fast and crack. A water bath in the oven can also help prevent cracking by providing gentle, even heat.
Can I make this in a different size pan?
Yes, but the baking time will change. If you use an 8×8 pan, the bars will be thicker, and you’ll need to bake them longer (check at 45 minutes). If you use a 9×13 but want thinner bars, you can spread the batter thinner, but you might need to reduce the baking time slightly. The key is to bake until the center is just set.
Do I have to bake the crust first?
It’s highly recommended. Par-baking the crust sets it so it doesn’t get soggy from the cheesecake filling. If you skip this step, the bottom might be undercooked or doughy. It only adds 15 minutes, but it makes a huge difference in texture.
Can I use fresh cinnamon instead of ground?
No, you need ground cinnamon for the topping. Fresh cinnamon sticks won’t dissolve or distribute evenly. If you only have cinnamon sticks, grind them in a spice grinder or mortar and pestle until they’re a fine powder.
How do I clean the pan?
If you lined your pan with parchment paper (greased well), the bars should lift out easily. If they stick, run a knife around the edges and let them cool completely. Cold cheesecake releases easier than warm. For stubborn bits, soak the pan in warm soapy water for 30 minutes before scrubbing.
Pin This Recipe!
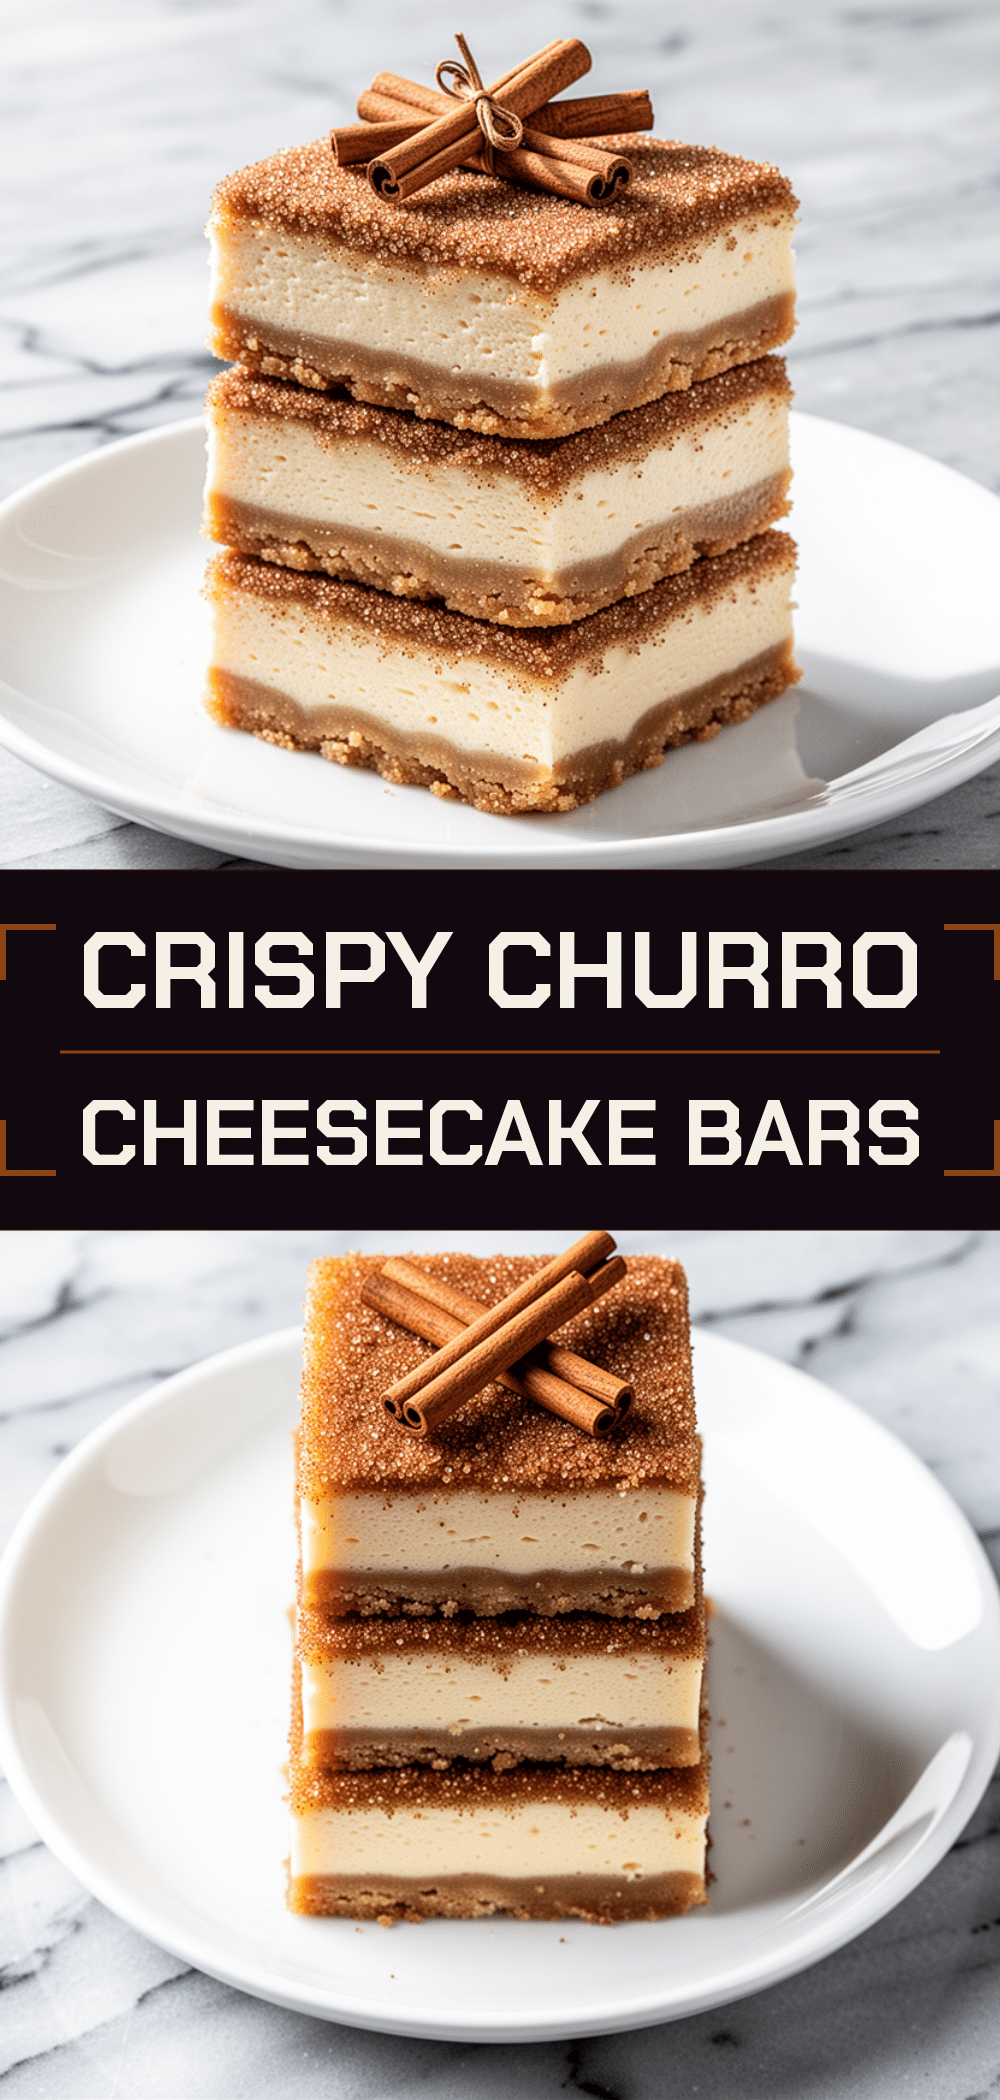
Homemade Churro Cheesecake Bars
- Total Time: 1 hour 45 minutes (including cooling)
- Yield: 16 servings 1x
Description
A lazy yet luxurious dessert featuring a buttery cake base, tangy cheesecake layer, and a crispy cinnamon-sugar topping, all made in one pan with minimal cleanup.
Ingredients
- 1 box (15.25 oz) yellow cake mix
- 1/3 cup vegetable oil
- 2 large eggs (room temperature)
- 1/3 cup milk (or water)
- 8 oz full-fat brick cream cheese (softened)
- 1/2 cup granulated sugar (divided)
- 1/2 cup sour cream
- 1 teaspoon vanilla extract
- 1 large egg
- 1 tablespoon ground cinnamon
- 2 tablespoons butter (melted)
- Optional: Caramel sauce for drizzling
Instructions
- Preheat oven to 350°F (175°C). Grease a 9×13 inch baking pan thoroughly with butter or non-stick spray.
- In a large bowl, combine cake mix, oil, 2 eggs, and milk. Beat on medium speed for 2 minutes until smooth.
- Press the batter evenly into the bottom of the prepared pan.
- Bake the crust for 15 minutes. Remove from oven and let cool slightly while making the filling.
- In a separate bowl, beat softened cream cheese and 1/2 cup sugar until smooth.
- Add sour cream, vanilla, and 1 egg. Beat on low speed just until combined. Do not overmix.
- Pour the cheesecake mixture over the warm cake base.
- In a small bowl, mix the remaining 1/2 cup sugar and cinnamon. Sprinkle evenly over the cheesecake layer.
- Drizzle melted butter over the sugar topping.
- Bake for 35-40 minutes until edges are set and the center has a slight jiggle.
- Cool completely in the pan on a wire rack (at least 1 hour, then refrigerate for another hour) before slicing.
- Cut into squares and serve with optional caramel drizzle.
Notes
Ensure cream cheese and eggs are at room temperature to avoid lumps. Do not overmix the cheesecake batter to prevent cracking. The bars must cool completely before cutting to ensure clean slices. They can be stored in the fridge for up to 5 days or frozen for up to 2 months.
- Prep Time: 15 minutes
- Cook Time: 50-55 minutes
- Category: Dessert
- Cuisine: American
Nutrition
- Serving Size: 1 bar
- Calories: 280
- Sugar: 22
- Fat: 14
- Saturated Fat: 7
- Carbohydrates: 32
- Protein: 4
Keywords: churro cheesecake bars, easy dessert, one pan dessert, cinnamon sugar, cheesecake bars, family friendly dessert, make ahead dessert



