I have a confession to make: I used to hate making chicken tenders at home. For years, I was convinced that the only way to get that golden, shattering crunch was to deep-fry them in a pot of oil that smelled like grease for three days. And let’s be honest, who has time for that on a Tuesday? So, I settled for the frozen box. You know the one—the cardboard package with the pictures of the chicken looking impossibly perfect, while the reality was rubbery, bland, and barely worth the $6 price tag.
That changed last month. I was staring at an empty freezer, realizing we were out of dinner options, and I had two pounds of chicken breast sitting on the counter. I didn’t want to order takeout, and I definitely didn’t want to stand over a stove with splattering oil. So, I threw together what I thought would be a mediocre baked chicken dinner. I tossed the strips in a mixture of panko breadcrumbs and spices, laid them on a wire rack, and shoved them into a screaming hot oven.
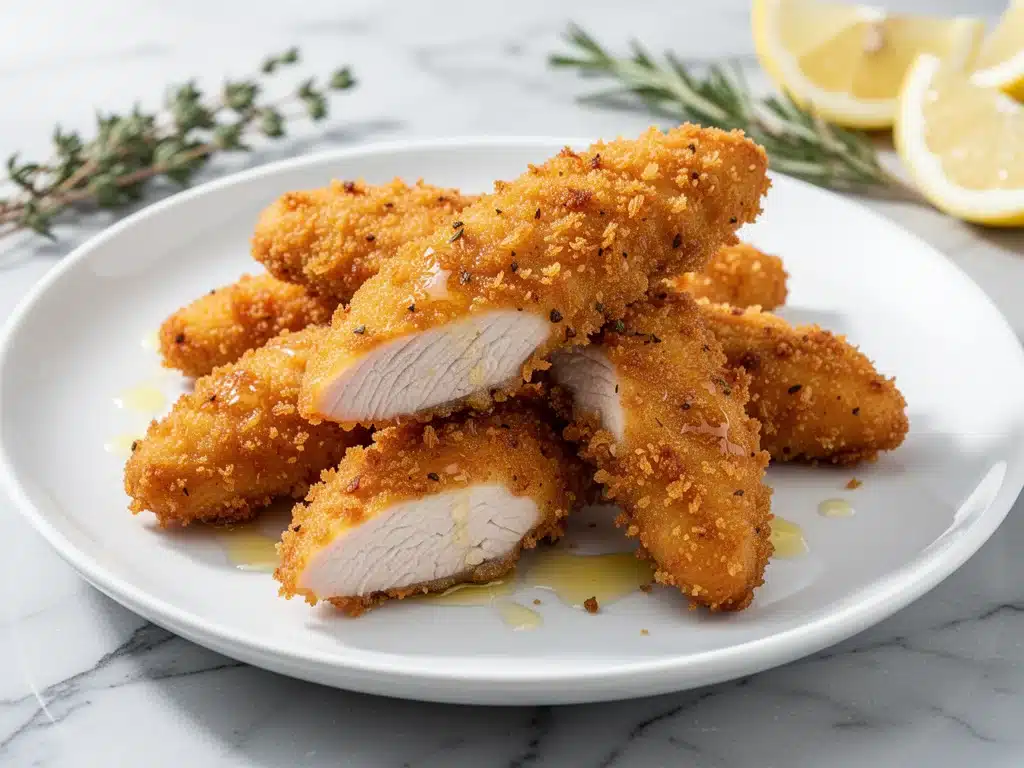
Twenty minutes later, I pulled out a baking sheet that looked nothing like my old rubbery disasters. These were golden. They were crispy. And when I bit into one, it actually made a sound. That’s when I knew I had stumbled onto something special. I’ve made these oven-fried chicken tenders at least a dozen times since then, tweaking the spice blend and testing different breading techniques, and this is hands-down the best method. It’s faster than delivery, cheaper than frozen, and honestly? It tastes better.
If you’ve been avoiding baking chicken because you think it’s dry or boring, this recipe is your wake-up call. It’s not just “okay for baked chicken.” It’s genuinely crispy, juicy, and perfect for busy weeknights when you need dinner on the table before the clock strikes six. Let’s get into why this works and how you can make it happen.
Why You’ll Love This Recipe
There are about ten reasons I keep coming back to this oven-fried chicken tenders recipe, but here are the big ones that actually matter when you’re starving and tired.
Actually Crispy — I’m not kidding. The secret is the wire rack and the panko breadcrumbs. I’ve tested this with just a baking sheet, and the bottoms get soggy. With the rack, hot air circulates underneath, and the panko creates that shattering crust you crave. It’s the closest thing to deep-fried without the mess.
Lightning Fast — From chopping chicken to pulling the pan out of the oven, it takes 20 minutes. That’s it. I make this on weeknights when I get home at 6:30 pm, and dinner is ready before I’ve even changed out of my work clothes. It’s faster than waiting for a pizza delivery driver to find my house.
Healthy-ish — Okay, let’s be real. It’s still chicken with breading. But by baking instead of frying, you cut the fat significantly. Plus, you control the sodium. No mystery preservatives from a frozen box, just real chicken, real spices, and real cheese.
Kid-Approved — My picky eater son, who usually turns his nose up at anything brown, asks for these specifically. They’re finger food, they’re familiar, and they’re delicious. I’ve served these to my vegetarian sister (with a side of dipping sauce) and my meat-loving dad, and everyone was happy.
Makes Amazing Leftovers — Here’s the thing: leftover fried chicken is usually dry. These stay juicy because the breading seals in the moisture. I deliberately make extra for lunch the next day, and they’re great cold or reheated in the oven to crisp back up.
Budget-Smart — Chicken breast is often on sale, and panko is cheap. Feeding 4-6 people for under $15 is totally doable. That’s less than one meal at a fast-food place, and you’re making it at home.
This is my go-to when I need dinner to just work. No complicated techniques, no weird ingredients, just reliable, delicious food that makes everyone happy. If you need a quick side to go with it, check out my garlic parmesan roasted sweet potato wedges—they’re the perfect carb-heavy companion to this crispy protein.
Ingredients You’ll Need
Here’s the best part: you probably have most of this already in your pantry. I’m particular about three ingredients here, and I’ll tell you exactly why. Don’t skip them if you want that restaurant-quality crunch.
For the Chicken
Chicken breast (1.5 to 2 pounds / 700-900g) — I buy boneless, skinless breasts. Look for the ones that are roughly uniform in size so they cook evenly. If they’re huge, slice them in half horizontally. You want strips that are about 1-inch thick. Consistent size means consistent cooking time.
Buttermilk (1 cup / 240ml) — This is non-negotiable for tenderness. The acid in buttermilk breaks down the protein fibers, keeping the chicken juicy even in a hot oven. If you don’t have buttermilk, mix 1 cup of milk with 1 tablespoon of lemon juice or white vinegar and let it sit for 10 minutes. It won’t be quite the same, but it works in a pinch.
Eggs (2 large) — These act as the glue for your breading. Beat them well. Some people use whole eggs, some use just whites. I use whole eggs because the yolk adds richness that helps the browning.
For the Breading
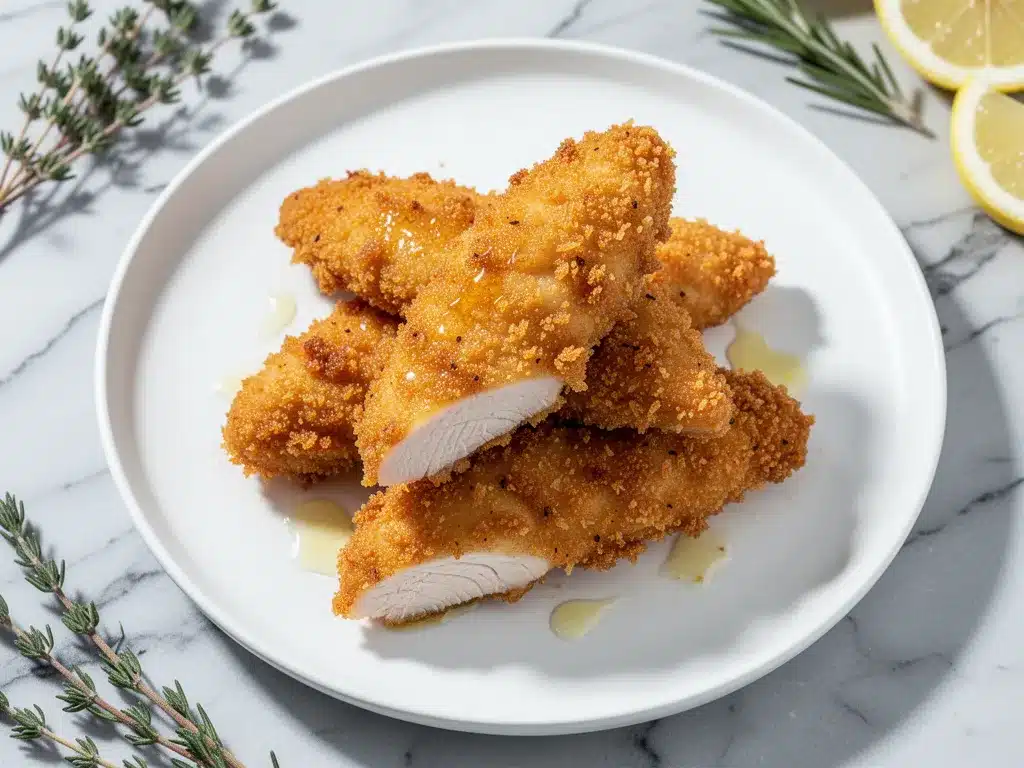
Panko breadcrumbs (1.5 cups / 150g) — This is the secret weapon. Panko is lighter and airier than regular breadcrumbs, which means it gets crispier in the oven. Don’t use fine, dry breadcrumbs unless you want a dense, hard crust. I buy the Japanese-style panko; it makes a huge difference.
Parmesan cheese (½ cup / 50g, freshly grated) — This adds savory depth and helps the breading brown. Buy a block of Parmesan and grate it yourself. Pre-grated cheese has anti-caking agents that prevent it from melting properly, leaving you with clumpy bits. Worth the extra two minutes.
Garlic powder (1 teaspoon) — Fresh garlic burns in the oven. Powder gives you that garlic flavor without the char. Don’t skimp; you want that flavor profile to pop.
Onion powder (1 teaspoon) — Adds a subtle sweetness and savory note. It balances the sharpness of the Parmesan.
Smoked paprika (1 teaspoon) — This gives you that “fried” color and a hint of smokiness. Regular paprika works, but smoked paprika adds a depth that makes it taste like it came from a fryer.
Dried oregano (½ teaspoon) — Just a pinch to round out the herbs. It’s classic in fried chicken seasoning.
Salt and black pepper (to taste) — I use about 1 teaspoon of kosher salt and ½ teaspoon of freshly cracked pepper. Adjust based on your preference, but don’t be shy with the salt; it brings out the flavor.
Cooking spray or olive oil — You need a little fat on top of the breading to help it brown. I use an olive oil spray because it’s even and light. You can also brush with melted butter if you’re feeling fancy.
For the Dipping Sauces:
I usually serve these with a mix of ranch and BBQ sauce, but my family loves a simple honey mustard or just plain ketchup. If you want something zesty, try a garlic aioli. And if you’re looking for other dipping-friendly sides, my crispy air fryer garlic parmesan fries are a match made in heaven with these tenders.
Equipment Needed
You don’t need fancy equipment for this. Here’s what I actually use, and what you can swap if you don’t have it.
Wire rack and baking sheet — This is the most important tool. The rack elevates the chicken so air circulates underneath. Without it, the bottoms steam instead of fry. I use a standard 18×13-inch baking sheet with a matching wire rack. If you don’t have a rack, you can use a cooling rack, but make sure it fits in your oven.
Shallow dishes or pie plates — I use three: one for the buttermilk, one for the egg wash, and one for the dry breading. Pie plates are great because they’re wide and shallow, making it easy to coat the chicken without getting your hands messy.
Sharp knife — For trimming the chicken. Dull knives slip and make cutting uneven strips. A good chef’s knife or even a paring knife works.
Whisk — To beat the eggs smoothly. A fork works, but a whisk ensures there are no lumps.
Olive oil spray — For coating the tops. A bottle with a fine mist works best. You can brush with oil if you don’t have a spray, but it’s less even.
Measuring spoons — For the spices. I use standard metal spoons from the dollar store; they work fine.
Instant-read thermometer — Optional but helpful. Chicken should reach 165°F (74°C). I like to check one piece to make sure my oven temp is accurate.
Don’t overthink the tools. If you don’t have a wire rack, you can put the chicken directly on a parchment-lined sheet, but flip them halfway through. It’s not ideal, but it works. I’m obsessed with my baking rack from IKEA—it’s sturdy and fits perfectly in my oven.
How to Make It: Step-by-Step
Alright, let’s make this! I’m walking you through exactly how I do it, including the little tricks I’ve picked up over the last year.
Step 1: Prep the Chicken (5 minutes)
Start by trimming your chicken breasts. Look for any tough white tendons or uneven edges and slice them off. You want uniform strips. Cut the breasts into strips that are about 1-inch thick and 3-4 inches long. If a breast is very thick, slice it horizontally to create two thinner cutlets. This ensures they cook evenly. Pat them dry with paper towels—this sounds minor, but removing surface moisture helps the buttermilk stick better.
Step 2: Marinate in Buttermilk (5 minutes)
Place the chicken strips in a bowl and pour the buttermilk over them. Toss to coat. Let them sit while you prep the breading. This doesn’t need to be hours; 5-10 minutes is enough to tenderize. If you’re rushing, skip this, but the texture will be slightly less juicy. I usually start this step first so I can get everything ready.
Step 3: Mix the Breading (3 minutes)
In a shallow dish (like a pie plate), combine the panko breadcrumbs, grated Parmesan, garlic powder, onion powder, smoked paprika, oregano, salt, and black pepper. Mix it well with a fork. You want the spices distributed evenly throughout the crumbs. Taste a tiny pinch (spit it out!) to check seasoning. If it needs more salt, add it now.
Step 4: Beat the Eggs
In another shallow dish, whisk the two eggs until they are smooth and uniform. No streaks of white or yolk. This is your binding agent.
Step 5: The Breading Station (5 minutes)
Set up your assembly line: Buttermilk chicken -> Egg wash -> Breadcrumb mixture. Take a piece of chicken from the buttermilk, letting the excess drip off slightly. Dip it into the egg wash, coating completely. Then, press it into the breadcrumb mixture. Use your hands to press the crumbs firmly onto the chicken. Flip and press again. You want a thick, even coating. Don’t be shy—piling on the crumbs is what gives you the crunch.
Place the coated tenders on the wire rack. Repeat with the rest of the chicken. Try to keep them spaced out so they don’t stick together.
Step 6: Spray and Bake (15 minutes)
Preheat your oven to 400°F (200°C). This high heat is crucial for browning. Once the oven is hot, spray the tops of the chicken tenders generously with olive oil spray. This fat helps the panko turn golden brown. If you don’t have spray, brush with melted butter.
Place the rack on the middle oven rack. Bake for 12-15 minutes. Do not flip them halfway—let the heat work from the top down. The chicken is done when the coating is golden brown and the internal temperature reaches 165°F (74°C). If your tenders are very thick, they might need an extra 2 minutes. If they’re thin, check at 12 minutes.
Step 7: Rest and Serve
Remove from the oven and let them rest for 2-3 minutes on the rack. This lets the juices redistribute. If you cut into them immediately, the juice runs out and they dry up. Serve immediately with your favorite dipping sauces.
Total Time: About 20-25 minutes (5 minutes active prep, 15 minutes baking).
Troubleshooting:
– Sauce too thick? Not applicable here, but if your breading is too dry, add a splash of buttermilk to the crumbs.
– Chicken not crispy? Your oven might be underheating. Use an oven thermometer to check. Also, ensure you’re using panko, not regular breadcrumbs.
– Chicken dry? You might have overcooked it. Check at 12 minutes. Chicken breast cooks fast.
Expert Tips & Tricks
Here’s everything I’ve learned from making this dozens of times. These tips will save you from my mistakes.
Use a Wire Rack
I cannot stress this enough. If you bake directly on the pan, the bottom steams. It gets soggy. The rack allows air to circulate, creating an all-over crisp. It’s the single biggest factor in getting that “fried” texture. I learned this the hard way with a soggy batch that looked sad. Now, I never skip the rack.
Don’t Crowd the Pan
Give each tender space. If they’re touching, they’ll steam each other. I usually do two batches if I have a lot of chicken. It’s worth the extra effort to get that perfect crunch.
Press the Crumbs
When breading, don’t just roll the chicken in the crumbs. Press them on. Use your fingers to pat the crumbs into the surface. This ensures they stick and don’t fall off in the oven. I’ve had pieces come off before, and it’s frustrating. Pressing solves it.
High Heat is Key
400°F is the sweet spot. Lower temps dry out the chicken before the crumbs brown. Higher temps burn the breadcrumbs before the chicken cooks. 400°F is perfect.
Double Dip for Extra Crunch
If you love a thick crust, double-dip. Buttermilk -> Egg -> Crumbs -> Egg -> Crumbs. It’s a bit messy but results in a really substantial coating. I do this for my kids who love the crunch.
Rest Before Eating
I know it’s hard to wait, but letting the chicken rest for 2-3 minutes after baking keeps it juicy. The heat continues to cook the chicken slightly, and the juices settle. Skipping this step leads to dry chicken.
Keep It Warm
If you’re cooking in batches, keep the first batch warm in a 200°F oven while you cook the second. Don’t leave them on the counter—they’ll get soggy. I usually cook in two batches for a family of four.
Spice It Up
Love heat? Add a pinch of cayenne pepper to the breading. Or swap the smoked paprika for chipotle powder. I like a little kick, so I always add ¼ teaspoon of cayenne. Adjust to your taste.
Variations & Substitutions
Once you’ve nailed the basic version, here’s how you can mix it up. I’ve tried all of these.
Spicy Buffalo Style
Add 1 teaspoon cayenne pepper and ½ teaspoon garlic powder to the breading. After baking, toss the tenders in melted butter mixed with Frank’s RedHot sauce. Classic wing flavor, baked.
Herb Garden
Swap the smoked paprika for dried thyme and rosemary. Add 1 teaspoon dried thyme and ½ teaspoon dried rosemary. It’s more savory and less “fried,” more “roasted chicken” vibe.
Cheesy Jalapeño
Mix ¼ cup shredded cheddar cheese into the panko mixture. Add 1 finely diced jalapeño (seeds removed) to the crumbs. Spicy, cheesy, and delicious.
Parmesan Crusted
Double the Parmesan to 1 cup and reduce panko to 1 cup. This is richer and more Italian-inspired. Great with marinara sauce.
Gluten-Free
Use gluten-free panko breadcrumbs. Most major brands make a GF version that works just as well. I’ve used Panko-style GF crumbs and they crisp up nicely.
Dairy-Free
Skip the Parmesan in the breading. Use olive oil instead of butter for spraying. Use a dairy-free milk alternative for the buttermilk substitute (add lemon juice). It’s still good, just different.
Vegan
This recipe is chicken-based, so it’s not vegan. But if you want a plant-based version, use seitan strips or thick slices of firm tofu. Press the tofu, marinate in buttermilk substitute, bread, and bake. It works surprisingly well.
Other Proteins:
– Chicken Thighs: Cut into strips. They’re juicier but take 2-3 minutes longer to cook.
– Shrimp: Use large shrimp. Bake for 8-10 minutes. They cook much faster.
– Tofu: As mentioned above, works well for a vegetarian option.
Serving & Storage
How to Serve:
I usually serve these straight from the baking sheet at the dinner table—it looks rustic and stays warm. But here are other ways I’ve enjoyed them:
Side Dishes:
– Garlic parmesan roasted sweet potato wedges (my top pick)
– Simple green salad with balsamic vinaigrette
– Coleslaw (creamy or vinegar-based)
– Mac and cheese (if you’re indulging)
– Steamed broccoli with lemon
Dipping Sauces:
– Ranch dressing
– BBQ sauce
– Honey mustard
– Ketchup
– Garlic aioli
– Buffalo sauce
Storage Instructions:
Refrigerator:
Store in an airtight container for up to 3 days. The breading will soften slightly, but the chicken stays juicy. I recommend storing the tenders and sauces separately to keep the crunch.
Reheating:
Best method: Oven or air fryer. Preheat to 350°F (175°C). Place tenders on a wire rack and bake for 5-7 minutes until crispy again. This restores the texture.
Microwave method: Avoid if possible. It makes the breading soggy. If you must, heat for 30 seconds, then finish in a toaster oven.
Freezing:
Yes, you can freeze these! Bread them as usual, place on a baking sheet, and freeze until solid (1-2 hours). Then transfer to a freezer bag. Bake from frozen at 400°F for 18-20 minutes. They’re great for meal prep or quick lunches.
Meal Prep:
I make a double batch on Sundays. I reheat them in the oven during the week. They’re better than leftovers because they retain their crispiness.
Nutrition Information
I’m not a nutritionist, but here’s the breakdown if you’re tracking. Note that this is an estimate based on chicken breast, buttermilk, panko, and Parmesan.
Per Serving (based on 4 servings, 4-5 tenders each):
– Calories: 320
– Protein: 35g
– Carbs: 18g
– Fiber: 1g
– Sugar: 2g
– Fat: 12g
– Saturated Fat: 4g
– Cholesterol: 110mg
– Sodium: 450mg
– Calcium: 150mg
What’s Good:
– High protein from the chicken
– Lower fat than deep-fried versions
– Good source of calcium from Parmesan
What to Know:
– Sodium can be high if you use lots of salt or Parmesan. Use low-sodium broth or reduce salt.
– Contains gluten (panko) and dairy (Parmesan, buttermilk).
My Take:
Look, this is comfort food. It’s not a diet recipe, but it’s healthier than takeout. When I want to make it lighter, I use less Parmesan and more herbs. But usually? I just enjoy a reasonable portion and appreciate that it’s made from scratch.
Final Thoughts
So that’s my go-to oven-fried chicken tenders recipe! I’ve probably talked your ear off at this point, but when you make a recipe this often, you have a lot to say about it.
This has saved weeknight dinners more times than I can count. It’s my answer to “what’s for dinner” when I’m tired, don’t want takeout, and still want something that tastes really good. My kids are happy, my husband’s happy, and I’m happy because I’m not stressed about cooking.
Make it yours! Try different spices, swap in your favorite dipping sauce, or add veggies to the breading. The best recipes are the ones you adapt to your family’s tastes. If you make this, drop a comment and let me know what you think! I love hearing how recipes turn out in your kitchen. And if something doesn’t work, tell me that too—I’m here to help troubleshoot.
Happy cooking! And I hope your kitchen smells half as good as mine does right now.
Frequently Asked Questions
Can I use regular breadcrumbs instead of panko?
You can, but the texture will be different. Regular breadcrumbs are finer and denser, so they won’t get as crispy. They’ll be more like a breaded cutlet. Panko is airier and creates those big, crunchy shards. If you must use regular breadcrumbs, toast them in the oven for 5 minutes before breading to dry them out a bit. But panko is worth the trip to the store.
Why did my chicken tenders turn out dry?
This usually happens if you overcook them. Chicken breast cooks very quickly. Check them at 12 minutes. If they’re golden and hit 165°F internally, they’re done. If you’re using very thick strips, they might need a minute or two more, but keep an eye on them. Another cause is using lean breast meat without the buttermilk marinade. The acid helps keep it juicy.
Can I make these in an air fryer?
Yes! This is actually a great option. Preheat your air fryer to 375°F (190°C). Place the breaded tenders in a single layer (don’t crowd). Spray with oil. Cook for 8-10 minutes, flipping halfway through. They’ll be even crispier than the oven method. Just watch them closely—they cook fast!
How do I store leftovers?
Let them cool completely, then store in an airtight container in the fridge for up to 3 days. Reheat in the oven or air fryer to restore crispiness. Avoid the microwave if you want them to stay crunchy.
Can I freeze the unbaked tenders?
Absolutely. Bread them as usual, place them on a baking sheet, and freeze until solid. Then transfer to a freezer bag. When you’re ready to eat, bake from frozen at 400°F for 18-20 minutes. This is perfect for meal prep.
What dipping sauces go best with these?
Classic ranch is always a winner. BBQ sauce, honey mustard, and ketchup are also popular. For something fancier, try a garlic aioli or a spicy buffalo sauce. My family loves a mix of ranch and BBQ.
Can I use chicken thighs instead of breast?
Yes, but they’re fattier and juicier. Cut them into strips and bake for 2-3 minutes longer than breast. They’re harder to dry out, so they’re more forgiving if you’re a beginner.
Pin This Recipe!
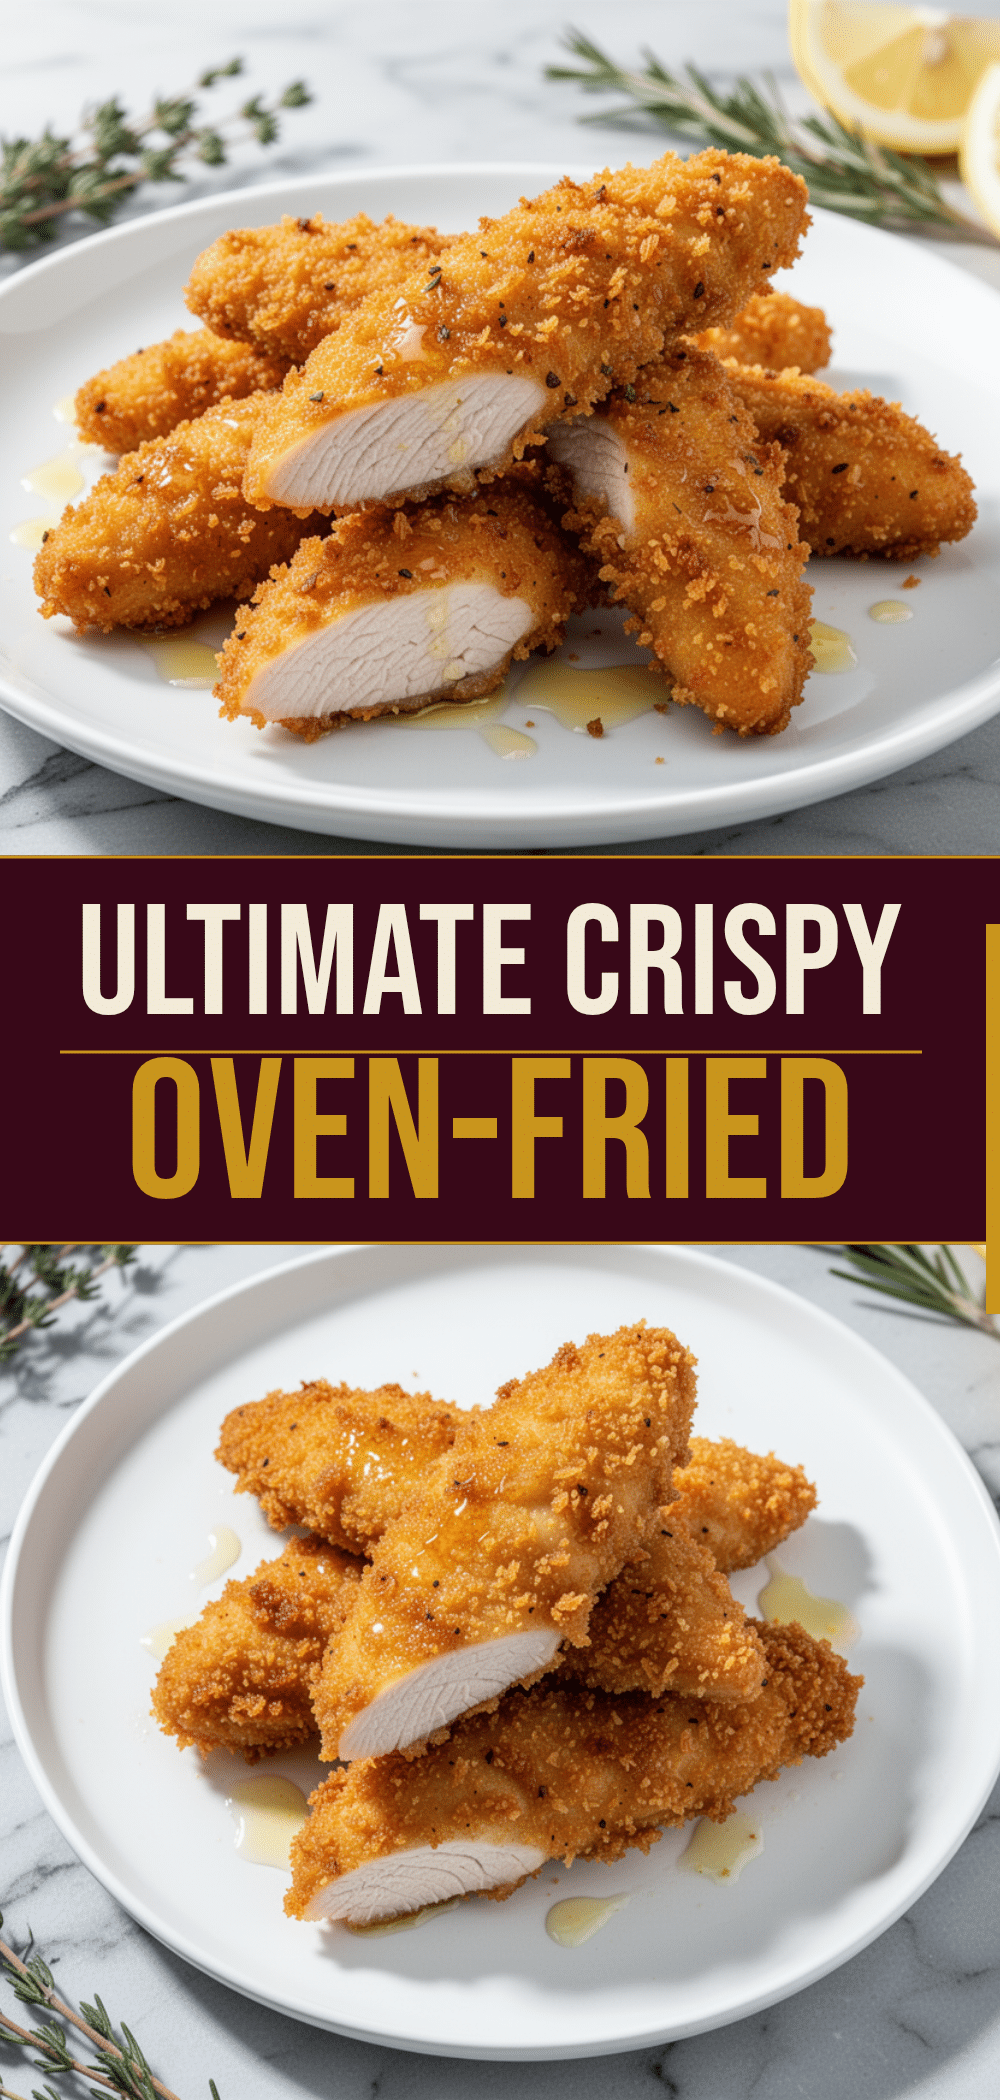
Easy Oven-Fried Chicken Tenders: 20-Minute Dinner
- Total Time: 20 minutes
- Yield: 4 servings 1x
Description
Crispy, juicy oven-fried chicken tenders made with panko breadcrumbs and buttermilk. This healthy-ish, kid-approved recipe is ready in just 20 minutes and offers a deep-fried texture without the mess.
Ingredients
- 1.5 to 2 pounds boneless, skinless chicken breast
- 1 cup buttermilk
- 2 large eggs
- 1.5 cups panko breadcrumbs
- ½ cup freshly grated Parmesan cheese
- 1 teaspoon garlic powder
- 1 teaspoon onion powder
- 1 teaspoon smoked paprika
- ½ teaspoon dried oregano
- 1 teaspoon kosher salt
- ½ teaspoon freshly cracked black pepper
- Olive oil spray or melted butter
Instructions
- Preheat oven to 400°F (200°C).
- Trim chicken breasts and cut into 1-inch thick, 3-4 inch long strips. Pat dry with paper towels.
- Place chicken strips in a bowl and pour buttermilk over them. Toss to coat and let sit for 5-10 minutes.
- In a shallow dish, combine panko breadcrumbs, Parmesan, garlic powder, onion powder, smoked paprika, oregano, salt, and pepper. Mix well.
- In another shallow dish, whisk the eggs until smooth.
- Set up an assembly line: buttermilk chicken, egg wash, and breadcrumb mixture.
- Dip chicken in buttermilk, then egg wash, then press firmly into the breadcrumb mixture to coat evenly.
- Place coated tenders on a wire rack set over a baking sheet, ensuring they are spaced out.
- Spray the tops of the tenders generously with olive oil spray.
- Bake for 12-15 minutes until golden brown and internal temperature reaches 165°F (74°C). Do not flip.
- Remove from oven and let rest for 2-3 minutes before serving.
Notes
Use a wire rack to ensure air circulation for maximum crispiness. Do not crowd the pan. For extra crunch, double-dip in egg and breadcrumbs. Rest the chicken for 2-3 minutes after baking to retain juices. Can be frozen unbaked or cooked.
- Prep Time: 15 minutes
- Cook Time: 15 minutes
- Category: Main Course
- Cuisine: American
Nutrition
- Serving Size: 4-5 tenders per serv
- Calories: 320
- Sugar: 2
- Sodium: 450
- Fat: 12
- Saturated Fat: 4
- Carbohydrates: 18
- Fiber: 1
- Protein: 35
Keywords: oven-fried chicken, chicken tenders, baked chicken, quick dinner, weeknight meals, crispy chicken, healthy fried chicken, panko chicken



