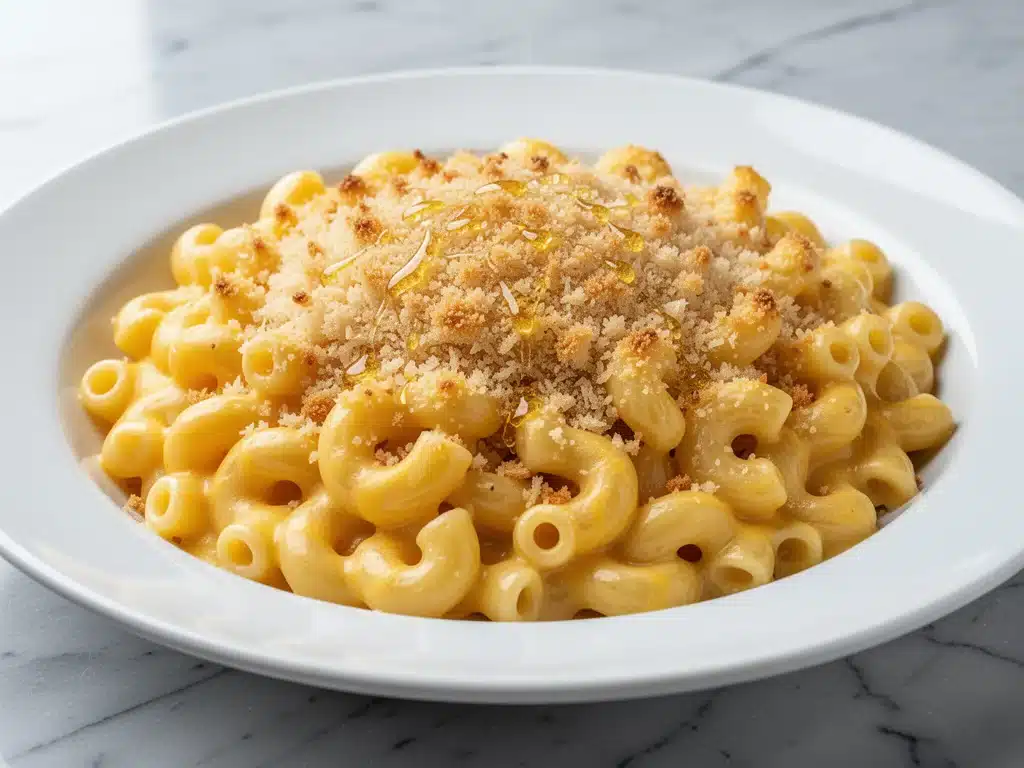
It was a Tuesday in late October, the kind where the air gets crisp and you suddenly have a deep, spiritual need for something warm and cheesy. I pulled out my usual recipe for baked mac and cheese—the one I’d been making for years—and baked it. It came out of the oven looking perfect. Golden brown crust, bubbling edges, the works. I took a bite.
And it was… dry.
Not just a little dry. Gritty. The kind of dry that sticks to the roof of your mouth and makes you wish you’d just ordered pizza. I stared at the casserole dish, then at my kids who were already digging in with happy abandon (they haven’t noticed yet), and felt that familiar pang of failure. Why is it so hard to make baked mac and cheese that’s actually creamy? Why does every recipe promise “ultra-creamy” and deliver “sandpaper”?
I spent the next three weekends testing. I tried roux-based sauces that broke. I tried milk-based sauces that were too thin. I tried adding evaporated milk (weird trick, didn’t work). I tried different cheeses that separated into oily puddles. I burned two batches of breadcrumbs. I cried over a pot of pasta water. (Okay, maybe not cried, but I did sigh heavily.)
But then, on the fourth attempt, I stumbled onto the secret. It wasn’t a fancy ingredient. It wasn’t a complicated technique. It was simply stopping before the pasta was fully cooked, letting it finish in the sauce, and using a specific ratio of cheese and liquid that creates a custard-like texture as it bakes. I took a bite. It was velvety. Silky. The kind of mac and cheese that makes you close your eyes and just… exist in the moment.
This ultra-creamy baked mac and cheese isn’t just a recipe; it’s my redemption arc. It’s the dish I make when I need to comfort my family, when I’m hosting a potluck and need to impress, or when I just want to feel like a good cook. It’s foolproof, it’s rich, and it’s the only mac and cheese recipe you’ll ever need. I’ve tested it at least a dozen times now, and it’s consistent every single time.
Why You’ll Love This Recipe
Look, I know there are a million mac and cheese recipes out there. So why this one? Here’s the real talk: this is the only version that stays creamy even after it sits in the fridge overnight. Most baked mac and cheese turns into a hard, cheesy brick the next day. This one? It reheats beautifully and stays soft. That’s huge for meal prep.
Here’s what makes this recipe a game-changer:
- Actually Creamy, Not Gummy — I’ve tried recipes that use a lot of starch to thicken, which makes it gummy. This uses a béchamel base with a splash of pasta water, creating a sauce that coats every noodle without feeling heavy or gluey. It’s light but rich.
- Zero Grainy Cheese — The biggest mistake people make is adding pre-shredded cheese. The anti-caking agents ruin the texture. This recipe uses freshly grated cheese, and I’ll show you exactly how to do it fast. The result is a smooth, glossy sauce that looks like it came from a fancy restaurant.
- Perfect Texture Every Time — By undercooking the pasta by two minutes and letting it finish in the oven, the noodles absorb the sauce instead of just sitting in it. This creates a unified dish where every bite is perfectly tender, not mushy or undercooked.
- Family-Friendly Flexibility — My picky eater son loves it plain. My husband likes it with crispy bacon on top. My vegetarian friend loves it with roasted broccoli mixed in. It’s a blank canvas that adapts to your family’s cravings.
- Makes Amazing Leftovers — I know I said this already, but it bears repeating: this reheats like a dream. Whether you microwave it or bake it, it stays creamy. It’s my go-to lunch for the rest of the week.
- Impressive but Simple — It looks like hours of work, but it’s mostly hands-off baking time. You make a sauce, boil pasta, mix, bake. It’s the kind of dish that makes you look like a pro without the stress.
This is my answer to “what’s for dinner” when I want something comforting but substantial. It’s better than takeout, cheaper than a restaurant, and tastes like love. Seriously, try it once and you’ll never go back to boxed mac and cheese again.
Ingredients You’ll Need
Here’s the best part: you probably have most of this already. I’m not asking for obscure ingredients or fancy cheeses you can’t find. This is pantry-friendly comfort food. That said, I am particular about three things here: the cheese, the butter, and the pasta shape. I’ll tell you why.
For the Pasta Base
Elbow macaroni (1 pound / 450g) — I know elbow is traditional, but I actually prefer cavatappi or rotini. The curves hold more sauce. If you use elbow, break them in half if they’re huge. Save 1 cup of pasta water before draining! This starchy liquid is liquid gold for the sauce.
Unsalted butter (4 tablespoons / 60g) — I use high-quality European butter if I have it. It has a higher fat content and richer flavor. Don’t use margarine. Don’t use salted butter unless you adjust the salt in the recipe. I stick to unsalted so I control the seasoning.
All-purpose flour (¼ cup / 30g) — This is what thickens the béchamel sauce. It’s basic stuff. Make sure your flour isn’t clumpy before you measure it.
Whole milk (3 cups / 720ml) — Use whole milk. Skim milk makes a thin, watery sauce. 2% is okay if you’re in a pinch, but whole milk gives that rich, creamy mouthfeel. I like to warm the milk slightly before adding it to the roux—it helps prevent lumps.
Heavy cream (½ cup / 120ml) — This is the secret weapon. It adds richness and stability to the sauce so it doesn’t break in the oven. You can skip it if you want, but I don’t recommend it. It’s worth the extra calories.
For the Cheese Sauce
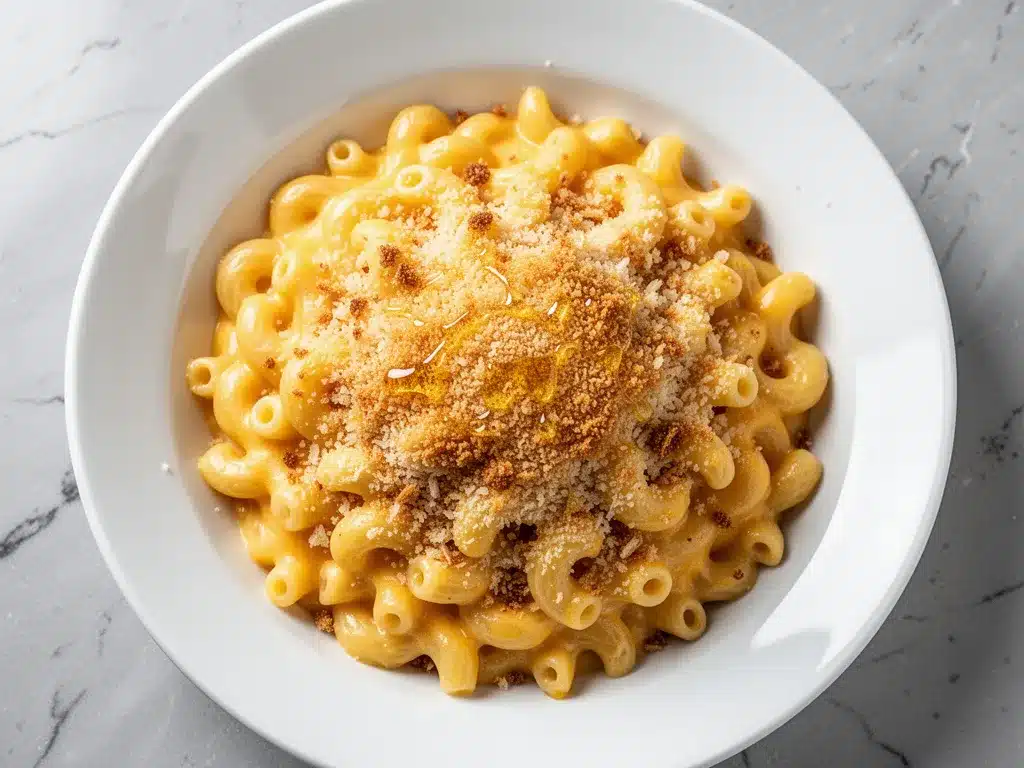
Sharp cheddar cheese (2 cups / 200g, freshly grated) — This is non-negotiable. Grate your own from a block. Pre-shredded cheese has cornstarch that prevents smooth melting. Sharp cheddar has the best flavor. If you can’t find sharp, mix mild and extra-sharp.
Gruyère cheese (1 cup / 100g, freshly grated) — This is what makes it fancy. Gruyère melts beautifully and adds a nutty, salty depth that cheddar alone can’t provide. If you can’t find Gruyère, use Swiss cheese or fontina. Don’t use pre-grated!
Parmesan cheese (½ cup / 50g, freshly grated) — For that umami punch. Again, grate it yourself. It melts cleaner and tastes better.
For the Seasoning & Topping
Garlic powder (1 teaspoon) — Fresh garlic can burn in the roux, so I use garlic powder for consistent flavor. If you must use fresh, mince it super fine and add it at the very end.
Dijon mustard (1 teaspoon) — Sounds weird, but it enhances the cheese flavor without making it taste like mustard. It’s a classic chef’s trick.
Smoked paprika (½ teaspoon) — Adds a subtle smokiness that pairs perfectly with the cheese. If you don’t have it, use regular paprika or skip it.
Salt and black pepper — To taste. Remember, the cheeses are salty, so taste before adding extra salt.
Panko breadcrumbs (½ cup / 50g) — For the crispy top. Panko is crunchier than regular breadcrumbs. I mix it with a little melted butter before sprinkling on top.
Optional Add-ins — I love adding crispy bacon bits, roasted broccoli, or sautéed mushrooms. You can also add hot sauce for a kick. But the base is perfect as is.
Equipment Needed
You don’t need fancy gadgets for this. Here’s what I actually use.
Large pot — For boiling the pasta. I use a 6-quart pot. It needs to be big enough for the pasta to move around.
Large saucepan or Dutch oven — For making the béchamel sauce. A 4-quart saucepan works well. I prefer stainless steel because I can see the sauce browning slightly if I let it (which adds flavor).
Whisk — Essential for the roux. You need to whisk constantly to prevent lumps. A silicone whisk is easier to clean.
9×13 inch baking dish — Standard size. Glass or ceramic works best because it heats evenly. If you use metal, watch the top so it doesn’t burn.
Box grater — For grating the cheese. If you have a food processor, you can use the grating blade to speed this up, but do it in short bursts so the cheese doesn’t turn into paste.
Measuring cups and spoons — Standard stuff. I like having a liquid measuring cup for the milk and cream.
Wooden spoon or spatula — For stirring the sauce and mixing everything together.
How to Make It: Step-by-Step
Alright, let’s make this! I’m walking you through exactly how I do it, including the little tricks I’ve picked up. This process takes about 45 minutes total, but most of that is just baking time where you can go do something else.
Step 1: Prep Your Oven and Dish (5 minutes)
Preheat your oven to 350°F (175°C). Grease your 9×13 inch baking dish with butter or cooking spray. If you’re using a glass dish, you don’t need to grease it as much, but a light coating helps the crust release easily. Set out your grated cheeses and measured ingredients. Having everything ready makes the sauce-making less stressful.
Step 2: Cook the Pasta (10 minutes)
Bring a large pot of salted water to a boil. The water should taste like the ocean. Add the macaroni and cook for 2 minutes LESS than the package directions. So if the box says 10 minutes, cook for 8. You want the pasta to be al dente but still firm because it will finish cooking in the oven. This is crucial for texture. Drain the pasta, but SAVE 1 cup of the starchy pasta water. Set it aside. Rinse the pasta? No! Don’t rinse it. The starch helps the sauce cling.
Step 3: Make the Roux (3 minutes)
In your large saucepan, melt the butter over medium heat. Once it’s foamy, sprinkle in the flour. Whisk constantly for about 1-2 minutes. You’re cooking out the raw flour taste. The mixture should look like wet sand and smell slightly nutty. Don’t let it brown too much, or it’ll taste bitter. This is called a blond roux.
Step 4: Build the Béchamel Sauce (5 minutes)
Slowly pour in the warm milk while whisking constantly. This is the part where people get lumpy, so go slow and keep whisking. Once all the milk is in, add the heavy cream, garlic powder, Dijon mustard, smoked paprika, salt, and pepper. Whisk well. Bring the sauce to a gentle simmer. Let it cook for 3-4 minutes, stirring often, until it thickens enough to coat the back of a spoon. It should look like heavy cream, not a paste. If it’s too thick, add a splash of the reserved pasta water.
Step 5: Add the Cheese (2 minutes)
Remove the saucepan from the heat. This is important. If the pan is too hot, the cheese will seize up and become grainy. Let it cool for 30 seconds. Then, add the grated cheddar, Gruyère, and Parmesan. Stir gently until the cheese is completely melted and the sauce is smooth. Taste and adjust seasoning. It should taste delicious on its own. If it needs more salt or pepper, add it now.
Step 6: Combine and Bake (25 minutes)
Transfer the cooked pasta to the baking dish. Pour the cheese sauce over the pasta. Use a spatula to mix everything together, making sure every noodle is coated. If the mixture looks dry, add a splash of the reserved pasta water. Sprinkle the buttered Panko breadcrumbs evenly over the top. You can also add crispy bacon bits or roasted veggies now if you’re using them.
Bake in the preheated oven for 20-25 minutes. You want the top to be golden brown and crispy, and the sauce to be bubbling around the edges. If the top is browning too fast, tent it loosely with foil for the last 10 minutes.
Step 7: Rest and Serve (10 minutes)
This is the hardest part: letting it rest. Remove the dish from the oven and let it sit for 10 minutes before serving. This allows the sauce to set slightly so it doesn’t run off the pasta when you scoop it. It’s still hot, so be careful. Serve with a simple green salad or roasted vegetables to balance the richness.
Expert Tips & Tricks
Here’s everything I’ve learned from making this dozens of times. These tips will save you from my mistakes.
Grate Your Own Cheese — I can’t stress this enough. Pre-shredded cheese is coated in cellulose to prevent clumping. That coating stops it from melting smoothly. You’ll end up with a sauce that’s stringy and lumpy. Buy a block of cheddar and a wedge of Gruyère and grate them yourself. It takes 5 minutes and makes a huge difference.
Undercook the Pasta — If you cook the pasta to al dente in the pot and then bake it, it will turn to mush. Undercook it by 2-3 minutes. The pasta will absorb the sauce and finish cooking in the oven, resulting in a perfect texture.
Reserve Pasta Water — That starchy water is liquid gold. If your sauce looks too thick or clumpy after adding the cheese, add a tablespoon of pasta water at a time until it smooths out. It helps emulsify the sauce.
Remove from Heat for Cheese — High heat breaks cheese. Always take the pan off the burner before adding the cheese. Let it cool for 30 seconds, then stir. This ensures a silky, smooth sauce.
Let It Rest — I know you want to eat it immediately. But if you cut into it right out of the oven, the sauce will run. Letting it rest for 10 minutes lets the sauce thicken and set, so you get nice, clean scoops.
Customize the Topping — I love Panko for crunch, but you can also use crushed crackers or regular breadcrumbs. Mix in some grated Parmesan with the breadcrumbs for extra flavor. If you’re feeling fancy, add a layer of mozzarella on top for a stretchy, gooey crust.
Avoid Grainy Sauce — If your sauce looks grainy, it’s because the heat was too high or you added the cheese too quickly. Whisk in a splash of warm milk or cream to help bring it back together. If it’s really broken, you might need to start over, but usually, a little extra liquid saves it.
Variations & Substitutions
Once you’ve nailed the basic version, here’s how you can mix it up. I’ve tried all of these.
Bacon Mac and Cheese — Add 1 cup of crispy, crumbled bacon to the mixture before baking. Top with more bacon bits. This is my husband’s favorite version. It adds a salty, smoky crunch.
Broccoli Mac and Cheese — Toss in 2 cups of steamed broccoli florets. The green adds color and nutrition. It’s a great way to get kids to eat vegetables without complaining.
Chicken Mac and Cheese — Add 2 cups of diced cooked chicken (rotisserie works great). This makes it a more filling main dish. You can also add sautéed mushrooms for an earthy flavor.
Spicy Mac and Cheese — Add 1 teaspoon of cayenne pepper or a dash of hot sauce to the sauce. Top with jalapeños. It’s a fun twist for game day.
Lighter Version — Use 2% milk instead of whole milk, and reduce the cheese by ¼ cup. It’s still creamy but less rich. I make this when I’m trying to watch my calories, though I’ll admit it’s not quite as indulgent.
Gluten-Free — Use gluten-free pasta (I like Barilla gluten-free). Make sure your breadcrumbs are gluten-free too. Everything else is naturally gluten-free.
Dairy-Free — This is tricky because cheese is the star. Use dairy-free cheddar and Gruyère alternatives (like Violife or Follow Your Heart). Use coconut milk or oat milk instead of dairy milk. It won’t taste exactly the same, but it’s still tasty.
Serving & Storage
How to Serve: — I usually serve this straight from the baking dish at the dinner table—it looks rustic and stays warm. But here are other ways I’ve enjoyed it:
- Simple Green Salad — A light salad with bals vinaigrette cuts through the richness of the mac.
- Roasted Vegetables — Roasted broccoli, green beans, or asparagus pair perfectly.
- Garlic Bread — Obviously. You can never have too much garlic bread with mac and cheese.
Storage: — Store leftovers in an airtight container in the fridge for up to 4 days. The sauce will thicken in the fridge—totally normal. Do not freeze this dish. The dairy separates when thawed, and the texture becomes grainy. It’s best eaten fresh or refrigerated.
Reheating: — To reheat, add a splash of milk or cream to the mac and cheese in a skillet over low heat. Stir until heated through and creamy again. You can also microwave it in 30-second intervals, stirring between, and adding a splash of milk if it’s too thick. If you’re reheating the whole dish, cover it with foil to prevent drying out. Never reheat it in the pot you cooked it in—it always burns on the bottom. Ask me how I know.
Pro Tip: — If leftovers are drying out, stir in a tablespoon of butter and a splash of milk when reheating. Brings back that creamy texture.
Nutrition Information
I’m not a nutritionist, but here’s the breakdown if you’re tracking. This is comfort food, so it’s not a diet recipe, but it’s helpful to know.
Per Serving (based on 8 servings):
- Calories: 520
- Protein: 22g
- Carbs: 45g
- Fiber: 2g
- Sugar: 6g
- Fat: 28g
- Saturated Fat: 16g
- Cholesterol: 75mg
- Sodium: 450mg
- Calcium: 350mg
What’s Good: — High in protein and calcium from the cheese. It’s filling and satisfying.
What to Know: — Higher in calories and saturated fat from the cream and cheese. Moderate sodium. Use low-sodium broth if you’re watching salt.
My Take: — Look, this is mac and cheese. It’s supposed to be rich and indulgent. Enjoy a reasonable portion and pair it with veggies. When I want to make it lighter, I use the half-and-half version and load up on broccoli. But usually? I just eat a generous bowl and enjoy it.
Final Thoughts
So that’s my ultra-creamy baked mac and cheese! I’ve probably talked your ear off at this point, but when you make a recipe this often, you have a lot to say about it. This has saved weeknight dinners more times than I can count. It’s my answer to “what’s for dinner” when I’m tired, don’t want takeout, and still want something that tastes really good. My kids are happy, my husband’s happy, and I’m happy because I’m not stressed about cooking.
Make it yours! Try different add-ins, swap in your favorite vegetables, adjust the garlic (though more is always better in my opinion). The best recipes are the ones you adapt to your family’s tastes. If you make this, drop a comment and let me know what you think! I love hearing how recipes turn out in your kitchen. And if something doesn’t work, tell me that too—I’m here to help troubleshoot.
Happy cooking! And I hope your kitchen smells half as good as mine does right now.
Frequently Asked Questions
Can I use milk instead of heavy cream?
You can, but the sauce will be less rich and might not hold up as well in the oven. If you want to try it, use whole milk and add an extra tablespoon of butter to the roux. Half-and-half is a better middle ground than skim milk.
Why did my sauce get grainy?
The heat was too high when you added the cheese. Cheese seizes up and becomes grainy if it’s too hot. Always remove the pan from the heat before adding cheese, and let it cool for 30 seconds. If it’s already grainy, try whisking in a splash of warm milk—it might help smooth it out.
Can I make this ahead for a dinner party?
Yes! Assemble the dish up to 24 hours ahead and store it in the fridge. When you’re ready to bake, take it out of the fridge 30 minutes before baking so it comes to room temperature. You might need to add 5-10 minutes to the baking time. The top might brown faster, so tent with foil if needed.
Can I freeze baked mac and cheese?
Honestly, no. The dairy separates when thawed, and the texture becomes grainy and weird. It’s best made fresh. If you have leftovers, store them in the fridge for up to 4 days.
Can I use different pasta shapes?
Absolutely! I love cavatappi, rotini, or even shells. Just make sure the shape can hold sauce. Avoid long noodles like spaghetti or linguine—they don’t work well in baked mac and cheese.
Why is my mac and cheese dry?
This usually happens if you overcooked the pasta before baking, or if the sauce was too thick to start with. Next time, undercook the pasta by 2 minutes and reserve more pasta water to add to the sauce. Also, let it rest for 10 minutes after baking—it continues to absorb moisture as it cools.
Pin This Recipe!
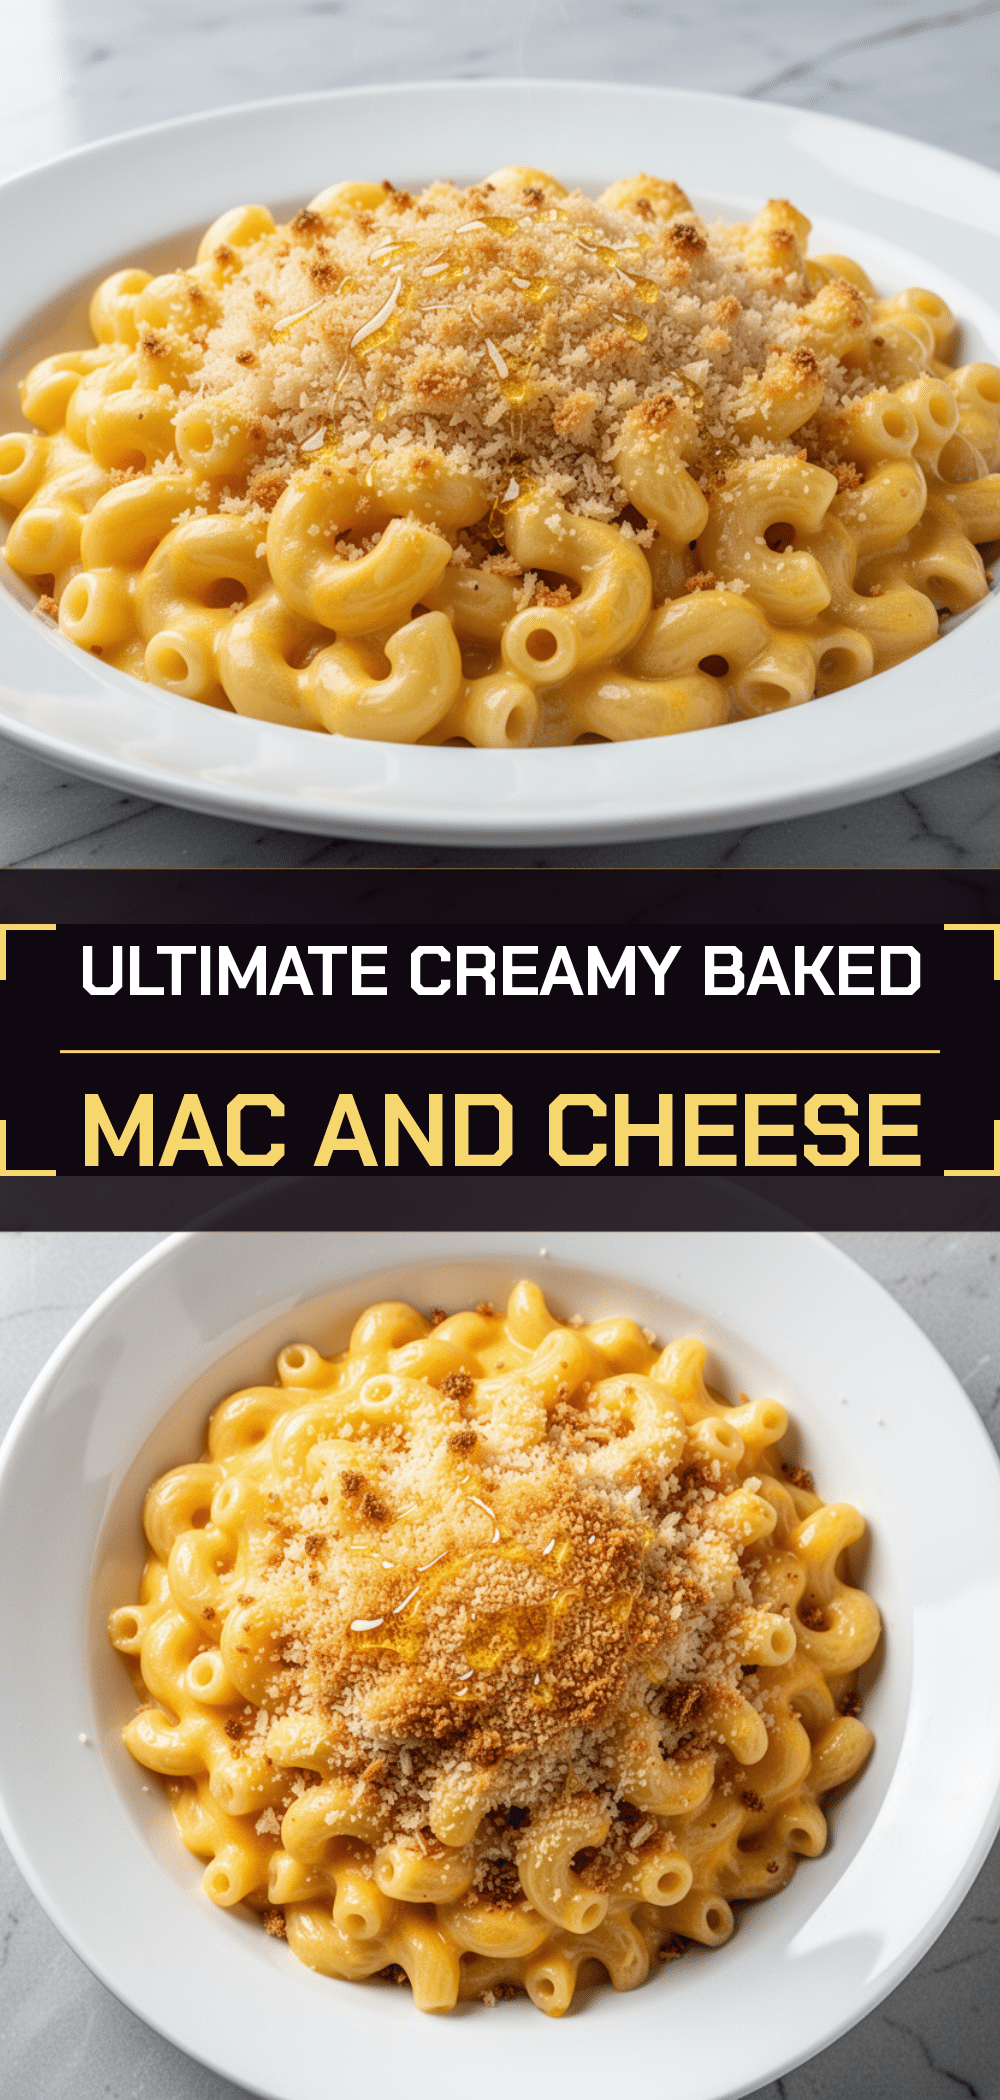

Ultra-Creamy Baked Mac and Cheese: 5 Easy Steps for Family Dinners
- Total Time: 45 minutes
- Yield: 8 servings 1x
Description
A foolproof, ultra-creamy baked mac and cheese recipe that stays soft even after reheating. Using a béchamel base, freshly grated cheeses, and undercooked pasta, this dish delivers a velvety texture without being gummy or grainy.
Ingredients
- 1 pound (450g) elbow macaroni, cavatappi, or rotini
- 4 tablespoons (60g) unsalted butter
- ¼ cup (30g) all-purpose flour
- 3 cups (720ml) whole milk, warmed
- ½ cup (120ml) heavy cream
- 2 cups (200g) sharp cheddar cheese, freshly grated
- 1 cup (100g) Gruyère cheese, freshly grated
- ½ cup (50g) Parmesan cheese, freshly grated
- 1 teaspoon garlic powder
- 1 teaspoon Dijon mustard
- ½ teaspoon smoked paprika
- Salt and black pepper to taste
- ½ cup (50g) Panko breadcrumbs
- 1 cup reserved starchy pasta water
Instructions
- Preheat oven to 350°F (175°C) and grease a 9×13 inch baking dish.
- Boil pasta in salted water for 2 minutes less than package directions. Drain, reserving 1 cup of pasta water. Do not rinse.
- In a large saucepan, melt butter over medium heat. Whisk in flour and cook for 1-2 minutes until it smells nutty (blond roux).
- Slowly whisk in warm milk and heavy cream. Add garlic powder, Dijon mustard, smoked paprika, salt, and pepper. Simmer for 3-4 minutes until thickened.
- Remove saucepan from heat and let cool for 30 seconds. Stir in grated cheddar, Gruyère, and Parmesan until smooth.
- Combine pasta and cheese sauce in the baking dish. Add a splash of reserved pasta water if needed. Top with buttered Panko breadcrumbs.
- Bake for 20-25 minutes until golden brown and bubbling. Tent with foil if browning too quickly.
- Let rest for 10 minutes before serving to allow sauce to set.
Notes
Grate your own cheese to avoid anti-caking agents that prevent smooth melting. Undercook pasta by 2 minutes so it finishes cooking in the oven. Reserve starchy pasta water to adjust sauce consistency. Do not freeze this dish as dairy separates upon thawing.
- Prep Time: 15 minutes
- Cook Time: 30 minutes
- Category: Main Course
- Cuisine: American
Nutrition
- Serving Size: 1 serving (approx. 1
- Calories: 520
- Sugar: 6
- Sodium: 450
- Fat: 28
- Saturated Fat: 16
- Carbohydrates: 45
- Fiber: 2
- Protein: 22
Keywords: mac and cheese, baked mac and cheese, creamy mac and cheese, comfort food, family dinner, easy recipe, cheesy pasta



