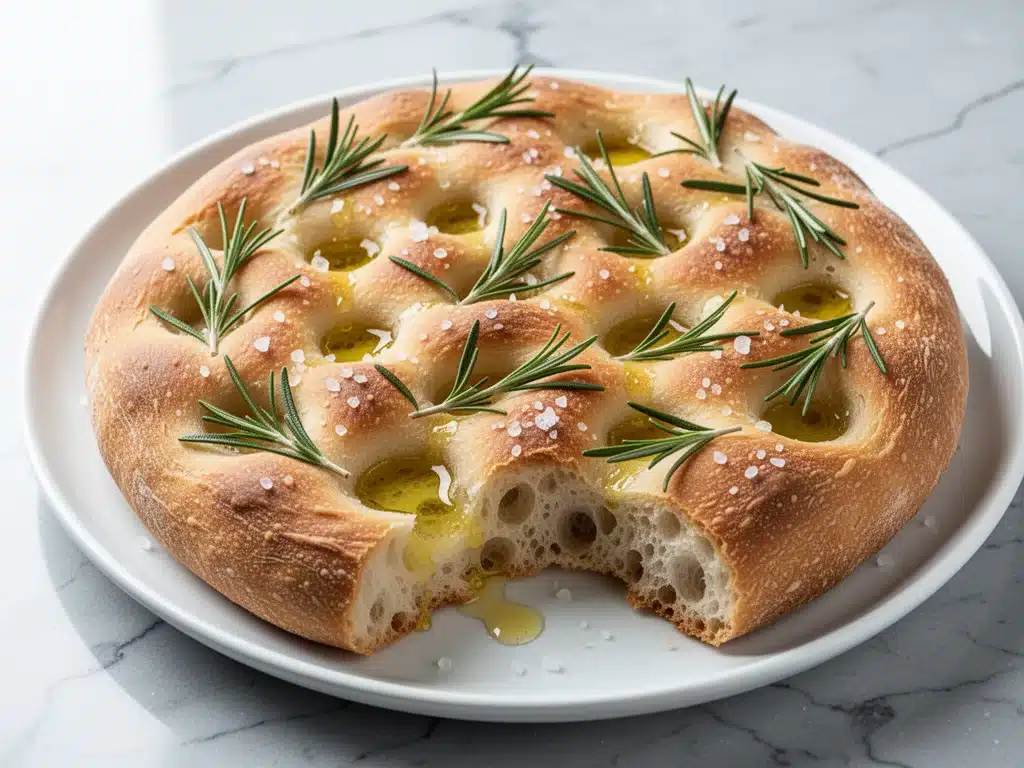
There was a period in my life—about two years ago, right in the thick of a really bad winter—when I was convinced that bread was too hard to make at home. I’d try, I’d fail, I’d end up with a dense brick that could double as a doorstop, and I’d just go buy a loaf from the bakery. It was easier. It was safe. It was also, honestly, a little sad.
Then my friend Sarah sent me a photo of her kitchen counter. It was covered in flour, there was a 9×13 pan sitting on the cooling rack, and the bread in it was golden, dimpled, and glistening with olive oil. It looked like something from a high-end Italian restaurant, not a home kitchen. She captioned it: “I made this with my leftover sourdough starter. It took zero effort.”
I was skeptical. I’ve made sourdough discard pancakes before (they’re delicious, by the way, check out my sourdough discard cinnamon sugar pancakes if you want a quick breakfast option), but bread? Bread requires timing, temperature control, and patience. Things I definitely don’t have on a Tuesday night.
But something about that photo stuck with me. I wanted that crust. I wanted those big, airy holes. I wanted to smell that yeasty, fermented aroma filling my house on a Saturday morning instead of just the smell of coffee.
So last weekend, I decided to try. Just once. I figured if it failed, I’d just make sourdough discard cinnamon sugar pancakes for breakfast and call it a day.
It didn’t fail. It was actually incredible.
This homemade sourdough focaccia has become my weekend ritual. It’s not about being a professional baker. It’s about the process. It’s about mixing a shaggy dough, letting it sit while you drink your coffee, and then playing with the dough like it’s edible playdough, dimpling it with your fingers and drizzling it with rosemary-infused olive oil. It’s tactile. It’s forgiving. And the result? It’s the best bread I’ve ever eaten. Period.
If you’ve been intimidated by sourdough, this is your entry point. You don’t need a perfectly active starter. You don’t need a proofing box. You just need a little time and some good olive oil. Let me walk you through exactly how I make this, including the mistakes I made so you don’t have to.
Why You’ll Love This Sourdough Focaccia Recipe
Okay, so why should you spend your weekend baking bread when you could be sleeping in or watching a movie? Here’s the real talk: this recipe changes your relationship with food for the rest of the day.
It’s Actually Foolproof — Seriously. I’ve heard people say sourdough is “temperamental.” With this focaccia method, I’ve found it’s actually more forgiving than standard loaf bread. The high hydration (lots of water) makes the dough sticky and messy, but that’s a good thing! It creates those huge air pockets. If your dough looks ugly before it bakes, don’t panic. It’ll look like a dream after.
You Can Use Discard — This is the game-changer. Most sourdough recipes demand a bubbly, peak-activity starter. This one? It loves tired, discard starter. If you’ve been tossing your starter in the trash (please stop doing that, it’s wasteful and sad), this recipe is your redemption. It uses the discard for flavor without requiring a long, complex feeding schedule.
It’s Interactive and Therapeutic — I know, “therapeutic” is a buzzword, but hear me out. The step where you dimple the dough with your fingertips? It’s weirdly satisfying. I do this while listening to a podcast or chatting with my partner. It’s a hands-on activity that doesn’t feel like work. It feels like play. Plus, the smell of baking bread is scientifically proven to lower stress. (Okay, I made that up, but it feels true.)
It Pairs With Everything — This isn’t just bread. It’s a vehicle. Dip it in balsamic vinegar. Eat it with easy creamy southern style pasta salad with bacon for a picnic. Use it for sandwiches. Serve it alongside loaded baked potato soup for a cozy dinner. It’s versatile enough to be a snack, a side, or a meal.
It’s Cheap — Flour, water, salt, yeast, olive oil. That’s it. A loaf from the bakery costs $6-$8. This costs about $1.50 in ingredients. When you make this, you’re not just saving money; you’re realizing how cheap good food can be when you make it yourself.
I make this every other weekend now. It’s my favorite way to start Saturday. No rush, no pressure, just dough and oil and time.
Ingredients You’ll Need
Here’s the best part: you probably have 90% of this already. Sourdough focaccia is minimalism at its finest. The fewer ingredients, the more each one matters, so I’m particular about quality here.
For the Dough
Bread Flour (450g / 3 ½ cups) — I use King Arthur Bread Flour. It has a higher protein content, which gives the focaccia its chew. All-purpose flour works, but the texture will be softer and less structured. Don’t skimp on the protein if you want those big holes.
Water (360g / 1 ½ cups + 2 tablespoons) — Lukewarm, not hot. Think bathwater temperature. Hot water kills the yeast. Cold water slows it down too much. I test it on my wrist—it should feel neutral, not hot.
Sourdough Discard (150g / about 1 cup) — This can be unfed or recently fed. It doesn’t matter. Since we’re adding instant yeast, the discard is just for flavor and texture, not leavening power. Use whatever is in your fridge. If you don’t have discard, you can use water and a pinch of yeast, but the flavor won’t be as deep.
Instant Yeast (2 teaspoons) — I use instant yeast because I don’t want to wait 12 hours for a bulk rise. It speeds up the process significantly. Active dry yeast works too, but you’ll need to proof it in the water first. I stick with instant for convenience.
Salt (10g / 1 ½ teaspoons) — Fine sea salt or kosher salt. I use Diamond Crystal kosher salt. If you use table salt, reduce the amount by half because it’s denser. Salt is crucial for flavor and controlling the yeast.
For the Topping (The Good Stuff)
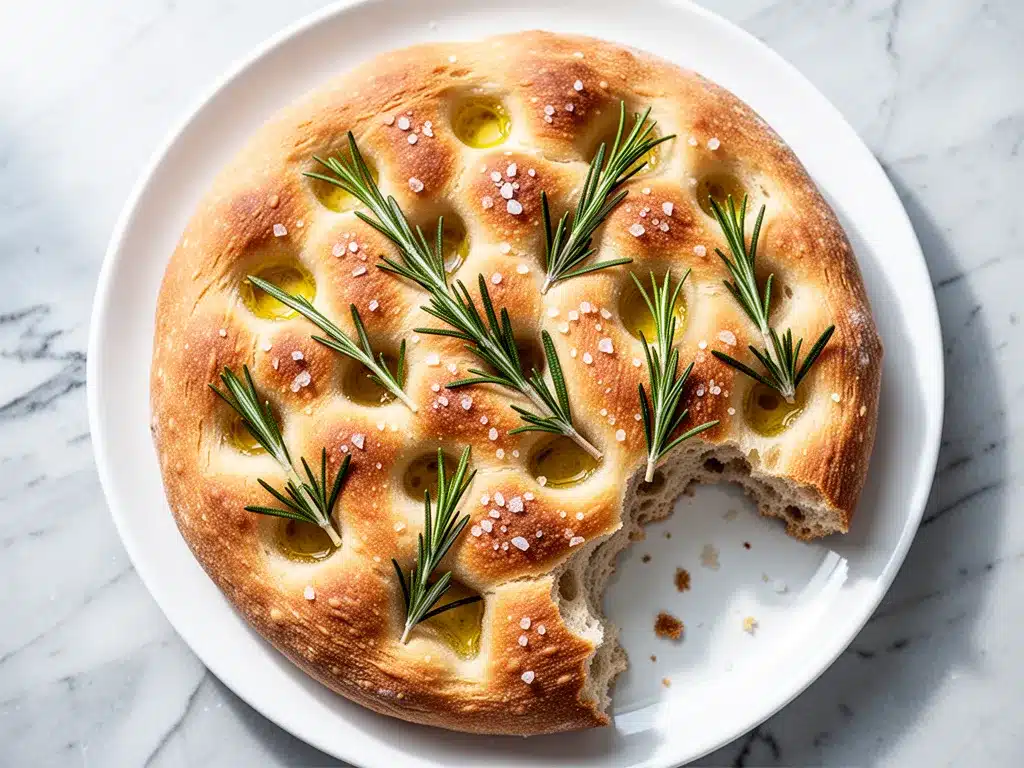
Olive Oil (½ cup / 120ml) — This is non-negotiable. Use a good quality extra virgin olive oil. You’re going to pour this into the pan, so use the kind you’d eat on a salad. Cheap oil tastes bitter when baked. I buy a large bottle of decent EVOO specifically for baking.
Fleur de Sel or Flaky Sea Salt — For sprinkling on top. This adds crunch and bursts of salty flavor. Regular table salt won’t give you the same texture. I love Maldon sea salt for this.
Fresh Rosemary — Chopped or whole sprigs. Rosemary and olive oil are a classic combo. But don’t feel locked in. Thyme works great. Or skip the herbs and just do garlic.
Garlic (2 cloves, thinly sliced) — Optional, but highly recommended. Thin slices, not minced. Minced garlic burns. Thin slices caramelize and get sweet and crunchy.
Optional Add-ins — Cherry tomatoes (halved), olives, caramelized onions, or even ultra fudgy one bowl chocolate chip cookies dough bits for a sweet version (yes, really, try it!).
Equipment Needed
You don’t need fancy gear. Here’s what I actually use in my home kitchen.
9×13 Inch Baking Pan — Metal is best. Glass or ceramic works, but you might need to adjust baking time. I use a cheap metal pan from the dollar store. It doesn’t need to be fancy.
Stand Mixer or Hand Mixer — Optional. I use my stand mixer with the dough hook for the first mix because it saves my arms. But you can absolutely do this by hand. It’s a bit of work, but totally doable.
Plastic Wrap or Damp Towel — To cover the dough while it rises. Plastic wrap is easier. A damp kitchen towel works too, but make sure it doesn’t stick to the dough.
Spatula — For scraping the bowl. A rubber spatula is best because it gets every bit of dough.
Pastry Brush — For brushing the top with oil. A silicone brush is easier to clean.
Sharp Knife — For slicing the garlic or chopping rosemary.
Offset Spatula — Helpful for spreading the dough into the corners of the pan. Or just use your oiled fingers.
How to Make It: Step-by-Step
Alright, let’s make this! I’m walking you through exactly how I do it, including the little tricks I’ve picked up over the last year.
Step 1: Mix the Dough (10 minutes)
In your stand mixer bowl (or a large mixing bowl), combine the flour, salt, sourdough discard, water, and instant yeast. If using a mixer, start on low speed for 2 minutes until everything is combined. Then increase to medium-low and mix for 5-7 minutes. The dough will be very sticky and shaggy. Don’t add more flour! I know it looks messy, but that stickiness is what creates the open crumb. If using a spoon, mix until no dry flour remains. It’ll be a mess. That’s fine.
Step 2: Bulk Fermentation (2-4 hours)
Let the dough rest at room temperature for 2-4 hours. Every 30 minutes, do a “stretch and fold.” Wet your hands, grab one side of the dough, stretch it up, and fold it over the center. Do this for all four sides. This builds gluten without kneading. You’ll do this 3-4 times. After the final fold, cover the bowl with plastic wrap and let it sit until it’s puffy and jiggly. It should look like it has bubbles on the surface.
Step 3: Prep the Pan (5 minutes)
Generously pour ¼ cup of olive oil into your 9×13 pan. Swirl it around to coat the bottom and sides. This is crucial—the focaccia needs to fry in the oil to get that crispy bottom. Sprinkle a little flour over the oil to prevent sticking, then tap out the excess.
Step 4: Transfer and Dimple (10 minutes)
Scrape the sticky dough into the pan. It won’t spread easily. Wet your hands with water, then gently press and stretch the dough toward the corners. Don’t worry about it being perfect. It doesn’t have to reach every edge. Let it rest for 10 minutes to relax the gluten, then try again. Once it’s mostly in the pan, let it rise for another 30-45 minutes until it’s puffy.
Now for the fun part: dimpling. Wet your fingertips again and press them into the dough all over, leaving deep indentations. Go all the way to the bottom of the pan. This is where the oil and herbs will pool, creating those crispy, flavorful pockets.
Step 5: Top and Bake (25-30 minutes)
Drizzle the remaining ¼ cup olive oil over the top, getting into the dimples. Sprinkle with rosemary, garlic slices, and flaky sea salt. Bake at 425°F (220°C) for 25-30 minutes. The focaccia should be deep golden brown on top and bottom. If it’s browning too fast, tent it with foil.
Step 6: Cool and Serve
Let it cool in the pan for 5 minutes, then lift it out onto a wire rack. Let it cool for at least 15 minutes before slicing. It’s tempting to cut it hot, but it needs to set. Slice into squares and enjoy warm.
Expert Tips & Tricks
Here’s everything I’ve learned from making this dozens of times. These tips will save you from my mistakes.
Don’t Fear the Stick — Beginners always want to add more flour. Don’t. The dough should be wet and sticky. If it’s too stiff, your focaccia will be dense. Embrace the mess.
Use a Scale — Baking is science. Volume measurements (cups) are inaccurate. A kitchen scale ensures your hydration is correct. If you don’t have one, invest in one. It changes everything.
Patience with the Dimpling — If the dough springs back, it’s not ready. Let it rest another 10 minutes. Forcing it will tear the gluten and make it tough.
Hot Pan, Hot Oven — Preheat your oven fully. If you put the pan in a cold oven, the yeast stops working, and you get a flat brick.
Garlic Warning — Thin slices only. Minced garlic burns in 25 minutes. Thin slices caramelize and get sweet.
Variations & Substitutions
Once you’ve nailed the basic version, here’s how you can mix it up. I’ve tried all of these.
Savory Tomato Focaccia — Press halved cherry tomatoes into the dough before baking. They burst and create little pockets of sauce.
Onion and Olive — Add caramelized onions and Kalamata olives. It’s like a Mediterranean pizza.
Sweet Focaccia — Skip the rosemary and garlic. Add cinnamon sugar, nuts, and a drizzle of honey after baking. It’s like a dessert bread. Great with fall pumpkin snickerdoodle bars for a snack.
Gluten-Free — Use a gluten-free flour blend with xanthan gum. The texture will be different, but it still works.
Serving & Storage
How to Serve: I usually tear it into pieces and share it. It’s meant for communal eating. Serve with creamy roasted tomato basil soup for a perfect meal.
Storage: Store in an airtight container at room temperature for 2 days. It actually gets better on day 2 as the flavors meld. Reheat in a toaster oven or skillet to crisp up the bottom.
Freezing: Wrap tightly in plastic and foil. Freeze for up to 3 months. Thaw at room temperature and refresh in the oven.
Nutrition Information
I’m not a nutritionist, but here’s the breakdown if you’re tracking.
Per Serving (based on 12 slices):
- Calories: 280
- Protein: 6g
- Carbs: 35g
- Fiber: 2g
- Fat: 12g
- Sodium: 350mg
Look, this is bread with olive oil. It’s not a diet food. But it’s real food. When I want to make it lighter, I use less oil and load up on veggies. But usually? I just eat a slice and enjoy it.
Final Thoughts
So that’s my go-to homemade sourdough focaccia! I’ve probably talked your ear off at this point, but when you make a recipe this often, you have a lot to say about it.
This has saved my weekends. It’s my answer to “what do I do with my free time” when I don’t want to watch TV. It’s my way of slowing down. My family loves it, my neighbors ask for it, and I love making it.
Make it yours! Try different herbs, different oils, different toppings. The best recipes are the ones you adapt to your tastes.
If you make this, drop a comment and let me know what you think! I love hearing how recipes turn out in your kitchen. And if something doesn’t work, tell me that too—I’m here to help troubleshoot.
Happy baking! And I hope your kitchen smells half as good as mine does right now.
Frequently Asked Questions
Can I use active dry yeast instead of instant?
Yes, but you need to proof it first. Dissolve the yeast in the lukewarm water and let it sit for 5-10 minutes until foamy. Then add it to the flour. The rest of the steps stay the same.
Why is my focaccia flat?
Usually, this means the dough wasn’t allowed to rise enough, or the oven wasn’t hot enough. Make sure your dough is puffy and jiggly before you dimple it. Also, preheat your oven fully. A cold oven kills the rise.
Can I make this ahead of time?
Yes! After the bulk rise, you can refrigerate the dough for up to 24 hours. Let it come to room temperature for an hour before dimpling and baking. This actually develops more flavor.
Why did my focaccia stick to the pan?
Not enough oil. You need to be generous with the olive oil in the pan. Also, make sure the pan is hot before you put the dough in? No, wait, you put the dough in cold, but the oven is hot. The oil fries the bottom. If it sticks, you didn’t use enough oil or the pan wasn’t coated properly.
Can I add cheese?
Absolutely. Parmesan or mozzarella works great. Add it after dimpling, before baking. It’ll melt and get crispy.
How do I know when it’s done?
The top should be deep golden brown, and the bottom should sound hollow when you tap it. Also, the internal temperature should be around 200°F (93°C) if you have a thermometer.
Can I use whole wheat flour?
You can, but it will be denser. I recommend using half whole wheat and half bread flour for a good balance of flavor and texture.
Pin This Recipe!
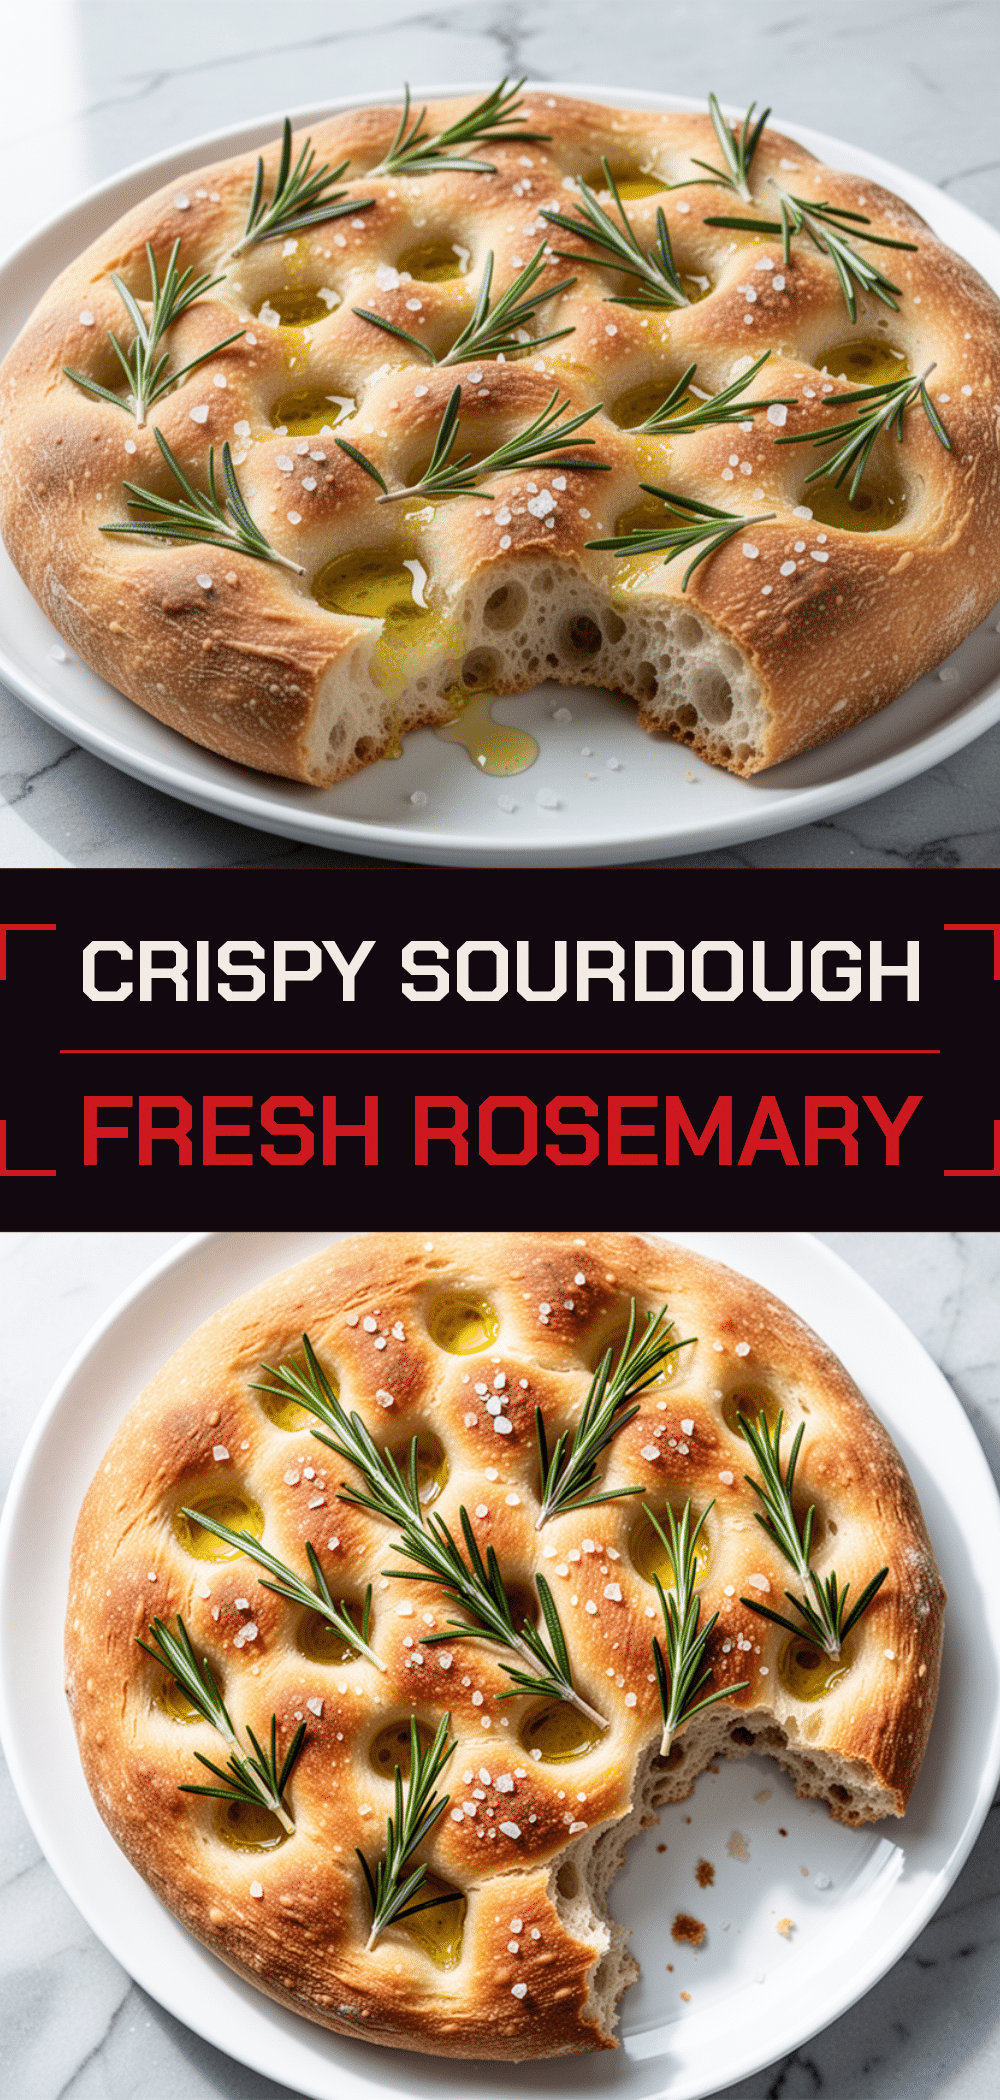

Homemade Sourdough Focaccia: Easy Weekend Recipe
- Total Time: 60 minutes
- Yield: 12 servings 1x
Description
A foolproof, high-hydration sourdough focaccia recipe that uses discard for flavor and instant yeast for convenience. This interactive, therapeutic bread features a crispy, oil-fried bottom and airy, dimpled top.
Ingredients
- 450g (3 ½ cups) Bread Flour
- 360g (1 ½ cups + 2 tablespoons) Lukewarm Water
- 150g (about 1 cup) Sourdough Discard
- 2 teaspoons Instant Yeast
- 10g (1 ½ teaspoons) Fine Sea Salt or Kosher Salt
- ½ cup (120ml) Extra Virgin Olive Oil
- Fleur de Sel or Flaky Sea Salt for topping
- Fresh Rosemary, chopped or whole sprigs
- 2 cloves Garlic, thinly sliced
- Optional: Cherry tomatoes, olives, caramelized onions
Instructions
- In a stand mixer bowl or large mixing bowl, combine flour, salt, sourdough discard, water, and instant yeast.
- Mix on low speed for 2 minutes until combined, then increase to medium-low and mix for 5-7 minutes until the dough is sticky and shaggy. Do not add more flour.
- Let the dough rest at room temperature for 2-4 hours. Every 30 minutes, perform a ‘stretch and fold’ by wetting hands, stretching the dough, and folding it over the center. Repeat 3-4 times.
- After the final fold, cover the bowl with plastic wrap and let it sit until puffy and jiggly with bubbles on the surface.
- Generously pour ¼ cup olive oil into a 9×13 inch metal baking pan. Swirl to coat bottom and sides, then sprinkle with a little flour and tap out excess.
- Scrape the sticky dough into the pan. Wet hands and gently press/stretch dough toward corners. Let rest for 10 minutes to relax gluten, then stretch again if needed.
- Let the dough rise in the pan for another 30-45 minutes until puffy.
- Wet fingertips and press them deeply into the dough all over to create dimples, going to the bottom of the pan.
- Drizzle remaining ¼ cup olive oil over the top, ensuring it pools in the dimples. Sprinkle with rosemary, garlic slices, and flaky sea salt.
- Bake at 425°F (220°C) for 25-30 minutes until deep golden brown on top and bottom. Tent with foil if browning too fast.
- Cool in the pan for 5 minutes, then transfer to a wire rack. Cool for at least 15 minutes before slicing into squares.
Notes
The dough should be very sticky; do not add extra flour. Use a kitchen scale for accuracy. Ensure the oven is fully preheated. Thinly slice garlic to prevent burning. The bread is best served warm but improves on day 2.
- Prep Time: 30 minutes
- Cook Time: 30 minutes
- Category: Side Dish
- Cuisine: Italian
Nutrition
- Serving Size: 1 slice (approx. 1/1
- Calories: 280
- Sugar: 1
- Sodium: 350
- Fat: 12
- Saturated Fat: 2
- Carbohydrates: 35
- Fiber: 2
- Protein: 6
Keywords: sourdough focaccia, sourdough discard, homemade bread, easy focaccia, weekend baking, olive oil bread, Italian bread



