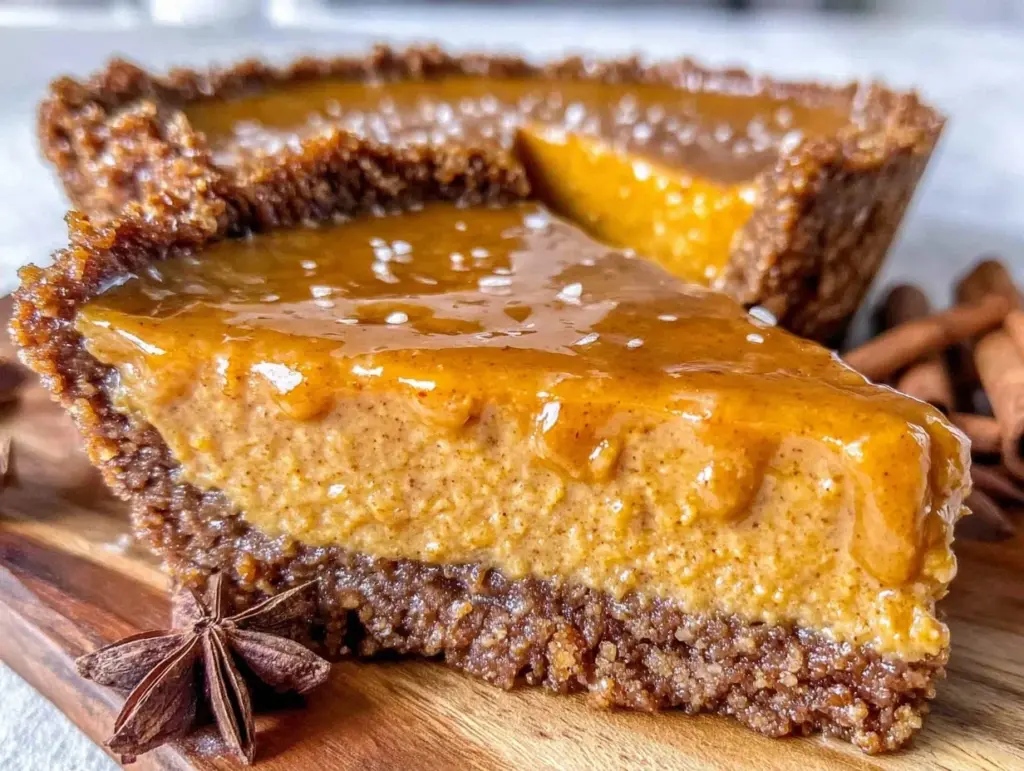
I used to be terrified of hosting Thanksgiving dinner. Not because I couldn’t cook—I could handle the turkey, the stuffing, the whole nine yards—but because dessert always felt like an afterthought. You know the type: a sad slice of store-bought pie from the grocery store that tastes like cardboard and regret, or a homemade attempt that collapsed under its own weight because I tried to juggle too many oven racks. It was stressful, it was messy, and honestly? It never tasted as good as the ones my mom made when she had all day to perfect them.
Then, about three years ago, I stumbled onto this idea. A no-bake pumpkin pie. With a gingersnap crust. And I decided to give it one shot before my in-laws arrived. I remember standing in my kitchen at 4 PM, realizing I had zero time to bake, and panic setting in. So I threw together what I thought would be a mediocre, rushed dessert. Ten minutes later, my mother-in-law took one bite, closed her eyes, and said, “You didn’t bake this? It’s better than the one I make every year.”
That was the moment I realized I didn’t need to bake to impress. That fall no-bake pumpkin pie with gingersnap crust became my secret weapon. It’s creamy, it’s spiced, and it requires absolutely zero oven time. Since then, I’ve made this pie at least a dozen times for everything from casual weeknight treats to big holiday gatherings. And let me tell you, it’s the only dessert I make anymore when I want to keep my sanity intact while still serving something that feels fancy and festive.
If you’re someone who loves the cozy vibes of autumn but hates the hassle of baking (or just doesn’t have the oven space for a turkey), this recipe is your new best friend. It’s rich, it’s comforting, and it’s incredibly easy to pull together. I’ve tweaked the ratios a few times to get that perfect balance between the tangy cream cheese filling and the sweet, spiced pumpkin, and I think I’ve finally nailed it. Let’s get into why this pie is going to save your holiday season.
Why You’ll Love This No-Bake Pumpkin Pie
There are a few reasons this pie has completely replaced my traditional baking routine for fall gatherings, but here are the big ones that keep me coming back to the recipe box:
Zero Oven Stress — Seriously, this is the main selling point. Your oven stays free for the turkey, the casseroles, or whatever else you’re cooking. You just mix, pour, and chill. I’ve made this on a busy Saturday when I was also prepping a pumpkin spice baked french toast for breakfast, and it was a lifesaver.
Crust That Actually Stays Crunchy — I’ve tried graham cracker crusts and oyster cracker crusts, but nothing beats the texture of crushed gingersnaps. They have that molasses kick and a bit of chew that holds up perfectly against the soft filling. Plus, the butter binds them so well that you get that perfect snap when you cut a slice.
Make-Ahead Friendly — This pie needs to chill for at least 4 hours, which means you can make it the day before. This is huge for holiday hosting. You can set it on the counter (or fridge) and forget about it until guests arrive. It actually tastes better after sitting overnight because the flavors have time to meld together.
Rich and Satisfying — I know, I know, we’re supposed to eat light after a huge meal. But this pie is indulgent without being heavy. The cream cheese adds protein and structure, making it feel more like a cheesecake than a gelatinous pumpkin mess. It’s the kind of dessert that fuels your dessert mood without leaving you feeling sluggish.
Gluten-Free Option — If you have guests with dietary restrictions, this is super easy to adapt. Just swap the gingersnaps for a gluten-free version or a nut-based crust, and you’re golden. I’ve made it this way for friends with celiac, and they couldn’t tell the difference.
This pie is my go-to when I want to look like I spent hours in the kitchen, but I actually spent twenty minutes mixing and the rest of the time relaxing. It’s reliable, it’s delicious, and it’s the kind of dessert that gets second slices.
Ingredients You’ll Need for the Perfect Crust and Filling
Here’s the best part: you probably have most of these ingredients already, or they’re super easy to grab on a quick grocery run. I’m particular about a few things here, so let’s break down what you need and why.
For the Gingersnap Crust:
Gingersnap Cookies (2 cups / about 150g) — I use standard store-bought gingersnaps because they have that classic molasses flavor. Don’t use ginger snaps that are too soft or cakey; you want the hard, crisp kind that crush into crumbs easily. If you can find a brand like Pepperidge Farm or a local bakery batch, even better.
Unsalted Butter (6 tablespoons / 85g) — Melted. This binds the crumbs together. I use unsalted so I can control the sodium, but salted works if that’s all you have. Just reduce any added salt in the filling slightly.
Granulated Sugar (2 tablespoons / 25g) — Optional, but I add it because gingersnaps aren’t super sweet. If your cookies are already very sweet, skip this.
Pinch of Salt — Just a tiny bit to enhance the molasses flavor.
For the Creamy Pumpkin Filling:
Cream Cheese (16 oz / 450g) — Full-fat, block style. Do not use the tub spreadable stuff; it has too much air and moisture and will make your filling runny. Let it sit on the counter for 15 minutes before mixing so it’s soft and easy to whip.
Heavy Cream (1 cup / 240ml) — Cold. This is what gives the pie that light, airy texture. I whip this to soft peaks, which adds volume and structure without baking.
Pumpkin Puree (15 oz / 425g) — One standard can. Make sure it’s 100% pure pumpkin, not pumpkin pie filling (which already has sugar and spices added). You want plain puree so you control the sweetness.
Granulated Sugar (¾ cup / 150g) — Adjust to taste. If you prefer less sweet, go down to ½ cup. But I like it sweet enough to balance the tart cream cheese.
Ground Cinnamon (1 teaspoon) — Freshly ground is best, but ground works fine.
Ground Ginger (½ teaspoon) — Enhances the crust flavor.
Ground Nutmeg (¼ teaspoon) — Just a hint. Too much nutmeg can taste bitter.
Ground Cloves (¼ teaspoon) — Optional, but adds that classic holiday warmth.
Vanilla Extract (1 teaspoon) — Pure vanilla, please. The artificial stuff can taste harsh in a no-bake dessert.
For the Topping:
Whipped Cream — Homemade is best (see below), but store-bought works in a pinch.
Extra Gingersnap Crumbs — For garnish.
Pumpkin Seeds (Pepitas) — For a little crunch and visual appeal.
Equipment Needed
You don’t need fancy gadgets for this. Here’s what I actually use:
Food Processor — Or a zip-top bag and a rolling pin. The food processor makes quick work of crushing the cookies into fine crumbs. If you don’t have one, put the cookies in a bag, seal it, and smash them with a rolling pin until they’re sandy.
9-Inch Springform Pan — This is crucial. A springform pan lets you remove the pie easily without flipping it over. A regular pie plate works, but you’ll have to slice it in the pan, which can be messy. I love the clean release of a springform.
Electric Mixer — Handheld or stand mixer. You need to whip the cream cheese and cream to get that smooth, fluffy texture. Doing this by hand is possible, but your arm will thank you if you use a mixer.
Large Mixing Bowls — One for the crust, one for the filling.
Spatula — For folding the whipped cream into the pumpkin mixture. A silicone spatula is best because it scrapes the bowl clean.
Measuring Cups and Spoons — Standard stuff.
Refrigerator — Obviously, but make sure you have space for a 9-inch pie for at least 4 hours.
How to Make It: Step-by-Step
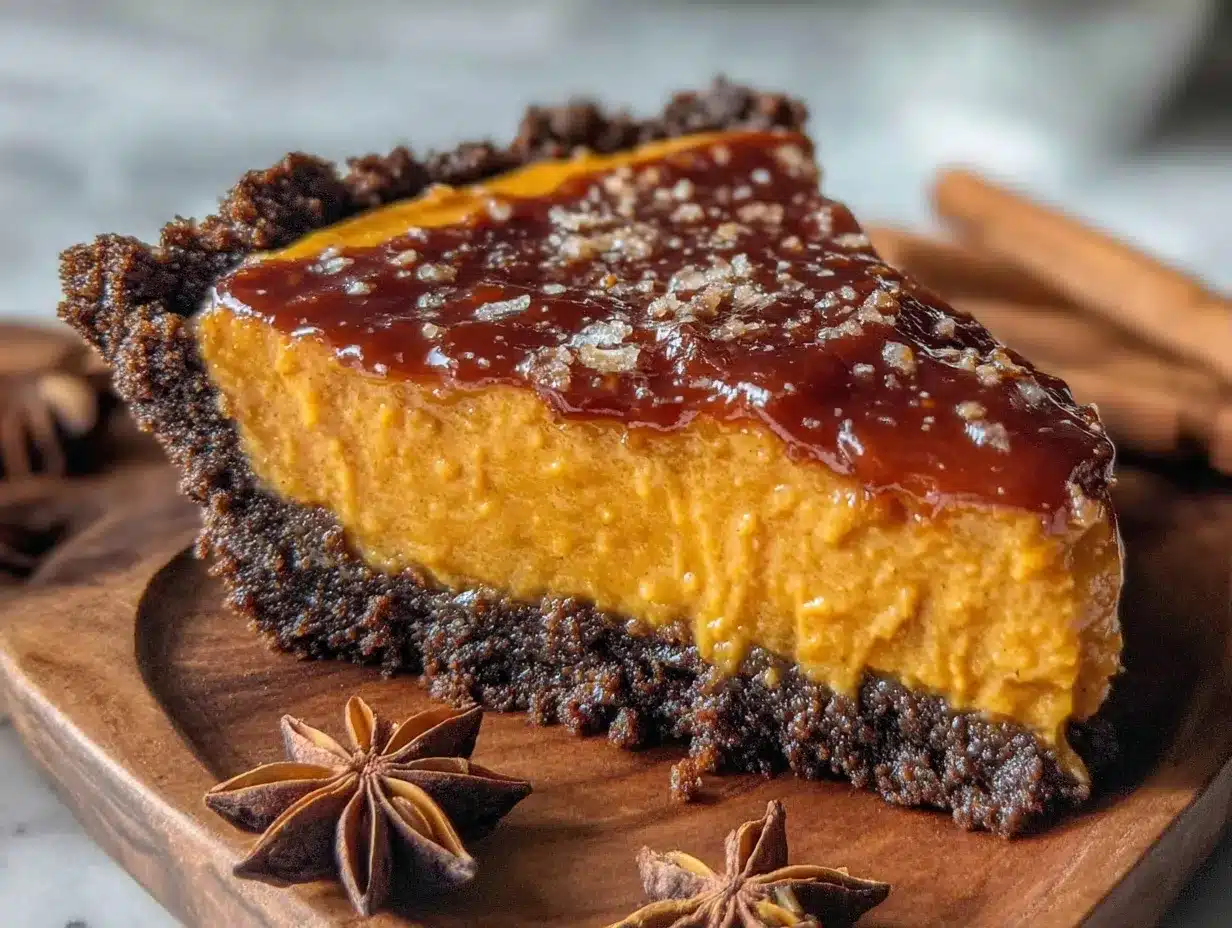
Alright, let’s make this! I’m walking you through exactly how I do it, including the little tricks I’ve picked up over the years.
Step 1: Make the Crust (5 minutes)
Crush your gingersnap cookies into fine crumbs. If you’re using a food processor, pulse until you have a sandy texture. If you’re doing it by hand, keep pounding until there are no large chunks. In a medium bowl, mix the crumbs with the melted butter, sugar (if using), and salt. The mixture should look like wet sand. If you squeeze a handful, it should hold together. If it’s too dry, add a teaspoon more melted butter.
Press this mixture firmly into the bottom and up the sides of your springform pan. Use the bottom of a measuring cup to pack it down evenly. You want a uniform layer. Place the crust in the fridge while you make the filling. This helps it set slightly.
Step 2: Whip the Cream (5 minutes)
In a large, cold bowl, whip the heavy cream to soft peaks. You want it to hold its shape but still be soft enough to fold. Don’t over-whip it into stiff peaks, or it might get grainy when you fold it in. Set this aside.
Step 3: Mix the Pumpkin Base (5 minutes)
In another large bowl, beat the softened cream cheese until it’s completely smooth and creamy. No lumps allowed. Add the sugar, cinnamon, ginger, nutmeg, cloves, and vanilla. Beat until combined. Add the pumpkin puree and mix on low speed until just incorporated. Be careful not to overmix once the pumpkin is in, or you can incorporate too much air, which might cause the pie to deflate later.
Step 4: Fold It All Together (3 minutes)
Gently fold the whipped cream into the pumpkin mixture. Use a spatula and fold from the bottom up, turning the bowl as you go. You want to keep as much air in the mixture as possible to keep it light. Stop when you no longer see white streaks of cream. It should be a uniform, pale orange color.
Step 5: Assemble and Chill (4+ hours)
Pour the filling into the prepared crust. Smooth the top with a spatula. Cover loosely with plastic wrap or foil. Place in the refrigerator for at least 4 hours, but overnight is best. This gives the pie time to set firmly so you can slice it cleanly.
Step 6: Garnish and Serve
Before serving, top with fresh whipped cream, a sprinkle of extra gingersnap crumbs, and a few pumpkin seeds for texture. Slice with a warm knife for clean cuts. Enjoy!
Expert Tips & Tricks
Here’s everything I’ve learned from making this dozens of times. These tips will save you from my mistakes.
Keep Everything Cold — The cream needs to be cold to whip properly. If your kitchen is hot, chill your mixing bowl and beaters in the freezer for 10 minutes before starting. Warm cream won’t whip up.
Don’t Skip the Cream Cheese Softening — If you try to mix cold cream cheese, you’ll get lumps that never go away. Take it out of the fridge 15 minutes early. If you’re in a rush, microwave it in 5-second bursts, stirring between each, until soft.
Fold, Don’t Stir — When combining the whipped cream and pumpkin mixture, gentle folding is key. Stirring vigorously will deflate the cream and make your pie dense. Be patient and gentle.
Use a Warm Knife — When slicing the pie, dip your knife in hot water and wipe it dry between cuts. This ensures clean, professional-looking slices without crumbling the crust.
Test for Doneness — The pie is ready when it’s firm to the touch in the center and doesn’t jiggle. If it jiggles like Jell-O, it needs more time in the fridge.
Variations & Substitutions
Once you’ve nailed the basic version, here’s how you can mix it up. I’ve tried all of these.
Gluten-Free Version — Use gluten-free gingersnaps or crush up gluten-free gingerbread cookies. Check the labels to ensure they’re certified GF. The rest of the recipe is naturally gluten-free.
Dairy-Free Version — Replace the cream cheese with a dairy-free block-style alternative (like Kite Hill or Miyoko’s). Use coconut cream instead of heavy cream, and dairy-free butter for the crust. It’s richer but still delicious.
Spice It Up — Add a pinch of cayenne pepper to the filling for a subtle kick. It enhances the warmth of the spices without making it spicy.
Maple Glaze — Drizzle a little pure maple syrup over the top before serving for extra sweetness.
Add-Ins — Fold in some chopped pecans or walnuts for extra crunch. Or swirl in a little caramel sauce for a salted caramel pumpkin pie vibe.
Serving & Storage
How to Serve: I usually serve this straight from the fridge. It’s best enjoyed cold. Pair it with a cup of hot coffee or tea, or a glass of cold milk. It’s also great with a cranberry apple cider sangria if you’re hosting a party.
Storage: Store leftovers in the refrigerator, covered, for up to 5 days. The crust may soften slightly over time, but it’s still delicious. Do not freeze this pie, as the texture of the whipped cream and cream cheese can change when thawed.
Nutrition Information
I’m not a nutritionist, but here’s the breakdown if you’re tracking. This pie is rich in protein and healthy fats from the cream cheese and cream, making it more filling than a typical fruit pie.
Per Serving (1 of 8 slices):
- Calories: 320
- Protein: 6g
- Carbs: 28g
- Fiber: 1g
- Fat: 20g
- Sugar: 22g
It’s indulgent, but the protein and fat help keep you satisfied. Just be mindful of portion size!
Final Thoughts
So that’s my go-to fall no-bake pumpkin pie with gingersnap crust! I’ve probably talked your ear off at this point, but when you make a recipe this often, you have a lot to say about it. This pie has saved my holidays more times than I can count. It’s my answer to “what’s for dessert” when I’m tired, don’t want to bake, and still want something that tastes really good. My family is happy, my guests are impressed, and I’m happy because I’m not stressed about cooking.
Make it yours! Try different add-ins, swap in your favorite spices, or adjust the sweetness to your liking. The best recipes are the ones you adapt to your family’s tastes. If you make this, drop a comment and let me know what you think! I love hearing how recipes turn out in your kitchen. And if something doesn’t work, tell me that too—I’m here to help troubleshoot.
Happy baking… or rather, happy no-baking! And I hope your kitchen smells half as good as mine does right now.
Frequently Asked Questions
Can I use canned pumpkin pie filling instead of puree?
I don’t recommend it. Pumpkin pie filling already has sugar and spices added, which can throw off the balance of sweetness and flavor in this no-bake recipe. Stick to 100% pure pumpkin puree for the best results.
Why did my pie turn out watery?
This usually happens if the cream cheese wasn’t fully softened before mixing, or if the whipped cream was over-whipped and then deflated. Make sure to beat the cream cheese until it’s completely smooth, and fold the whipped cream gently. Also, ensure your pie chilled for at least 4 hours.
Can I make this ahead for a dinner party?
Absolutely! This pie is actually better made a day in advance. The flavors meld together, and it sets more firmly. You can make it up to 2 days ahead. Just keep it covered in the fridge.
How do I get clean slices?
Use a sharp knife and dip it in hot water between each cut. Wipe it dry with a paper towel before slicing the next piece. This prevents the filling from sticking to the knife and keeps the slices neat.
Can I use a different type of cookie for the crust?
Yes! Graham crackers, chocolate cookies, or even shortbread work well. Gingersnaps are my favorite for the spice factor, but feel free to experiment. Just adjust the sugar in the crust if your cookies are sweeter.
Is this pie gluten-free?
Not with standard gingersnaps. But you can easily make it gluten-free by using gluten-free gingersnap cookies or a nut-based crust. Check the labels of all ingredients to ensure they’re certified gluten-free.
Pin This Recipe!
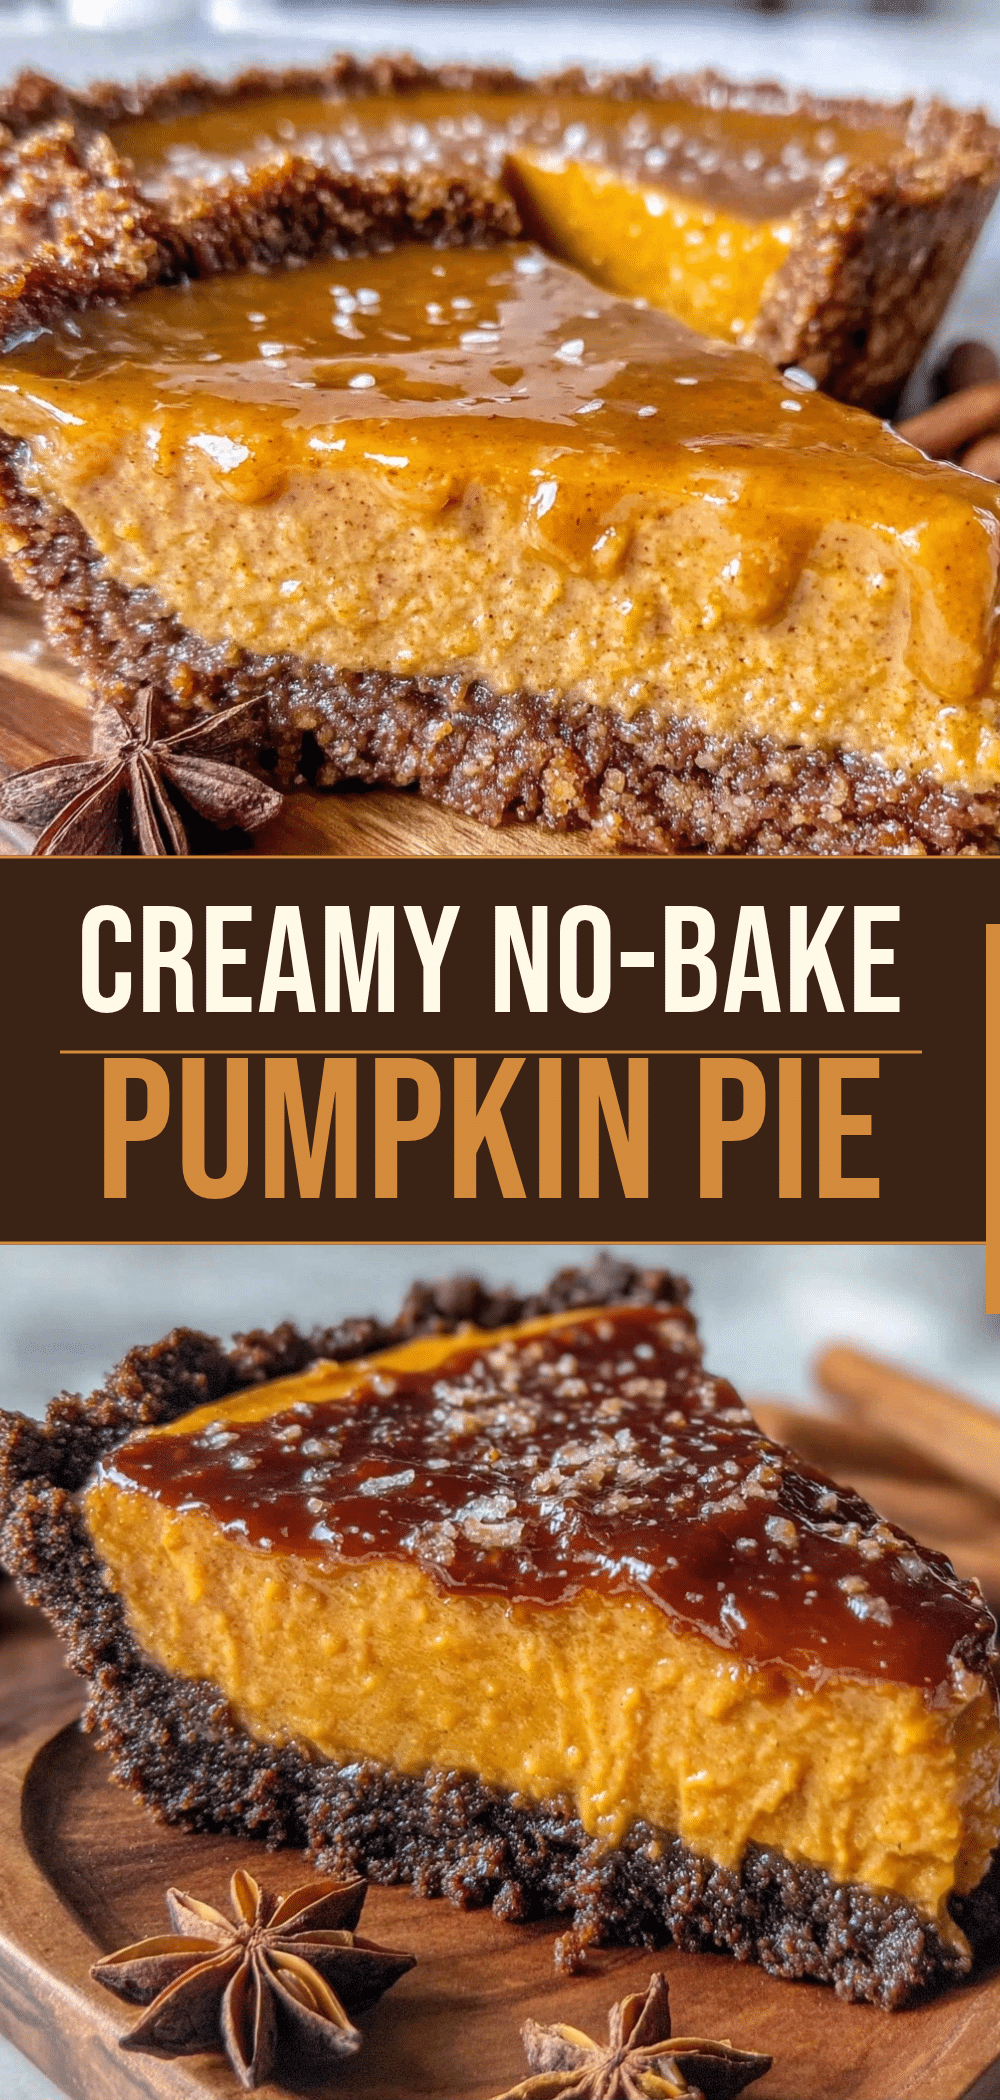
Fall No-Bake Pumpkin Pie with Gingersnap Crust
- Total Time: 4 hours 20 minutes
- Yield: 8 servings 1x
Description
A creamy, spiced no-bake pumpkin pie with a crunchy gingersnap crust that requires zero oven time. Perfect for holiday hosting or when you want a rich, make-ahead dessert without the stress of baking.
Ingredients
- 2 cups (150g) gingersnap cookies
- 6 tablespoons (85g) unsalted butter, melted
- 2 tablespoons granulated sugar (optional)
- 1 pinch salt
- 16 oz (450g) full-fat cream cheese, softened
- 1 cup (240ml) heavy cream, cold
- 15 oz (425g) 100% pure pumpkin puree
- 3/4 cup (150g) granulated sugar
- 1 teaspoon ground cinnamon
- 1/2 teaspoon ground ginger
- 1/4 teaspoon ground nutmeg
- 1/4 teaspoon ground cloves (optional)
- 1 teaspoon vanilla extract
- Whipped cream for topping
- Extra gingersnap crumbs for garnish
- Pumpkin seeds (pepitas) for garnish
Instructions
- Crush gingersnap cookies into fine crumbs using a food processor or rolling pin.
- In a medium bowl, mix cookie crumbs with melted butter, optional sugar, and salt until the texture resembles wet sand.
- Press the crust mixture firmly into the bottom and up the sides of a 9-inch springform pan. Refrigerate while making the filling.
- In a large, cold bowl, whip heavy cream to soft peaks and set aside.
- In another large bowl, beat softened cream cheese until smooth. Add sugar, cinnamon, ginger, nutmeg, cloves, and vanilla; beat until combined.
- Add pumpkin puree to the cream cheese mixture and mix on low speed until just incorporated.
- Gently fold the whipped cream into the pumpkin mixture until uniform and pale orange, being careful not to deflate the cream.
- Pour filling into the prepared crust and smooth the top.
- Cover loosely and refrigerate for at least 4 hours, preferably overnight, until firm.
- Before serving, top with whipped cream, extra gingersnap crumbs, and pumpkin seeds. Slice with a warm knife for clean cuts.
Notes
Ensure cream cheese is fully softened to avoid lumps. Keep heavy cream and mixing bowl cold for best whipping results. Fold whipped cream gently to maintain airiness. The pie is best made a day in advance to allow flavors to meld and texture to set. Do not freeze, as texture may change upon thawing.
- Prep Time: 20 minutes
- Cook Time: 0 minutes
- Category: Dessert
- Cuisine: American
Nutrition
- Serving Size: 1 slice
- Calories: 320
- Sugar: 22
- Sodium: 180
- Fat: 20
- Saturated Fat: 12
- Carbohydrates: 28
- Fiber: 1
- Protein: 6
Keywords: no-bake pumpkin pie, gingersnap crust, fall dessert, holiday dessert, make-ahead dessert, gluten-free option, cream cheese pumpkin pie



