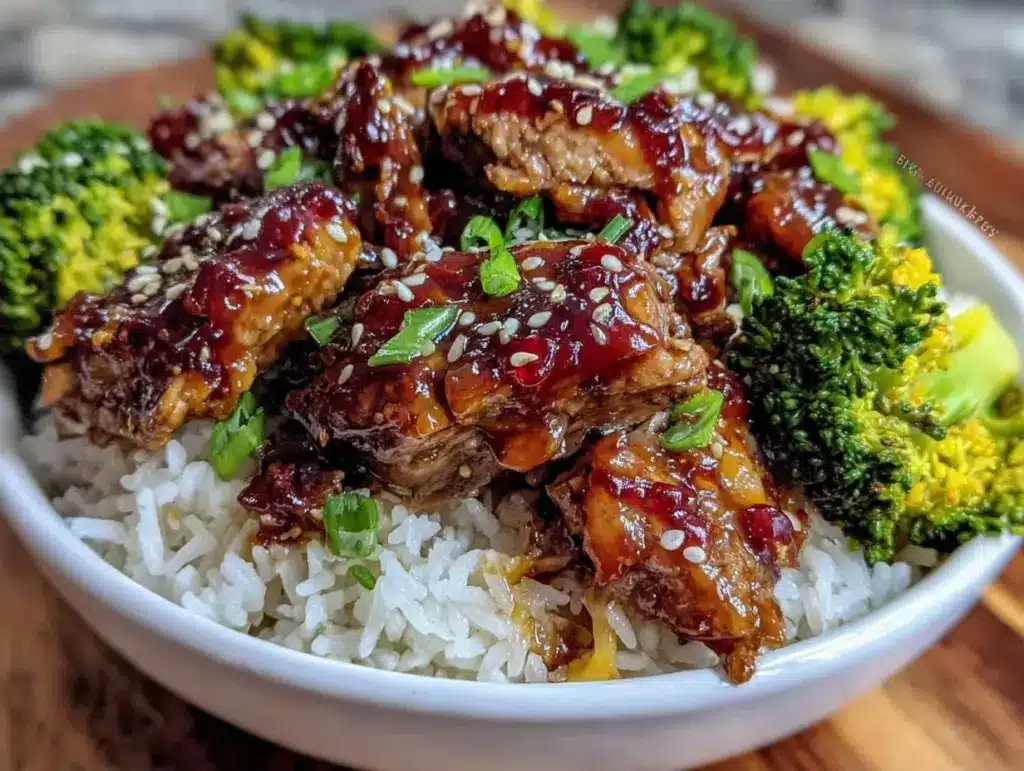
It was 6:30 PM on a Tuesday, and I was staring into the open fridge like it held the secrets to the universe. It didn’t. It held half a jar of pickles, some sad-looking spinach, and a container of leftover rice that had hardened into a concrete block. I was exhausted. My brain was mush. And the thought of chopping vegetables, marinating meat, and actually *cooking* a dinner felt like running a marathon in my head.
But I didn’t want takeout. I knew what was in takeout—sodium levels that would register on seismographs and rice that tasted like cardboard. So, I did what I always do when I’m lazy but ambitious: I made the lazy version of the fancy version.
I pulled out that rock-hard rice, a couple of chicken breasts, and the bottle of teriyaki sauce I’d been meaning to use for three weeks. I threw it together in a frenzy, expecting mediocrity. Instead? I got something sticky, sweet, savory, and incredibly comforting. It tasted like a $20 bowl from that Japanese spot downtown, but it cost me about $4 and took less time than it takes to scroll through delivery apps.
That Tuesday night birthed a habit. Now, these meal prep chicken teriyaki rice bowls are the backbone of my Sunday routine. They’re the reason I don’t panic when Wednesday hits. They’re the reason I actually eat vegetables (hidden in the slaw, don’t tell anyone). And they’re the reason I’ve stopped asking my family, “What do you want for dinner?” and started saying, “I’m making bowls. You in?”
Here’s the thing about meal prep: it’s not about eating the same boring food for five days straight. It’s about having a strategy that works when your energy is low. This recipe isn’t just about saving time; it’s about saving your sanity. I’ve tested this method dozens of times, tweaking the sauce ratios and the cooking methods, until I found the one trick that makes the difference between “okay leftovers” and “actually crave-worthy lunch.”
Why You’ll Love This Recipe
I’ve been making these chicken teriyaki bowls for over a year now, and they haven’t lost their spark. In fact, they’ve become the gold standard for my weekly rhythm. There are a few reasons I keep coming back to this specific setup, and I’m going to lay them out for you so you can see why it might become your new favorite too.
The Sauce Is Actually Homemade-Tasting — I know, I know. I said I used a bottle of teriyaki sauce. But here’s the secret: I don’t just pour it on. I reduce it with a little honey and ginger. It transforms from a salty condiment into a glossy, clingy glaze that tastes like it simmered for hours. You’ll taste the difference immediately.
It’s Actually Fast (Once You Know the Flow) — The first time you make this, it’ll take about 45 minutes. The second time? You’ll be done in 25. The rice does the heavy lifting while you chop the veggies. It’s passive cooking. I can make this while watching a show or talking on the phone. It’s low-effort, high-reward.
It Freezes Like a Dream — This is the real meal prep magic. Unlike chicken breast which can dry out, or rice which can get weird, these bowls freeze beautifully. I’ll make a batch on Sunday, freeze half, and have a gourmet lunch ready to go in the freezer for a busy Thursday. Just pop it in the microwave, and it reheats perfectly.
It’s a Blank Canvas — Love edamame? Add it. Hate carrots? Skip them. Want extra protein? Throw in some shrimp. The base is stable, but the toppings are up to you. I’ve made this for my gluten-free sister by swapping in tamari, and for my carb-conscious dad by using cauliflower rice. Everyone wins.
It Beats Takeout (Literally) — A single bowl of chicken teriyaki from a restaurant runs about $15. Making this at home costs roughly $3 per serving. That’s not just saving money; that’s winning at life. Plus, you control the sugar content. Store-bought teriyaki is basically syrup. I dial it back to “sweet but savory.”
This recipe has saved me from countless takeout disasters. It’s reliable, it’s delicious, and it makes me feel like a competent adult even when I’m running on fumes.
Ingredients You’ll Need
Here’s the best part: you probably have most of this already in your pantry or fridge. I’m particular about a few things here, but for the most part, this is straightforward grocery store fare.
For the Chicken
Chicken Breasts (2 large / about 1.5 lbs) — I use boneless, skinless. Thighs work too if you prefer darker meat (juicier, honestly), but breasts cook faster. Slice them into bite-sized cubes for even cooking.
Neutral Oil (2 tablespoons) — I use avocado oil or vegetable oil. Olive oil works, but it has a stronger flavor that might clash with the delicate teriyaki. Don’t use butter here; it burns too fast.
Salt and Pepper — Just a good pinch. Season the chicken before it hits the pan. It makes a huge difference in the final flavor.
For the “Secret” Sauce
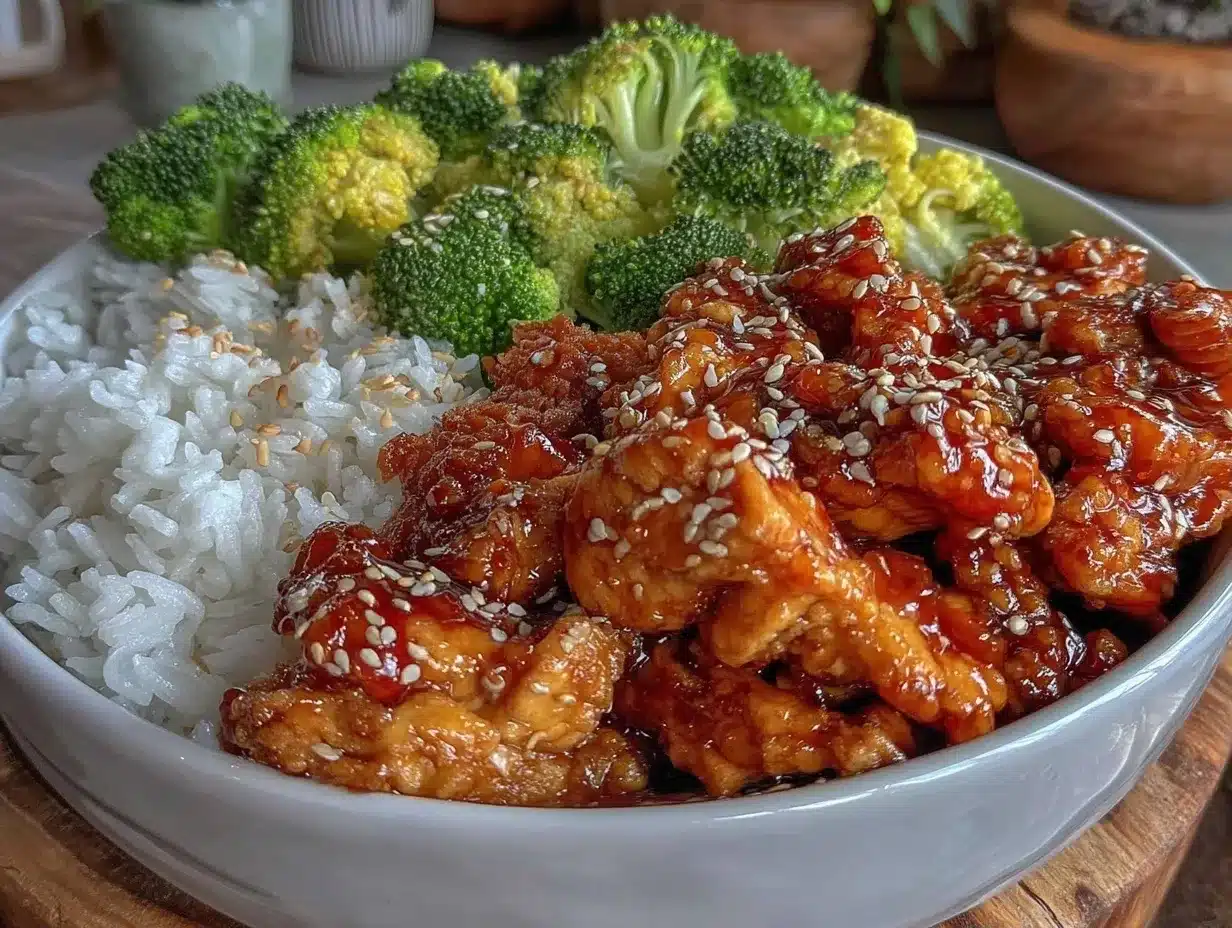
Soy Sauce (½ cup / 120ml) — Use regular soy sauce for the salty base. If you need gluten-free, use tamari. I don’t recommend “low sodium” because you need that salt to balance the sugar.
Honey (3 tablespoons) — This is the sweetener. It also helps the sauce caramelize and stick to the chicken. Maple syrup works, but honey gives a better gloss.
Rice Vinegar (1 tablespoon) — This cuts the sweetness. It adds that tangy brightness you get from takeout. Don’t skip it. Apple cider vinegar works in a pinch, but rice vinegar is authentic.
Fresh Ginger (1 teaspoon, grated) — Grate it yourself. Pre-minced ginger in a jar has a weird fermented taste that doesn’t belong here. A little bit goes a long way.
Garlic (2 cloves, minced) — Fresh only. Jarred garlic is too sharp and metallic for this delicate sauce.
Cornstarch (1 teaspoon mixed with 1 tablespoon water) — This is the thickener. It turns the thin soy mixture into a glossy glaze. Don’t skip this step.
For the Bowl
White Rice (2 cups uncooked / about 400g) — Jasmine or short-grain sushi rice works best. It’s sticky and clings to the sauce. Long-grain rice is too dry for this. I use a rice cooker because it’s foolproof.
Cooked Vegetables — I like a mix. Steamed broccoli, shredded carrots, or edamame. Frozen veggies are fine! I use frozen broccoli florets all the time. Just thaw them in the microwave.
Optional Toppings — Sesame seeds, sliced green onions, or a fried egg. These are for the “wow” factor.
Shopping Tips
Where to find rice vinegar — It’s usually in the Asian aisle, near the soy sauce. If you can’t find it, check the salad dressing aisle for “rice wine vinegar.”
Buying chicken — Look for packages that aren’t swollen with water. Squeeze the package gently. If it feels firm, it’s good. If it’s squishy, put it back.
Substitutions — No honey? Use brown sugar. No rice vinegar? Lemon juice works in a pinch. No cornstarch? Arrowroot powder is a great substitute.
Equipment Needed
You don’t need fancy gadgets for this. Here’s what I actually use, and why.
Large Skillet or Wok — I use a 12-inch stainless steel skillet. It holds enough chicken and sauce for the whole batch. A wok is traditional, but a big skillet works just as well. Non-stick is fine too, but stainless steel gives better browning.
Rice Cooker — I’m obsessed with my cheap rice cooker. It makes perfect rice every single time. If you don’t have one, a pot with a tight-fitting lid works. Just don’t peek while it’s cooking!
Medium Saucepan — For reducing the sauce. I use a small saucepan because it concentrates the heat and helps the sauce thicken faster.
Microwave-Safe Containers — Glass containers are best for meal prep. They don’t stain, they don’t smell, and they go straight from fridge to microwave. I use 4-cup containers with dividers.
Sharp Knife — For slicing chicken and veggies. A dull knife is dangerous and makes a mess. Keep it sharp.
Measuring Cups and Spoons — For the sauce. Accuracy matters here, especially with the cornstarch.
How to Make It: Step-by-Step
Alright, let’s make this! I’m walking you through exactly how I do it, including the little tricks I’ve picked up over the years.
Step 1: Cook the Rice (15-20 minutes)
Start with the rice. Rinse it! This is crucial. Rinse the rice under cold water until the water runs clear. This removes excess starch and prevents the rice from becoming gummy. Cook it according to your package instructions. I use a 1:1.5 ratio of rice to water. Fluff it with a fork when it’s done and set it aside.
Step 2: Prep the Chicken
Pat the chicken dry with paper towels. Moisture is the enemy of browning. Cut the chicken into 1-inch cubes. Season with salt and pepper. This ensures every bite is flavorful, not just the outside.
Step 3: Make the Sauce
In a small saucepan, combine soy sauce, honey, rice vinegar, ginger, and garlic. Whisk in the cornstarch and water slurry until smooth. Place over medium heat and stir constantly. It will thicken in about 2-3 minutes. It should coat the back of a spoon. If it’s too thick, add a splash of water. If it’s too thin, let it cook longer. Remove from heat.
Step 4: Cook the Chicken
Heat oil in your large skillet over medium-high heat. Add the chicken in a single layer. Don’t crowd the pan! If you have a small skillet, cook in batches. Let the chicken sear for 3-4 minutes without moving it. This creates a golden crust. Flip and cook for another 2-3 minutes until cooked through.
Step 5: Glaze and Combine
Pour the thickened sauce over the chicken. Toss everything together until the chicken is coated. The sauce will bubble and cling to the meat. Remove from heat. The residual heat will finish cooking the sauce without burning it.
Step 6: Assemble the Bowls
Divide the rice among your containers. Top with the glazed chicken. Add your vegetables. Drizzle any remaining sauce from the pan over the top. Sprinkle with sesame seeds and green onions.
Expert Tips & Tricks
Here’s everything I’ve learned from making this dozens of times. These tips will save you from my mistakes.
The One Secret: Reduce the Sauce First
This is the game-changer. If you pour thin soy sauce over chicken, it runs off. It’s watery and bland. By reducing the sauce with honey and cornstarch *before* adding it to the chicken, you create a glaze that sticks. It coats every nook and cranny. Trust me. Don’t skip this step.
Don’t Overcrowd the Pan
When cooking the chicken, if you put too much in the pan, it steams instead of sears. You want browning. Browning equals flavor. Cook in batches if you have to. It’s worth the extra 5 minutes.
Rinse Your Rice
I can’t stress this enough. Unrinsed rice is gummy and sticky in a bad way. Rinsed rice is fluffy and separate. It makes a huge difference in the texture of your bowl.
Vegetables: Steam or Roast?
I steam broccoli for speed. It’s quick and retains the green color. But if you have time, roast the veggies in the oven at 400°F for 15 minutes. Roasted veggies have a deeper, nuttier flavor that pairs beautifully with the sweet sauce.
Storage: Cool Completely
Before you put the lids on your containers, let the food cool to room temperature. If you put hot food in the fridge, it creates condensation, which makes the rice soggy and can raise the fridge temperature. Cool it on the counter for 30 minutes.
Variations & Substitutions
Once you’ve nailed the basic version, here’s how you can mix it up. I’ve tried all of these.
Spicy Teriyaki
Add 1 teaspoon of sriracha or chili flakes to the sauce. It adds a nice kick that balances the sweetness. My kids love this version.
Chicken Thighs
Swap breasts for thighs. They’re juicier and more flavorful. Adjust cooking time slightly—thighs take a minute longer to brown.
Cauliflower Rice
For a low-carb version, use riced cauliflower. Sauté it quickly in the pan after the chicken is done. It absorbs the sauce well.
Shrimp Teriyaki
Shrimp cooks in 2-3 minutes. Add it at the end of the sauce reduction. It’s delicate and sweet, perfect for this sauce.
Vegan Version
Use firm tofu instead of chicken. Press the tofu first, then cube and pan-fry until crispy. Use maple syrup instead of honey. It’s surprisingly good.
Serving & Storage
How to Serve
I serve these warm, straight from the microwave. They taste best the day they’re made, but they hold up well for 4-5 days. I usually add a squeeze of fresh lime juice right before eating—it brightens everything up.
Storage
Store in airtight glass containers in the fridge for up to 5 days. The rice will firm up in the fridge, which is normal. Just microwave it with a splash of water to rehydrate it.
Freezing
These freeze beautifully for up to 3 months. Thaw in the fridge overnight. Reheat in the microwave. The texture of the chicken might be slightly drier, but the sauce keeps it moist.
Reheating Tip
Sprinkle a teaspoon of water over the rice before microwaving. Cover with a damp paper towel. This creates steam and keeps the rice fluffy.
Nutrition Information
I’m not a nutritionist, but here’s the breakdown if you’re tracking.
Per Serving (based on 4 servings):
- Calories: 450
- Protein: 35g
- Carbs: 55g
- Fiber: 3g
- Sugar: 12g
- Fat: 8g
This is a balanced meal with good protein and complex carbs. It’s not diet food, but it’s not a cheat meal either. It’s solid, nourishing food. If you’re watching sugar, reduce the honey to 2 tablespoons.
Final Thoughts
So that’s my go-to meal prep chicken teriyaki rice bowls! I’ve probably talked your ear off at this point, but when you make a recipe this often, you have a lot to say about it.
This has saved me from countless takeout decisions. It’s my answer to “what’s for lunch?” when I’m busy, tired, or just don’t want to think. It’s reliable, delicious, and makes me feel like I’m taking care of myself, even on the busiest days.
Make it yours! Try different veggies, adjust the spice level, or swap the protein. The best recipes are the ones you adapt to your life.
If you make this, drop a comment and let me know what you think! I love hearing how recipes turn out in your kitchen. And if something doesn’t work, tell me that too—I’m here to help troubleshoot.
Happy cooking! And I hope your kitchen smells half as good as mine does right now.
Frequently Asked Questions
Q: Can I use brown rice instead of white rice?
A: Yes, but it will change the texture. Brown rice is chewier and takes longer to cook. You might want to increase the water slightly and cook it longer. It’s healthier, but white rice has a better mouthfeel for this dish.
Q: Why is my sauce too thin?
A: You probably didn’t let it reduce enough, or you didn’t use enough cornstarch. Keep simmering it on medium heat. It will thicken as the water evaporates. If it’s still too thin, add a tiny bit more cornstarch slurry.
Q: Can I make this ahead for the whole week?
A: Yes! This is designed for meal prep. Make it on Sunday, store in the fridge, and eat throughout the week. It stays fresh for 4-5 days.
Q: Is this recipe gluten-free?
A: Not as written, because of the soy sauce. To make it gluten-free, swap regular soy sauce for tamari or coconut aminos. Everything else is naturally gluten-free.
Q: Can I freeze the chicken and rice separately?
A: Yes, you can. Some people prefer to freeze the chicken and rice separately to maintain texture. But putting it all together in one container saves space and time. Both methods work.
Q: What if I don’t have rice vinegar?
A: You can use apple cider vinegar or white wine vinegar. Just use a little less, as they’re sharper. A squeeze of lemon juice also works in a pinch.
Q: How do I stop the rice from getting soggy?
A: Make sure the rice cools completely before putting the lid on. Also, don’t add too much sauce to the rice itself. Keep the sauce mostly on the chicken and veggies.
Pin This Recipe!
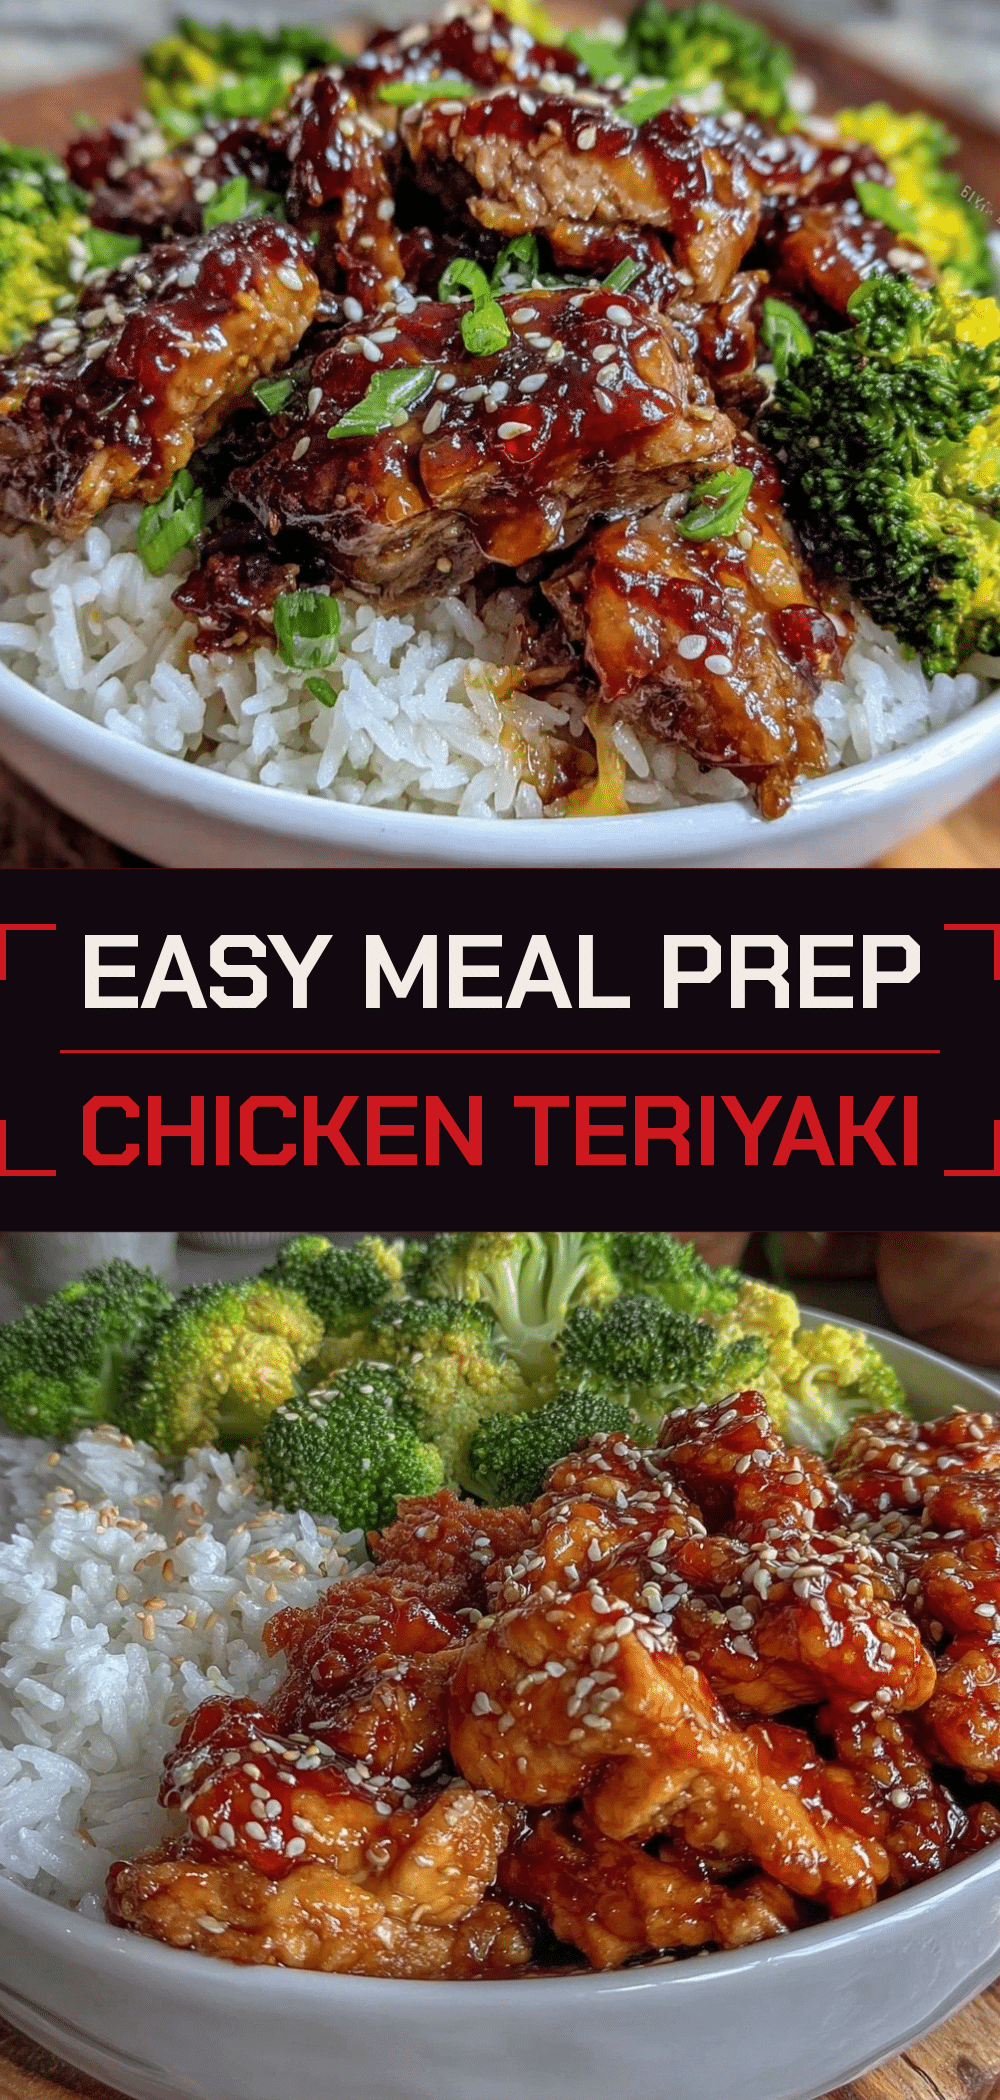
Meal Prep Chicken Teriyaki Rice Bowls
- Total Time: 45 minutes
- Yield: 4 servings 1x
Description
A quick, customizable, and freezer-friendly meal prep recipe featuring glazed chicken, fluffy rice, and vegetables, designed to save time and money compared to takeout.
Ingredients
- 2 large boneless, skinless chicken breasts (about 1.5 lbs), cut into 1-inch cubes
- 2 tablespoons neutral oil (avocado or vegetable)
- Salt and pepper, to taste
- 1/2 cup (120ml) soy sauce (or tamari for gluten-free)
- 3 tablespoons honey
- 1 tablespoon rice vinegar
- 1 teaspoon fresh ginger, grated
- 2 cloves garlic, minced
- 1 teaspoon cornstarch mixed with 1 tablespoon water
- 2 cups uncooked white rice (Jasmine or short-grain)
- Cooked vegetables (steamed broccoli, shredded carrots, or edamame)
- Optional toppings: sesame seeds, sliced green onions, fried egg
Instructions
- Rinse the rice under cold water until the water runs clear to remove excess starch. Cook according to package instructions (using a 1:1.5 rice-to-water ratio if using a pot), then fluff with a fork and set aside.
- Pat the chicken cubes dry with paper towels and season generously with salt and pepper.
- In a medium saucepan, combine soy sauce, honey, rice vinegar, ginger, and garlic. Whisk in the cornstarch and water slurry until smooth.
- Place the sauce mixture over medium heat and stir constantly until it thickens into a glossy glaze (about 2-3 minutes). Remove from heat.
- Heat oil in a large skillet or wok over medium-high heat. Add chicken in a single layer (cook in batches if necessary to avoid crowding). Sear for 3-4 minutes without moving to create a golden crust, then flip and cook for another 2-3 minutes until cooked through.
- Pour the thickened sauce over the cooked chicken and toss to coat evenly. Remove from heat.
- Divide the cooked rice among containers. Top with the glazed chicken and vegetables. Drizzle with any remaining sauce and sprinkle with sesame seeds and green onions.
Notes
For best results, reduce the sauce before adding it to the chicken to ensure it glazes properly rather than running off. Rinse rice thoroughly to prevent gumminess. Cool food completely before storing to prevent condensation and soggy rice. To reheat, sprinkle a teaspoon of water over the rice and cover with a damp paper towel.
- Prep Time: 15 minutes
- Cook Time: 30 minutes
- Category: Main Course
- Cuisine: Japanese
Nutrition
- Serving Size: 1 bowl
- Calories: 450
- Sugar: 12
- Sodium: 900
- Fat: 8
- Saturated Fat: 1
- Carbohydrates: 55
- Fiber: 3
- Protein: 35
Keywords: meal prep, chicken teriyaki, rice bowls, easy dinner, healthy lunch, gluten-free option, freezer friendly, quick meals



