Let’s be real for a second. There is nothing—and I mean nothing—more stressful than arriving at a tailgate party with a sad, lukewarm pot of chili or a bag of chips that’s been squished in the trunk. I used to think I was a “good” host because I showed up. Turns out, I was just a host with a snack situation. The turning point came three years ago at my brother’s football game. It was pouring rain, everyone was huddled under a tarp, shivering, and the only thing keeping us sane was a slow cooker I’d hacked together in the parking lot. That’s when I realized: people don’t remember the score. They remember the food. Specifically, they remember the food that smells like heaven and tastes like a cheat day.
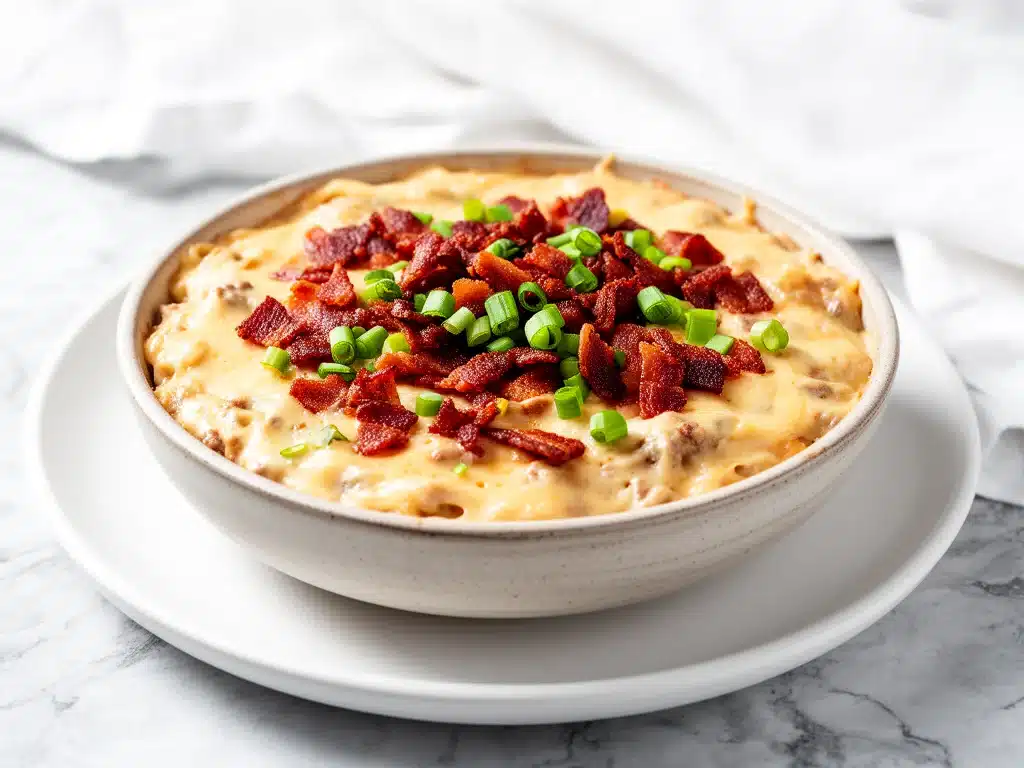
That rainy day led me to develop what I now consider my secret weapon for any gathering: the Tailgate Hot Bacon Cheeseburger Dip. It’s not just a dip; it’s a flavor bomb wrapped in gooey, melted goodness. I’ve made this dip for Super Bowl parties, backyard BBQs, and even random Tuesday nights when I need comfort food. Every single time, it’s the first thing to disappear. Guests line up. People ask for the recipe. And honestly? It’s easier to make than ordering takeout, and it tastes way better.
Here’s the thing about this recipe: it mimics all the best parts of a classic cheeseburger—juicy beef, crispy bacon, tangy pickles, melty cheese—without the mess of grilling. You don’t need a grill master. You don’t need to stand outside in the cold. You just need a skillet, a few pantry staples, and about ten minutes of active time. I’ve tested this recipe dozens of times, tweaking the cheese blends and bacon ratios, until I landed on the perfect balance of savory, salty, and creamy. It’s rich, but not overwhelming. It’s hearty, but easy to eat while standing up. If you’re looking for a party appetizer that actually delivers, this is it. It’s the kind of dish that makes you look like a culinary genius with minimal effort.
Why You’ll Love This Tailgate Hot Bacon Cheeseburger Dip
Once you make this Tailgate Hot Bacon Cheeseburger Dip, you’ll wonder why you ever bothered with store-bought appetizers. There are a few reasons this has become my go-to, but let’s get straight to the benefits that actually matter to you.
Lightning Fast Prep — Seriously, this is a 10-minute active recipe. I’m talking from opening the package to the first cheesy pull in under half an hour. I’ve made this on weeknights when I have guests over unexpectedly. You don’t need to marinate meat or slow-cook anything. It’s fresh, it’s hot, and it’s ready before your guests finish unpacking.
Flavor That Packs a Punch — Most dips are just bland cheese with a hint of spice. This one tastes like a gourmet burger. The combination of ground beef, smoky bacon, and tangy pickle relish creates a complex flavor profile that keeps people coming back. I’ve served this to picky eaters and food snobs alike, and everyone asks for seconds. It’s universally loved.
Perfect for Any Occasion — While I call it a “tailgate” dip, it’s versatile. It’s great for Super Bowl parties, game day gatherings, casual get-togethers, or even as a main course over mashed potatoes. I’ve even used it as a topping for baked potatoes. It’s a crowd-pleaser that works whether you’re feeding four people or forty.
Minimal Cleanup — The best part? It’s mostly cooked in one skillet. Sure, you’ll have a few bowls to wash, but compared to frying burgers or making sliders, this is a breeze. I love that I can spend my time socializing instead of scrubbing pots. It’s efficient, delicious, and stress-free.
This dip has completely changed how I approach party food. It’s reliable, it’s delicious, and it always gets the job done. No complicated techniques, no weird ingredients, just solid, comforting food that makes everyone happy.
Ingredients You’ll Need for the Best Cheeseburger Dip
Here’s the best part: you probably have most of these ingredients already. This isn’t a recipe that requires a trip to three different specialty stores. I’m particular about a few things, but for the most part, this is pantry-friendly cooking. Let’s break down what you need and why it matters.
For the Base
Ground Beef (1 pound / 450g) — I use 80/20 lean-to-fat ratio. You want that fat for flavor and juiciness. If you use lean beef, the dip can taste dry. Drain most of the grease, but leave a little bit for richness. This is the heart of the dip, so don’t skimp on quality.
Onion (1 medium, finely diced / about 150g) — Yellow onion is my go-to. It adds sweetness and depth when cooked. Mince it finely so it blends into the dip rather than being chunky. If you’re sensitive to raw onion flavor, cook it thoroughly until soft.
Bacon (6 slices, cooked and crumbled / about 100g) — Use thick-cut bacon if you can find it. It holds up better and adds a smoky crunch. Cook it until crispy, then crumble it into bite-sized pieces. You want bacon bits, not strips, so every spoonful has that smoky hit.
For the Flavor
Pickle Relish (½ cup / 120g) — This is the secret ingredient. It adds that classic burger tang. Use sweet pickle relish for a milder flavor, or dill for a sharper kick. I always keep a jar in the fridge because it’s in so many recipes. Don’t skip this—it’s what makes it taste like a cheeseburger.
Garlic (2 cloves, minced / about 1 tablespoon) — Fresh garlic is non-negotiable. Jarred garlic just doesn’t have the same punch. Mince it finely so it disperses evenly. If you’re in a rush, pre-minced works, but fresh tastes better.
Tomato Sauce (½ cup / 120ml) — I use a simple, no-salt-added tomato sauce to control the sodium. It adds moisture and a subtle tomato flavor without being too acidic. You can also use crushed tomatoes, but sauce blends smoother.
Ketchup (2 tablespoons) — Just a touch to bring out the sweetness and tang. It’s a classic burger condiment for a reason. Don’t overdo it—you want to taste the cheese and beef, not ketchup.
For the Cheese
Cheddar Cheese (1 cup / 100g, shredded) — Sharp cheddar gives the best flavor. I shred it myself from a block. Pre-shredded cheese has anti-caking agents that can make the dip grainy. Sharp cheddar melts smoothly and adds a nice tang.
Mozzarella Cheese (1 cup / 100g, shredded) — This is for the melt. Mozzarella creates that stringy, gooey texture that makes this dip so satisfying. Low-moisture mozzarella works best. Don’t use pre-shredded if you can avoid it.
Cream Cheese (4 oz / 115g, softened) — This is the glue. It adds creaminess and helps bind the dip so it’s not too runny. Soften it in the microwave or leave it on the counter for 30 minutes. Cold cream cheese will clump up.
For the Topping
Dill Pickle Spears (4-6 spears, sliced) — For garnish. I slice them into rings or chunks. They add a fresh crunch and visual appeal. Plus, they’re delicious to eat with the dip.
Green Onions (2 stalks, sliced) — For a pop of color and mild onion flavor. Sprinkle them on top before serving. They look fancy and taste great.
Optional Add-ins — I sometimes add cooked mushrooms or jalapeños for extra flavor. Mushrooms add earthiness, and jalapeños add heat. But the classic version is perfect on its own.
Equipment Needed
You don’t need fancy equipment for this. Here’s what I actually use.
Large Skillet or Dutch Oven — I use a 12-inch cast iron skillet. It distributes heat evenly and keeps the dip warm. A Dutch oven works too if you want to serve it in the pot. Just make sure it’s big enough to hold all the ingredients.
Wooden Spoon or Spatula — For stirring. Silicone works too. Don’t use metal on non-stick surfaces. You need something that can scrape the bottom to prevent burning.
Colander — For draining the beef. Or just use a spoon to scoop out the grease. I prefer a colander for efficiency.
Sharp Knife and Cutting Board — For chopping onions, bacon, and pickles. A good knife makes this process much faster and safer.
Grater — For shredding cheese. Box grater works fine. Microplane is overkill for this.
Serving Spoon — A large spoon for scooping. Ladles work too, but a spoon is easier for thick dips.
Optional but nice — Slow cooker if you want to keep it warm for hours. I’ve made this in a slow cooker on low for 2 hours, and it stays perfect. Just transfer it from the skillet to the slow cooker.
How to Make It: Step-by-Step
Alright, let’s make this! I’m walking you through exactly how I do it, including the little tricks I’ve picked up over the years.
Step 1: Prep Your Ingredients (5 minutes)
Before you start cooking, chop your onion, cook your bacon, and shred your cheese. I know it seems fussy, but it makes the actual cooking way less stressful. Cook the bacon until crispy, then crumble it. Set it aside. Mince the garlic and dice the onion. Measure out the relish, ketchup, and tomato sauce. Grate the cheddar and mozzarella. Soften the cream cheese. Once you start cooking, things move fast, so have everything ready.
Step 2: Cook the Beef and Onions (8-10 minutes)
Heat a large skillet over medium-high heat. Add the ground beef and diced onion. Break up the beef with a wooden spoon as it cooks. Cook for 8-10 minutes until the beef is browned and the onions are soft. You want to see no pink spots. IMPORTANT: Drain most of the grease, but leave about 1 tablespoon for flavor. If you drain it all, the dip will be dry.
Step 3: Build the Flavor Base (3-4 minutes)
Reduce the heat to medium. Add the minced garlic and pickle relish to the skillet. Stir well and cook for 1-2 minutes until the garlic is fragrant. Add the tomato sauce and ketchup. Stir to combine. Let it simmer for 2 minutes to let the flavors meld. The mixture should smell like a burger joint. This is where the magic happens.
Step 4: Add the Cream Cheese (2 minutes)
Remove the skillet from the heat. Add the softened cream cheese in chunks. Stir gently until the cream cheese melts and incorporates into the beef mixture. It might take a minute, but keep stirring. The mixture should become creamy and cohesive. Don’t rush this step, or you’ll get lumps.
Step 5: Melt the Cheese (5-6 minutes)
Return the skillet to low heat. Add the shredded cheddar and mozzarella cheese gradually, stirring constantly. The cheese will melt and create a gooey, stringy dip. If it gets too thick, add a splash of milk or beef broth. The dip should be thick enough to hold its shape but loose enough to scoop.
Step 6: Add the Bacon and Serve
Stir in half of the crumbled bacon. Reserve the rest for topping. Let it simmer for another minute to heat through. Taste and adjust salt if needed. The dip is ready when it’s hot, creamy, and bubbly. Transfer to a serving dish or keep in the skillet.
Step 7: Garnish and Enjoy
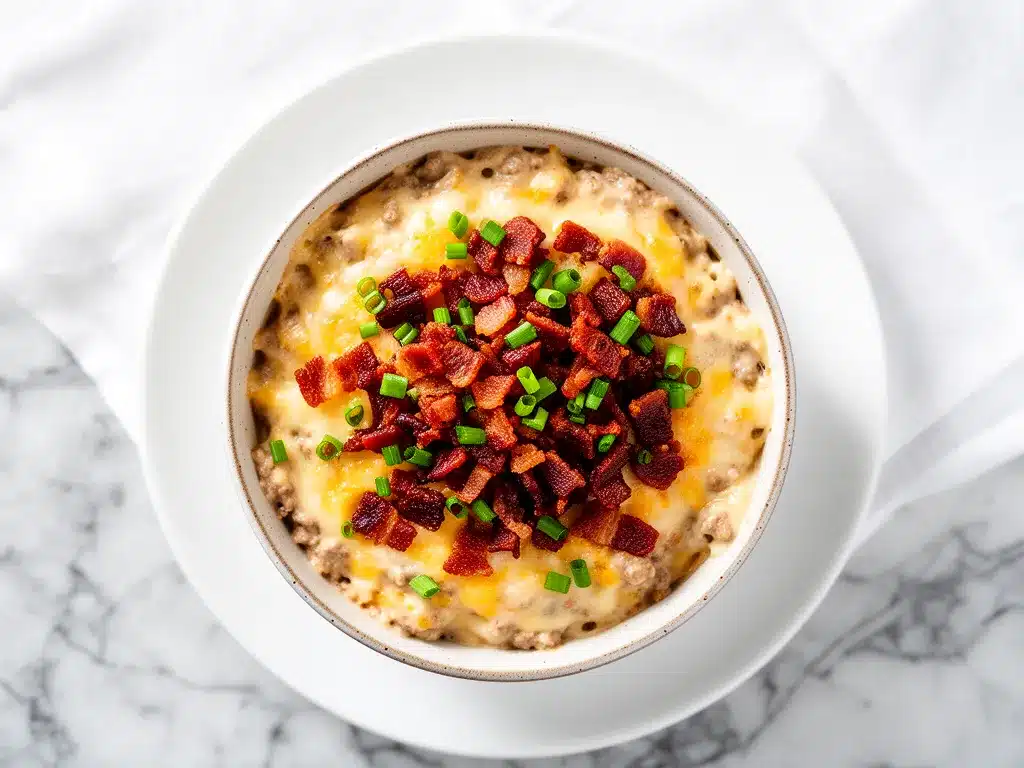
Sprinkle the remaining bacon on top. Add sliced pickles and green onions for garnish. Serve immediately with crackers, chips, or bread. The dip is best when it’s hot and fresh.
Total Time: About 30 minutes (10 minutes active, 20 minutes mostly hands-off)
Expert Tips & Tricks
Here’s everything I’ve learned from making this dozens of times. These tips will save you from my mistakes.
Don’t Overcook the Beef — If you overcook the beef, it becomes dry and crumbly. Cook it just until browned. It will finish cooking in the dip, so pull it off the heat while it’s still slightly juicy.
Use Full-Fat Dairy — This is a rich, indulgent dip. Low-fat dairy won’t give you the same creamy texture. Stick with full-fat cream cheese and milk if you need to thin it out. Trust me, your taste buds will thank you.
Control the Salt — Bacon, cheese, and beef are all salty. Taste before adding extra salt. I usually don’t add any, but if you use low-sodium bacon, you might need a pinch. Be careful—you can always add salt, but you can’t take it away.
Keep It Warm — If you’re serving this at a party, keep it warm in a slow cooker or a warming tray. Cold cheese dip is not appetizing. I transfer it to a slow cooker on low after cooking, and it stays perfect for hours.
Customize the Heat — If you like spice, add diced jalapeños or a dash of cayenne pepper. I sometimes add a few slices of pepper jack cheese for extra kick. But the classic version is mild and crowd-pleasing.
Serve with the Right Dippers — This dip is thick, so you need sturdy dippers. Pretzel bites, thick-cut potato chips, or crusty bread work best. Soft crackers might break. I also love it with celery sticks for a crunch.
Variations & Substitutions
Once you’ve nailed the basic version, here’s how you can mix it up. I’ve tried all of these.
Turkey Version — Swap ground beef for ground turkey. It’s leaner and lighter. Add a tablespoon of olive oil to the pan since turkey is leaner. It’s still delicious, just less rich.
Veggie-Loaded — Add sautéed mushrooms, bell peppers, or spinach. I sometimes add diced zucchini for extra veggies. It adds bulk and nutrition without sacrificing flavor.
Spicy Kick — Add diced jalapeños, hot sauce, or pepper jack cheese. I like to add a teaspoon of cayenne pepper for extra heat. Perfect for those who like it spicy.
BBQ Style — Swap ketchup for BBQ sauce. Add smoked paprika and extra bacon. It gives it a smoky, tangy flavor. I’ve made this for BBQ-themed parties, and it’s a hit.
Gluten-Free — Use gluten-free crackers or chips for dipping. The dip itself is naturally gluten-free, just check your bacon and cheese labels for hidden gluten.
Lower-Carb — Serve with celery sticks, cucumber slices, or cheese crisps instead of chips. It’s still satisfying without the carbs. I make this when I’m watching my weight.
Serving & Storage
How to Serve: I usually serve this straight from the skillet at the dinner table—it looks rustic and stays warm. But here are other ways I’ve enjoyed it:
- With pretzel bites (my personal favorite)
- Over baked potatoes for a loaded potato experience
- As a topping for burgers (yes, really)
- With crusty bread for dipping
Side Dishes: This is a hearty dip, so you don’t need much else. But I often serve it with a simple green salad to balance the richness. Or pair it with pickles and olives for a classic appetizer spread.
Storage Instructions:
Refrigerator: Store in an airtight container for up to 3 days. The dip will thicken in the fridge—totally normal. Reheat gently on the stove with a splash of milk or cream to loosen it up.
Reheating: Best method: Add to a skillet with a splash of milk over low heat. Stir until heated through and creamy again. Microwave method: Heat in 30-second intervals, stirring between. Add a splash of milk if it’s too thick.
Freezing: Honestly, this doesn’t freeze well because of the dairy. The sauce separates when thawed. Make it fresh or store in the fridge for up to 3 days.
Pro tip: If leftovers are drying out, stir in a tablespoon of butter and a splash of milk when reheating. Brings back that creamy texture.
Nutrition Information
I’m not a nutritionist, but here’s the breakdown if you’re tracking.
Per Serving (based on 8 servings):
- Calories: 380
- Protein: 22g
- Carbs: 8g
- Fiber: 1g
- Sugar: 3g
- Fat: 28g
- Saturated Fat: 14g
- Cholesterol: 85mg
- Sodium: 650mg
What’s Good: High protein from beef and cheese. Calcium from the cheese. Can add vegetables to boost nutrition.
What to Know: Higher in calories and fat from cheese and beef. Contains dairy. Moderate sodium (use low-sodium bacon to reduce).
My Take: Look, this is comfort food. It’s not a diet recipe. But it’s way better than takeout, costs less, and I know exactly what’s in it. When I want to make it lighter, I use turkey and less cheese. But usually? I just eat a reasonable portion and enjoy it.
Final Thoughts
So that’s my go-to Tailgate Hot Bacon Cheeseburger Dip! I’ve probably talked your ear off at this point, but when you make a recipe this often, you have a lot to say about it.
This has saved game days more times than I can count. It’s my answer to “what’s for appetizers” when I’m tired, don’t want takeout, and still want something that tastes really good. My kids are happy, my husband’s happy, and I’m happy because I’m not stressed about cooking.
Make it yours! Try different add-ins, swap in your favorite vegetables, adjust the spice level. The best recipes are the ones you adapt to your family’s tastes.
If you make this, drop a comment and let me know what you think! I love hearing how recipes turn out in your kitchen. And if something doesn’t work, tell me that too—I’m here to help troubleshoot.
Happy cooking! And I hope your kitchen smells half as good as mine does right now.
Frequently Asked Questions
Q: Can I use ground turkey instead of beef?
A> Yes, but it will be leaner. Add a tablespoon of olive oil to the pan to prevent sticking. It’s still delicious, just less rich. I make this version when I’m trying to be a bit healthier.
Q: Can I make this ahead of time?
A> You can prep the ingredients ahead, but cook it fresh. The cheese won’t melt properly if you reheat a cold dip. I recommend cooking it 30 minutes before serving.
Q: Why is my dip too runny?
A> You might have used too much liquid or not enough cheese. Let it simmer longer to reduce, or add more cheese. Also, make sure you’re draining the beef well.
Q: Can I freeze this dip?
A> I don’t recommend it. The dairy separates when frozen and thawed. It’s best made fresh. But you can store leftovers in the fridge for 3 days.
Q: What’s the best dipper for this?
A> Pretzel bites are my top choice. Thick potato chips, crusty bread, and celery sticks also work well. Avoid thin crackers—they’ll break.
Q: Can I add vegetables?
A> Absolutely. Sautéed mushrooms, bell peppers, or spinach are great additions. They add nutrition and flavor without compromising the taste.
Q: How do I keep it warm for a party?
A> Transfer it to a slow cooker on low after cooking. It will stay warm and creamy for hours. Just stir occasionally to prevent sticking.
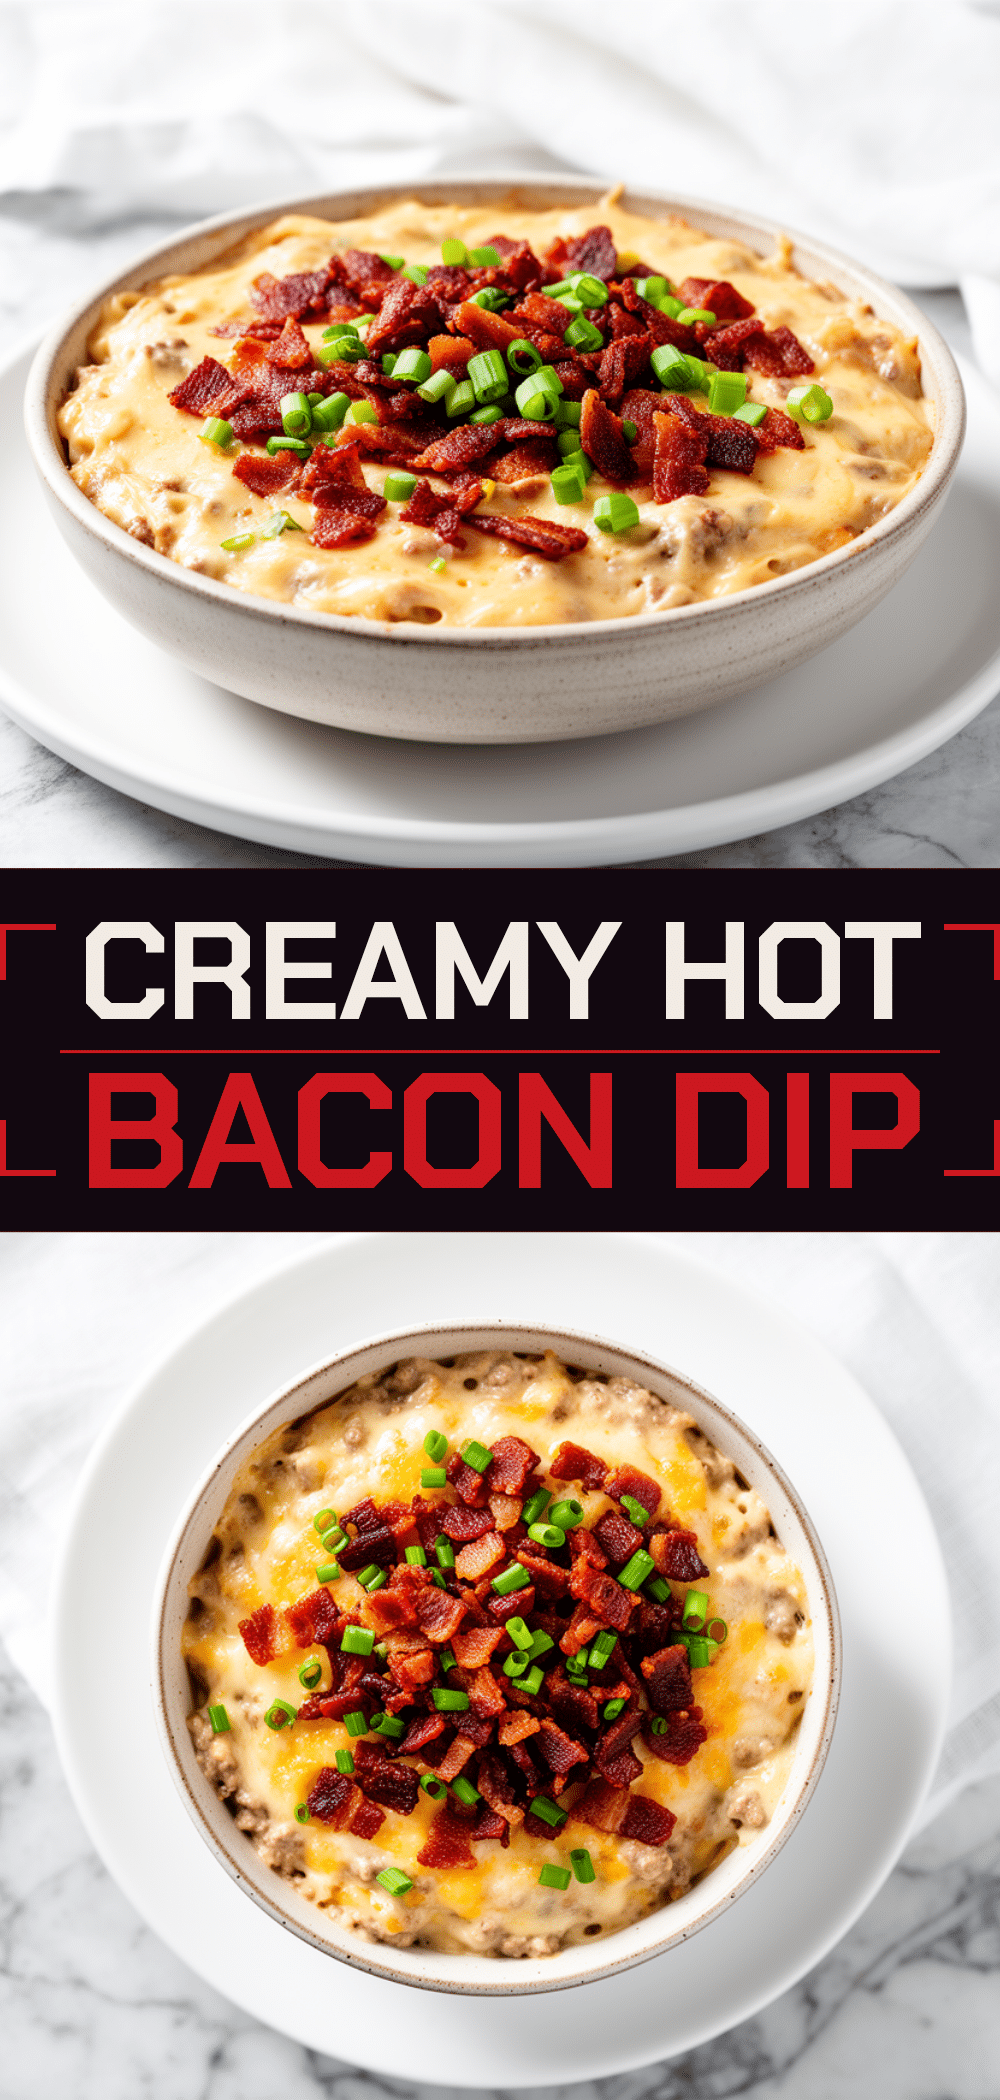
Pin This Recipe!
Tailgate Hot Bacon Cheeseburger Dip
- Total Time: 30 minutes
- Yield: 8 servings 1x
Description
A quick, 10-minute active party appetizer that mimics the flavors of a classic cheeseburger with ground beef, crispy bacon, tangy pickles, and melted cheese, served hot and creamy.
Ingredients
- 1 pound ground beef (80/20 lean-to-fat ratio)
- 1 medium yellow onion, finely diced
- 6 slices thick-cut bacon, cooked and crumbled
- 1/2 cup sweet pickle relish
- 2 cloves garlic, minced
- 1/2 cup tomato sauce (no-salt-added)
- 2 tablespoons ketchup
- 1 cup sharp cheddar cheese, shredded
- 1 cup low-moisture mozzarella cheese, shredded
- 4 oz cream cheese, softened
- 4–6 dill pickle spears, sliced (for garnish)
- 2 stalks green onions, sliced (for garnish)
- Splash of milk or beef broth (optional, for consistency)
Instructions
- Prep ingredients: Cook bacon until crispy and crumble; mince garlic; dice onion; shred cheeses; soften cream cheese.
- Heat a large skillet over medium-high heat. Add ground beef and diced onion, breaking up the beef with a spoon. Cook for 8-10 minutes until browned and onions are soft.
- Drain most of the grease from the skillet, leaving about 1 tablespoon for flavor.
- Reduce heat to medium. Add minced garlic and pickle relish; cook for 1-2 minutes until fragrant.
- Add tomato sauce and ketchup; stir to combine and simmer for 2 minutes.
- Remove skillet from heat. Add softened cream cheese in chunks and stir gently until melted and incorporated.
- Return skillet to low heat. Gradually add shredded cheddar and mozzarella, stirring constantly until melted and gooey. Add a splash of milk if too thick.
- Stir in half of the crumbled bacon. Taste and adjust salt if needed.
- Transfer to a serving dish or keep in the skillet. Top with remaining bacon, sliced pickles, and green onions.
- Serve immediately with pretzel bites, chips, or bread.
Notes
Do not overcook the beef to keep it juicy. Use full-fat dairy for the best creamy texture. Control salt carefully as bacon and cheese are already salty. This dip does not freeze well due to the dairy; store leftovers in the fridge for up to 3 days and reheat gently with a splash of milk.
- Prep Time: 10 minutes
- Cook Time: 20 minutes
- Category: Appetizer
- Cuisine: American
Nutrition
- Serving Size: 1/8 of the recipe
- Calories: 380
- Sugar: 3
- Sodium: 650
- Fat: 28
- Saturated Fat: 14
- Carbohydrates: 8
- Fiber: 1
- Protein: 22
Keywords: tailgate dip, cheeseburger dip, bacon dip, party appetizer, quick recipes, game day food, hot dip, comfort food



