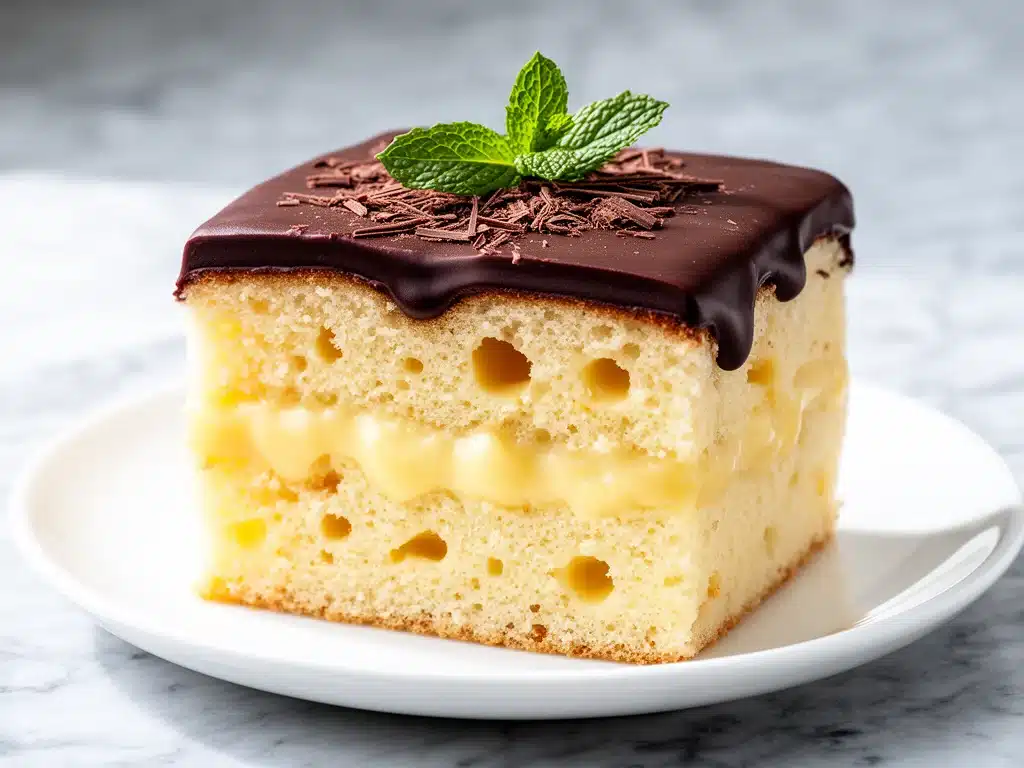
I have a confession to make: I used to buy the box mix. And I’m not even a little bit embarrassed about it. For years, I assumed that a homemade Boston Cream Poke Cake was some kind of culinary black box—something that required professional piping skills, a stand mixer, and at least three hours of patience. So, when my friend Sarah showed up at my door with a slice of her “easy” version, I was skeptical. I took one bite, and then I took a second one while she wasn’t looking. Then I asked for the recipe. And then I made it four times that week.
That’s how I discovered that this homemade Boston Cream Poke Cake doesn’t need to be hard. In fact, it’s stupidly simple. It’s the kind of dessert that feels like a cheat code for your kitchen. You end up with a cake that is impossibly moist, filled with a rich pastry cream that oozes out when you cut it, and topped with a glossy chocolate glaze that makes everyone think you spent all day in the kitchen. Spoiler alert: You didn’t. You probably spent less time on this than you did on cinnamon French toast sticks for breakfast this morning.
What makes this recipe special isn’t just the taste—it’s the texture. A poke cake, by definition, is a cake that you stab with a fork or spoon to create holes, which then soak up the filling. But this isn’t your soggy, sad poke cake from a potluck in 2005. This is the version that keeps people asking for seconds. The sponge stays tender, the custard stays lush, and the chocolate topping sets into a perfect shell. It’s nostalgic, it’s comforting, and it’s easily the most requested dessert in my house now. If you’ve ever wanted to impress guests without the stress, this is your answer.
Why You’ll Love This Recipe
There are about a dozen reasons I keep making this cake, but let’s be real—here are the big ones that make it a staple in my rotation.
It’s Shockingly Easy — Seriously, if you can boil water and whisk a bowl, you can make this. I’ve walked my teenage daughter through it over FaceTime while she was home alone. There’s no fancy layering, no tempering chocolate (unless you want to), and no piping bags required for the filling. It’s just pour, poke, and chill.
It’s a Crowd-Pleaser — I’ve served this at potlucks, birthday parties, and random Tuesday dinners. Everyone loves it. Even people who claim they “don’t like cake” usually take a slice because it’s so moist and not too sweet. It hits that perfect balance of chocolate and vanilla that feels like a hug.
It’s Perfect for Make-Ahead — This is my secret weapon for hosting. You can make the cake the night before. In fact, it’s better the next day because the flavors have had time to meld and the custard has fully set. You can prep it while you’re watching TV, and then just grab it when guests arrive. It’s way less stressful than worrying about mozzarella pizza pockets or last-minute appetizers.
It Tastes Like Childhood — This cake is a nod to the classic Boston Cream Donut and the old-school Boston Cream Pie. It brings back memories of school cafeterias and family gatherings. It’s familiar, but elevated enough to feel special.
Minimal Ingredients — You don’t need a trip to a specialty store. Most of this is pantry staples or fridge basics. You’re likely already missing only one or two things, which makes it a great impromptu dessert.
This is my go-to when I need a dessert that looks impressive but requires zero effort. No complicated techniques, no weird ingredients, just reliable, delicious food that makes everyone happy.
Ingredients You’ll Need
Here’s the best part: you probably have most of this already. I’m particular about a few things here, mostly because texture matters, but I’ll tell you exactly why.
For the Cake Base
Yellow Cake Mix (1 box, 15.25 oz / 432g) — I use a standard yellow cake mix. Don’t feel guilty about it; it’s the foundation. I like brands like Duncan Hines or Betty Crocker because they’re consistent. If you want to make it from scratch, that works too, but the mix gives that classic tender crumb we’re looking for.
Instant Pudding Mix (1 package, 3.4 oz / 96g) — This is the secret weapon. Vanilla instant pudding mix goes right into the cake batter. It adds fat and starch, which keeps the cake incredibly moist. Do not use the “cook and serve” version. It has to be the instant kind that you just whisk with milk.
Vegetable Oil (1/3 cup / 80ml) — Oil keeps cakes moister than butter does. I use a neutral oil like canola or vegetable. It won’t add any flavor, just moisture.
Water (1 cup / 240ml) — Some recipes call for milk, but water helps the cake rise a bit more evenly. You can use milk if you want a richer taste, but water works perfectly fine.
Eggs (3 large) — Room temperature eggs are best. They emulsify better with the oil. If you forgot to take them out, just run them under warm water for a minute.
For the Custard Filling
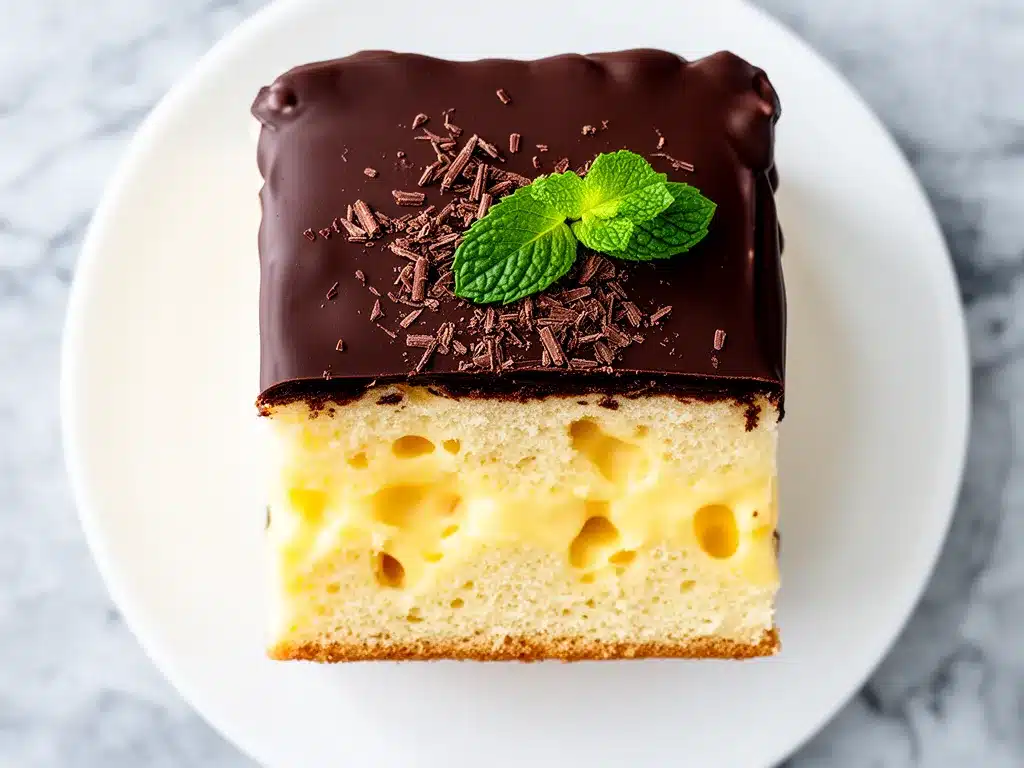
Heavy Cream (2 cups / 480ml) — Full-fat is non-negotiable here. You want a thick, luxurious custard. Half-and-half will work in a pinch, but it’ll be thinner. Trust me on this.
Instant Vanilla Pudding Mix (2 packages, 3.4 oz each / 96g total) — Yes, two boxes. This thickens the cream into a pudding-like consistency. It’s not raw egg custard, so you don’t have to worry about cooking it on the stove.
Vanilla Extract (1 teaspoon) — Pure vanilla extract makes a huge difference. I avoid the imitation stuff for the filling because the flavor is front and center.
Confectioners’ Sugar (1/4 cup / 30g) — Just a little bit to sweeten the cream. Adjust to taste if you prefer it less sweet.
For the Chocolate Glaze
Semi-Sweet Chocolate Chips (1 cup / 170g) — I use Ghirardelli or Hershey’s. Semi-sweet balances the sweetness of the cake and custard. Don’t use milk chocolate; it’ll be too sweet.
Heavy Cream (1/2 cup / 120ml) — This makes the ganache. Use the same heavy cream from your fridge.
Butter (1 tablespoon / 14g) — Optional, but it adds a nice shine and richness to the glaze. I usually add it if I’m feeling fancy.
Salt (a pinch) — Just a tiny pinch to cut the sweetness. It wakes up the chocolate flavor.
Equipment Needed
You don’t need fancy equipment for this. Here’s what I actually use.
9×13 Inch Baking Pan — A standard metal pan works best. Glass pans might bake slower, so keep an eye on it. Grease it lightly before pouring the batter.
Hand Mixer or Stand Mixer — For mixing the cake batter. A whisk works too, but it takes more arm strength. I use my hand mixer because it’s fast and I’m lazy.
Large Mixing Bowls — One for the cake, one for the custard, one for the glaze. I usually end up with a sink full of bowls, but it’s worth it.
Fork or Spoon Handle — To poke the holes. I use the handle of a wooden spoon because it’s the perfect size. A chopstick works too.
Spatula — For spreading the custard and scraping the bowl. Silicone is best because it bends into corners.
Saucepan — For heating the cream for the ganache. Small and heavy-bottomed is ideal so it doesn’t burn.
Whisk — For the custard and glaze. You need a good whisk to get the pudding mix lump-free.
Refrigerator Space — You’ll need room for the cake to chill. This is crucial for the custard to set.
How to Make It: Step-by-Step
Alright, let’s make this! I’m walking you through exactly how I do it, including the little tricks I’ve picked up.
Step 1: Prep and Mix the Batter (10 minutes)
Preheat your oven to 350°F (175°C). Grease your 9×13 inch pan. In a large bowl, combine the cake mix, instant pudding mix, oil, water, and eggs. Mix on medium speed for about 2 minutes until smooth. The batter will be thick. Don’t worry, that’s normal. Pour it into the prepared pan and spread it out evenly.
Step 2: Bake the Cake (30-35 minutes)
Bake for 30-35 minutes. You’ll know it’s done when a toothpick inserted into the center comes out clean or with just a few moist crumbs. Do not overbake! This cake needs to be moist. Let it cool in the pan for 10 minutes, then remove it from the pan and let it cool completely on a wire rack. This is important—you don’t want to melt the custard if the cake is still warm.
Step 3: Poke the Holes (5 minutes)
Once the cake is completely cool, take your fork or spoon handle and poke holes all over the surface. Go every inch or so. Don’t be shy! Poke all the way to the bottom. This creates the channels for the custard to soak in. I usually do this while I’m waiting for the custard ingredients to come to room temperature.
Step 4: Make the Custard Filling (10 minutes)
In a large bowl, whisk together the heavy cream, two packages of instant vanilla pudding mix, vanilla extract, and confectioners’ sugar. Whisk vigorously for 2-3 minutes until it thickens and becomes pudding-like. It should hold stiff peaks. If it’s too thin, let it sit for a few more minutes; it will thicken as it sits.
Step 5: Fill the Cake (5 minutes)
Pour the custard over the poked cake. Use a spatula to gently spread it around, making sure it gets into all the holes. You’ll see the custard sinking in. That’s good. It means it’s soaking up. Tap the pan gently on the counter to help it settle. If any custard pools on top, just spread it back in.
Step 6: Chill the Cake (At least 2 hours)
Cover the cake with plastic wrap and refrigerate for at least 2 hours, preferably overnight. This is the most important step. It allows the custard to set and the cake to absorb the moisture. If you rush this, the custard will be runny and the cake will be soggy in a bad way.
Step 7: Make the Chocolate Glaze (10 minutes)
While the cake chills, make the glaze. Heat the heavy cream in a saucepan over medium heat until it just starts to simmer (small bubbles around the edges). Do not boil it. Pour the hot cream over the chocolate chips in a heatproof bowl. Let it sit for 5 minutes, then whisk gently from the center outward until smooth and glossy. Stir in the butter and salt if using.
Step 8: Top and Serve (5 minutes)
Remove the cake from the fridge. Pour the warm chocolate glaze over the top. Use a spatula to spread it to the edges. It will set quickly as it cools. Slice with a sharp knife (dip it in hot water for clean cuts) and serve cold.
Expert Tips & Tricks
Here’s everything I’ve learned from making this dozens of times. These tips will save you from my mistakes.
Cool Completely Before Poking — I cannot stress this enough. If the cake is warm, the custard will melt into a soup. Let it cool to room temperature, then chill it for an hour before poking. It’s worth the wait.
Poke Deep and Often — Don’t just dab the surface. Go deep. The custard needs to get inside the cake, not just sit on top. If you don’t poke enough, you’ll have a dry cake with a layer of pudding on top.
Whisk the Custard Well — Instant pudding mix can clump. Whisk it thoroughly with the cream until it’s smooth. Lumpy custard is not appetizing.
Don’t Skip the Chill Time — This is a poke cake, not a sheet cake. It needs time to set. If you’re in a hurry, at least chill it for 2 hours. Overnight is best for flavor and texture.
Warm Glaze, Cool Cake — Pour the warm glaze over the cold cake. The temperature difference helps the glaze set into a nice shell. If the cake is warm, the glaze will melt into the custard.
Common Mistakes — Too much glaze: Don’t drown it. A thin, even layer is best. Underwhisked custard: It won’t thicken properly. Overbaking the cake: Dry cake ruins the whole experience.
Pro Trick — Add a layer of sliced strawberries or bananas under the custard for a fresh twist. It adds brightness and cuts the richness.
Variations & Substitutions
Once you’ve nailed the basic version, here’s how you can mix it up. I’ve tried all of these.
Chocolate Cake Version — Use a chocolate cake mix instead of yellow. The custard and chocolate glaze will be extra chocolatey. It’s like a triple-chocolate cake.
Coffee Flavor — Add 1 tablespoon of instant espresso powder to the custard. It enhances the chocolate flavor without making it taste like coffee.
Alcohol Twist — Add a tablespoon of Kahlúa or Amaretto to the custard for an adult version. It’s delicious and sophisticated.
Fruit Addition — Layer fresh berries or sliced peaches on top of the custard before adding the glaze. It adds a nice contrast.
Gluten-Free — Use a gluten-free cake mix. The rest of the ingredients are naturally gluten-free. It works surprisingly well.
Dairy-Free — Use coconut cream instead of heavy cream and dairy-free chocolate chips. The flavor is different but still rich and creamy.
Serving & Storage
How to Serve: — I usually serve this straight from the fridge. It’s best cold. Slice it into squares. Garnish with a dollop of whipped cream or a few chocolate shavings if you’re feeling fancy.
Side Dishes: — This is rich, so pair it with something light. A simple green salad or some fruit and cheese snacks balance the sweetness. It’s also great with a cup of coffee or tea.
Storage: — Store in the refrigerator, covered with plastic wrap or in an airtight container, for up to 5 days. It actually tastes better after day 2 as the flavors meld.
Freezing: — I don’t recommend freezing this cake. The custard can separate and become grainy when thawed. It’s best fresh or chilled.
Reheating: — Do not reheat. This cake is meant to be served cold. Reheating will melt the custard and make the texture weird.
Nutrition Information
I’m not a nutritionist, but here’s the breakdown if you’re tracking. This is a rich dessert, so portion control is key.
Per Serving (based on 12 slices):
| Calories | 380 |
| Protein | 5g |
| Carbs | 45g |
| Fiber | 1g |
| Sugar | 32g |
| Fat | 20g |
| Saturated Fat | 12g |
| Sodium | 350mg |
What’s Good: — It’s a complete dessert with carbs, fat, and a little protein. The custard adds some calcium.
What to Know: — It’s high in sugar and saturated fat. Use it as an occasional treat. If you want to lighten it up, use half-and-half for the custard and reduce the glaze.
Final Thoughts
So that’s my homemade Boston Cream Poke Cake! I’ve probably talked your ear off at this point, but when you make a recipe this often, you have a lot to say about it. This has saved dessert nights more times than I can count. It’s my answer to “what’s for dessert” when I want something special but don’t want to stress. My kids are happy, my husband’s happy, and I’m happy because I’m not stressed about cooking.
Make it yours! Try different add-ins, swap in your favorite cake mix, or adjust the glaze thickness. The best recipes are the ones you adapt to your family’s tastes. If you make this, drop a comment and let me know what you think! I love hearing how recipes turn out in your kitchen. And if something doesn’t work, tell me that too—I’m here to help troubleshoot.
Happy baking! And I hope your kitchen smells half as good as mine does right now.
Frequently Asked Questions
Can I use homemade cake instead of a mix?
Yes, you can! Use your favorite yellow cake recipe. Just make sure it’s not too dense. A light, fluffy cake works best for poking. If your homemade cake is very moist, you might need fewer holes or less custard.
Why did my custard turn out runny?
Usually, this means the pudding mix wasn’t whisked enough or the cream wasn’t cold enough. Make sure you whisk the custard until it’s thick and holds peaks. Also, ensure the cake was completely cool before pouring the custard. Warm cake melts the custard.
Can I make this ahead of time?
Absolutely. This is actually better made ahead. You can make it up to 2 days in advance. In fact, I recommend making it the night before so the flavors have time to meld. Just keep it covered in the fridge.
Why did my glaze seize up?
If the glaze looks grainy or clumpy, it might have seized. This happens if water gets into the chocolate or if the cream was too hot. To fix it, add a teaspoon of warm cream and whisk vigorously. If it’s too thick, add a bit more cream. If it’s too thin, let it cool longer.
Can I freeze this cake?
I don’t recommend it. The custard can separate and become grainy when thawed. It’s best enjoyed fresh or chilled. If you must freeze it, freeze the cake without the custard and glaze, then add them when you’re ready to serve.
How do I get clean slices?
Use a sharp knife. Dip the knife in hot water and wipe it dry before each cut. This helps the knife glide through the cake and custard without dragging. It makes for beautiful, clean slices.
Can I use whipped cream instead of custard?
You can, but it won’t be as rich. Whipped cream is lighter and might not hold up as well in the holes. If you use whipped cream, fold in some instant pudding mix to help it stabilize. But the custard version is the classic for a reason—it’s luscious.
Pin This Recipe!
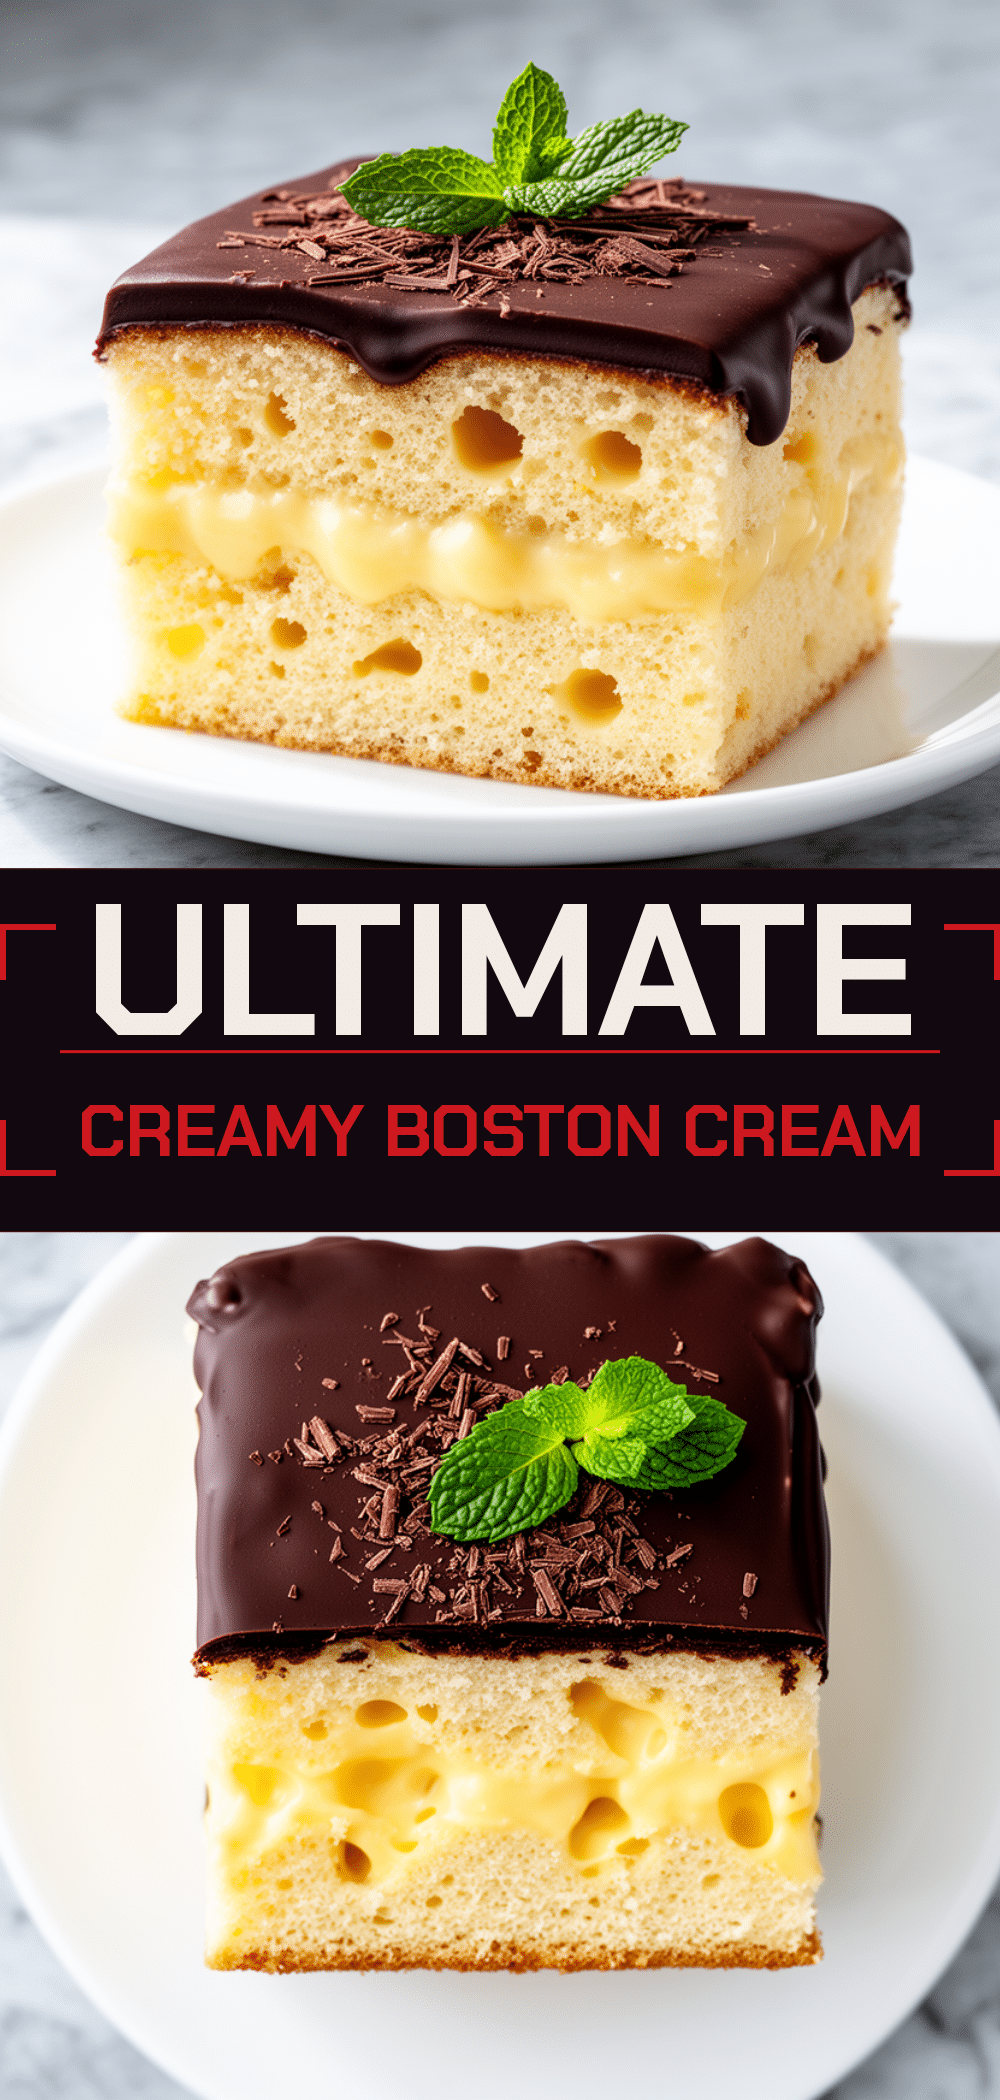
Boston Cream Poke Cake: 3-Ingredient Easy Recipe
- Total Time: 45 minutes
- Yield: 12 servings 1x
Description
A surprisingly simple and moist homemade Boston Cream Poke Cake that uses a yellow cake mix, instant pudding, and a rich custard filling topped with a glossy chocolate glaze. It is easy to make, perfect for make-ahead, and tastes like a nostalgic childhood treat.
Ingredients
- 1 box (15.25 oz / 432g) yellow cake mix
- 1 package (3.4 oz / 96g) vanilla instant pudding mix
- 1/3 cup (80ml) vegetable oil
- 1 cup (240ml) water
- 3 large eggs
- 2 cups (480ml) heavy cream
- 2 packages (3.4 oz each / 96g total) instant vanilla pudding mix
- 1 teaspoon vanilla extract
- 1/4 cup (30g) confectioners’ sugar
- 1 cup (170g) semi-sweet chocolate chips
- 1/2 cup (120ml) heavy cream
- 1 tablespoon (14g) butter
- a pinch of salt
Instructions
- Preheat oven to 350°F (175°C) and grease a 9×13 inch baking pan.
- In a large bowl, combine cake mix, instant pudding mix, oil, water, and eggs. Mix on medium speed for 2 minutes until smooth.
- Pour batter into the prepared pan and spread evenly.
- Bake for 30-35 minutes or until a toothpick inserted into the center comes out clean.
- Let the cake cool in the pan for 10 minutes, then remove and cool completely on a wire rack.
- Once completely cool, poke holes all over the surface using a fork or spoon handle, going deep into the cake.
- In a large bowl, whisk together 2 cups heavy cream, 2 packages instant vanilla pudding mix, vanilla extract, and confectioners’ sugar until thick and pudding-like.
- Pour the custard over the poked cake and spread gently to ensure it fills the holes.
- Cover and refrigerate for at least 2 hours, preferably overnight, to allow the custard to set.
- While the cake chills, heat 1/2 cup heavy cream in a saucepan until it just starts to simmer.
- Pour hot cream over chocolate chips in a heatproof bowl and let sit for 5 minutes.
- Whisk gently until smooth and glossy, then stir in butter and salt.
- Remove cake from fridge, pour warm glaze over the top, and spread to the edges.
- Let glaze set, then slice with a sharp knife dipped in hot water and serve cold.
Notes
Ensure the cake is completely cool before poking holes to prevent the custard from melting. Poke holes deep and often so the custard soaks in properly. The cake is best made ahead and chilled overnight. Do not freeze this cake as the custard may separate. Serve cold.
- Prep Time: 10 minutes
- Cook Time: 30-35 minutes
- Category: Dessert
- Cuisine: American
Nutrition
- Serving Size: 1 slice
- Calories: 380
- Sugar: 32
- Sodium: 350
- Fat: 20
- Saturated Fat: 12
- Carbohydrates: 45
- Fiber: 1
- Protein: 5
Keywords: Boston Cream Poke Cake, easy dessert, poke cake recipe, chocolate glaze, custard filling, make-ahead dessert, family friendly



