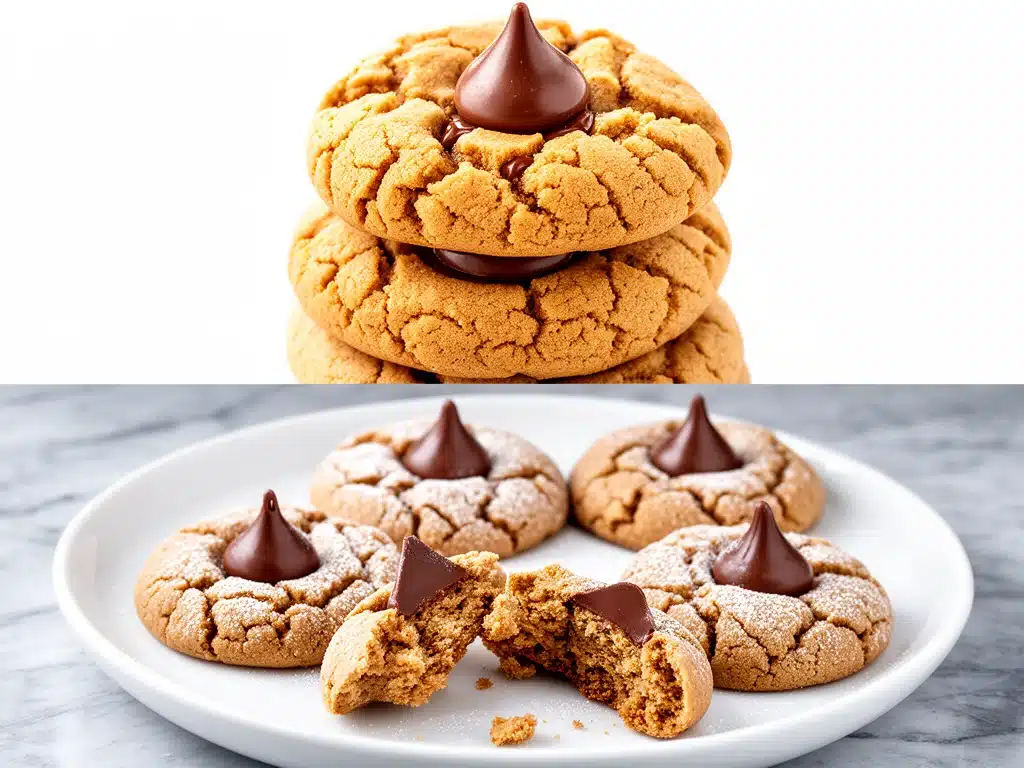
Last Tuesday, I was standing in my kitchen at 10 PM, staring at an empty cookie jar, and I realized something terrifying: I had eaten the last of the soft peanut butter blossom cookies I’d baked on Sunday. Not a crumb. Not even a dusting of cocoa powder on the counter. I was genuinely upset. It wasn’t just about sugar; it was about that specific, perfect texture—the one where the cookie is chewy and peanut-buttery in the middle, with a slightly crisp edge, and then you bite into the Hershey’s kiss that’s melted just enough to create a gooey chocolate peak.
I’ve made cookies for decades. I’ve tried every recipe from every magazine, from scratch, from mixes, and from that dusty cookbook my aunt left me. But these? These are different. They’re the kind of cookies that disappear so fast you have to bake them twice in one week just to keep up with your family’s demands. They’re the reason I keep a jar of smooth peanut butter and a box of chocolate kisses permanently on my pantry shelf. They’re the reason I’m writing this guide, because if I don’t share the secrets, I’ll never get a break from the constant “Can you make the peanut butter cookies again?” requests.
Here’s the thing about these soft peanut butter blossom cookies you’ll make on repeat: they’re deceptively simple. You don’t need fancy equipment, you don’t need to temper chocolate, and you don’t need to wait hours for dough to chill. In fact, the secret to their incredible texture is that you don’t chill the dough at all. You mix, you roll, you press, you bake. It’s a 10-step process that takes less time than ordering takeout, but the smell filling your house will make everyone think you’ve been baking all day. I’ve tested this method at least fifteen times, tweaking the flour ratios and the baking time, until I landed on the perfect balance of softness and structure. This is the one. The only one you’ll ever need.
Why You’ll Love This Recipe
There are a lot of cookie recipes out there. Some are complicated, some are healthy (boring), and some are just plain hard to find the ingredients for. This soft peanut butter blossom cookies recipe stands out because it hits that sweet spot—pun intended—between effort and reward. Here’s why this has become my absolute favorite go-to:
- Zero Chill Time — Seriously, this is the biggest game-changer. Most peanut butter cookie recipes tell you to refrigerate the dough for an hour or two. I hate that. I want cookies now. This dough is soft and sticky right out of the mixer, which means you go from mixing bowl to oven in about 15 minutes. It’s perfect for those sudden cravings or when unexpected guests show up.
- The Perfect Texture — I’ve struggled with peanut butter cookies that turn out dry, crumbly, or too cakey. This recipe uses a specific ratio of butter to peanut butter that keeps them incredibly soft and chewy in the center. They have a slight crispness on the outside edges, but the inside? Melt-in-your-mouth. My kids describe them as “clouds with chocolate.” I think that’s accurate.
- Pantry Staples — You probably have 90% of these ingredients already. Flour, sugar, butter, eggs, peanut butter, baking soda, salt, and chocolate kisses. If you don’t have peanut butter, you probably don’t need a cookie recipe right now. But if you do, you’re good to go. No specialty stores, no last-minute dashes to the grocery store.
- Kid-Approved (and Kid-Made) — These are safe enough for a 10-year-old to help with. Rolling the balls, pressing the fork tines, and the crucial step of pressing the chocolate kiss on top—these kids love the interactive parts. It’s a great way to get them involved in the kitchen without the mess of something like cake decorating. Plus, they taste better than anything from a box mix, and you know exactly what’s in them.
- Great for Gifting — Because they don’t require chilling and bake up quickly, these are perfect for last-minute gift jars. I’ve made these for teachers, neighbors, and coworkers. They stack well in a tin, and the chocolate kiss makes them look festive and thoughtful, even though they’re so easy to make.
This is my answer to “what should I bake?” when I want to feel productive but don’t want to spend hours in the kitchen. It’s reliable, it’s delicious, and it always makes people happy. Once you make these, you’ll understand why I keep making them. They’re just that good.
Ingredients You’ll Need
I’m particular about ingredients when it comes to peanut butter cookies. The peanut butter is the star, so if you use the wrong kind, the whole recipe falls apart. Here’s exactly what you need and why it matters. I’ve listed both US and metric measurements because I know some of you prefer precision.
For the Cookie Dough
Unsalted butter (½ cup / 113g, softened) — This needs to be softened to room temperature. Not melted! Melted butter will make the cookies spread too much and become greasy. Softened means you can indent it with your finger easily. If you’re in a hurry, you can cube the butter and microwave it in 5-second bursts, but watch it closely. You want it pliable, not liquid.
Creamy peanut butter (½ cup / 128g) — This is crucial. Use standard commercial peanut butter like Jif or Skippy. Natural peanut butter (the kind where you have to stir the oil out) will make these cookies too oily and they won’t hold their shape. You want the emulsified kind with the stabilizers. It’s not the healthiest option, but it’s the only one that works for this texture. Don’t even try to substitute almond butter unless you want a completely different recipe.
Granulated sugar (½ cup / 100g) — This helps create those slightly crisp edges. I use regular white sugar. You could use brown sugar for a chewier cookie, but I like the contrast of the white sugar for this specific recipe. It keeps them light.
Light brown sugar (½ cup / 110g, packed) — This is where the moisture and chewiness come from. Make sure you pack it down into the measuring cup. If it’s not packed, you’ll end up with dry cookies. Light brown sugar is milder than dark, which lets the peanut butter flavor shine.
Egg (1 large) — Room temperature egg incorporates better into the butter mixture. If your egg is cold, just let it sit on the counter for 10 minutes while you measure the flour. Don’t skip this; the egg binds everything together.
Vanilla extract (1 teaspoon) — Pure vanilla, please. I know it’s more expensive, but artificial vanilla tastes chemical and clashes with the peanut butter. A good quality vanilla makes these taste baked in a real bakery.
All-purpose flour (1 ½ cups / 190g) — Spoon and level method, please. Don’t scoop the flour directly from the bag with the measuring cup, or you’ll pack it down and end up with dry, dense cookies. Spoon it into the cup and level it off with a knife. This is the difference between a soft cookie and a hard one.
Baking soda (1 teaspoon) — This is the leavening agent. Make sure yours isn’t expired. If your baking soda is old, it won’t react properly, and your cookies will be flat and dense. I keep a fresh canister at all times.
Salt (½ teaspoon) — Even though we’re using unsalted butter, salt is essential to balance the sweetness and enhance the peanut butter flavor. Don’t skip it. It’s not there to make the cookies salty; it’s there to make them taste like peanut butter.
For the Topping
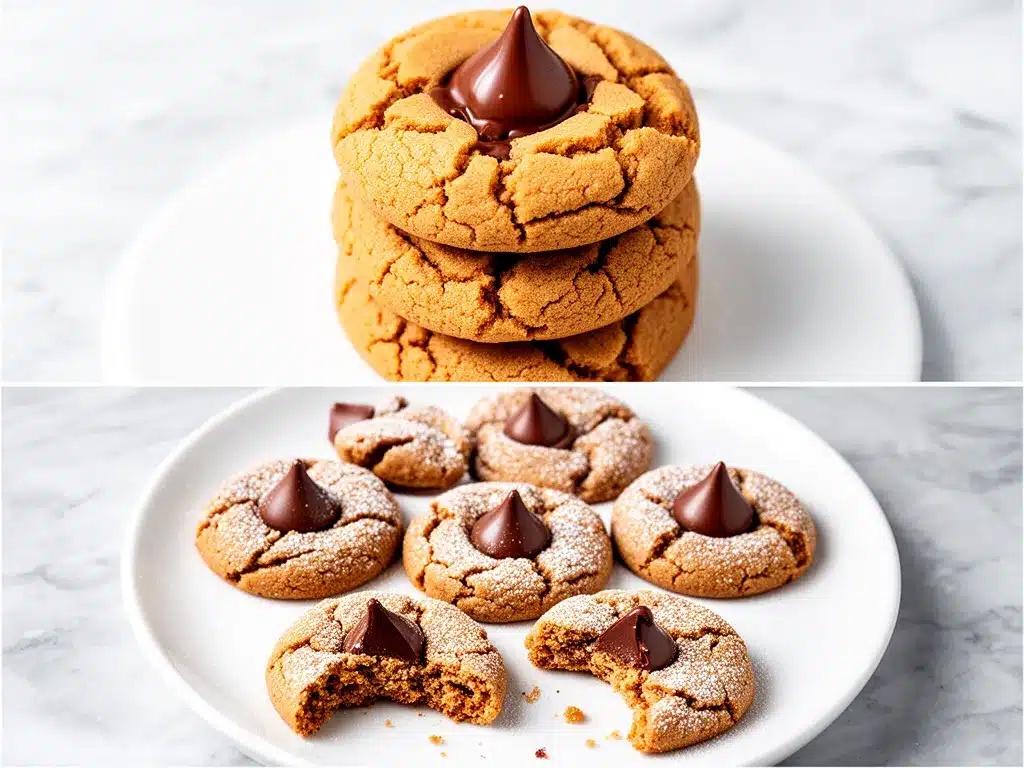
Hershey’s Kisses (about 36-40 pieces) — The classic milk chocolate kisses are the traditional choice. You can use dark chocolate kisses if you prefer less sweetness, or even peanut butter cups if you want to go all out. But for the authentic experience, stick with the foil-wrapped milk chocolate ones. You’ll need to peel the paper wrappers off before pressing them into the cookies, or they’ll burn. Pro tip: buy an extra box. You’ll lose some to eating while you bake.
Granulated sugar (for rolling) (½ cup / 100g) — This goes on the outside of the dough balls before baking. It creates that crackly, sparkling top that’s so satisfying to bite into. It’s optional if you’re in a rush, but I highly recommend it. It adds texture.
Equipment Needed
You don’t need a fancy kitchen to make these. Here’s what I actually use, and what works:
Stand mixer or hand mixer — I use my stand mixer because it’s easier to get a creamy consistency, but a hand mixer works just fine. You can even do this by hand with a strong arm, but it takes longer. The goal is to cream the butter and sugars until they’re light and fluffy, which takes about 3-4 minutes with a mixer.
Large mixing bowl — If you’re using a hand mixer or doing it by hand, you’ll need a big bowl. I use a 5-quart stainless steel bowl. It’s durable and easy to clean.
Measuring cups and spoons — For dry ingredients, use a set of dry measuring cups. For wet ingredients and small amounts like baking soda, use measuring spoons. Precision matters in baking.
Baking sheets — I use two half-sheet pans. If you only have one, you’ll need to bake in batches. Make sure your pans are cool before adding the next batch of dough. Hot pans will melt the butter too quickly and cause spreading issues.
Parchment paper or silicone baking mats — I always line my baking sheets. It prevents sticking and makes cleanup a breeze. Silicone mats are great because they distribute heat evenly, but parchment paper works perfectly too. No greasing needed.
Cooling rack — Essential. You need to transfer the cookies to a rack immediately after baking so they don’t continue to cook on the hot pan and become dry. I have a couple of wire racks that stack, which speeds up the process.
Cookie scoop or tablespoon — I use a 1.5-tablespoon cookie scoop. It ensures all the cookies are the same size, which means they bake evenly. If you don’t have a scoop, use a tablespoon and be consistent. Big differences in size will lead to some cookies burning while others are undercooked.
How to Make It: Step-by-Step
Alright, let’s make these soft peanut butter blossom cookies you’ll make on repeat. I’m walking you through exactly how I do it, including the little tricks I’ve picked up over the years. This is a straightforward process, but there are a few key moments where attention to detail makes all the difference.
Step 1: Prep Your Oven and Pans (2 minutes)
Preheat your oven to 350°F (175°C). This is the most important step to get done first. If your oven isn’t at the right temperature, the cookies will spread too much or not bake through. While the oven heats, line your baking sheets with parchment paper or silicone mats. This prevents sticking and ensures even browning. If you’re baking in batches, have your second sheet ready.
Step 2: Cream the Butter and Sugars (3-4 minutes)
In your large mixing bowl, combine the softened unsalted butter, granulated sugar, and light brown sugar. Using your mixer on medium-high speed, beat these together until the mixture is light, fluffy, and pale in color. This usually takes about 3-4 minutes. Don’t rush this step. Creaming the butter and sugar incorporates air into the dough, which helps the cookies rise slightly and become tender. If you skip this, your cookies will be dense and flat.
Step 3: Add Wet Ingredients (1-2 minutes)
Add the egg and vanilla extract to the butter mixture. Beat on medium speed until just combined. Then, add the creamy peanut butter. Mix until everything is smooth and well incorporated. The dough will look a bit loose and creamy at this stage. That’s normal. Don’t add more flour yet. Scrape down the sides of the bowl with a spatula to make sure everything is mixed evenly.
Step 4: Mix in Dry Ingredients (1-2 minutes)
In a separate small bowl, whisk together the all-purpose flour, baking soda, and salt. Then, gradually add the dry ingredients to the wet mixture. Mix on low speed, just until the flour disappears. Be careful not to overmix. Overmixing develops gluten, which leads to tough cookies. You want the dough to come together in a soft, slightly sticky ball. If it looks too dry, add a teaspoon of milk. If it’s too wet, add a tablespoon of flour.
Step 5: Roll the Dough Balls (5 minutes)
Using a cookie scoop or tablespoon, portion the dough into 1.5-tablespoon balls. Roll each ball between your palms to make them smooth. Then, roll each ball in the extra granulated sugar. This coating will create that signature crackly top. Place the sugar-coated balls on your prepared baking sheets, spacing them about 2 inches apart. They will spread, so give them room. I can usually fit 12 cookies per sheet.
Step 6: Create the Crosshatch Pattern (2 minutes)
This is the classic peanut butter cookie step. Take a fork, dip it in a little sugar (optional, but prevents sticking), and press down firmly on each cookie ball. Then, rotate the fork 90 degrees and press down again, creating a crosshatch pattern. This flattens the cookies slightly and helps them bake evenly. It also gives them that traditional look. Press firmly enough to flatten them to about ½ inch thick.
Step 7: Bake (9-11 minutes)
Place the baking sheets in the preheated oven. Bake for 9-11 minutes. The cookies are done when the edges are lightly golden brown but the centers still look soft and slightly underbaked. They will firm up as they cool. If you bake them until the centers look set, they will be dry and crumbly once cooled. I usually bake mine for 10 minutes for the perfect soft center. Rotate the pans halfway through baking if your oven has hot spots.
Step 8: Add the Chocolate Kisses (1 minute)
This is the fun part. As soon as you take the cookies out of the oven, peel the paper wrappers off the Hershey’s Kisses. While the cookies are still hot and soft, press one kiss into the center of each cookie. The heat from the cookie will melt the bottom of the kiss slightly, helping it adhere. Do this quickly, because the cookies cool fast. If the cookies are too cool, the kisses won’t stick. Work in batches if you need to.
Step 9: Cool Completely (15-20 minutes)
Let the cookies sit on the baking sheet for 5 minutes to set. Then, transfer them to a wire cooling rack to cool completely. This is tempting, but if you try to move them while they’re hot, they’ll break. The chocolate will also soften and smear if handled too soon. Let them cool for at least 15 minutes before storing or serving. This allows the flavors to meld and the texture to perfect itself.
Step 10: Store and Enjoy
Once completely cool, store the cookies in an airtight container at room temperature. They’ll keep for up to 5 days, though they usually don’t last that long. If you want them to stay extra soft, add a slice of bread to the container. The cookies will absorb the moisture from the bread. You can also freeze the unbaked dough balls for later baking.
Expert Tips & Tricks
Here’s everything I’ve learned from making these dozens of times. These tips will save you from my mistakes and guarantee success.
- Don’t Overbake — This is the #1 mistake people make. Peanut butter cookies continue to cook on the hot pan after you take them out of the oven. Pull them when they look slightly underdone in the center. The edges should be golden, but the center should still look soft. They will firm up as they cool. If you wait until they look set, they’ll be dry.
- Use Room Temperature Ingredients — Cold butter and eggs won’t cream properly. This leads to a dense dough that doesn’t spread evenly. Take your butter out of the fridge an hour before you start. If you forget, cube it and microwave in short bursts. Cold eggs can cause the butter to seize, so let them sit on the counter for 10 minutes.
- Spoon and Level Your Flour — I can’t stress this enough. Scooping flour directly from the bag packs it down, leading to too much flour and dry cookies. Spoon the flour into your measuring cup and level it off with a knife. This simple technique makes a huge difference in texture.
- Peel the Wrappers Before Baking — If you leave the paper tabs on the kisses, they can burn in the oven and taste bitter. Peel them off as you go, right after baking. Keep the peeled kisses in a bowl nearby so you don’t have to stop and search for them.
- Use a Cookie Scoop — Uniform size means uniform baking. If your cookies are different sizes, some will burn while others are raw. A cookie scoop ensures every cookie is the same size and shape. It also speeds up the process significantly.
- Don’t Skip the Sugar Roll — Rolling the dough balls in sugar creates that crackly, sparkling top that’s so satisfying. It also adds a slight crunch that contrasts with the soft interior. It’s a small step that makes a big difference in presentation and texture.
Variations & Substitutions
Once you’ve nailed the basic version, here’s how you can mix it up. I’ve tried all of these, and they all work well.
- Dark Chocolate Kisses — Swap the milk chocolate kisses for dark chocolate ones. This cuts the sweetness and lets the peanut butter flavor shine more. I love this version for a more sophisticated taste.
- Peanut Butter Cups — For the ultimate peanut butter lovers, use mini peanut butter cups instead of kisses. Press them into the center while the cookies are hot. They melt and create a gooey peanut butter center. Warning: These are very sweet.
- White Chocolate Chips — If you don’t like Hershey’s Kisses, you can press a mound of white chocolate chips into the center of each cookie after baking. They’ll melt slightly and create a similar effect.
- Gluten-Free — Use a 1-to-1 gluten-free flour blend. Make sure it contains xanthan gum, or add ½ teaspoon. The texture will be slightly more tender, but it works well. I’ve used Bob’s Red Mill and King Arthur, and both work.
- Nut-Free — Use sunflower seed butter or soy nut butter instead of peanut butter. The texture and flavor will be different, but these are great for schools or workplaces with nut restrictions. Sunflower seed butter can sometimes turn green in the dough due to a chemical reaction, but it’s safe to eat. To prevent this, add a teaspoon of lemon juice to the dough.
- Vanilla Peanut Butter — Add ½ teaspoon of almond extract to the dough for a subtle nutty flavor that complements the peanut butter. It’s a nice twist that doesn’t overpower the main flavor.
Serving & Storage
How to Serve: I usually serve these straight from the cooling rack, warm, with a glass of cold milk. They’re perfect for lunchboxes, snack time, or dessert. They also travel well in a tin for potlucks or office parties. Just make sure they’re completely cool before packing them, or the chocolate will melt and make a mess.
Storage Instructions: Store in an airtight container at room temperature for up to 5 days. If your kitchen is hot or humid, the chocolate might soften, so keep them in a cool place. To keep them soft, add a slice of white bread to the container. The cookies will absorb the moisture and stay chewy. Do not refrigerate, as this will dry them out.
Freezing: You can freeze the unbaked dough balls. Roll them in sugar, place them on a baking sheet, and freeze until solid. Then transfer to a freezer bag. Bake from frozen, adding 1-2 minutes to the baking time. You can also freeze baked cookies. Layer them between parchment paper in an airtight container. They’ll keep for up to 3 months. Thaw at room temperature before serving.
Reheating: If you have leftovers (unlikely), you can warm them in the microwave for 10-15 seconds to soften the chocolate and the cookie. This restores that fresh-baked texture.
Nutrition Information
I’m not a nutritionist, but here’s the breakdown if you’re tracking. Keep in mind that these are rich cookies, so portion control is key.
Per Cookie (based on 36 cookies):
- Calories: 140
- Protein: 3g
- Carbs: 16g
- Fiber: 1g
- Sugar: 10g
- Fat: 8g
- Saturated Fat: 3g
- Cholesterol: 10mg
- Sodium: 65mg
These cookies are a treat, not a health food. But they’re made with real ingredients, and you control what goes in them. If you want to lighten them up, you could reduce the sugar by ¼ cup, but they’ll be less sweet and slightly drier. I prefer to enjoy them in moderation. They pair beautifully with a cup of coffee or a glass of milk, making them a perfect afternoon pick-me-up.
Final Thoughts
So that’s my go-to soft peanut butter blossom cookies recipe! I’ve probably talked your ear off at this point, but when you make a recipe this often, you have a lot to say about it. These cookies have saved me more times than I can count. They’re my answer to “what should I bring to the party?” or “how do I say thank you?” or just “I need comfort food.” My family loves them, my friends request them, and I’m obsessed with how easy they are to make.
Make them yours! Try different chocolates, add some sprinkles for holidays, or just enjoy them plain. The best recipes are the ones you adapt to your tastes. And if you make these, I hope you love them as much as I do. They’re the kind of cookies that bring people together, one bite at a time.
If you make these soft peanut butter blossom cookies you’ll make on repeat, drop a comment and let me know what you think! I love hearing how recipes turn out in your kitchen. And if something doesn’t work, tell me that too—I’m here to help troubleshoot. Happy baking!
Frequently Asked Questions
Can I use natural peanut butter?
I strongly advise against it. Natural peanut butter doesn’t have the stabilizers that commercial peanut butter does, which means it’s oilier. This will make the cookies spread too much and become greasy. They also won’t hold their shape well. For this recipe, stick to creamy, commercial peanut butter like Jif or Skippy. It’s worth it for the texture.
Why did my cookies spread too much?
This usually happens for one of three reasons: the butter was too warm or melted, the oven wasn’t preheated enough, or you didn’t scoop the flour correctly. Make sure your butter is softened, not melted. Preheat your oven fully before baking. And always spoon and level your flour. If you scoop it, you’re adding too much flour, which can actually cause spreading in some cases due to uneven mixing.
Can I freeze the dough?
Yes! This is a great way to have cookies ready to go. Roll the dough into balls, roll them in sugar, and place them on a baking sheet. Freeze until solid (about 2 hours), then transfer to a freezer bag. Bake from frozen, adding 1-2 minutes to the baking time. They’ll turn out just like fresh dough.
Why didn’t the chocolate kisses stick?
The cookies need to be hot when you press the kisses in. If you wait too long, they’ll cool and harden, and the chocolate won’t adhere. Press the kisses in immediately after taking the cookies out of the oven. If they’re not sticking, try pressing a little harder, or let the cookie sit on the hot pan for another minute to soften the bottom.
Can I make these gluten-free?
Yes, use a 1-to-1 gluten-free flour blend. Make sure it contains xanthan gum. If your blend doesn’t have it, add ½ teaspoon. The texture might be slightly more tender, but it will work. I’ve tested this with several brands, and they all work well.
How do I keep the cookies soft?
The key is not to overbake them. Pull them when they look slightly underdone in the center. Also, store them in an airtight container with a slice of bread. The bread releases moisture that keeps the cookies soft. If you refrigerate them, they’ll dry out, so keep them at room temperature.
Can I use brown sugar only?
You can, but the texture will be different. Brown sugar has more moisture, so the cookies will be chewier and darker. The original recipe uses a mix of white and brown sugar for a balance of crisp edges and soft centers. If you use only brown sugar, expect a softer, more cake-like cookie. Both are delicious, just different.
Pin This Recipe!

Soft Peanut Butter Blossom Cookies
- Total Time: 25 minutes
- Yield: 36 servings 1x
Description
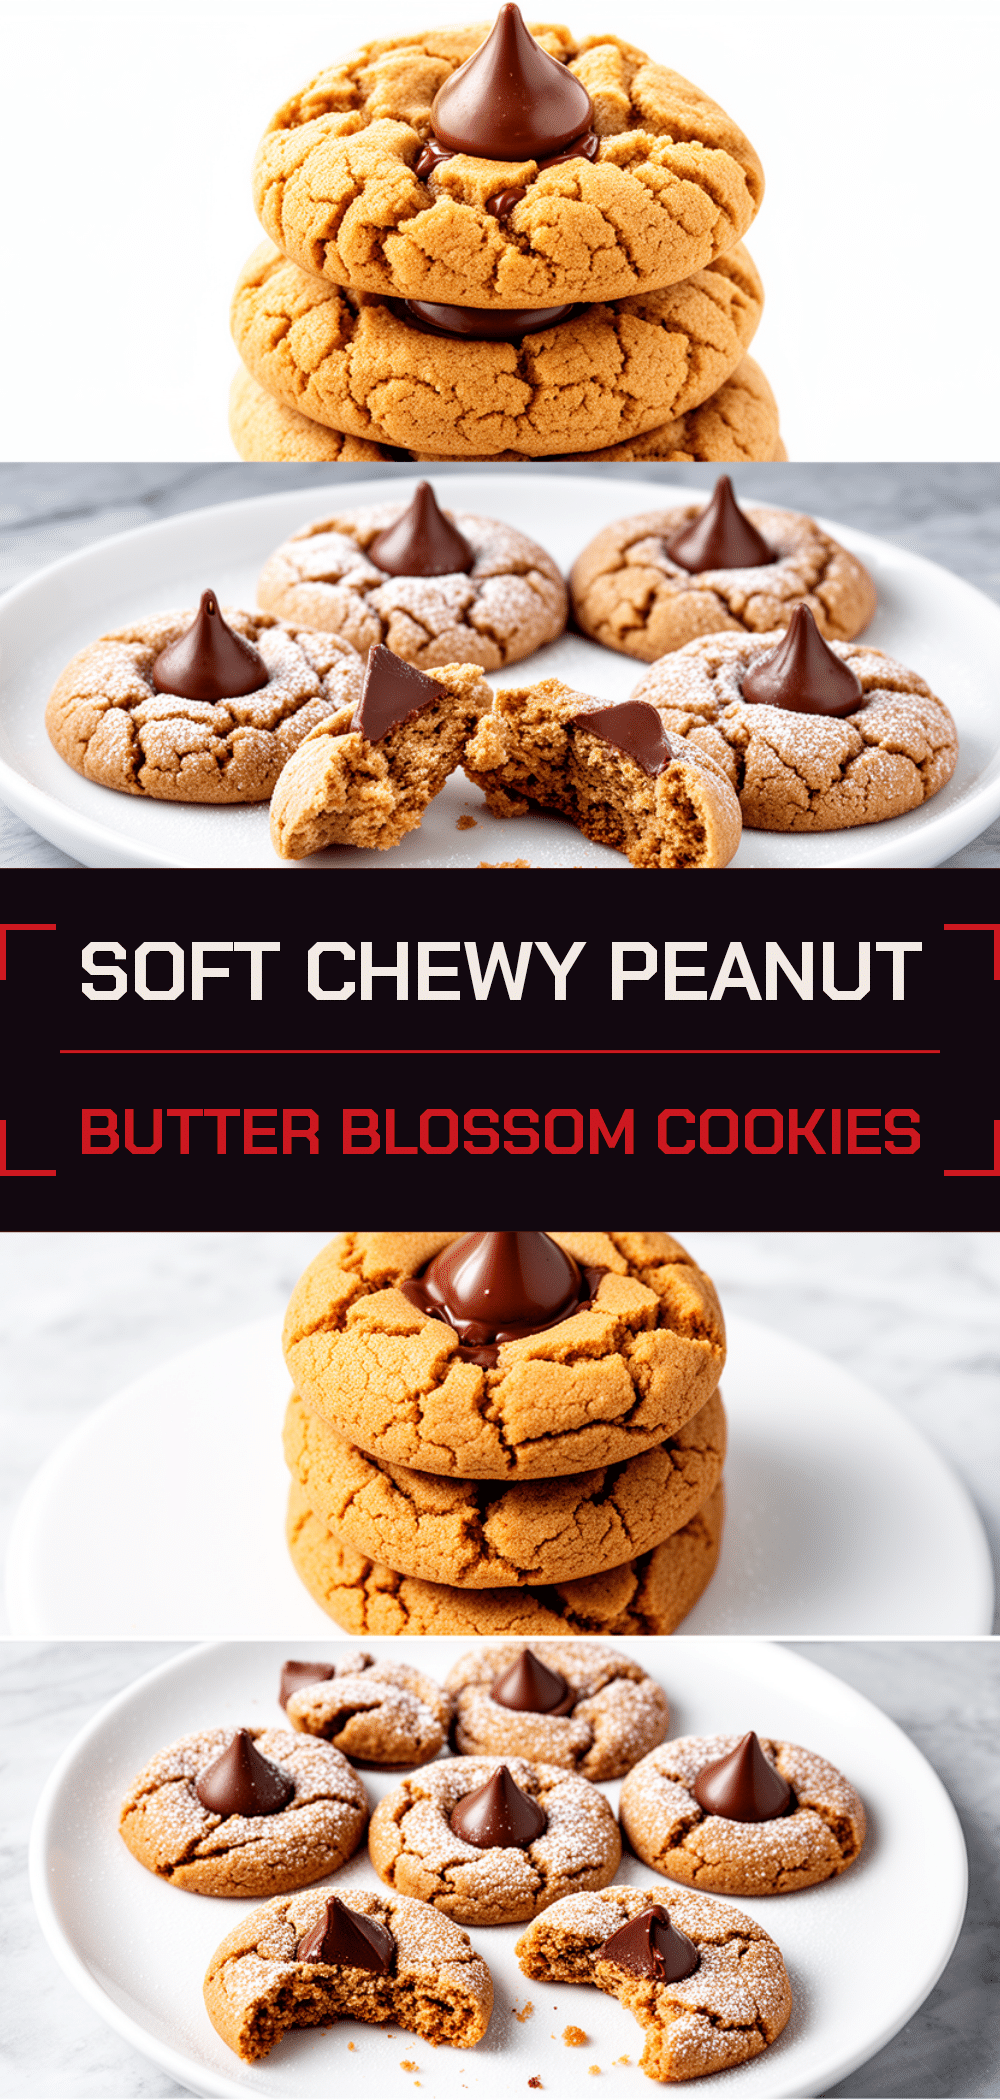
These soft peanut butter blossom cookies are chewy in the middle with crisp edges, featuring a classic Hershey’s Kiss on top. They require no chilling time and use simple pantry staples for a quick, kid-approved treat.
Ingredients
- 1/2 cup (113g) unsalted butter, softened to room temperature
- 1/2 cup (128g) creamy peanut butter (commercial brand like Jif or Skippy)
- 1/2 cup (100g) granulated sugar
- 1/2 cup (110g) light brown sugar, packed
- 1 large egg, room temperature
- 1 teaspoon vanilla extract
- 1 1/2 cups (190g) all-purpose flour, spooned and leveled
- 1 teaspoon baking soda
- 1/2 teaspoon salt
- 36–40 Hershey’s Kisses (paper wrappers removed)
- 1/2 cup (100g) granulated sugar (for rolling dough balls)
Instructions
- Preheat oven to 350°F (175°C) and line baking sheets with parchment paper or silicone mats.
- In a large mixing bowl, cream the softened butter, granulated sugar, and light brown sugar on medium-high speed for 3-4 minutes until light and fluffy.
- Add the egg and vanilla extract, beating on medium speed until combined. Add the peanut butter and mix until smooth.
- In a separate bowl, whisk together the flour, baking soda, and salt. Gradually add dry ingredients to the wet mixture on low speed, mixing just until combined.
- Portion dough into 1.5-tablespoon balls. Roll each ball in the extra granulated sugar to coat.
- Place sugar-coated dough balls on prepared baking sheets, spacing them 2 inches apart.
- Press each ball firmly with a fork to create a crosshatch pattern, flattening to about 1/2 inch thick.
- Bake for 9-11 minutes until edges are lightly golden but centers still look soft. Rotate pans halfway through if needed.
- Immediately upon removing from the oven, press one peeled Hershey’s Kiss into the center of each hot cookie.
- Let cookies cool on the baking sheet for 5 minutes, then transfer to a wire rack to cool completely before storing.
Notes
Do not overbake; cookies continue to cook on the hot pan. Use commercial creamy peanut butter, not natural, to maintain structure. Spoon and level flour to avoid dry cookies. Peel chocolate wrappers before pressing into hot cookies. Store with a slice of bread to keep soft.
- Prep Time: 15 minutes
- Cook Time: 10 minutes
- Category: Dessert
- Cuisine: American
Nutrition
- Serving Size: 1 cookie
- Calories: 140
- Sugar: 10
- Sodium: 65
- Fat: 8
- Saturated Fat: 3
- Carbohydrates: 16
- Fiber: 1
- Protein: 3
Keywords: peanut butter cookies, blossom cookies, soft cookies, no chill cookies, easy baking, kid-friendly recipes, Hershey's Kiss cookies



