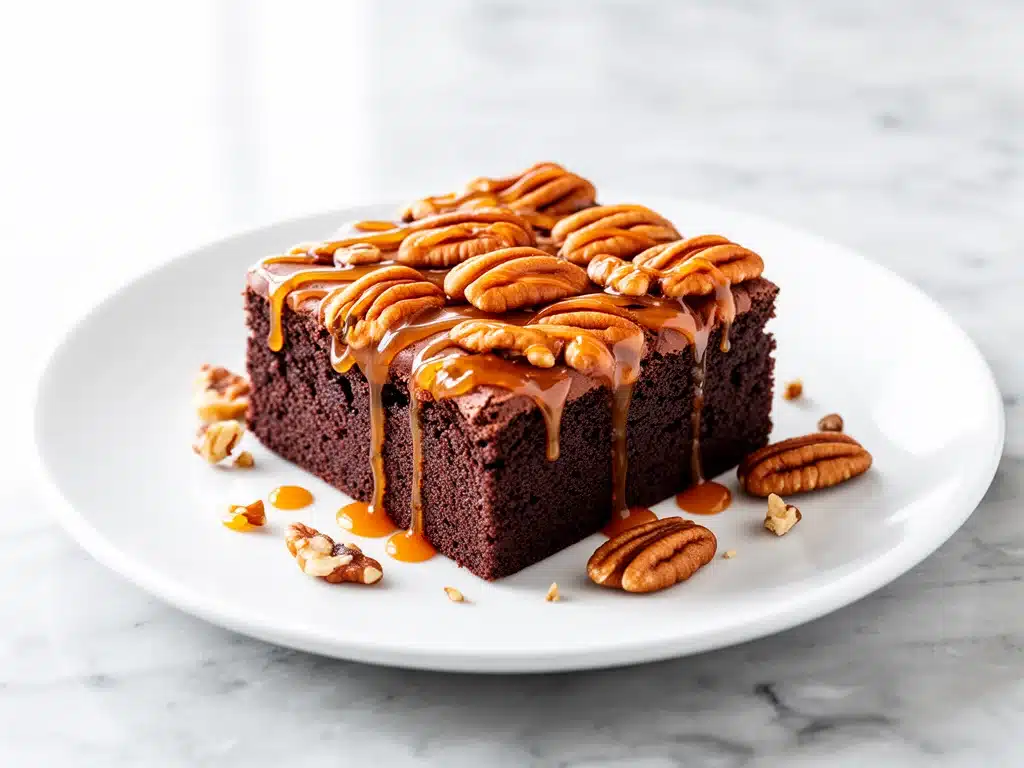
It was a Tuesday evening, the kind where the house is quiet, the kids are finally in bed, and I’m staring into the oven like it holds the secrets of the universe. I had just pulled a batch of brownies out, and they were… fine. Good, even. But they lacked that soul-crushing, can’t-stop-eating-them quality that makes you hide the last one in the back of the pantry so your family doesn’t find it at 2 AM.
I’ve always been a purist when it comes to desserts. If I’m making chocolate, I want it to taste like pure, unadulterated chocolate. But my husband? He’s a salted caramel person. And our kids? They’re nut junkies. They’d rather have a handful of peanuts than a slice of cake any day. For years, I tried to keep these preferences separate. Chocolate cake for my birthday, caramel apples for the holidays, plain brownies for everyone else. It felt like compromise was the enemy of good cooking.
Then, about three years ago, I tried a fudgy turtle brownie recipe that changed everything. I wasn’t looking for it. I just had a bag of pecans, some leftover caramel sauce, and a box of brownie mix I felt guilty about using. I threw them together in a moment of lazy genius, and the result was a disaster of epic proportions—overcooked nuts, burnt caramel, and a brownie that was more cookie than cake. But the flavor? The flavor was undeniable. That specific combination of bitter chocolate, salty caramel, and toasted pecans hit a nerve.
Since then, I’ve tested this fudgy turtle brownies recipe at least fifteen times. I’ve tweaked the chocolate-to-nut ratio, figured out the exact temperature to keep the caramel from running off the edges, and learned how to make the brownies fudgier than a swamp (in the best way possible). This isn’t just a dessert; it’s the reason my pantry is always stocked with pecans and caramel sauce. It’s the reason my husband asks, “Are those the turtle ones?” before he even opens the box. It’s the reason my kids fight over the ones with the most nuts. And honestly? It’s become my go-to when I need to impress guests without spending hours in the kitchen.
Why You’ll Love This Recipe
There are a lot of brownie recipes out there. Some are cakey, some are flourless, some require a thermometer and a degree in chemistry. This fudgy turtle brownies recipe is different. It’s the dessert equivalent of a warm hug after a long day. Here’s why it keeps me coming back, and why your family will too:
It’s the Ultimate Compromise — Seriously, if you have a family with different tastes, this is your holy grail. My husband gets his salted caramel fix. My daughter gets her nutty crunch. I get my rich, dark chocolate. Nobody complains. Nobody asks for “just chocolate” or “just caramel.” Everyone gets a piece of everything in one bite. It’s the peace treaty I didn’t know I needed.
Stupidly Simple — I’m not exaggerating when I say this is easier than making a cake. There’s no folding in egg whites, no tempering chocolate, no waiting for layers to set. You mix the batter, you dump it in the pan, you sprinkle the toppings, you bake it. That’s it. I’ve made this on nights when I was too tired to stand, and it still came out perfect. If you can boil water and open a bag of chips, you can make this.
Restaurant-Quality Flavor — You know those brownies at fancy coffee shops that cost $6 a piece and taste like heaven? This is that. The interplay of textures is what makes it special. You get the soft, gooey center of the brownie, the snap of the cooled pecans, and the sticky, salty pull of the caramel. It feels indulgent and sophisticated, but it’s made with ingredients you can grab at any grocery store. No fancy equipment needed.
Makes Amazing Leftovers — And by leftovers, I mean the ones you pretend you’re going to save for tomorrow but eat within an hour. These brownies actually get better the next day. The flavors meld together overnight, making the caramel even more integrated and the brownie even fudgier. I deliberately make a double batch on weekends so I have these for Monday breakfasts (yes, I eat dessert for breakfast sometimes, don’t judge me).
Budget-Friendly Indulgence — You might think adding caramel and pecans makes this expensive, but it’s not. A bag of pecans lasts for months, and you can use store-brand caramel sauce or even homemade if you’re feeling fancy. It feeds a crowd for a fraction of the cost of buying cupcakes or donuts. It’s the smart way to treat your family without breaking the bank.
This is my go-to when I need a win in the kitchen. No complicated techniques, no weird ingredients, just reliable, delicious food that makes everyone happy. And if you’re looking for other easy treats, you might also enjoy checking out these cinnamon French toast sticks for a sweet breakfast twist.
Ingredients You’ll Need
Here’s the best part: you probably have most of this already. I’m particular about three ingredients here, and I’ll tell you exactly why. The rest is basic pantry staples. This isn’t a recipe that requires a trip to a specialty shop.
For the Brownie Base
Unsalted butter (½ cup / 113g) — Use real butter. Margarine won’t give you that rich flavor. Melted, not browned. I melt mine in the microwave in 30-second bursts so I don’t burn it.
Granulated sugar (1 cup / 200g) — This gives the brownies their crisp, crackly top. Don’t reduce this or you’ll lose that signature texture. I’ve tried, and I regret it.
Brown sugar (1 cup / 220g) — This adds moisture and a hint of molasses. It’s what makes the inside fudgy. Light or dark brown sugar both work, but I prefer dark for a deeper flavor.
Eggs (2 large) — Room temperature eggs mix better into the batter. If you forget, just drop them in a bowl of warm water for 5 minutes.
Vanilla extract (2 teaspoons) — Pure vanilla, not imitation. It makes a huge difference in chocolate recipes. I use the bottle from the grocery store, not the fancy expensive one, because you can taste the difference.
All-purpose flour (½ cup / 60g) — Don’t overmeasure this. Spoon it into the cup and level it off. Too much flour makes cakey brownies, not fudgy ones.
Cocoa powder (½ cup / 50g) — Use unsweetened cocoa powder. Natural or Dutch-processed both work, but I stick to natural for a brighter chocolate flavor.
Salt (½ teaspoon) — Even though we’re using unsalted butter, salt is crucial to balance the sweetness. Don’t skip it.
For the Turtle Toppings
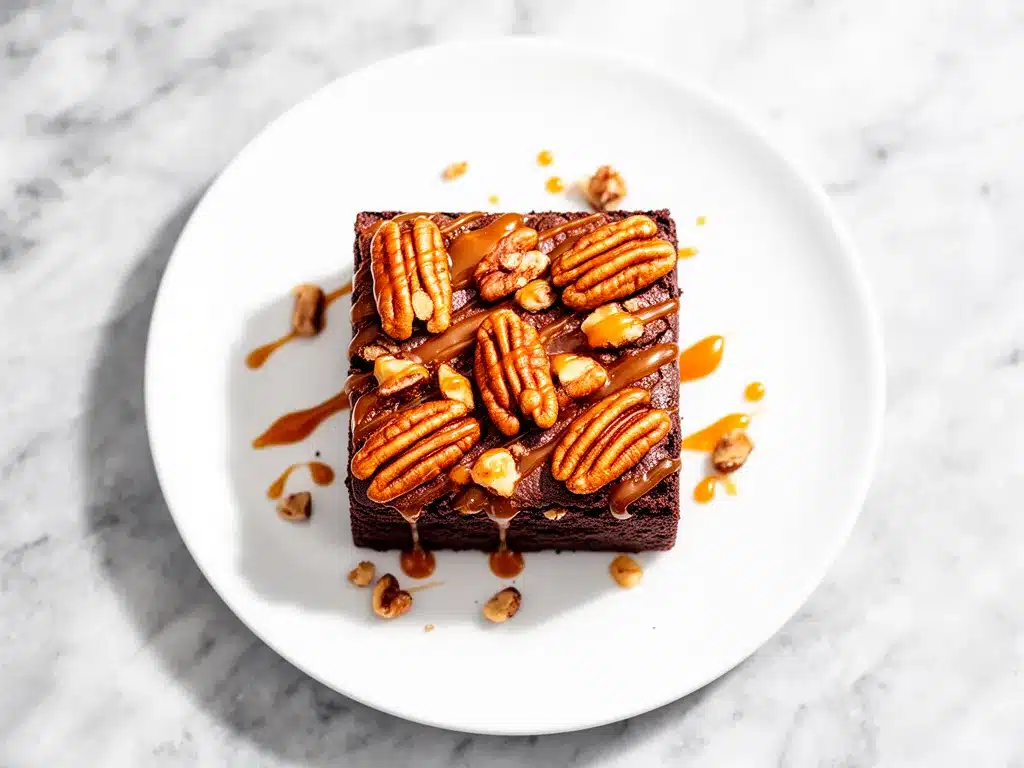
Chopped pecans (1 cup / 100g) — I buy them pre-chopped to save time, but whole pecans toasted and chopped taste even better. If you’re allergic, walnuts work in a pinch, but pecans are the traditional choice.
Caramel sauce (1 cup / 240ml) — This is where you can get fancy or lazy. I use store-bought caramel sauce for speed, but if you have time, homemade is worth it. Look for a thick, pourable consistency. Thin sauce will run off during baking.
Chocolate chips (½ cup / 85g) — Semi-sweet or dark chocolate chips. I like to use a mix of chips and chunks for variety in texture.
Flaky sea salt (optional) — For sprinkling on top after baking. This is the “turtle” part—the salty crunch that contrasts with the sweet. I use Maldon salt because it dissolves nicely but still gives a crunch.
Quick tip: I keep a bag of pecans and a jar of caramel sauce in my pantry specifically for this recipe. It’s my secret weapon for last-minute guests. If you need a quick snack to pair with these, try making a fruit and cheese snack box to balance out the sweetness.
Equipment Needed
You don’t need fancy equipment for this. Here’s what I actually use:
9×9-inch baking pan — I use a glass pan because it heats evenly and I can see the edges browning. Metal works too, but you might need to reduce the baking time by 2-3 minutes. Don’t use a springform pan; the caramel will leak out.
Microwave-safe bowl — For melting the butter. If you don’t have one, use a small saucepan on the stove. Low heat, constant stirring.
Mixing bowls — One large bowl for the wet ingredients, one medium for the dry. I use plastic bowls because they’re lightweight and easy to clean.
Whisk — For beating the eggs and sugar until glossy. A wooden spoon works too, but a whisk is faster and ensures no lumps.
Spatula — Silicone is best for scraping the bowl. I have a cheap one from the dollar store that works just as well as my expensive ones.
Cooling rack — Essential for letting the brownies set. If you cut them while hot, they’ll fall apart. Patience is key.
Knife or bench scraper — For cutting the brownies into squares. A serrated knife works well for clean cuts.
Optional but nice:
– Parchment paper — I line the pan with parchment, leaving an overhang on two sides. This makes it easy to lift the brownies out of the pan. Cleanup is a breeze.
Tool Tip: If you don’t have a 9×9 pan, you can use an 8×8 pan for thicker brownies, but increase the baking time by 5-10 minutes. Or use a 10×10 pan for thinner brownies, but watch them closely so they don’t burn.
How to Make It: Step-by-Step
Alright, let’s make this! I’m walking you through exactly how I do it, including the little tricks I’ve picked up. This isn’t just a list of instructions; it’s a guide to getting it right the first time.
Step 1: Prep Your Pan and Oven (5 minutes)
Preheat your oven to 350°F (175°C). Line your 9×9-inch baking pan with parchment paper, leaving a 2-inch overhang on the long sides. This is non-negotiable. It makes removing the brownies so much easier. If you skip this, you’ll be scraping brownie bits out of the corners for days. Grease the parchment lightly with butter or cooking spray to keep it in place.
Step 2: Melt the Butter (2 minutes)
Melt the butter in a microwave-safe bowl or small saucepan. If using the microwave, heat in 30-second intervals, stirring between each, until just melted. Don’t let it brown. If using a saucepan, melt over low heat, stirring constantly. Set aside to cool slightly. You don’t want hot butter when you add the eggs, or you’ll scramble them.
Step 3: Mix the Wet Ingredients (3 minutes)
In a large mixing bowl, whisk together the melted butter, granulated sugar, and brown sugar until well combined. The mixture should look like wet sand. Add the eggs one at a time, whisking well after each addition. Then add the vanilla extract. Whisk vigorously for about 2 minutes. You want the mixture to become glossy and slightly pale. This step incorporates air, which helps with the crackly top.
Step 4: Add the Dry Ingredients (2 minutes)
Add the flour, cocoa powder, and salt to the wet mixture. Stir with a spatula or wooden spoon until just combined. Do not overmix! Once the flour disappears, stop. Overmixing develops gluten, which makes brownies cakey instead of fudgy. The batter will be thick and dark. That’s exactly what you want.
Step 5: Pour into Pan (1 minute)
Spread the batter evenly into the prepared pan. Use your spatula to smooth the top. It doesn’t need to be perfect, but try to get it into the corners. This ensures even baking.
Step 6: Add the Toppings (5 minutes)
This is the fun part. Sprinkle the chopped pecans evenly over the batter. Then, drizzle the caramel sauce over the top. Don’t try to mix it in; just let it sit on top. Finally, sprinkle the chocolate chips over everything. The heat from the oven will melt the chips and caramelize the sauce. If you have flaky sea salt, sprinkle a little over the top now, too.
Step 7: Bake (25-30 minutes)
Place the pan in the preheated oven. Bake for 25-30 minutes. The brownies are done when a toothpick inserted into the center comes out with moist crumbs, not wet batter. If it comes out clean, they’re overbaked. If it comes out with wet batter, they need more time. The edges should be set, but the center should still jiggle slightly. It will firm up as it cools.
Step 8: Cool Completely (1 hour)
This is the hardest part. Let the brownies cool in the pan on a wire rack for at least 1 hour. If you cut them hot, they’ll fall apart and the caramel will be runny. Patience pays off. Once cooled, lift them out of the pan using the parchment overhang and cut into squares. Serve and enjoy.
Visual Cue: You’ll know they’re ready when the top looks shiny and crackly, and the smell of chocolate and toasted nuts fills your kitchen. The edges will be slightly darker than the center.
Expert Tips & Tricks
Here’s everything I’ve learned from making this dozens of times. These tips will save you from my mistakes.
Don’t Overbake
This is the #1 mistake people make. Brownies continue to cook in the pan after you take them out of the oven. If you wait until the toothpick comes out clean, they’ll be dry. Aim for moist crumbs. A little underbaked is better than overbaked.
Toast Your Nuts
If you have time, toast the pecans in a dry skillet for 3-4 minutes before chopping. This releases their oils and makes them way more flavorful. It’s a small step that makes a big difference.
Use Thick Caramel
If your caramel sauce is too thin, it will run off the edges of the brownies and burn on the bottom of the pan. Use a thick, store-bought caramel dip or make your own with a higher butter-to-sugar ratio. If you’re using a thin sauce, mix it with a little cornstarch to thicken it.
Room Temperature Eggs
Cold eggs can cause the batter to seize up when mixed with warm butter. Let your eggs sit out for 30 minutes before baking. If you forget, drop them in warm water for 5 minutes.
Chill Before Cutting
For the cleanest cuts, chill the brownies in the fridge for 30 minutes before slicing. The caramel will firm up, and the brownies will hold their shape. This is especially important if you’re packing them for lunch boxes or parties.
Common Mistakes:
– Sauce is too runny: Use a thicker caramel or reduce it on the stove first.
– Brownies are cakey: You used too much flour or overmixed the batter. Measure flour carefully and stop mixing once it’s combined.
– Nuts are burnt: Your oven runs hot. Check the brownies at 20 minutes. If the nuts are getting dark, cover the pan with foil.
Pro Trick:
For an extra fudgy texture, add 2 tablespoons of sour cream or Greek yogurt to the batter. It adds moisture and tang, which balances the sweetness. I started doing this by accident, and now I never make it without it.
Variations & Substitutions
Once you’ve nailed the basic version, here’s how you can mix it up. I’ve tried all of these.
Walnut Version
If you’re allergic to pecans, walnuts are the perfect substitute. They have a similar texture and flavor, just slightly more bitter. Toast them first for best results.
Chocolate Lover’s
Add ½ cup of chocolate chips to the batter before baking. Then top with extra caramel and nuts. This is for when you want double chocolate and double caramel.
Mini Version
Use a mini muffin tin instead of a baking pan. Fill each cup ⅔ full with batter, then add a pinch of nuts, a drizzle of caramel, and a chocolate chip. Bake for 15-18 minutes. Perfect for lunch boxes or party favors.
Gluten-Free
Use a 1:1 gluten-free flour blend instead of all-purpose flour. Most blends work well in brownies because they’re already designed to mimic wheat flour. I’ve used King Arthur and Bob’s Red Mill with great results.
Dairy-Free
Replace butter with coconut oil or dairy-free butter. Use dairy-free chocolate chips and caramel sauce. There are many good plant-based caramel sauces on the market now. The texture might be slightly different, but the flavor is still great.
Lower Sugar
Reduce the sugar by ¼ cup. The brownies will be less sweet and more chocolate-forward. You can also use sugar-free caramel sauce, though the texture will be different.
Protein Boost
Add 2 tablespoons of protein powder to the dry ingredients. This makes the brownies denser, so don’t add more than that. Pair with a glass of milk for a post-workout snack.
Different Nuts:
– Almonds: Sliced almonds work well for a crunchier texture.
– Pistachios: Adds a nice color contrast and unique flavor.
– Peanuts: More traditional for peanut butter cups, but works here too.
Serving & Storage
How to serve these bad boys:
At Room Temperature
This is how I prefer them. The caramel is soft, the brownie is fudgy, and the nuts are crunchy. Serve with a glass of cold milk or a cup of coffee.
Warm
Microwave a square for 10-15 seconds. The caramel will be gooey and the brownie warm. Perfect for a late-night treat.
Cold
Straight from the fridge. The caramel will be firmer, and the brownie will be denser. Some people prefer this texture, especially in the summer.
Side Dishes:
– Mozzarella pizza pockets for a savory contrast if you’re serving a large group.
– Fresh berries on the side to cut the sweetness.
– A scoop of vanilla ice cream for a classic dessert combo.
Storage Instructions:
– Room Temperature: Store in an airtight container for up to 3 days. Keep them in a cool, dry place.
– Refrigerator: Store for up to 1 week. Let them come to room temperature before eating for best texture.
– Freezer: Wrap individual squares in plastic wrap, then place in a freezer bag. Freeze for up to 3 months. Thaw at room temperature for 30 minutes before eating.
Reheating:
Microwave for 10-15 seconds to soften the caramel. Do not overheat, or the brownie will become tough.
Pro Tip:
If you’re meal prepping, make a batch of these on Sunday and store them in the fridge. They’re perfect for grabbing on the go. Just be careful—they’re addictive.
Nutrition Information
I’m not a nutritionist, but here’s the breakdown if you’re tracking. Keep in mind that these are estimates and can vary based on brands and exact measurements.
Per Serving (based on 16 squares):
– Calories: 280
– Protein: 4g
– Carbs: 35g
– Fiber: 2g
– Sugar: 28g
– Fat: 15g
– Saturated Fat: 7g
– Cholesterol: 35mg
– Sodium: 120mg
What’s Good:
– Contains protein from eggs and nuts.
– Good source of healthy fats from pecans.
– Iron from cocoa powder.
What to Know:
– High in sugar due to caramel and sugar in the brownie.
– Contains dairy and gluten.
– Moderate sodium.
My Take:
Look, these are brownies. They’re supposed to be indulgent. They’re not a health food. But they’re better than store-bought cupcakes, and you know exactly what’s in them. When I make these, I enjoy one square and call it a day. Moderation is key.
Final Thoughts
So that’s my fudgy turtle brownies recipe! I’ve probably talked your ear off at this point, but when you make a recipe this often, you have a lot to say about it.
This has saved my dessert game more times than I can count. It’s my answer to “What’s for dessert?” when I’m tired, don’t want to bake a cake, and still want something that tastes really good. My kids are happy, my husband’s happy, and I’m happy because I’m not stressed about cooking.
Make it yours! Try different nuts, swap in your favorite chocolate, or add a layer of peanut butter if you’re feeling fancy. The best recipes are the ones you adapt to your family’s tastes.
If you make this, drop a comment and let me know what you think! I love hearing how recipes turn out in your kitchen. And if something doesn’t work, tell me that too—I’m here to help troubleshoot.
Happy baking! And I hope your kitchen smells half as good as mine does right now.
Frequently Asked Questions
Can I use walnuts instead of pecans?
Absolutely. Walnuts are a great substitute if you don’t like pecans or have an allergy. They have a slightly more bitter flavor, which actually pairs well with the sweet caramel. Just toast them first for best results.
Why did my caramel run off the edges?
This usually happens if the caramel sauce is too thin. Use a thicker caramel dip or reduce it on the stove before drizzling. Also, make sure you’re not adding too much. A thin drizzle is enough to get that flavor without the mess.
Can I make these ahead of time?
Yes! In fact, they taste better the next day. Make them up to 2 days ahead and store in an airtight container at room temperature. If you need to store them longer, freeze them for up to 3 months.
Can I use chocolate chips instead of chocolate chunks?
Yes, chocolate chips work fine. I actually prefer chips because they melt more evenly and create little pockets of chocolate in every bite. Chunks give you bigger bites of chocolate, but chips are easier to distribute.
Why are my brownies cakey instead of fudgy?
This usually means you used too much flour or overmixed the batter. Make sure you’re spooning the flour into the measuring cup and leveling it off, not packing it down. Also, stop mixing as soon as the flour disappears. Overmixing develops gluten, which makes brownies cakey.
Can I double this recipe?
Yes, but you’ll need a larger pan. Use a 9×13-inch pan and double the baking time. Keep an eye on them, as larger pans can bake unevenly. Or, make two 9×9 pans if you have them.
Is there a gluten-free option?
Yes, use a 1:1 gluten-free flour blend instead of all-purpose flour. Most blends work well in brownies. Just make sure your chocolate chips and caramel sauce are certified gluten-free if you have a severe allergy.
Pin This Recipe!
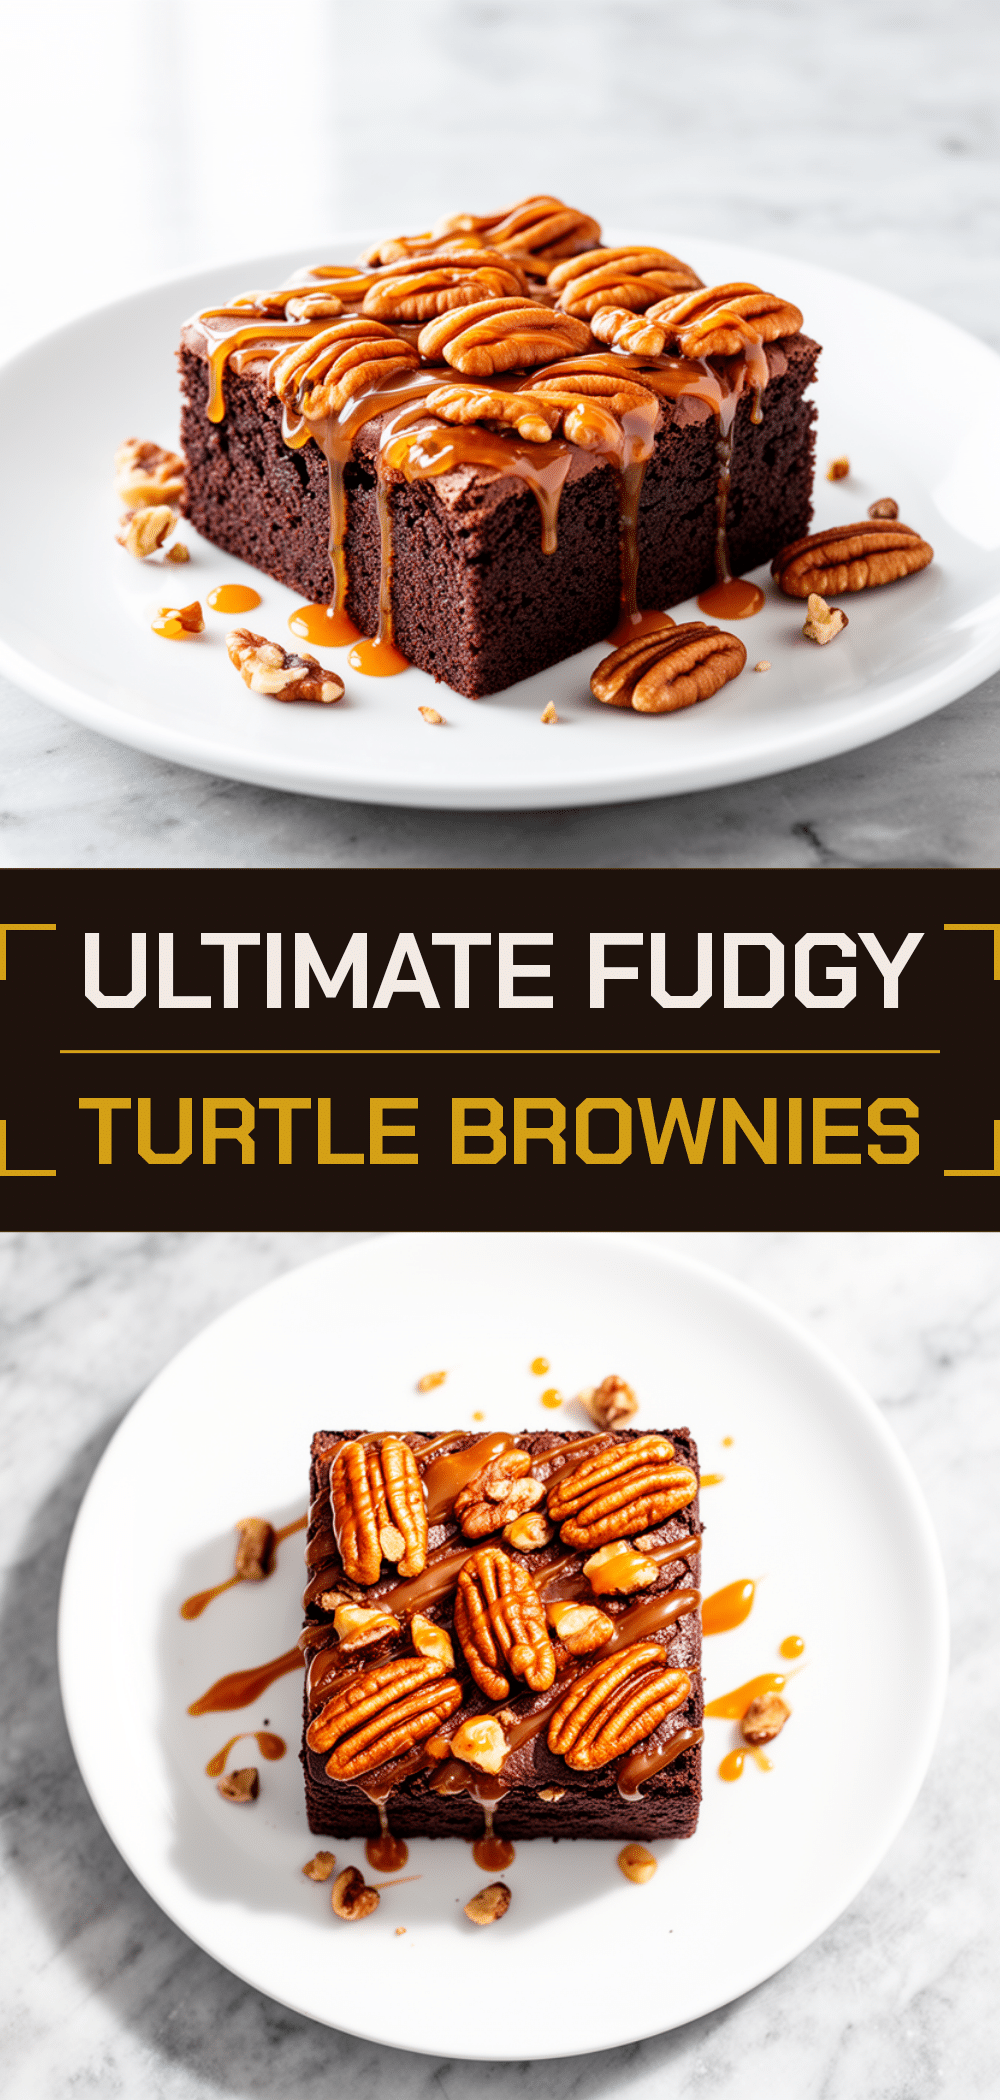
Fudgy Turtle Brownies: 5 Easy & Perfect Homemade Recipe
- Total Time: 45 minutes
- Yield: 16 servings 1x
Description
Rich, fudgy brownies topped with toasted pecans, salty caramel sauce, and chocolate chips. This easy dessert combines bitter chocolate, sweet caramel, and crunchy nuts for a crowd-pleasing treat that is simple to make and perfect for any occasion.
Ingredients
- 1/2 cup (113g) unsalted butter, melted
- 1 cup (200g) granulated sugar
- 1 cup (220g) brown sugar
- 2 large eggs, room temperature
- 2 teaspoons vanilla extract
- 1/2 cup (60g) all-purpose flour
- 1/2 cup (50g) unsweetened cocoa powder
- 1/2 teaspoon salt
- 1 cup (100g) chopped pecans
- 1 cup (240ml) thick caramel sauce
- 1/2 cup (85g) semi-sweet or dark chocolate chips
- Flaky sea salt, optional for topping
Instructions
- Preheat oven to 350°F (175°C). Line a 9×9-inch baking pan with parchment paper, leaving a 2-inch overhang on the long sides, and grease lightly.
- Melt the butter in a microwave-safe bowl or saucepan. Let it cool slightly so it doesn’t scramble the eggs.
- In a large mixing bowl, whisk together the melted butter, granulated sugar, and brown sugar until well combined.
- Add the eggs one at a time, whisking well after each addition. Add vanilla extract and whisk vigorously for about 2 minutes until the mixture is glossy and slightly pale.
- Add the flour, cocoa powder, and salt to the wet mixture. Stir with a spatula until just combined. Do not overmix.
- Spread the batter evenly into the prepared pan.
- Sprinkle chopped pecans evenly over the batter. Drizzle caramel sauce over the top and sprinkle chocolate chips over everything. Add flaky sea salt if using.
- Bake for 25-30 minutes, or until a toothpick inserted into the center comes out with moist crumbs (not wet batter).
- Let the brownies cool completely in the pan on a wire rack for at least 1 hour before lifting them out and cutting into squares.
Notes
Do not overbake; brownies continue to cook in the pan after removal. For cleaner cuts, chill brownies in the fridge for 30 minutes before slicing. Ensure caramel sauce is thick to prevent running off edges. Toasting pecans beforehand enhances flavor. Can be stored at room temperature for 3 days, in the fridge for 1 week, or frozen for 3 months.
- Prep Time: 15 minutes
- Cook Time: 30 minutes
- Category: Dessert
- Cuisine: American
Nutrition
- Serving Size: 1 square
- Calories: 280
- Sugar: 28
- Sodium: 120
- Fat: 15
- Saturated Fat: 7
- Carbohydrates: 35
- Fiber: 2
- Protein: 4
Keywords: brownies, turtle brownies, caramel brownies, pecan brownies, fudgy brownies, easy dessert, chocolate dessert, homemade brownies



