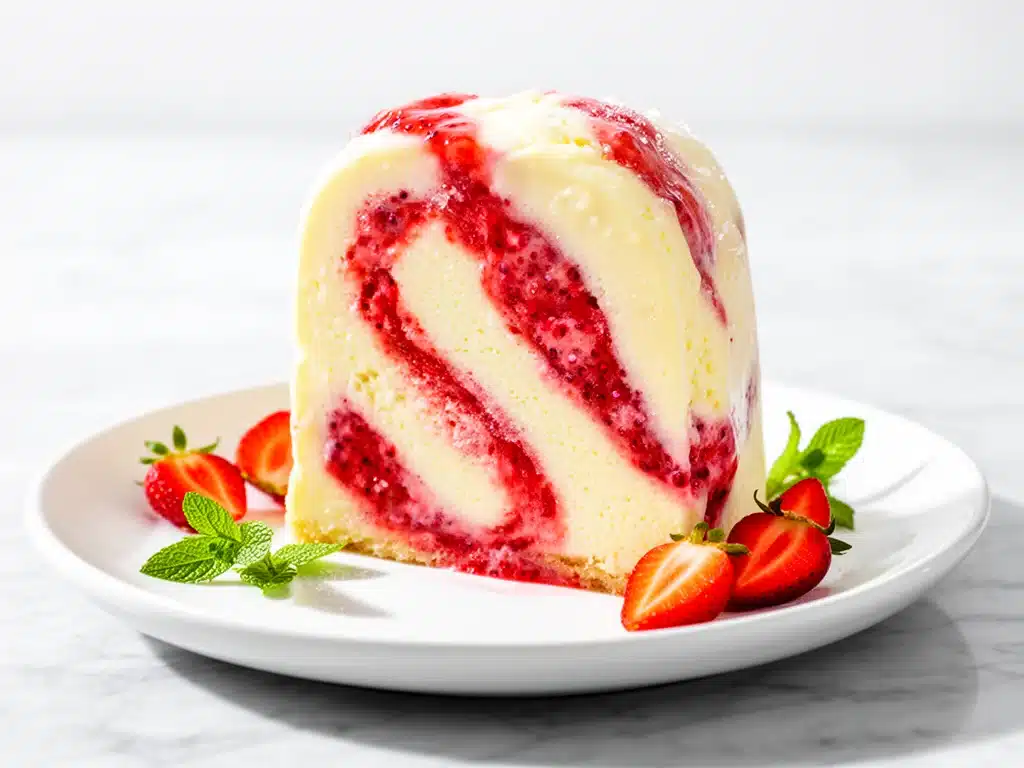
It was late July, the kind of humid Tuesday where the air feels like a warm wet towel, and I was staring into my freezer with genuine despair. I had just bought the most beautiful, overripe strawberries from the farmer’s market—bright red, fragrant, and screaming to be eaten. But it was 95 degrees outside, and the last thing I wanted to do was stand over a hot stove churning ice cream. Or worse, pay $8 for a pint of something that tasted like artificial pink sludge.
I wanted strawberry cheesecake. I wanted it cold, creamy, and easy. So, I did what any desperate home cook does: I threw ingredients into a bowl and hoped for the best. I expected something icy and grainy. Instead, I got a spoonful of pure magic. It tasted like a bakery dessert but felt like comfort food. It was rich, tangy, and bursting with real fruit.
That one lazy afternoon turned into a obsession. I’ve made this no-churn strawberry cheesecake ice cream more than a dozen times since. I’ve made it for picnics, for late-night cravings, and just because it makes my kitchen smell like a summer morning. And here’s the secret I’m about to share: you don’t need an ice cream machine. You don’t need fancy techniques. You just need three main ingredients and about ten minutes of active time.
This recipe has saved my summer dinners more times than I can count. It’s the dessert I pull out when I don’t have time to bake, when I want to impress guests without looking like I tried too hard, or when I just need a little sweetness in a chaotic week. If you’ve been intimidated by ice cream making, or if you just want a dessert that’s easier than a 5-minute mozzarella snack, this is your new best friend.
Why You’ll Make This No-Churn Strawberry Cheesecake Ice Cream on Repeat
Let’s be real: most homemade ice cream recipes are a lot of work. You have to cook custards, chill them overnight, and then babysit an ice cream maker. This? This is different. This is the “throw it in a loaf pan and forget about it” kind of dessert. Here’s why this specific version has earned a permanent spot in my rotation:
- Zero Equipment Needed — Seriously. No ice cream machine, no candy thermometer, no fancy molds. Just a mixing bowl, a whisk (or electric mixer), and a loaf pan. If you can whisk cream, you can make this.
- Ready in 10 Minutes (Plus Freezing) — The active prep time is ridiculously short. I can have this mixture ready before my kids finish their homework. The freezer does all the heavy lifting while I’m doing literally anything else.
- Actually Creamy — I know what you’re thinking. “No-churn?” I was skeptical too. But the secret is in the ratio of sweetened condensed milk to whipped cream. It traps air and fat in the perfect balance, giving you that dense, scoopable texture that rivals any dairy shop.
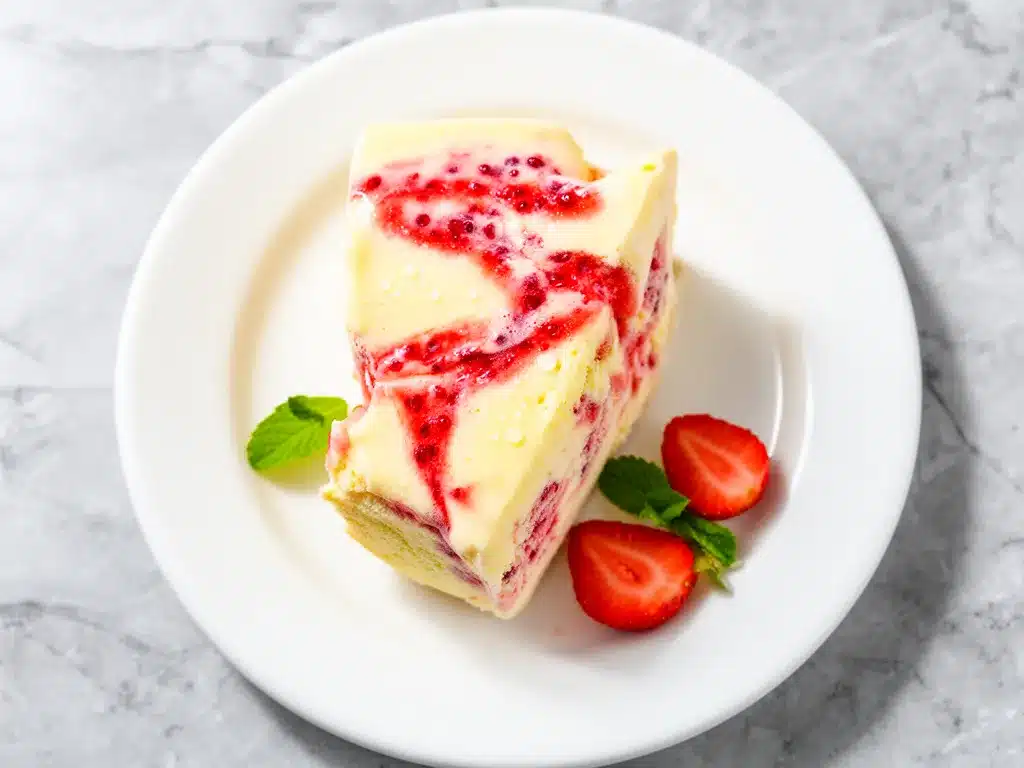
- Real Fruit, Not Syrup — So many “fruit” ice creams taste like candy. This one uses fresh (or frozen) strawberries macerated in sugar. The juice gets swirled in, creating those gorgeous pink ribbons and a genuine strawberry flavor that isn’t artificial.
- Make-Ahead Friendly — This is the ultimate prep-ahead dessert. Make it on Sunday, and you have dessert ready for every night of the week. It actually gets better after 24 hours as the flavors meld.
- Feels Fancy, Costs Pennies — You can buy a pint of premium strawberry cheesecake ice cream for $7-$10. This costs about $4 to make and tastes significantly better because you control the sugar and the quality of the cream.
This is my go-to when I need a win in the kitchen. It’s reliable, it’s delicious, and it makes people ask, “Did you buy this?” (You can tell them you made it. Watch their faces.)
Ingredients You’ll Need (And Why They Matter)
Here’s the best part: you probably have most of these items already. This recipe relies on pantry staples and a few fresh additions. I’m not going to lie to you—quality matters here. Since there are so few ingredients, each one carries a lot of weight.
The Base
Heavy Whipping Cream (2 cups / 480ml) — This is non-negotiable. It must be cold heavy cream with at least 36% fat content. Light cream or half-and-half will not whip up stiff peaks, and your ice cream will be icy and dense. I keep a few cartons in the back of the fridge specifically for this. If your cream isn’t cold, it won’t work.
Sweetened Condensed Milk (1 can / 14oz / 397g) — This is the magic ingredient that replaces the need for cooking a sugar syrup. It adds sweetness, dairy solids, and that signature creamy texture. Don’t confuse this with evaporated milk—they are completely different. Sweetened condensed milk is thick, syrupy, and very sweet.
The Strawberry Component
Fresh Strawberries (1 pound / 450g) — Ripe, red, and fragrant. If it’s strawberry season, use fresh. If it’s winter and the berries are dry and tasteless, frozen works too. Just thaw them completely and drain off the excess liquid before using. The flavor needs to be intense to stand up to the rich cream.
Granulated Sugar (2 tablespoons) — This helps draw out the moisture from the strawberries and concentrates their flavor. It also prevents the fruit from freezing into hard, icy chunks.
Lemon Juice (1 teaspoon) — This is the secret weapon. A tiny splash brightens up the strawberry flavor and balances the sweetness of the condensed milk. It makes the strawberry taste more like strawberry and less like sugar.
The Cheesecake Elements
Cream Cheese (8oz / 225g) — Full-fat block cream cheese, softened. This gives it the “cheesecake” tang. I buy the block and let it sit on the counter for 15-20 minutes before using. Softened cream cheese blends smoothly; cold cream cheese leaves lumps.
Graham Cracker Crumbs (½ cup / 50g) — These provide the texture contrast and the classic cheesecake flavor. I crush my own from graham crackers for the best texture, but store-bought crumbs work fine if you’re in a rush. Look for ones that aren’t too sweet.
Vanilla Extract (1 teaspoon) — Pure vanilla. The cheap imitation stuff tastes chemical, and in a delicate dessert like this, it really shows up.
Salt (½ teaspoon) — I know it sounds weird in a sweet dessert, but salt enhances the strawberry flavor and cuts through the richness of the cream. Don’t skip it.
Equipment You’ll Need
You don’t need anything fancy. Here’s what I actually use in my kitchen:
Large Mixing Bowl — I use a large glass or metal bowl. If you can, put it in the fridge for 10 minutes before whipping the cream. A cold bowl helps the cream whip faster and hold its shape better.
Electric Hand Mixer or Stand Mixer — You can do this by hand, but your arms will thank you for using a mixer. I use a hand mixer because it’s easier to clean, but a stand mixer with the whisk attachment works perfectly too.
Loaf Pan — A standard 9×5 inch loaf pan is perfect. Line it with plastic wrap or parchment paper, leaving an overhang on the sides. This makes it super easy to lift the whole block of ice cream out later if you want to slice it, or just makes scooping easier.
Blender or Food Processor — For pureeing the strawberries. A blender works great for a smooth puree. If you want chunks of strawberry in there, just mash them with a fork instead.
Spatula — A rubber spatula is essential for folding the mixture gently. You want to keep all that air you whipped into the cream.
How to Make It: Step-by-Step
Alright, let’s make this! I’m walking you through exactly how I do it, including the little tricks I’ve picked up so your ice cream turns out perfectly smooth and scoopable.
Step 1: Prep the Strawberries (10 minutes)
Wash and hull your strawberries. If they’re large, chop them in half. Place them in a bowl with the sugar and lemon juice. Let them sit for 10-15 minutes. You’ll see the sugar dissolve and the strawberries release their juicy red liquid. This is called maceration, and it concentrates the flavor. Once they’ve sat, blend them until smooth. If you want chunks, mash them with a fork instead. Strain the puree through a fine-mesh sieve if you want a smooth ice cream without seeds (I usually skip this for a more rustic look, but it’s your call).
Step 2: Whip the Cream (3 minutes)
In your chilled mixing bowl, pour the cold heavy cream. Beat it on medium-high speed until you form stiff peaks. This means when you lift the beaters, the cream stands up straight and doesn’t droop. It should look like thick whipped topping. Be careful not to over-whip it into butter! It should still be smooth and glossy.
Step 3: Make the Cheesecake Base (3 minutes)
In a separate medium bowl, beat the softened cream cheese, vanilla extract, and salt until smooth and creamy. There should be no lumps. This is crucial for a smooth texture. If you see lumps, keep beating until they disappear.
Step 4: Combine the Mixtures (2 minutes)
Gently fold the sweetened condensed milk into the cream cheese mixture. Use a spatula and fold slowly, scraping the bottom and sides of the bowl. You just want to combine them. The mixture will be thick and rich.
Step 5: Fold in the Cream (2 minutes)
Now comes the most important part: folding in the whipped cream. Add about one-third of the whipped cream to the cream cheese mixture and stir it in to lighten the base. Then, add the rest of the whipped cream. Gently fold it in using a figure-eight motion. Stop as soon as there are no more white streaks. You want to keep as much air in the mixture as possible. This is what makes it light and creamy instead of dense and icy.
Step 6: Add the Strawberry and Crumbs
Reserve about ¼ cup of the strawberry puree for swirling later. Fold the rest of the puree into the cream mixture in two additions. Don’t over-mix; you want nice pink marbling. Finally, gently fold in the graham cracker crumbs. They will distribute throughout the mixture.
Step 7: The Swirl and Freeze
Transfer the mixture to your lined loaf pan. Smooth the top with a spatula. Take the reserved ¼ cup of strawberry puree and drizzle it over the top. Use a knife or chopstick to swirl it into the mixture—just make a few loops. Don’t overdo it; you want visible ribbons of pink, not a uniform pink block.
Cover the pan tightly with plastic wrap or a lid. Freeze for at least 6 hours, but ideally overnight (12+ hours). This long freeze time allows the ice crystals to form small enough that the texture stays smooth.
Expert Tips for Perfect No-Churn Ice Cream
I’ve made enough of this to know what works and what doesn’t. Here’s everything I’ve learned from my failures and successes.
Cold Cream is Non-Negotiable
If your heavy cream is warm, it will never whip. I actually keep my mixing bowl in the fridge for an hour before I start. If you’re in a rush, you can put the bowl in the freezer for 10 minutes. Cold cream whips faster and holds more air, which means a lighter ice cream.
Softened Cream Cheese
Don’t try to beat cold cream cheese. It will leave lumps that turn into hard chunks in the ice cream. Take it out of the fridge 20 minutes before you start. If you forgot, you can microwave it in 5-second bursts, stirring between each, until it’s soft but not melted.
Don’t Over-Fold
When you’re adding the whipped cream, gentle hands only. If you stir vigorously, you’ll deflate the air bubbles. Less air means denser, icier ice cream. Fold until just combined. It’s okay if there are a few tiny streaks.
Strain the Seeds (Optional)
Strawberry seeds are edible, but they can feel gritty in ice cream. If you want a silky, restaurant-quality texture, strain your puree through a sieve. If you don’t mind a bit of texture, skip this step.
Freeze in a Loaf Pan
A loaf pan is the easiest vessel. But if you want individual portions, you can freeze the mixture in an ice cube tray and then transfer the cubes to a freezer bag. It makes for great “ice cream bites” for kids.
Variations and Substitutions
Once you’ve mastered the basic version, here’s how you can mix it up. I’ve tried all of these, and they’re all winners.
Berry Cheesecake
Swap strawberries for raspberries, blueberries, or blackberries. Raspberries are especially good because they’re tart and pair beautifully with the cream cheese. Use the same amount of fruit.
Oreo Cheesecake
Skip the strawberry puree entirely. Instead, crush 10-12 Oreo cookies and fold them in along with the graham cracker crumbs. Drizzle with chocolate syrup instead of strawberry puree. This is a crowd-pleaser.
Lemon Cheesecake
Skip the fruit. Add the zest of 2 lemons to the cream cheese mixture and swap the graham cracker crumbs for crushed shortbread cookies. It’s bright, tart, and refreshing.
Gluten-Free
Simply use gluten-free graham crackers or gluten-free vanilla wafers crushed into crumbs. Everything else is naturally gluten-free, so this is an easy swap.
Dairy-Free Option
This is trickier because the recipe relies on dairy fat for texture. You can use coconut cream (the thick part from a can of full-fat coconut milk) instead of heavy cream, and use dairy-free cream cheese and condensed milk. The texture will be different—heavier and more like coconut ice cream—but it’s still delicious.
Serving and Storage
How to Serve
This ice cream is best served straight from the freezer. Because it’s no-churn, it doesn’t get rock-hard like commercial ice cream. Just let it sit on the counter for 5-10 minutes before scooping if it’s too firm. I love serving it in waffle cones or alongside fresh berries. It also pairs wonderfully with a simple cinnamon french toast stick if you’re doing a brunch dessert theme.
Storage
Keep it covered tightly in the freezer. It will last for up to 2 weeks. After that, it might start to develop ice crystals or absorb freezer odors. If it gets too hard, let it thaw for 10 minutes before scooping.
Reheating?
You don’t reheat ice cream! But if you’re meal prepping, make the base on Sunday and freeze it. It will be ready to eat any day of the week.
Nutrition Information
I’m not a nutritionist, but here’s the breakdown if you’re tracking. Keep in mind that this is a rich dessert, so portion control is key.
Per Serving (based on 8 servings of ½ cup each):
- Calories: 380
- Protein: 5g
- Carbs: 32g
- Fiber: 1g
- Sugar: 30g
- Fat: 26g
- Saturated Fat: 16g
What’s Good: It has some protein from the dairy, and using real fruit adds a tiny bit of nutrients. What to Know: It’s high in sugar and saturated fat because of the condensed milk and cream. It’s a treat, not a health food. But it’s way better than store-bought options loaded with preservatives.
Final Thoughts
So that’s my go-to no-churn strawberry cheesecake ice cream! I’ve probably talked your ear off at this point, but when you make a recipe this often, you have a lot to say about it. This has saved my summer dinners more times than I can count. It’s my answer to “what’s for dessert” when I’m tired, don’t want to bake, and still want something that tastes really good. My kids are happy, my husband’s happy, and I’m happy because I’m not stressed about cooking.
Make it yours! Try different berries, different cookie crumbs, or different extracts. The best recipes are the ones you adapt to your family’s tastes. If you make this, drop a comment and let me know what you think! I love hearing how recipes turn out in your kitchen. And if something doesn’t work, tell me that too—I’m here to help troubleshoot.
Happy cooking! And I hope your kitchen smells half as good as mine does right now.
Frequently Asked Questions
Can I use frozen strawberries?
Yes! Frozen strawberries work great, especially out of season. Just thaw them completely in a bowl with a paper towel underneath to catch the liquid. Once thawed, drain off as much excess liquid as possible before blending. If you don’t drain it, your ice cream will be icy and watery. You can also skip the maceration step with sugar if the berries are already soft and sweet.
Why did my ice cream turn out icy?
This usually happens for one of three reasons: 1) The cream wasn’t cold enough when you whipped it, so it didn’t incorporate enough air. 2) You over-whipped the cream into butter. 3) The mixture wasn’t frozen long enough. No-churn ice cream needs at least 6 hours, but 12 is ideal. Also, make sure your loaf pan is airtight to prevent freezer burn.
Can I make this in an ice cream maker?
Technically yes, but it’s not necessary. If you do use a machine, churn the mixture according to the manufacturer’s instructions, then transfer to a loaf pan and freeze for 2-4 hours to firm up. The no-churn method is actually simpler and often yields a creamier result because the whipped cream adds more air.
How do I store this to prevent freezer burn?
Press a piece of plastic wrap directly onto the surface of the ice cream before putting the lid on. This creates an airtight seal and prevents ice crystals from forming on top. It also stops it from absorbing smells from other foods in your freezer.
Can I add mix-ins like cookie dough or chocolate chips?
Absolutely! Fold in ½ cup of mix-ins after you’ve combined the cream and strawberry mixture. Just make sure they’re small enough to distribute evenly. Chopped nuts, crushed cookies, or even small pieces of fresh fruit work well.
Is there a substitute for sweetened condensed milk?
Not a true one. Sweetened condensed milk provides both sweetness and the dairy solids that give ice cream its creamy texture. You can’t just use sugar and milk, or the ice cream will be icy. If you need a dairy-free option, look for dairy-free sweetened condensed milk made from coconut milk, though the texture will be slightly different.
How long does this keep in the freezer?
It’s best eaten within 2 weeks. After that, it might start to lose its creamy texture and become harder or develop ice crystals. It’s still safe to eat, but the quality declines. I usually make small batches so it’s gone before it gets old!
Pin This Recipe!
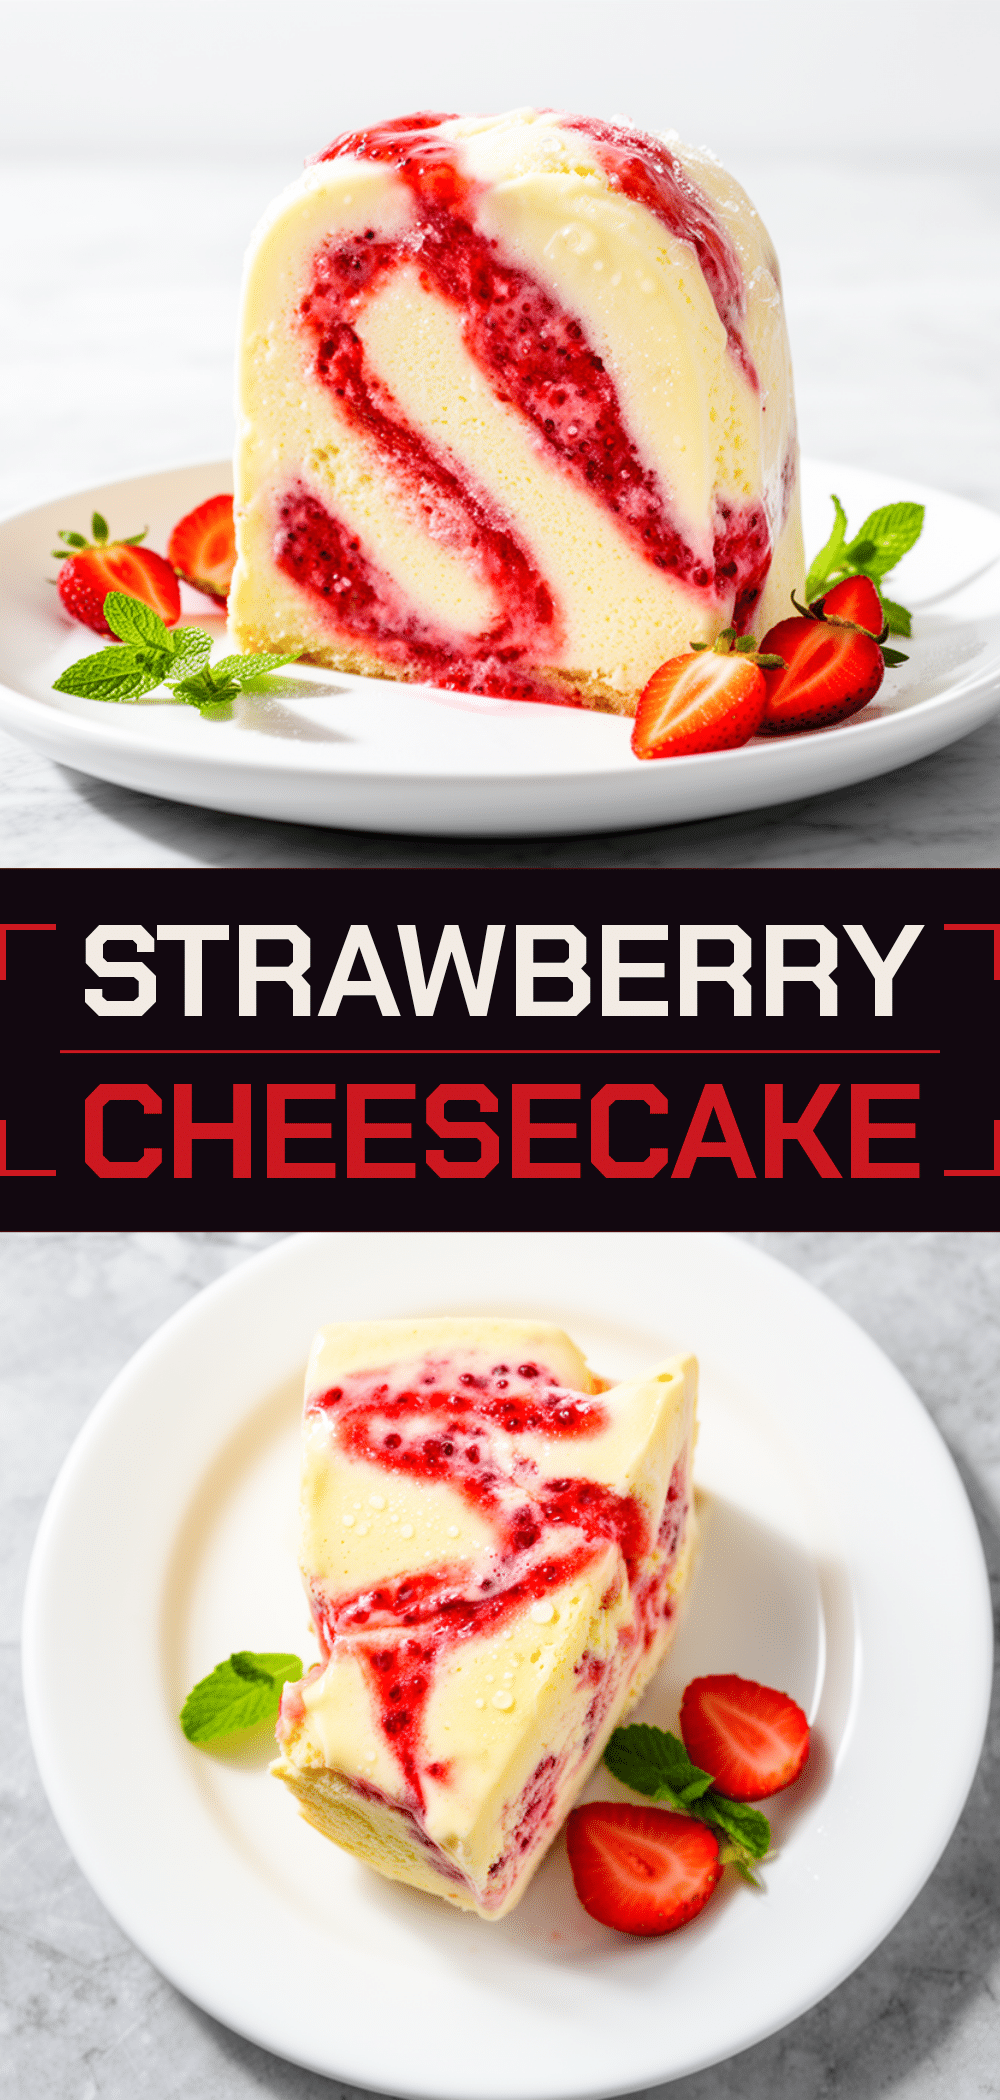
No-Churn Strawberry Cheesecake Ice Cream: 3-Ingredient Easy Dessert
- Total Time: 6 hours 10 minutes
- Yield: 8 servings 1x
Description
A creamy, no-churn strawberry cheesecake ice cream that requires no ice cream machine. This easy dessert combines whipped cream, sweetened condensed milk, fresh strawberries, and cream cheese for a rich, tangy treat ready in just 10 minutes of active time.
Ingredients
- 2 cups (480ml) heavy whipping cream, cold
- 1 can (14oz / 397g) sweetened condensed milk
- 1 pound (450g) fresh strawberries, hulled and chopped
- 2 tablespoons granulated sugar
- 1 teaspoon lemon juice
- 8oz (225g) full-fat block cream cheese, softened
- 1 teaspoon vanilla extract
- 1/2 teaspoon salt
- 1/2 cup (50g) graham cracker crumbs
Instructions
- Macerate strawberries: Place chopped strawberries in a bowl with sugar and lemon juice. Let sit for 10-15 minutes until juices release.
- Puree strawberries: Blend the macerated strawberries until smooth. Optionally strain through a sieve to remove seeds.
- Whip cream: In a chilled large mixing bowl, beat the cold heavy cream on medium-high speed until stiff peaks form.
- Make cheesecake base: In a separate medium bowl, beat the softened cream cheese, vanilla extract, and salt until smooth and lump-free.
- Combine bases: Gently fold the sweetened condensed milk into the cream cheese mixture until combined.
- Fold in cream: Add one-third of the whipped cream to the cream cheese mixture to lighten it. Then, gently fold in the remaining whipped cream using a figure-eight motion until just combined.
- Add fruit and crumbs: Reserve 1/4 cup of strawberry puree for swirling. Fold the remaining puree into the cream mixture in two additions. Gently fold in the graham cracker crumbs.
- Swirl and freeze: Transfer mixture to a plastic-lined 9×5 inch loaf pan. Smooth the top, drizzle with reserved puree, and swirl with a knife. Cover tightly and freeze for at least 6 hours, ideally overnight.
- Serve: Let ice cream sit on the counter for 5-10 minutes before scooping to soften slightly.
Notes
Ensure heavy cream is very cold for best whipping results. Cream cheese must be softened to avoid lumps. Do not over-fold the whipped cream to maintain airiness. For a smoother texture, strain strawberry seeds. Can be stored in the freezer for up to 2 weeks.
- Prep Time: 10 minutes
- Cook Time: 0 minutes
- Category: Dessert
- Cuisine: American
Nutrition
- Serving Size: 1/2 cup
- Calories: 380
- Sugar: 30
- Fat: 26
- Saturated Fat: 16
- Carbohydrates: 32
- Fiber: 1
- Protein: 5
Keywords: no-churn ice cream, strawberry cheesecake, easy dessert, summer dessert, homemade ice cream, no ice cream machine



