Last Tuesday, I was standing in my kitchen at 6:30 PM, staring into the open refrigerator like it held the secrets to the universe. It didn’t. It held a lonely bell pepper, some leftover chicken, and a jar of salsa that had seen better days. My kids were already complaining about being “hangry,” and I knew if I didn’t feed them in the next twenty minutes, chaos would ensue. Usually, this is the moment I reach for the phone to order takeout. But I was tired of the grease, the $30 bill, and the fact that I never felt satisfied after eating it.
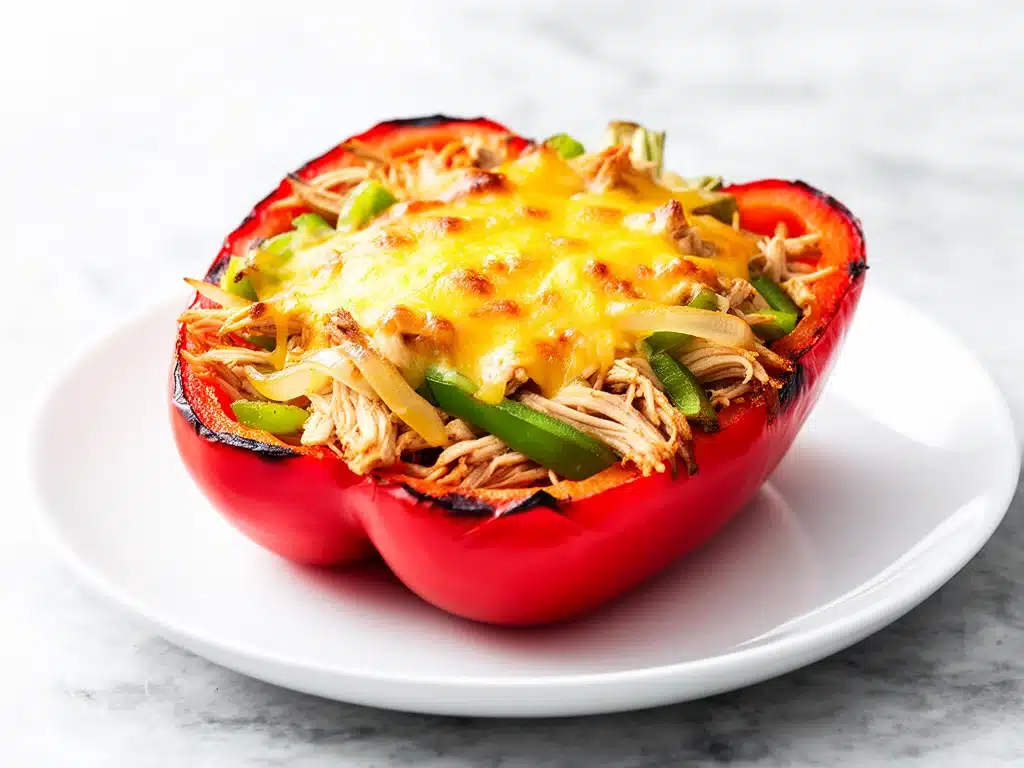
So, I did something I hadn’t done in years. I pulled out my favorite baking sheet and decided to make baked chicken fajita stuffed peppers. I wasn’t planning for perfection. I was planning for survival. I threw in some rice, dumped in a can of black beans, and used whatever spices were sitting on my counter. I figured, what’s the worst that could happen? A weird dinner? At least it would be fast.
Here’s the thing about that Tuesday night dinner: it was the best weeknight meal I’d made in months. The peppers got tender but held their shape. The chicken was juicy and packed with smoky, zesty flavor. And the best part? My kids actually asked for seconds. Not “can I have more?” but “can I have more?” which, in my house, is basically a standing ovation.
I’ve made this baked chicken fajita stuffed peppers recipe at least a dozen times since that random Tuesday. I’ve tweaked the spice levels, tried different peppers, and even got my teenagers involved in the prep. It’s become my go-to when I need dinner to just work. It’s healthy, it’s colorful, and it tastes like a vacation without the flight costs. If you’re tired of the same old chicken and rice routine, trust me on this one. It’s about to change your weeknight game.
Why You’ll Love This Recipe
There are about ten reasons I keep coming back to this dish, but here are the big ones that actually matter when you’re exhausted after work.
It’s a One-Pan Wonder — Seriously, this is the ultimate cleanup hack. You roast the peppers on a single baking sheet. One pan. One dish to wash. That alone is worth the hype. I don’t know about you, but I love cooking almost as much as I love *not* cooking. This recipe gives me the best of both worlds.
It’s Packed with Protein and Veggies — Let’s be real, getting my family to eat vegetables is usually a battle. But these peppers? They’re sweet, they’re soft, and they’re stuffed with savory chicken and beans. It’s basically a vegetable that tastes like a cheat meal. I’ve served this to my meat-loving husband and my picky 8-year-old, and everyone cleaned their plates. No negotiations required.
It’s Meal Prep Friendly — I make a double batch every Sunday. These reheat beautifully in the microwave (though I prefer them cold or room temp for lunch). They travel well in Tupperware, and they don’t get soggy like some casseroles do. It’s perfect for busy school nights or when I need to grab lunch on the go. Honestly, they’re better than those sad cafeteria salads.
Customizable to Any Palate — Want it spicy? Add jalapeños. Want it mild? Skip the peppers and use mild salsa. Gluten-free? Easy. Dairy-free? Just skip the cheese or use a vegan alternative. This recipe bends to your needs, not the other way around. It’s forgiving in a way that makes me feel like a good cook, even when I’m running on fumes.
This is my answer to “what’s for dinner?” when I’m tired, don’t want takeout, and still want something that tastes really good. It’s reliable, it’s delicious, and it makes my kitchen smell amazing without taking all day.
Ingredients You’ll Need
Here’s the best part: you probably have most of this already. This isn’t a recipe that requires a trip to three different specialty stores. It’s pantry-friendly and produce-simple.
For the Peppers:
Large Bell Peppers (4 large, any color / about 600g) — I usually mix colors for a rainbow effect on the plate, which helps with the “eat your veggies” vibe. Red and yellow peppers are sweeter and softer, while green peppers have a bit more bite. If you can’t find large ones, you can use smaller ones, but you’ll need to adjust the baking time. Look for peppers that are firm and shiny—no soft spots.
For the Filling:
Cooked Chicken (2 cups, diced or shredded / about 300g) — I use rotisserie chicken for speed, but grilled chicken breast works too. If you’re starting from raw, cook it first, then chop it. I like chunks because they add texture, but shredded is fine if you prefer a softer bite. Pro tip: Save the bones to make broth later. Don’t waste a thing.
Cooked Rice (1 cup / 200g) — White rice is traditional, but brown rice adds a nutty flavor and more fiber. I usually make a big batch on Sunday and use it throughout the week. Cold rice works best here because it’s drier and absorbs the flavors better than hot, sticky rice.
Black Beans (1 can, 15oz / 425g, drained and rinsed) — These add protein and fiber without any extra effort. Make sure you rinse them well to remove that canned taste. If you’re out of black beans, pinto beans or kidney beans work just as well. I’ve even used chickpeas once when I was desperate, and it was surprisingly good.
Corn (1 cup / 150g) — Frozen corn is my go-to. It’s cheap, it’s always in stock, and it adds little bursts of sweetness. Thaw it quickly under warm water if you’re in a rush. It pairs perfectly with the smoky fajita flavor.
Onion (1 medium yellow onion, diced / about 150g) — Yellow onion is sweet and savory when cooked. It’s the base of the flavor profile. Don’t skip this. If you’re allergic, you can use a little bit of onion powder, but fresh is much better.
Garlic (3 cloves, minced / about 1 tablespoon) — Fresh garlic only. No jarred stuff here. It’s too overpowering and has a metallic taste that clashes with the fresh veggies. Mince it finely so it distributes evenly.
Fajita Seasoning (2 tablespoons) — I make my own blend (paprika, cumin, chili powder, garlic powder, onion powder, salt, and pepper), but store-bought works fine if you’re watching the sodium. Check the label—if it has a mile-long ingredient list, maybe skip it. I want to know what I’m eating.
Chicken Broth (½ cup / 120ml) — Low-sodium is best so you can control the salt. It adds moisture and helps the rice absorb flavor. If you’re out, water works, but broth adds depth.
Shredded Cheese (1 cup / 100g, optional) — Cheddar, Monterey Jack, or a Mexican blend. I love a sharp cheddar for flavor, but Monterey Jack melts better. If you’re dairy-free, skip it or use a vegan cheese. It’s not essential, but it adds that gooey comfort factor.
For Topping:
Fresh Cilantro (¼ cup, chopped / about 15g) — Adds brightness and color. If you hate cilantro (it’s a genetic thing, I get it), skip it or use parsley. It’s not a dealbreaker.
Lime (1 lime, cut into wedges) — Squeezing fresh lime over the top right before eating is non-negotiable for me. It cuts through the richness and wakes up all the flavors.
Salsa or Sour Cream — For serving. I like a chunky salsa on the side and a dollop of sour cream for cooling contrast.
Equipment Needed
You don’t need fancy equipment for this. Here’s what I actually use.
Large Baking Sheet — I use a standard half-sheet pan. If you’re making four peppers, one pan is perfect. If you’re doubling the recipe, you might need two pans. Make sure it has a rim so the juices don’t spill into the oven.
Sharp Knife — For slicing the tops off the peppers and dicing the onion. A dull knife is dangerous and frustrating. I use my chef’s knife for everything here.
Cutting Board — Any size works. I use a large plastic one so I can chop veggies and mix the filling in one place if I want to.
Measuring Cups and Spoons — Standard stuff. I don’t measure the spices strictly, but for the rice and beans, I like to be precise so the ratios are right.
Mixing Bowl — A medium bowl to mix the filling. I usually mix it right in the bowl to keep the mess down.
Optional but nice:
Vegetable Peeler — If your peppers have any tough or green spots on the inside, a quick pass with a peeler helps. It’s not necessary, but it makes the peppers more tender.
Small Spoon — To scrape out the seeds and membranes from the peppers. A teaspoon works perfectly.
How to Make It: Step-by-Step
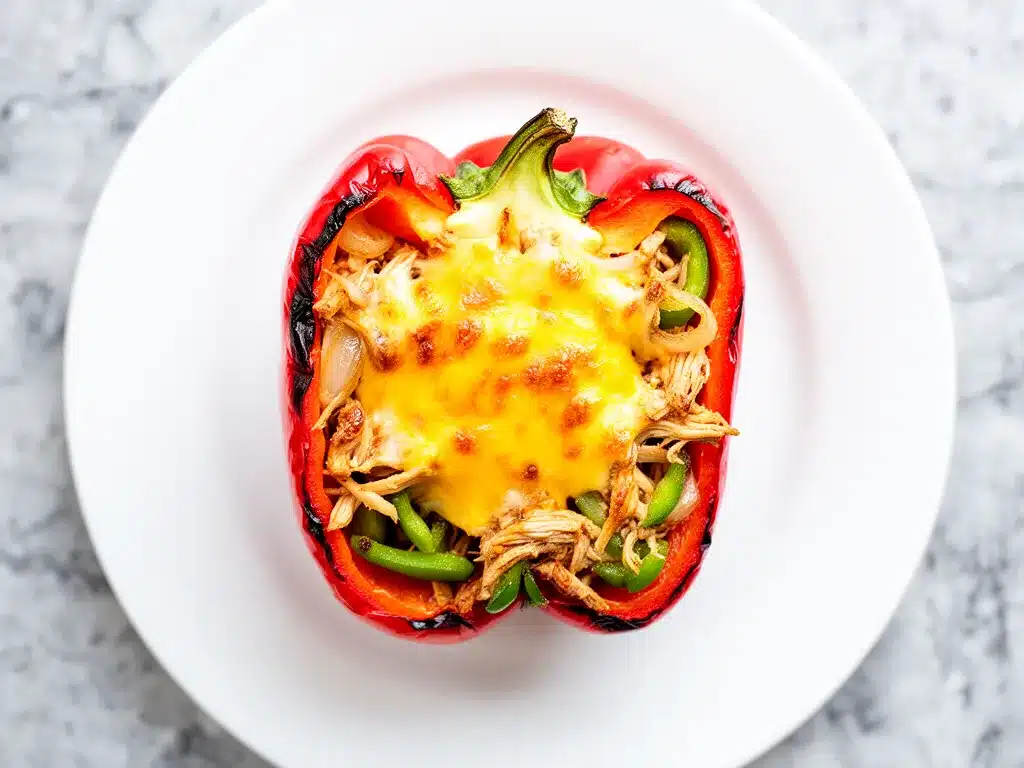
Alright, let’s make this! I’m walking you through exactly how I do it, including the little tricks I’ve picked up.
Step 1: Prep the Peppers (5 minutes)
Preheat your oven to 375°F (190°C). Line a large baking sheet with parchment paper or foil for easy cleanup. Take your bell peppers and slice about ½ inch off the top. Keep the tops! They make cute little lids later. Use a small spoon to scoop out the seeds and white membranes from the inside. Try to get as much of the white stuff out as possible—it’s the bitter part. You want the pepper to be a little cup. If the peppers are wobbly, you can slice a tiny bit off the bottom to make them stand flat, but it’s not always necessary.
Step 2: Sauté the Aromatics (5 minutes)
While the oven heats, heat a large skillet over medium heat with a little olive oil. Add the diced onion and cook for 3-4 minutes until soft and translucent. Add the minced garlic and cook for another minute until fragrant. Don’t burn the garlic! It should smell amazing, not sharp. This step builds the flavor base. If you’re short on time, you can skip this and just mix raw onion with the filling, but sautéing it makes it sweeter and less harsh.
Step 3: Make the Filling (3 minutes)
In your mixing bowl, combine the cooked chicken, rice, black beans, corn, sautéed onion and garlic, and fajita seasoning. Stir everything together. Taste it! This is the moment to adjust seasoning. If it needs more salt, add a pinch. If it needs more spice, add a dash of cayenne or extra chili powder. The mixture should be moist but not soupy. If it looks dry, add a splash of chicken broth.
Step 4: Stuff the Peppers (5 minutes)
Place the hollowed-out peppers on the baking sheet. Stuff them generously with the chicken mixture. Don’t pack it too tight; it needs room to expand slightly. If you’re using cheese, sprinkle it on top of the filling now. It will melt into the peppers as they bake. If you prefer cheese on top after baking, you can add it later.
Step 5: Bake (25-30 minutes)
Place the baking sheet in the preheated oven. Bake for 25-30 minutes. The peppers are done when they are tender but still hold their shape. You can test this by piercing the thickest part of the pepper with a fork—it should go in easily but not feel mushy. If you want the cheese melted and bubbly, you can broil for the last 2 minutes, but watch it closely so it doesn’t burn.
Step 6: Serve (2 minutes)
Remove from the oven and let them cool for 5 minutes. This helps them set slightly so they don’t fall apart when you cut into them. Garnish with fresh cilantro and serve with lime wedges, salsa, and sour cream on the side. Squeeze that lime over the top—it’s the secret weapon.
Total Time: About 45 minutes (15 minutes active, 30 minutes baking)
Expert Tips & Tricks
Here’s everything I’ve learned from making this dozens of times. These tips will save you from my mistakes.
Don’t Overstuff Them — I used to pack these peppers to the brim, and they always burst open in the oven. Leave a little room at the top. It’s better to have a slightly empty top than a messy oven.
Use Leftover Rice — Freshly cooked rice is too wet and sticky. It makes the filling soggy. Cold, day-old rice is perfect because it’s drier and absorbs the flavors better. If you don’t have leftover rice, cook it and let it cool completely before using.
Roast the Peppers First? — If you like your peppers really soft, you can roast them empty for 15 minutes before stuffing. I usually skip this because I like a little bit of texture, but it’s a great option if you prefer them melt-in-your-mouth tender.
Freeze the Extras — These freeze well! Assemble them, freeze them on the baking sheet until solid, then transfer to a freezer bag. Bake from frozen, adding 10-15 minutes to the cooking time. Great for meal prep.
Check for Doneness — Every oven is different. Start checking at 25 minutes. If the peppers are tender but the cheese isn’t melted, just broil for a minute. If the peppers are still hard, cover them loosely with foil and bake for another 10 minutes.
Variations & Substitutions
Once you’ve nailed the basic version, here’s how you can mix it up. I’ve tried all of these.
Shrimp Fajita Stuffed Peppers — Swap the chicken for cooked shrimp. They cook faster, so add them in the last 5 minutes of baking. It’s a lighter, seafood twist.
Vegetarian Version — Skip the chicken and add an extra cup of beans or some chopped mushrooms. Mushrooms add a meaty texture that works well here. I use cremini mushrooms and sauté them until browned.
Spicy Kick — Add diced jalapeños or a dash of hot sauce to the filling. If you’re brave, add some crushed red pepper flakes.
Tex-Mex Style — Add a can of diced tomatoes and green chiles (like Rotel) to the filling. It adds extra moisture and flavor. Drain any excess liquid first.
Gluten-Free — This recipe is naturally gluten-free! Just make sure your fajita seasoning and broth are certified gluten-free. Most are, but check the label.
Dairy-Free — Skip the cheese or use a vegan alternative. The filling is flavorful enough on its own.
Serving & Storage
How to Serve:
I usually serve these straight from the baking sheet. It’s rustic and communal. But here are other ways I’ve enjoyed them:
- With a Side Salad: A simple green salad with lime vinaigrette balances the richness.
- With Rice: If you want a bigger meal, serve them over a bed of cilantro-lime rice.
- With Chips and Guacamole: Perfect for a casual Friday night dinner.
Storage:
Refrigerator: Store leftovers in an airtight container for up to 4 days. The peppers will soften further in the fridge, which is fine. They’re great cold or reheated.
Reheating: Microwave for 1-2 minutes until warm. Or reheat in the oven at 350°F for 15 minutes to keep them from getting soggy. I prefer the oven method because it keeps the texture better.
Freezing: Yes, they freeze well! Freeze them unbaked or baked. If baking from frozen, add 10-15 minutes to the cook time. Thaw in the fridge overnight if you’re baking them after freezing.
Nutrition Information
I’m not a nutritionist, but here’s the breakdown if you’re tracking.
Per Serving (1 stuffed pepper, without toppings):
- Calories: 280
- Protein: 22g
- Carbs: 25g
- Fiber: 6g
- Sugar: 8g
- Fat: 10g
What’s Good: High in protein, good source of fiber, packed with vitamins from the peppers. It’s a balanced meal that keeps you full.
What to Know: Sodium can vary depending on your seasoning and broth. Use low-sodium options to keep it lower. Cheese and toppings will add more calories and fat.
Look, this is comfort food with a healthy twist. It’s not a diet recipe, but it’s way better than takeout, costs less, and I know exactly what’s in it. When I want to make it lighter, I skip the cheese and use more veggies. But usually? I just enjoy it.
Final Thoughts
So that’s my go-to baked chicken fajita stuffed peppers! I’ve probably talked your ear off at this point, but when you make a recipe this often, you have a lot to say about it.
This has saved weeknight dinners more times than I can count. It’s my answer to “what’s for dinner?” when I’m tired, don’t want takeout, and still want something that tastes really good. My kids are happy, my husband’s happy, and I’m happy because I’m not stressed about cooking.
Make it yours! Try different add-ins, swap in your favorite vegetables, adjust the spice. The best recipes are the ones you adapt to your family’s tastes. And if you’re looking for more easy weeknight ideas, check out my Chicken Caesar Wraps for a lighter lunch option, or these Mozzarella Pizza Pockets for a fun snack.
If you make this, drop a comment and let me know what you think! I love hearing how recipes turn out in your kitchen. And if something doesn’t work, tell me that too—I’m here to help troubleshoot. Happy cooking! And I hope your kitchen smells half as good as mine does right now.
Frequently Asked Questions
Can I use raw chicken in the filling?
Yes, but you need to cook it first. If you put raw chicken in the pepper, it won’t cook evenly in the time it takes for the pepper to soften. Cook the chicken first, chop it, then mix it with the other ingredients. This ensures the chicken is safe to eat and has time to absorb the flavors.
Why are my peppers watery?
This usually happens if you use fresh rice that’s too wet, or if you don’t drain the beans and corn well. Make sure your rice is cooled and dry, and rinse your canned beans thoroughly. Also, don’t add too much broth to the filling. It should be moist, not soupy.
Can I make these ahead of time?
Absolutely! Assemble them the night before, cover with plastic wrap, and refrigerate. Bake them the next day, adding 10 minutes to the cooking time since they’re cold. This is perfect for busy mornings or dinner parties.
What kind of cheese is best?
Cheddar is great for flavor, but Monterey Jack or a Mexican blend melts better. If you like a stretchy cheese, mozzarella is good too. I usually use a mix of cheddar and Monterey Jack for the best of both worlds.
Can I freeze these?
Yes! Freeze them unbaked for up to 3 months. Thaw in the fridge overnight, then bake as directed. You can also freeze them baked, but the texture of the peppers might get slightly softer. Reheat gently to preserve texture.
Pin This Recipe!
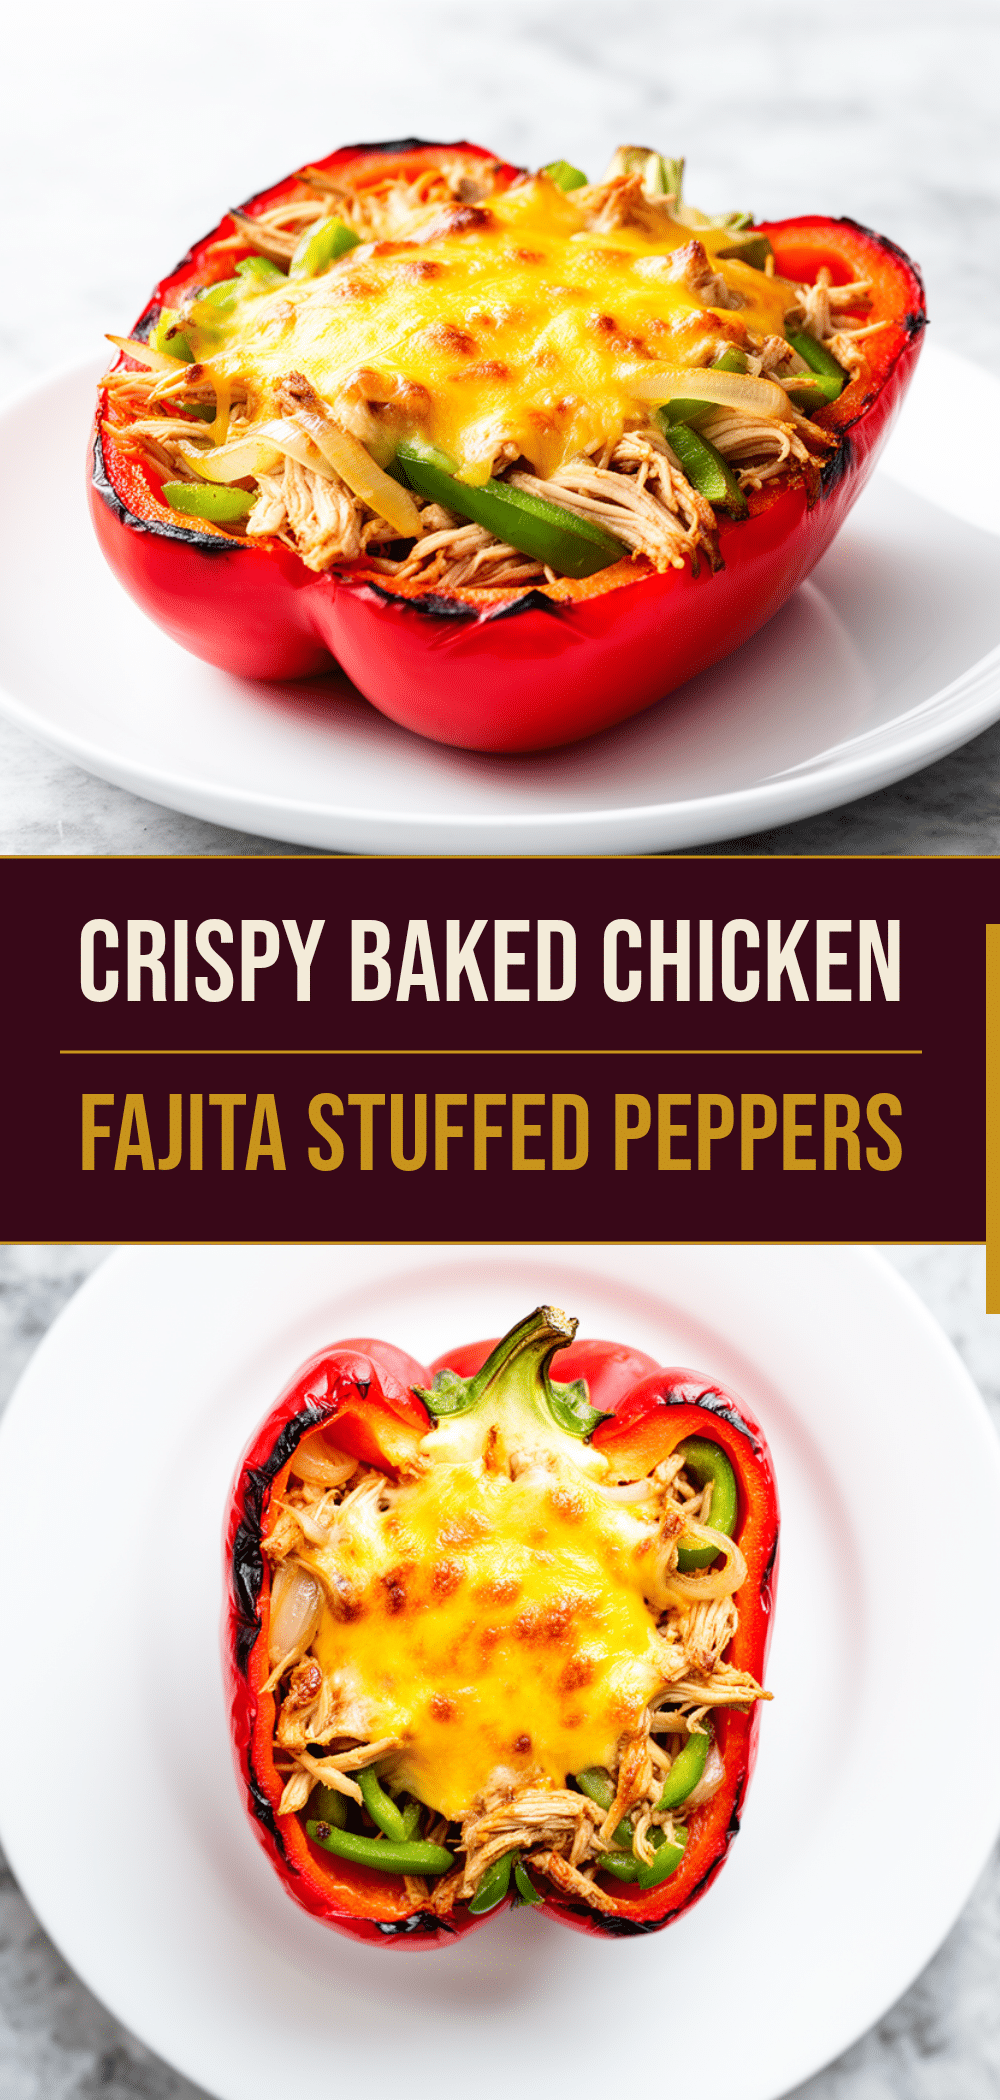
Baked Chicken Fajita Stuffed Peppers
- Total Time: 45 minutes
- Yield: 4 servings 1x
Description
A quick, healthy, and flavorful weeknight meal featuring bell peppers stuffed with seasoned chicken, rice, black beans, and corn, baked until tender.
Ingredients
- 4 large bell peppers (any color, about 600g)
- 2 cups cooked chicken, diced or shredded (about 300g)
- 1 cup cooked rice (about 200g)
- 1 can (15oz/425g) black beans, drained and rinsed
- 1 cup corn (about 150g)
- 1 medium yellow onion, diced (about 150g)
- 3 cloves garlic, minced (about 1 tablespoon)
- 2 tablespoons fajita seasoning
- 1/2 cup chicken broth (low-sodium)
- 1 cup shredded cheese (optional, such as Cheddar or Monterey Jack)
- 1/4 cup fresh cilantro, chopped
- 1 lime, cut into wedges
- Salsa or sour cream for serving
- Olive oil for sautéing
Instructions
- Preheat oven to 375°F (190°C). Line a large baking sheet with parchment paper or foil.
- Slice about 1/2 inch off the top of each bell pepper. Remove seeds and white membranes from the inside to create a cup shape.
- Heat a large skillet over medium heat with olive oil. Sauté diced onion for 3-4 minutes until soft, then add minced garlic and cook for 1 minute until fragrant.
- In a mixing bowl, combine cooked chicken, rice, black beans, corn, sautéed onion and garlic, and fajita seasoning. Stir to combine. Adjust seasoning if needed and add a splash of chicken broth if the mixture is too dry.
- Place hollowed peppers on the baking sheet. Stuff generously with the chicken mixture. Sprinkle with cheese if using.
- Bake for 25-30 minutes until peppers are tender but hold their shape.
- Optional: Broil for the last 2 minutes to melt and bubble the cheese.
- Let cool for 5 minutes before serving. Garnish with fresh cilantro and serve with lime wedges, salsa, and sour cream.
Notes
Use leftover cold rice for better texture. If peppers are wobbly, slice a tiny bit off the bottom to make them stand flat. Do not overstuff the peppers to prevent bursting. These can be frozen unbaked or baked.
- Prep Time: 15 minutes
- Cook Time: 30 minutes
- Category: Main Course
- Cuisine: Mexican
Nutrition
- Serving Size: 1 stuffed pepper
- Calories: 280
- Sugar: 8
- Sodium: 400
- Fat: 10
- Saturated Fat: 3
- Carbohydrates: 25
- Fiber: 6
- Protein: 22
Keywords: chicken fajita stuffed peppers, baked peppers, weeknight dinner, healthy meal prep, gluten-free, one-pan meal



