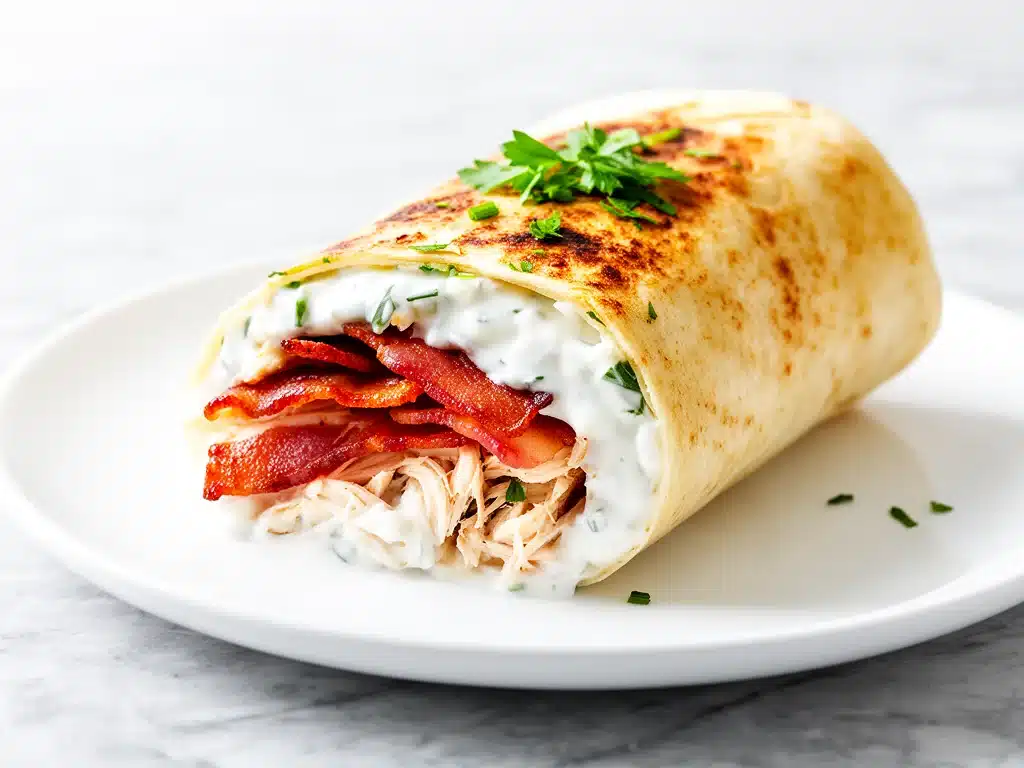
Last Tuesday, I was staring at my phone, thumb hovering over the food delivery app. It was 6:45 PM, I had zero energy, and my kids were already arguing over who got the bigger juice box. I knew I needed dinner. I knew I wanted something savory, crunchy, and basically like a fast-food favorite but made in my own kitchen. I was about to tap “Order” when I remembered I had chicken breasts, a package of bacon, and a tub of ranch in the fridge.
Instead of ordering out, I threw together what I thought would be a mediocre lunch. Thirty minutes later, I had crispy chicken bacon ranch wraps that were so good my husband asked if I was trying to replace our favorite local spot. And the best part? It cost less than half of what that delivery would have run us, and there were zero plastic containers to recycle.
This is the crispy chicken bacon ranch wrap recipe that changed our weeknight routine. It’s better than takeout because you control the quality of the ingredients, you get that addictive crunch without the grease slick, and you can make it in the time it takes to wait for a delivery driver. I’ve made this at least fifteen times since that random Tuesday, tweaking the seasoning and the wrap style until it was absolutely perfect.
If you’ve been hunting for a lunch idea that feels indulgent but actually comes together fast, stop scrolling. You need to make these. Seriously.
Why You’ll Love This Crispy Chicken Bacon Ranch Wrap Recipe
There are about ten reasons I keep coming back to this recipe, but let’s be real—you probably just need to know why it’s worth the ten minutes of active prep. Here’s the breakdown of why this crispy chicken bacon ranch wrap has become my go-to for lunch, dinner, or even a fancy picnic.
- Lightning Fast — Seriously, if you can boil water and chop an onion, you can make this. From chicken to wrap, it’s 30 minutes flat. I make these on weeknights when I get home at 7pm and everyone is hangry.
- Texture Heaven — The secret isn’t just the chicken; it’s the contrast. You’ve got the crispy, seasoned chicken, the salty crunch of bacon, and the cool, creamy ranch against a soft tortilla. It’s a mouthful of joy in every bite.
- Meal Prep Friendly — I cook the chicken and bacon on Sunday, store them in separate containers, and assemble fresh during the week. It takes two minutes to pull together a lunch that tastes homemade.
- Kid-Approved — My picky eater who usually only eats chicken nuggets thinks these are “fancy nuggets.” If you can convince them to eat vegetables (more on that later), they’ll ask for these daily.
- Customizable — Hate ranch? Use buffalo sauce. No bacon? Use turkey bacon. The base recipe is a canvas, and you can paint it however you like.
This is my answer to “what’s for lunch?” when I don’t want to open the oven or deal with a messy stove. It’s reliable, delicious, and makes everyone happy. Plus, unlike those chicken Caesar wraps that can get soggy if you’re not careful, these stay crispier for longer because the bacon and chicken are fully cooked and drained.
Ingredients You’ll Need for the Best Wraps
Here’s the best part: you probably have most of this already. This crispy chicken bacon ranch wrap relies on simple, high-quality ingredients that work together to create that restaurant-style flavor without the weird preservatives.
For the Chicken
Chicken breasts (2 large, pounded thin / about 600g) — I use boneless, skinless chicken breasts. The key here is pounding them thin. If they’re thick, they’ll dry out before the outside gets crispy. I slice them horizontally to make cutlets, which cook in 3-4 minutes.
All-purpose flour (½ cup / 60g) — This creates the initial dry coating. Don’t skip this; it helps the egg and breadcrumbs stick.
Eggs (2 large, beaten) — The glue. Whisk them well so there are no lumps. This helps the breadcrumb layer adhere evenly.
Panko breadcrumbs (1 cup / 80g) — This is non-negotiable. Regular breadcrumbs are too dense. Panko gives you that shatteringly crisp, golden crust that makes these wraps so good. If you can’t find Panko, use crushed cornflakes, but Panko is king.
Seasoning blend (1 teaspoon each: garlic powder, onion powder, paprika, salt, black pepper) — This is what makes it taste like it came from a place, not your mom’s kitchen. I mix this in the flour, not the breadcrumbs, for even flavor distribution.
Oil for frying (¼ cup / 60ml vegetable or canola oil) — You need enough oil to coat the bottom of the skillet about ¼-inch deep. It’s shallow frying, not deep frying, so you don’t need a ton. Olive oil works too, but it can burn at high heat. Stick to neutral oils.
For the Wrap Assembly
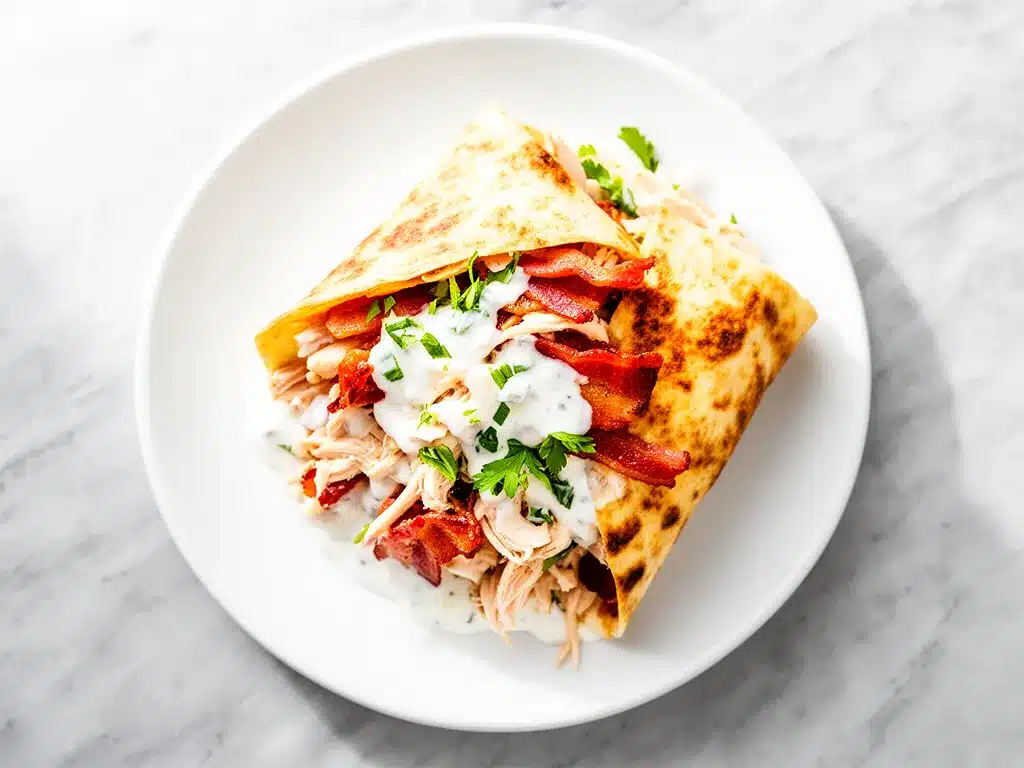
Bacon (6-8 strips, cooked crispy) — I use thick-cut bacon. It holds up better in the wrap and doesn’t disintegrate. Cook it until it’s very crispy, then drain on paper towels. You want it to crunch, not bend.
Large flour tortillas (4 large, 10-inch) — Don’t use the tiny ones. You need room for all the fillings. Warm them up slightly before assembling so they don’t crack.
Ranch dressing (½ cup / 120ml) — I use a good quality store-bought ranch for convenience, but homemade is great too. Don’t use the “light” version; it’s too watery and doesn’t coat the chicken well.
Shredded cheddar cheese (½ cup / 50g) — Sharp cheddar cuts through the creaminess of the ranch. Mild cheddar is okay, but sharp has more flavor punch.
Iceberg lettuce (2 cups, chopped) — Iceberg is essential here. It provides the cold, watery crunch that contrasts with the hot chicken. Romaine is too tough, and spinach wilts too fast. Iceberg is the only way to go for this specific wrap.
Tomatoes (1 medium, sliced or diced) — Adds juiciness. If you’re not a tomato fan, skip it, but it balances the saltiness of the bacon well.
Equipment Needed
You don’t need fancy equipment for this. Here’s what I actually use.
- Large skillet — 12-inch cast iron or stainless steel works best. It holds heat evenly, which is crucial for crispy chicken.
- Meat mallet or rolling pin — To pound the chicken thin. I use a meat mallet because it’s faster, but a rolling pin works if you’re careful.
- Three shallow bowls — For the dredging station: flour, egg, breadcrumbs. You can use pie plates.
- Tongs — For flipping the chicken. Forks can tear the breading.
- Wire cooling rack — Optional but recommended. Placing fried chicken on a rack keeps the bottom crisp. If you put it on a plate, the bottom gets soggy from steam.
- Sharp knife and cutting board — For slicing chicken and chopping lettuce.
Pro tip: I’m obsessed with my wire rack from IKEA—it’s like $3 and makes life easier for keeping fried foods crisp. If you don’t have one, just use paper towels, but know that the bottom might get a little soft.
How to Make It: Step-by-Step
Alright, let’s make this! I’m walking you through exactly how I do it, including the little tricks I’ve picked up to ensure maximum crunch.
Step 1: Prep the Chicken (10 minutes)
Start by pounding the chicken breasts. Place them between two sheets of plastic wrap or in a zip-top bag. Pound them until they’re about ¼-inch thick all over. This ensures they cook evenly and quickly. If you leave them thick, the outside will burn before the inside is done. Slice them into bite-sized strips or keep them whole, depending on your preference. I like strips because they’re easier to eat in a wrap.
Step 2: Set Up the Dredging Station (5 minutes)
Get three shallow bowls ready. In the first bowl, mix the flour with the garlic powder, onion powder, paprika, salt, and pepper. In the second bowl, whisk the eggs with a splash of milk (optional, makes it fluffier). In the third bowl, place the Panko breadcrumbs. I like to add a pinch of salt and pepper to the Panko too, just for extra flavor.
Step 3: Bread the Chicken (5 minutes)
Dip each piece of chicken into the flour mixture, shaking off any excess. Then dip it into the egg wash, letting the excess drip off. Finally, press it firmly into the Panko breadcrumbs. Make sure it’s fully coated. Press down gently so the crumbs stick. I find that pressing the crumbs on with your hand works better than just sprinkling them.
Step 4: Fry the Chicken (10 minutes)
Heat the oil in your large skillet over medium-high heat. You’ll know it’s ready when a breadcrumb dropped in the center sizzles immediately. Carefully place the breaded chicken in the skillet. Don’t overcrowd the pan—cook in batches if needed. Fry for 3-4 minutes per side until golden brown and cooked through (internal temperature of 165°F / 74°C). Remove to a wire rack to drain. This step is crucial for getting that crispy texture.
Step 5: Cook the Bacon (5 minutes)
While the chicken is frying, cook the bacon in a separate skillet or in the oven. I prefer the oven for large batches (400°F / 200°C for 15-20 minutes), but the skillet works fine for small amounts. Cook until crispy. Drain on paper towels. Crumble or chop into bite-sized pieces.
Step 6: Assemble the Wraps (5 minutes)
Warm your tortillas in the microwave for 20 seconds or in a dry skillet for 30 seconds per side. This makes them pliable and less likely to tear. Spread a generous layer of ranch dressing down the center of each tortilla. Top with shredded cheese, the crispy chicken, bacon bits, chopped lettuce, and tomatoes. Roll tightly, tucking in the sides as you go. Cut in half diagonally and serve immediately.
Total Time: About 30 minutes (10 minutes active prep, 20 minutes cooking).
Expert Tips & Tricks
Here’s everything I’ve learned from making this dozens of times. These tips will save you from my mistakes.
- Pound the Chicken Thin — This is the #1 tip. Thin chicken cooks faster and stays juicier. If it’s thick, it dries out. I use a meat mallet, but a rolling pin works too.
- Use Panko, Not Regular Breadcrumbs — Regular breadcrumbs are too dense. Panko gives you that airiness and crunch that makes these wraps so good. If you can’t find Panko, use crushed cornflakes.
- Don’t Skip the Wire Rack — If you put fried chicken on a plate, the bottom gets soggy. A wire rack allows air to circulate, keeping the bottom crisp.
- Warm the Tortillas — Cold tortillas crack when you roll them. Warm them in the microwave or skillet for a few seconds before assembling.
- Drain the Bacon Well — Greasy bacon makes the wrap soggy. Pat it dry with paper towels before adding it to the wrap.
Common Mistake: Soggy Wraps
Fix: Make sure the chicken is drained well and the bacon is dry. Also, don’t let the assembled wrap sit too long before eating. Eat it fresh!
Pro Trick: The Pressed Wrap
For a restaurant-style finish, place the assembled wrap seam-side down on a cutting board. Press it gently with a heavy pan or a tortilla press. This helps the wrap hold its shape and makes it easier to eat without falling apart.
Variations & Substitutions
Once you’ve nailed the basic version, here’s how you can mix it up. I’ve tried all of these.
Spicy Buffalo Version
Skip the ranch and use buffalo sauce. Add blue cheese crumbles instead of cheddar. This is a game-changer for football Sundays.
BBQ Chicken Version
Swap ranch for BBQ sauce. Use smoked cheddar and add cooked, chopped broccoli. It’s smoky, sweet, and savory.
Healthy Lighter Version
Bake the chicken instead of frying. Use Greek yogurt mixed with lemon juice and herbs instead of ranch. Use whole wheat tortillas. It’s lighter but still tasty.
Veggie-Loaded
Add extra veggies like cucumbers, carrots, and bell peppers. The crunch adds volume and nutrition. This is how I get my kids to eat more vegetables.
Dietary Modifications
Gluten-Free: Use gluten-free flour and Panko (or crushed gluten-free crackers). Use GF tortillas.
Dairy-Free: Use dairy-free ranch and cheese. Use coconut aminos instead of soy sauce if needed.
Lower-Carb: Use lettuce leaves instead of tortillas. Wrap the chicken, bacon, and veggies in large lettuce leaves. It’s like a low-carb taco.
Serving & Storage
How to Serve:
I usually serve these straight off the cutting board, with extra ranch on the side for dipping. They go great with a side of fruit and cheese snack boxes for a balanced meal. Or pair them with potato chips or coleslaw.
Storage:
Store leftover chicken and bacon in separate airtight containers in the fridge for up to 3 days. Store the tortillas and veggies separately. Assemble fresh when ready to eat. Do not store assembled wraps; they will get soggy.
Reheating:
Reheat the chicken and bacon in a skillet or oven to keep them crispy. Microwaving will make them chewy. Warm the tortilla separately. Assemble and eat immediately.
Freezing:
You can freeze the cooked chicken and bacon for up to 2 months. Thaw in the fridge before assembling. Do not freeze the assembled wrap.
Nutrition Information
I’m not a nutritionist, but here’s the breakdown if you’re tracking. Note that this varies based on the specific brands of ingredients used.
Per Serving (based on 1 wrap):
- Calories: 650
- Protein: 35g
- Carbs: 45g
- Fat: 35g
- Sodium: 900mg
Look, this is comfort food. It’s not a diet recipe. But it’s way better than takeout, costs less, and I know exactly what’s in it. When I want to make it lighter, I use baked chicken and Greek yogurt ranch. But usually? I just eat a reasonable portion and enjoy it.
Final Thoughts
So that’s my go-to crispy chicken bacon ranch wrap! I’ve probably talked your ear off at this point, but when you make a recipe this often, you have a lot to say about it. This has saved weeknight dinners more times than I can count. It’s my answer to “what’s for lunch” when I’m tired, don’t want takeout, and still want something that tastes really good. My kids are happy, my husband’s happy, and I’m happy because I’m not stressed about cooking.
Make it yours! Try different add-ins, swap in your favorite vegetables, adjust the spices. The best recipes are the ones you adapt to your family’s tastes. If you make this, drop a comment and let me know what you think! I love hearing how recipes turn out in your kitchen. And if something doesn’t work, tell me that too—I’m here to help troubleshoot.
Happy cooking! And I hope your kitchen smells half as good as mine does right now.
Frequently Asked Questions
Can I bake the chicken instead of frying?
Yes! Place the breaded chicken on a wire rack over a baking sheet. Spray lightly with oil and bake at 400°F (200°C) for 15-20 minutes, flipping halfway. It won’t be as crispy as frying, but it’s much healthier. For extra crispiness, broil for the last 2 minutes.
Why did my wrap fall apart?
Usually, this happens because the tortilla was too cold or dry, or because it was overfilled. Warm the tortilla before assembling. Also, don’t overload it. A balanced ratio of chicken, bacon, and veggies is key. If you’re making a lot, consider using smaller tortillas or cutting the wrap into pinwheels.
Can I make this ahead for a party?
Sort of. Prep the chicken and bacon ahead of time and store in the fridge. Assemble the wraps right before serving. If you assemble them too early, the tortilla will get soggy from the moisture in the veggies and ranch. For parties, I make mini pinwheels using smaller tortillas—they’re easier to eat and less messy.
What kind of lettuce is best?
Iceberg is the classic choice for its crunch and mild flavor. Romaine is too tough, and spinach wilts too quickly. If you don’t like iceberg, try shredded green cabbage or arugula for a peppery kick.
Can I use rotisserie chicken?
Absolutely! Skip the breading and frying steps. Just chop the rotisserie chicken and toss it with a little ranch or hot sauce for flavor. It’s even faster and great for busy weeknights.
Pin This Recipe!
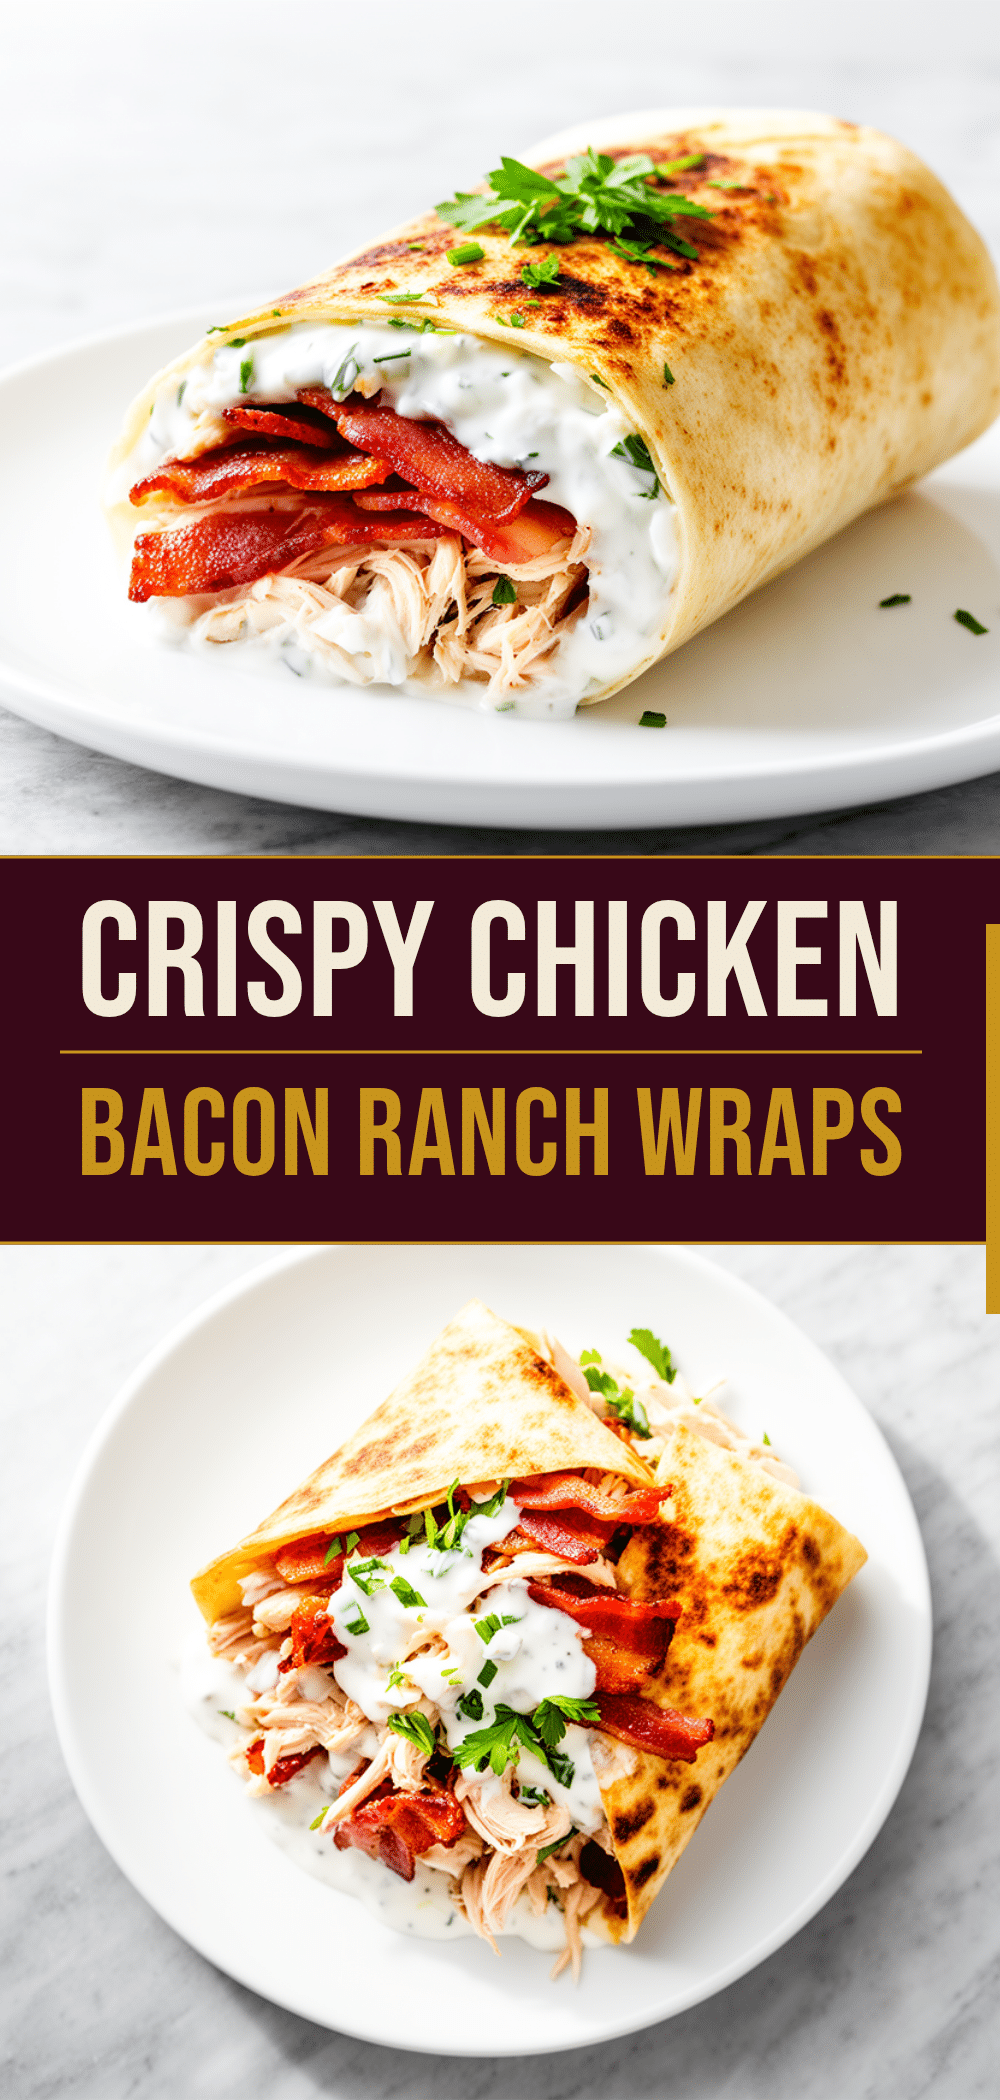
Crispy Chicken Bacon Ranch Wraps: 30-Min Easy Takeout Alternative
- Total Time: 30 minutes
- Yield: 4 servings 1x
Description
A quick and delicious weeknight meal featuring crispy panko-breaded chicken, crispy bacon, and creamy ranch dressing wrapped in a warm tortilla. Better than takeout and ready in 30 minutes.
Ingredients
- 2 large boneless, skinless chicken breasts (pounded thin, approx. 600g)
- 1/2 cup all-purpose flour
- 2 large eggs (beaten)
- 1 cup panko breadcrumbs
- 1 teaspoon garlic powder
- 1 teaspoon onion powder
- 1 teaspoon paprika
- 1 teaspoon salt
- 1 teaspoon black pepper
- 1/4 cup vegetable or canola oil (for frying)
- 6–8 strips thick-cut bacon (cooked crispy)
- 4 large flour tortillas (10-inch)
- 1/2 cup ranch dressing
- 1/2 cup shredded sharp cheddar cheese
- 2 cups iceberg lettuce (chopped)
- 1 medium tomato (sliced or diced)
Instructions
- Pound chicken breasts between plastic wrap until they are about 1/4-inch thick. Slice into bite-sized strips.
- Set up a dredging station with three shallow bowls: one with flour mixed with garlic powder, onion powder, paprika, salt, and pepper; one with beaten eggs; and one with panko breadcrumbs.
- Dredge each chicken strip in the flour mixture, shaking off excess. Dip into the egg wash, then press firmly into the panko breadcrumbs to coat evenly.
- Heat oil in a large skillet over medium-high heat. Fry chicken in batches for 3-4 minutes per side until golden brown and cooked through (165°F). Remove to a wire rack to drain.
- Cook bacon in a separate skillet or oven until crispy. Drain on paper towels and chop into bite-sized pieces.
- Warm tortillas in the microwave for 20 seconds or in a dry skillet for 30 seconds per side to make them pliable.
- Spread ranch dressing down the center of each tortilla. Top with cheddar cheese, crispy chicken, bacon, lettuce, and tomatoes.
- Roll tightly, tucking in the sides. Cut in half diagonally and serve immediately.
Notes
Pound the chicken thin to ensure even cooking and juiciness. Use panko breadcrumbs for maximum crunch. Warm tortillas before assembling to prevent cracking. Drain bacon well to avoid soggy wraps. For a lighter version, bake the chicken and use Greek yogurt ranch.
- Prep Time: 10 minutes
- Cook Time: 20 minutes
- Category: Main Course
- Cuisine: American
Nutrition
- Serving Size: 1 wrap
- Calories: 650
- Sodium: 900
- Fat: 35
- Carbohydrates: 45
- Protein: 35
Keywords: crispy chicken, bacon ranch wrap, quick dinner, weeknight meal, takeout alternative, easy lunch, panko chicken



