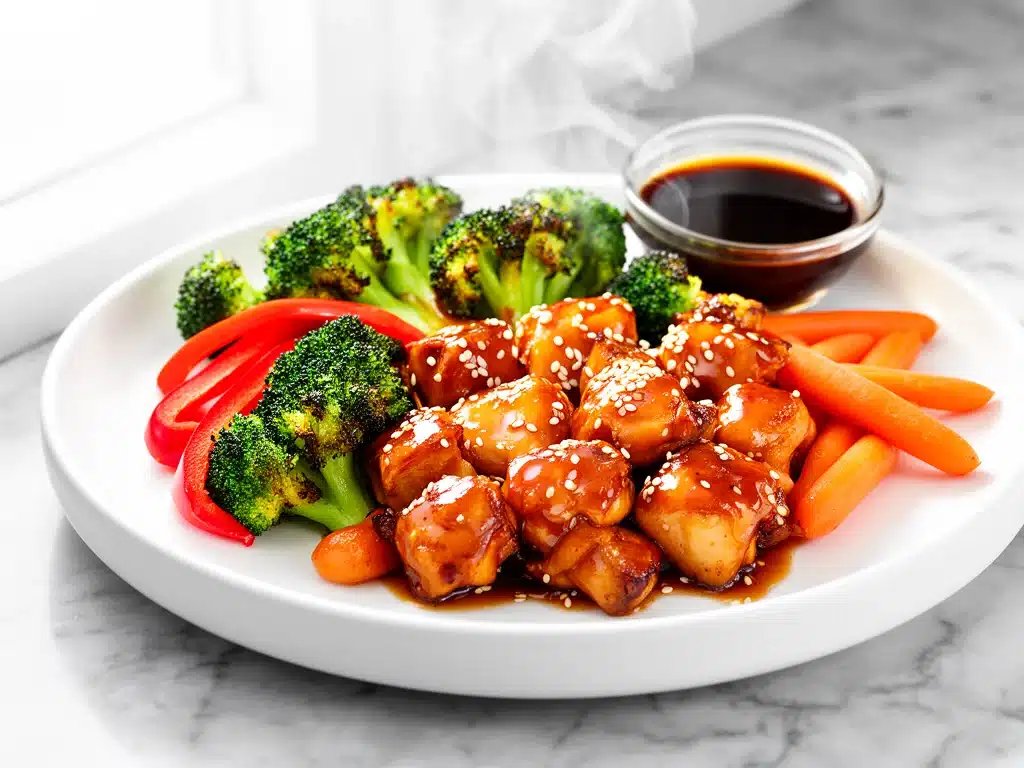
Last Tuesday, I was standing in my kitchen at 6:15 PM, staring into the refrigerator with that specific kind of panic only a working parent knows. My husband was supposed to be home in twenty minutes. The kids were already arguing over who got the iPad. And I had absolutely nothing ready to eat.
My hand hovered over my phone. I could order Thai food. It’s easy. It’s fast. It tastes good. But then I looked at the counter, where a bag of broccoli and some chicken thighs I’d forgotten to thaw were sitting there. I didn’t want to spend $25 on food that would arrive lukewarm in a styrofoam container. I didn’t want to wash three dishes from a stir-fry I’d make from scratch.
So I did the only thing I could think of. I threw everything on a single sheet pan. Chicken. Broccoli. Carrots. A bottle of teriyaki sauce. I slid it into the oven and went to help the kids with their homework. Twenty-five minutes later, the smell of caramelizing soy and ginger filled the house, and my family sat down to a dinner that looked like it came from a restaurant. It took me ten minutes of active work. That’s it.
That was the night I discovered the true power of sheet pan teriyaki chicken and vegetables. It wasn’t just a meal; it was a rescue mission. It was the difference between a stressful, takeout-fueled evening and a calm, home-cooked one.
I’ve made this recipe at least thirty times since that Tuesday. Sometimes I use sweet potatoes instead of carrots. Sometimes I swap broccoli for asparagus. But the core method remains the same: toss, bake, eat. It’s the ultimate sheet pan teriyaki chicken for busy weeknights because it respects your time, your wallet, and your sanity. If you’re tired of the nightly “what’s for dinner?” argument, you need this in your rotation. Trust me.
Why You’ll Love This Sheet Pan Dinner
Look, I’m not going to lie to you. There are a million recipes out there claiming to be “easy.” But this sheet pan teriyaki chicken is different. It’s not just easy; it’s foolproof. It’s the kind of recipe that works even when you’re exhausted, distracted, or just trying to get through the day.
Here’s why this has become our weekly staple:
Zero Cleanup Stress — Seriously. One pan. One dish to wash. I know, it sounds too good to be true. But when you’re already washing plates from breakfast and lunch, the idea of scrubbing a baking sheet after dinner is terrifying. This changes the game. I’ve even been known to line the pan with foil for a literal 30-second cleanup. It’s a lifesaver.
Flavor That Actually Works — I’ve tried using bottled sauce before, and it can be hit-or-miss. This method ensures the sauce caramelizes properly in the oven, creating those sticky, delicious bits on the chicken that you just want to lick off your fingers. It’s not just “soy sauce chicken.” It’s sweet, savory, and slightly smoky.
Vegetables That Don’t Suck — This is huge. My kids usually pick vegetables off their plate. But when they’re roasted on a sheet pan with teriyaki glaze? They disappear. The high heat caramelizes the natural sugars in the veggies. Broccoli gets crispy edges. Carrots turn sweet. It’s like magic. If you struggle with picky eaters, this is your secret weapon.
Set It and Forget It — You don’t need to stand over a stove stirring. You don’t need to watch for burning. You put it in the oven, and you have the rest of your evening. I’ve used that 25-minute window to shower, help with homework, or just sit on the couch for five minutes. It’s the most productive way to cook dinner.
Budget-Friendly — Chicken thighs are cheaper than breasts. Frozen veggies are cheaper than fresh. Teriyaki sauce is pantry-stable. This meal costs less than $15 to feed four people. That’s less than the cost of a single takeout order, and it’s way healthier.
This is my go-to when I need dinner to just work. No complicated techniques, no weird ingredients, just reliable, delicious food that makes everyone happy. It’s the sheet pan teriyaki chicken I wish I’d found years ago.
Ingredients You’ll Need
Here’s the best part: you probably have most of this already. I’m particular about three ingredients here, and I’ll tell you exactly why. For the rest, keep it simple.
For the Chicken
Chicken Thighs (1.5 lbs / 700g) — Boneless, skinless. I always use thighs. They stay juicy and don’t dry out in the oven like breasts do. If you must use breasts, cut them into smaller pieces so they cook faster. I buy organic when I can, but regular works fine.
Teriyaki Sauce (½ cup / 120ml) — This is the star. I use a good quality bottled sauce like Kikkoman or San-J. Don’t skimp on cheap, sugary stuff. You want a balance of sweet and salty. If you want to make your own, mix soy sauce, brown sugar, ginger, and garlic. But honestly? The bottle is fine. I’m not judging.
Garlic (3 cloves, minced) — Fresh only. Jarred garlic has a weird metallic taste that ruins the delicate balance of teriyaki. Minced fresh garlic adds that punch of flavor that makes the dish sing.
Maple Syrup (1 tablespoon) — Optional, but I highly recommend it. It adds a deeper sweetness and helps the sauce caramelize. Honey works too, but maple gives a richer flavor.
For the Vegetables
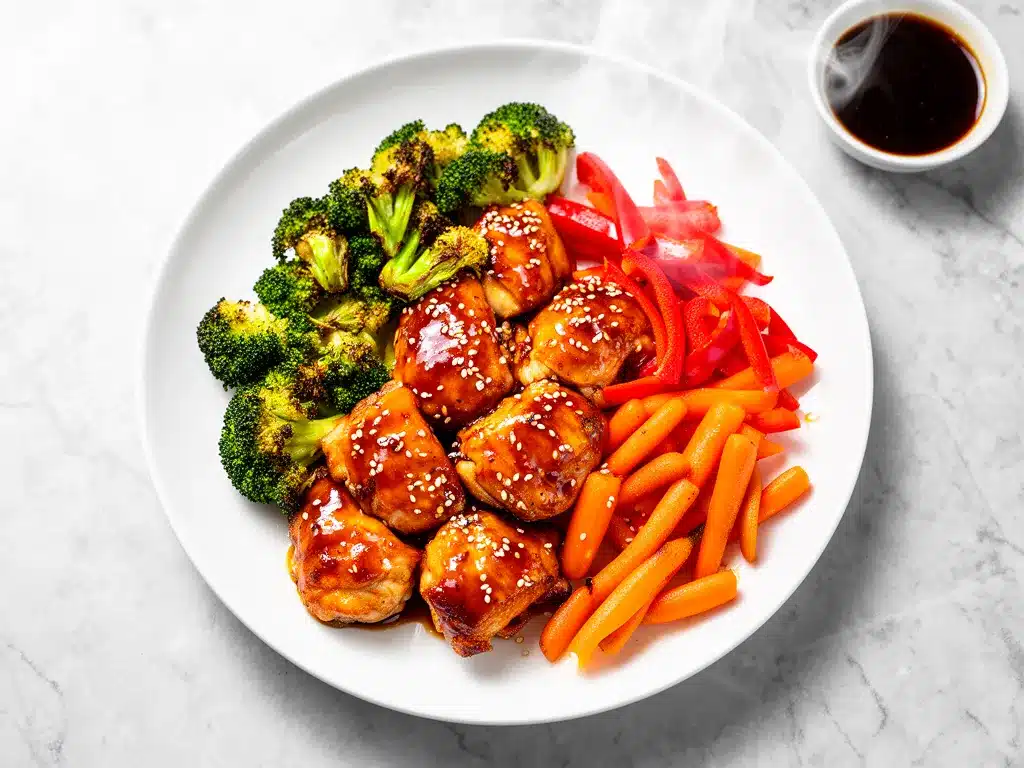
Broccoli Florets (2 cups) — The classic partner for teriyaki. Cut them into uniform sizes so they cook evenly. I buy them pre-cut to save time, but fresh is better if you have it.
Red Bell Pepper (1 large, chopped) — Adds color and sweetness. Yellow or orange peppers work too. I like the contrast of the red against the green broccoli.
Carrots (2 medium, sliced into coins) — They take longer to cook, so slice them thin. If you use baby carrots, cut them in half lengthwise. Sweetness balances the savory sauce.
Onion (1 medium, sliced into wedges) — Red onion is best for flavor, but yellow works too. Don’t skip it. It adds a savory depth that ties everything together.
For the Finish
Sesame Seeds (1 tablespoon, toasted) — Sprinkle on top for crunch and presentation. Toasting them in a dry pan for 2 minutes makes a huge difference. You’ll smell it from the next room.
Green Onions (2, sliced) — For garnish. Adds a fresh, sharp bite to cut through the richness.
Cornstarch (1 teaspoon) — This is the secret weapon. Toss the chicken in cornstarch before adding the sauce. It creates a crispy exterior that holds the sauce better. It’s a small step that makes a big difference.
Equipment Needed
You don’t need fancy equipment for this. Here’s what I actually use.
Large Sheet Pan — I use a 18×13 inch rimmed baking sheet. Don’t use a small one. If you crowd the pan, the vegetables steam instead of roast. They need space to breathe. If you’re feeding a crowd, use two pans.
Parchment Paper or Foil — I line my pan with parchment paper. It prevents sticking and makes cleanup instant. Foil works too, but parchment is easier. I buy the kind with a non-stick coating.
Large Mixing Bowl — For tossing the chicken and veggies in the sauce. A bowl with a pour spout is nice, but any big bowl works.
Sharp Knife — For chopping vegetables. Dull knives make you cry more—learned this the hard way with onions.
Cutting Board — Any size works. I use a large plastic one for easier cleanup.
Measuring Cups and Spoons — Pretty standard stuff. Dollar store versions work fine.
Pastry Brush — Optional, but helpful for brushing extra sauce on the veggies halfway through cooking. I use a silicone brush because it’s easy to clean.
How to Make It: Step-by-Step
Alright, let’s make this! I’m walking you through exactly how I do it, including the little tricks I’ve picked up over the years.
Step 1: Prep Your Oven and Pan (5 minutes)
Preheat your oven to 400°F (200°C). This temperature is key. It’s hot enough to roast the vegetables and caramelize the sauce, but not so hot that it burns everything before the chicken is cooked. Line your large sheet pan with parchment paper or foil. I prefer parchment because it sticks less.
Step 2: Prep the Chicken (5 minutes)
Pat the chicken thighs dry with paper towels. Moisture is the enemy of browning. If they’re wet, they’ll steam. Toss the chicken pieces in a large bowl with 1 teaspoon of cornstarch. Toss until they’re lightly coated. This creates a crispy crust. Then, add the minced garlic and ¼ cup of the teriyaki sauce. Toss again to coat. Let it sit for a few minutes while you chop the veggies.
Step 3: Chop the Vegetables (5 minutes)
While the chicken marinates, chop your broccoli, bell peppers, carrots, and onion. Aim for uniform sizes. Broccoli florets should be bite-sized. Carrots should be sliced thin. Bell peppers should be chopped into 1-inch pieces. Onions should be cut into wedges. Uniformity ensures even cooking.
Step 4: Assemble the Pan (2 minutes)
Spread the chicken pieces in a single layer on one half of the sheet pan. Don’t overlap them. If they touch, they’ll steam. On the other half, spread the chopped vegetables. Drizzle the remaining ¼ cup of teriyaki sauce over the vegetables. Toss the veggies with your hands or a spoon to coat them evenly. Sprinkle with a pinch of black pepper.
Step 5: Bake (20-25 minutes)
Place the pan in the preheated oven. Bake for 20 minutes. Then, take the pan out. Use tongs to flip the chicken pieces and stir the vegetables. This ensures even browning. If you notice the sauce drying out, brush a little extra teriyaki sauce on the chicken. Return to the oven and bake for another 5-10 minutes, or until the chicken is cooked through (internal temperature of 165°F / 74°C) and the vegetables are tender and slightly charred.
Step 6: Finish and Serve (2 minutes)
Remove the pan from the oven. Sprinkle with toasted sesame seeds and sliced green onions. Let it rest for 2 minutes so the juices redistribute. Serve immediately over steamed rice or quinoa. The sauce will have thickened and caramelized, creating those delicious sticky bits.
Total Time: About 30 minutes (10 minutes active, 20 minutes hands-off).
Expert Tips & Tricks
Here’s everything I’ve learned from making this dozens of times. These tips will save you from my mistakes.
Don’t Crowd the Pan — This is the #1 mistake. If the vegetables are piled on top of each other, they’ll steam and get soggy. Give them space. If you have a small pan, use two pans. It’s worth the extra cleanup for the better texture.
Use Thighs, Not Breasts — I know breasts are leaner, but thighs are more forgiving. They stay juicy even if you overcook them by a minute. Breasts turn into rubbery disks in the oven. Stick with thighs for best results.
Toast Your Sesame Seeds — Raw sesame seeds are bland. Toasting them in a dry pan for 2 minutes releases their oils and adds a nutty flavor. It’s a small step that makes the dish feel restaurant-quality.
Check the Sauce Consistency — Some teriyaki sauces are thinner than others. If yours is watery, the sauce might not thicken enough. Add a teaspoon of cornstarch mixed with 1 tablespoon of water to the sauce before tossing with the chicken. It helps the sauce cling to the food.
Flip Halfway — Don’t just put it in and forget it. Flip the chicken and stir the veggies halfway through. This ensures even browning on all sides. It takes 30 seconds but makes a huge difference.
Common Mistakes:
- Veggies are raw: Slice carrots and onions thinner. They take longer to cook than broccoli.
- Chicken is dry: You used breasts or overcooked them. Use thighs and check the temperature.
- Sauce is too salty: Teriyaki sauce is salty. Taste it before adding extra salt. Usually, no extra salt is needed.
Variations & Substitutions
Once you’ve nailed the basic version, here’s how you can mix it up. I’ve tried all of these.
Pineapple Teriyaki — Add 1 cup of pineapple chunks in the last 5 minutes of cooking. The sweetness pairs perfectly with the savory sauce. It’s like Hawaiian pizza on a sheet pan.
Zucchini Swap — Replace carrots with zucchini. Zucchini cooks faster, so add it in the last 10 minutes. It adds a nice moisture balance.
Mushroom Lover’s — Add 1 cup of sliced mushrooms. They absorb the teriyaki sauce like a sponge. Sauté them separately first if you want them browned, but roasting them on the pan works too.
Spicy Kick — Add 1 teaspoon of sriracha or red pepper flakes to the sauce. It adds a nice heat that balances the sweetness.
Gluten-Free — Use gluten-free tamari instead of soy sauce. Most bottled teriyaki sauces contain wheat, so check the label. Look for “gluten-free teriyaki sauce” specifically.
Dairy-Free — This recipe is naturally dairy-free. Just make sure your teriyaki sauce doesn’t contain any dairy additives (rare, but check labels).
Protein Swap — You can use shrimp instead of chicken. Toss shrimp with the sauce and bake for only 8-10 minutes. They cook very fast. Or use tofu cubes for a vegetarian version. Press the tofu first to remove moisture.
Serving & Storage
I usually serve this straight from the skillet at the dinner table—it looks rustic and stays warm. But here are other ways I’ve enjoyed it:
How to Serve
Over Rice — Steamed jasmine rice is the classic pairing. The rice soaks up the extra sauce. Quinoa is a great healthy alternative. Cauliflower rice for low-carb.
Side Dishes — A simple green salad with sesame dressing. Edamame. Miso soup. Or just a slice of crusty bread to mop up the sauce.
Toppings Bar — When I have guests, I put out: extra sesame seeds, sliced green onions, sriracha, and lime wedges. Everyone customizes their bowl.
Storage Instructions
Refrigerator: Store in an airtight container for up to 4 days. The sauce will thicken in the fridge—totally normal.
Reheating: Best method: Add to a skillet with a splash of water or broth over low heat. Stir until heated through. Microwave method: Heat in 30-second intervals, stirring between. Add a splash of water if it’s too thick. Never works: Trying to reheat in the pot you cooked it in. It always burns on the bottom. Ask me how I know.
Freezing: Honestly, this doesn’t freeze well because of the vegetables. Broccoli and carrots get mushy when thawed. Make it fresh or store in the fridge for up to 4 days.
Nutrition Information
I’m not a nutritionist, but here’s the breakdown if you’re tracking.
Per Serving (based on 4 servings):
| Nutrient | Amount |
|---|---|
| Calories | 380 |
| Protein | 32g |
| Carbs | 28g |
| Fiber | 4g |
| Sugar | 18g |
| Fat | 14g |
| Saturated Fat | 3g |
| Sodium | 900mg |
What’s Good: High protein from chicken. Good fiber from vegetables. Low in saturated fat.
What to Know: Higher in sodium due to teriyaki sauce. Use low-sodium soy sauce to reduce. Moderate sugar from the sauce and carrots.
My Take: Look, this is comfort food with sauce. It’s not a diet recipe. But it’s way better than takeout, costs less, and I know exactly what’s in it. When I want to make it lighter, I use less sauce and add more broccoli. But usually? I just eat a reasonable portion and enjoy it.
Final Thoughts
So that’s my go-to sheet pan teriyaki chicken and vegetables! I’ve probably talked your ear off at this point, but when you make a recipe this often, you have a lot to say about it.
This has saved weeknight dinners more times than I can count. It’s my answer to “what’s for dinner” when I’m tired, don’t want takeout, and still want something that tastes really good. My kids are happy, my husband’s happy, and I’m happy because I’m not stressed about cooking.
Make it yours! Try different add-ins, swap in your favorite vegetables, adjust the garlic (though more is always better in my opinion). The best recipes are the ones you adapt to your family’s tastes.
If you make this, drop a comment and let me know what you think! I love hearing how recipes turn out in your kitchen. And if something doesn’t work, tell me that too—I’m here to help troubleshoot.
Happy cooking! And I hope your kitchen smells half as good as mine does right now.
Frequently Asked Questions
Can I use chicken breasts instead of thighs?
You can, but they’re more prone to drying out. If you use breasts, cut them into smaller, uniform pieces (about 1-inch chunks) so they cook faster. Check the temperature early—remove them from the oven as soon as they hit 165°F (74°C). Thighs are more forgiving and stay juicier, so I recommend them.
Why did my vegetables turn out soggy?
Most likely, you crowded the pan. Vegetables need space to roast. If they’re touching, they steam instead of roast. Use a large sheet pan, or use two pans. Also, make sure you’re not adding too much sauce. Too much liquid makes everything wet. Toss lightly, not drenching.
Can I make this ahead for a dinner party?
Sort of. You can prep the vegetables and marinate the chicken in separate containers up to 24 hours ahead. Keep them in the fridge. When you’re ready to cook, just assemble the pan and bake. It saves you stress during the party. I do this all the time for guests.
Can I use bottled teriyaki sauce?
Yes! I use bottled sauce 90% of the time. Just look for a brand with real ingredients, not just high fructose corn syrup. Kikkoman or San-J are good options. If you want to make your own, mix ½ cup soy sauce, ¼ cup brown sugar, 1 tablespoon rice vinegar, 1 teaspoon ginger, and 1 clove minced garlic. But honestly? The bottle is fine.
How do I reheat leftovers without it getting dry?
Add a splash of water or broth to a skillet, add your leftover chicken and veggies, and heat gently over low heat, stirring frequently. The extra liquid brings back the creamy sauce texture. Microwave sort of works but tends to dry it out. If you do microwave, definitely add a splash of water first and heat in short bursts, stirring between.
Can I double this recipe?
Absolutely! Double everything and use your biggest pot. The cooking times stay the same. I do this when I’m meal-prepping or feeding a crowd. Just make sure your sheet pan is big enough for the sauce—you might need to use two pans. Don’t overcrowd!
For more easy weeknight ideas, check out our chicken caesar wraps for a cold lunch option, or try these mozzarella pizza pockets for a quick snack. And if you need something sweet, these cinnamon French toast sticks are perfect for breakfast.
Pin This Recipe!
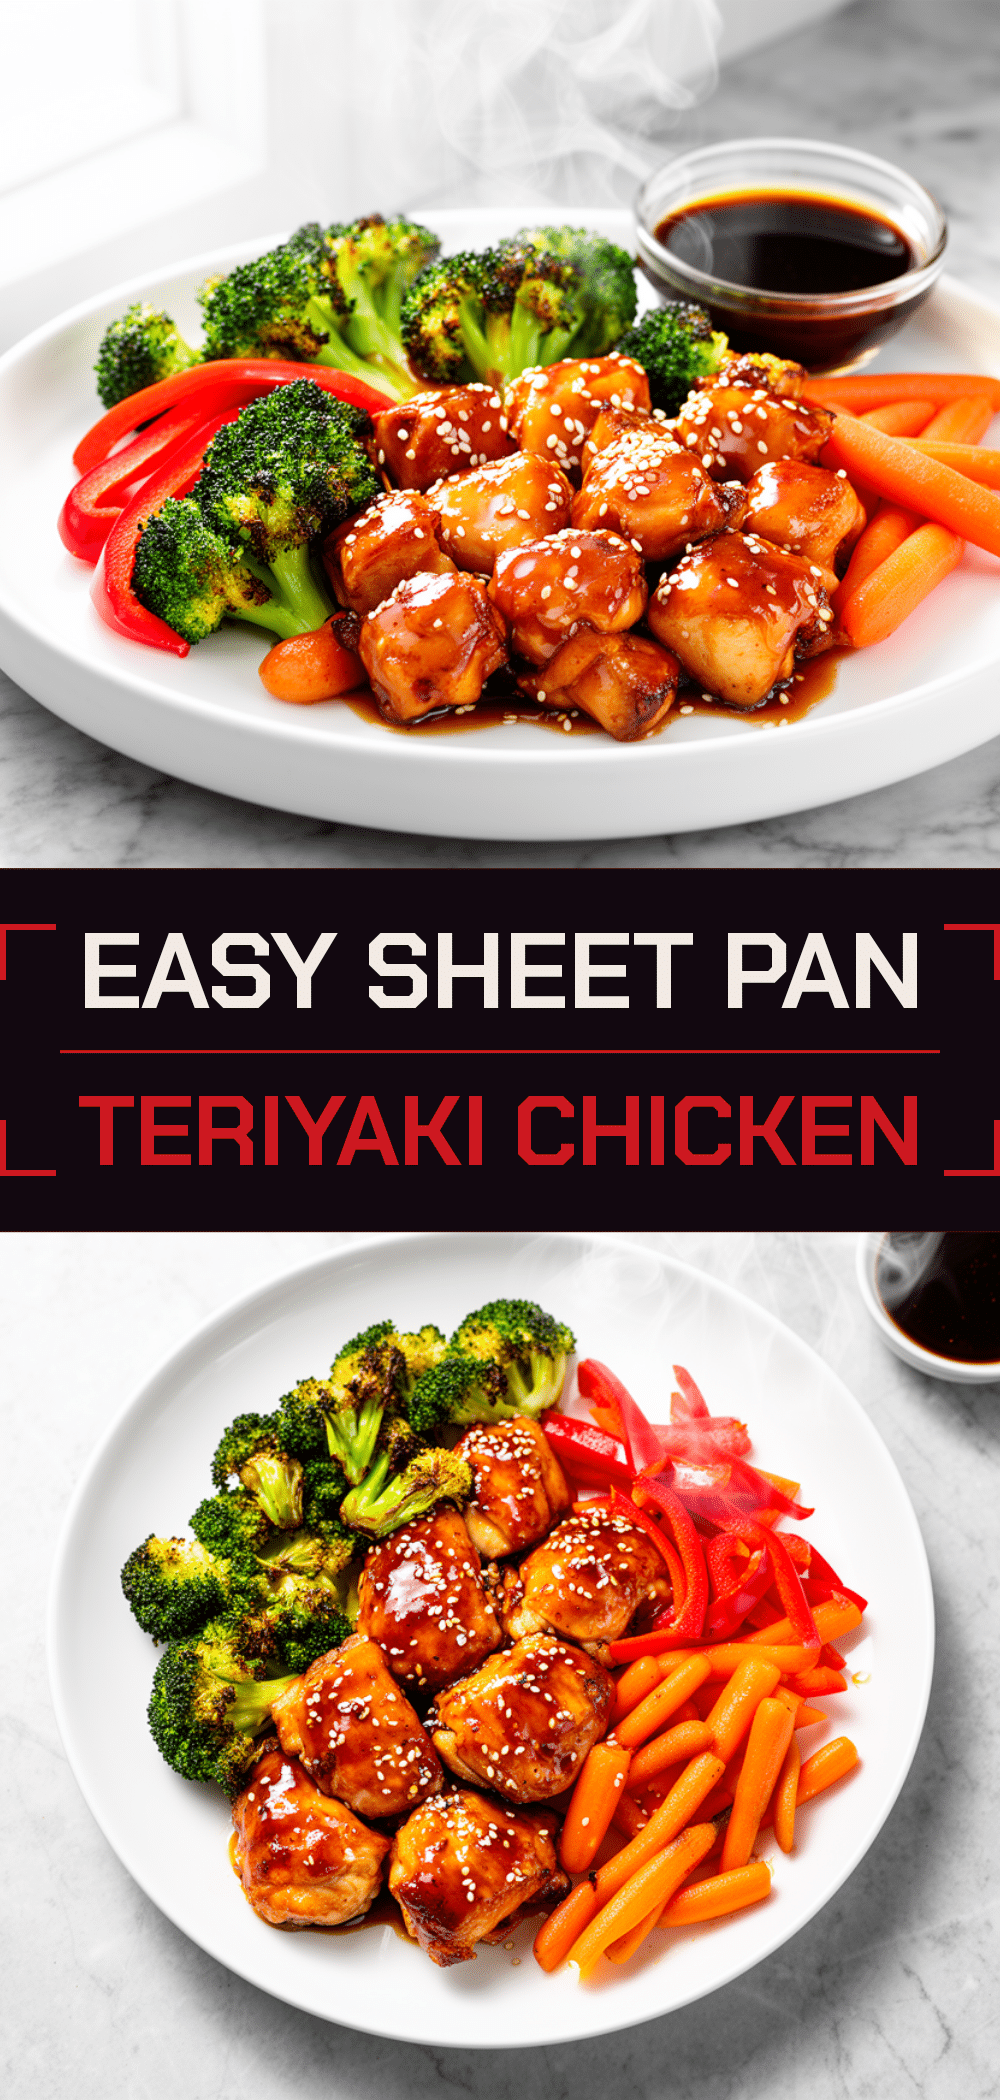
Sheet Pan Teriyaki Chicken: Easy 30-Minute Weeknight Dinner
- Total Time: 30 minutes
- Yield: 4 servings 1x
Description
A foolproof, one-pan meal featuring juicy chicken thighs and roasted vegetables tossed in a sweet and savory teriyaki glaze. Perfect for busy weeknights with minimal cleanup.
Ingredients
- 1.5 lbs boneless, skinless chicken thighs
- 1 teaspoon cornstarch
- 3 cloves garlic, minced
- 1/2 cup teriyaki sauce (divided)
- 1 tablespoon maple syrup (optional)
- 2 cups broccoli florets
- 1 large red bell pepper, chopped
- 2 medium carrots, sliced into coins
- 1 medium onion, sliced into wedges
- 1 tablespoon toasted sesame seeds
- 2 green onions, sliced
- Black pepper to taste
Instructions
- Preheat oven to 400°F (200°C). Line a large 18×13 inch rimmed baking sheet with parchment paper or foil.
- Pat chicken thighs dry with paper towels. In a large bowl, toss chicken with cornstarch until lightly coated.
- Add minced garlic and 1/4 cup of teriyaki sauce to the chicken. Toss to coat and let sit while chopping vegetables.
- Chop broccoli, bell peppers, carrots, and onion into uniform sizes. Spread chicken in a single layer on one half of the sheet pan.
- Spread vegetables on the other half of the pan. Drizzle remaining 1/4 cup teriyaki sauce over vegetables and toss to coat. Sprinkle with black pepper.
- Bake for 20 minutes. Remove pan, flip chicken pieces, and stir vegetables. Return to oven and bake for another 5-10 minutes until chicken reaches 165°F and vegetables are tender.
- Remove from oven, sprinkle with toasted sesame seeds and green onions. Let rest for 2 minutes before serving.
Notes
Do not crowd the pan to ensure vegetables roast instead of steam. Chicken thighs are recommended over breasts for juiciness. Toast sesame seeds in a dry pan for 2 minutes for better flavor. If sauce is watery, mix 1 tsp cornstarch with 1 tbsp water before adding to chicken.
- Prep Time: 10 minutes
- Cook Time: 20-25 minutes
- Category: Main Course
- Cuisine: Asian Fusion
Nutrition
- Serving Size: Serve over steamed r
- Calories: 380
- Sugar: 18
- Sodium: 900
- Fat: 14
- Saturated Fat: 3
- Carbohydrates: 28
- Fiber: 4
- Protein: 32
Keywords: sheet pan dinner, teriyaki chicken, weeknight dinner, easy chicken recipe, one pan meal, healthy dinner, gluten-free option



