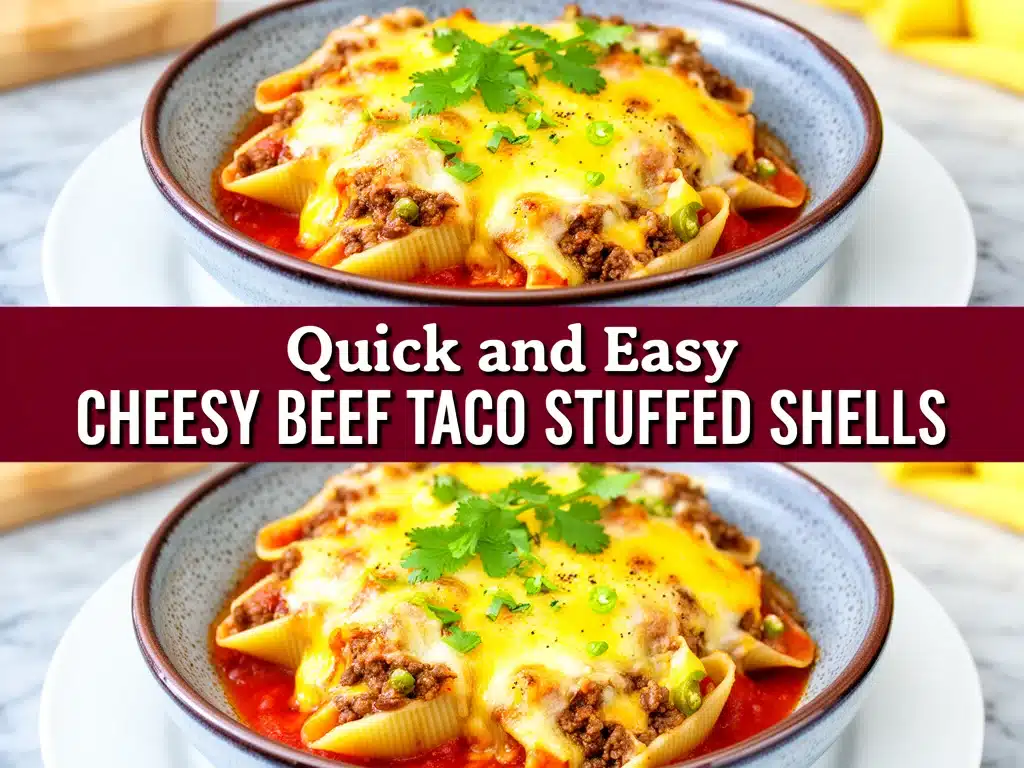
It was 6:45 PM on a Tuesday, and the house was already in full chaos. The kids were arguing over who got to use the iPad, the dog was begging for scraps, and I was staring into the fridge like it held the secrets to the universe. Dinner? We had half a bag of shells, a pound of ground beef that was starting to look a little sad, and a jar of taco seasoning gathering dust in the back of the pantry.
Most nights, I’d have just ordered pizza. But that night, I was determined to not give up. I threw the beef in a pan, dumped in the beans, stirred in the shells, and topped it with enough cheese to make a dairy farmer blush. I called it “Mexican Lasagna” as a joke, but my kids? They called it “The Best Thing Ever.”
That accidental dinner became a weekly staple. This Cheesy Beef Taco Stuffed Shells recipe isn’t just about convenience—it’s about that perfect marriage of two comfort foods we all love: creamy, cheesy pasta and savory, spicy taco night. It’s the kind of meal that makes your kitchen smell like a taqueria and a pizzeria had a baby. And the best part? It’s foolproof. I’ve made this at least thirty times in the last year, tweaking the spice levels for picky eaters and doubling the cheese for the hungry teenagers. It works every single time.
If you’re tired of the same old chicken and rice or the same stale pizza routine, this is your answer. It’s hearty, it’s colorful, and it uses ingredients you probably already have. Let’s get into why this dish has completely taken over our weeknight rotation.
Why You’ll Love This Recipe
Look, I’ve been cooking for my family for over a decade. I’ve tried every “healthy” dinner hack, every meal prep trend, and every quick-cook method. But this Cheesy Beef Taco Stuffed Shells recipe? It’s different. It’s not just another pasta dish. It’s a flavor explosion that feels indulgent but comes together faster than you can set the table.
Here’s why this dish has earned a permanent spot in my kitchen (and hopefully, yours):
- It’s a Two-in-One Meal — Seriously, who doesn’t love tacos and mac and cheese? This recipe combines the savory, spiced flavor of beef tacos with the creamy, comforting texture of baked stuffed shells. It’s the ultimate comfort food hybrid. My husband says it tastes like a vacation in a bowl.
- Super Kid-Friendly — Picky eaters usually have two categories of food: “safe” and “nope.” This dish bridges the gap. The cheese melts into the shells, masking the spices just enough for toddlers, while the beef and beans provide enough substance to satisfy the big kids. I’ve served this to my vegetarian sister’s kids, and they devoured it without asking what the “weird beans” were.
- Minimal Cleanup — I’m a one-dish-wonder when it comes to baking. You brown the beef, mix the filling, stuff the shells, top with cheese, and bake. That’s it. One baking dish, one skillet, and a measuring cup. No complicated techniques or fancy gadgets. If you can boil water and mix ingredients, you can master this.
- Freezes Like a Dream — This isn’t just a fresh meal; it’s a meal-prep hero. I often make a double batch. One for dinner tonight and one to freeze for those nights when I’m too tired to think. It reheats beautifully in the oven or microwave, just like a homemade casserole.
- Flexible and Forgiving — Ran out of ground beef? Use turkey or chicken. Out of black beans? Pinto beans or kidney beans work just fine. No jalapeños? Skip them. This recipe is incredibly adaptable. I’ve made it with corn, with tomatoes, with extra veggies. It’s forgiving in a way that most recipes aren’t.
Real talk? This is my go-to when I need dinner to just work. It’s reliable, it’s delicious, and it makes everyone happy. No stress, no takeout, just good food.
Ingredients You’ll Need
Here’s the best part: you probably have most of this already. I’m particular about three ingredients here—the shells, the cheese, and the seasoning—but everything else is pantry or freezer friendly. Let’s break down what you need and why it matters.
For the Pasta Base
Jumbo Pasta Shells (12-15 ounces / 340-425g) — You need the jumbo size. Regular shells are too small to hold the filling. I use Barilla jumbo shells because they hold their shape well and don’t get mushy. Don’t overcook them! Cook them al dente, about 1-2 minutes less than the package says, because they’ll cook more in the oven.
Ground Beef (1 pound / 450g) — I use 80/20 ground beef for the best flavor. Lean beef can be dry, but the fat adds richness that balances the spices. If you prefer leaner, use 90/10, but you might need to add a splash of olive oil.
For the Filling
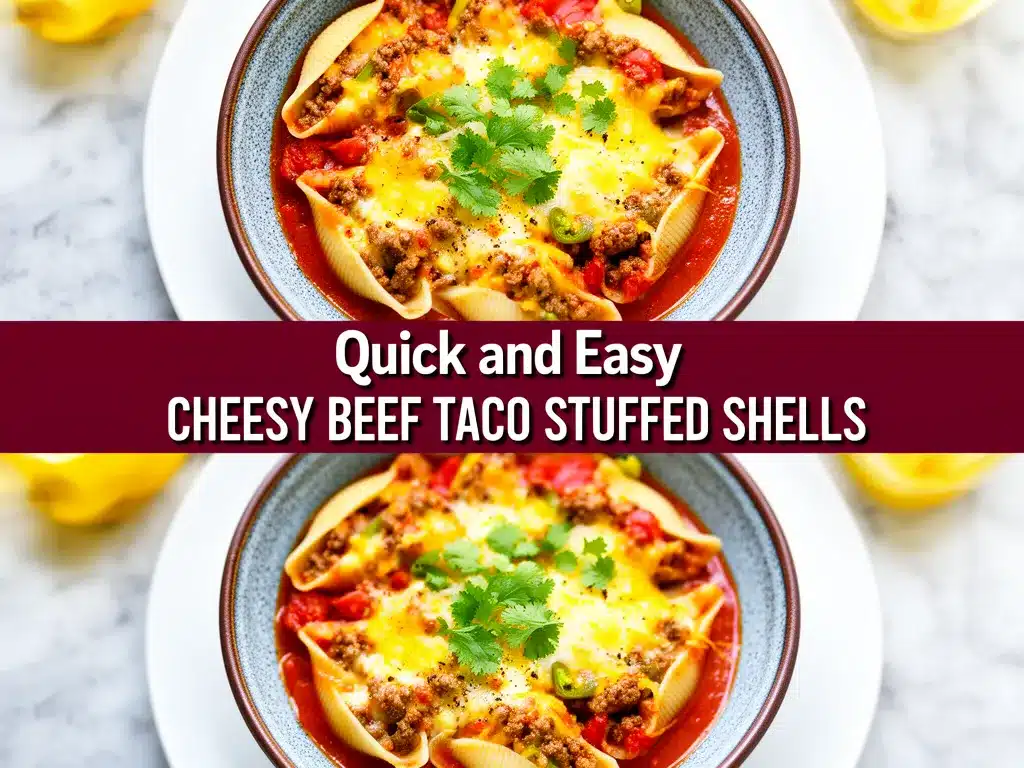
Taco Seasoning (1 packet / 1 ounce, or 2-3 tablespoons homemade) — I use a store-bought packet for convenience, but homemade is better. If you make your own, mix chili powder, cumin, paprika, garlic powder, onion powder, and a pinch of salt. Skip the salt in the packet if you’re adding salty cheese later.
Black Beans (1 can / 15 ounces, drained and rinsed) — These add bulk and fiber. Rinsing them is crucial to remove the starchy liquid. If you don’t like black beans, pinto or kidney beans work great too.
Corn (1 cup / 150g, frozen or canned) — Sweet corn adds a nice pop of texture and sweetness that balances the spicy beef. Frozen corn is easier to measure and doesn’t add extra liquid.
Salsa (1 cup / 240g, medium or hot) — This is the secret weapon. Salsa adds moisture, flavor, and acidity. I use a medium salsa, but if you like it spicy, use hot. Avoid chunky salsa with big pieces of tomato, as it can make the filling watery.
Sour Cream (½ cup / 120g) — This adds creaminess and tang. It helps bind the filling together so it’s not crumbly. Greek yogurt works as a lighter substitute, but the texture will be slightly different.
For the Topping
Shredded Mexican Cheese Blend (2 cups / 225g) — I use a pre-shredded blend of cheddar, Monterey Jack, and queso fresco for ease. But if you have time, shred your own from a block. Pre-shredded cheese has anti-caking agents that can make the sauce slightly grainy, but for this recipe, it melts well enough.
Green Onions (2-3, sliced) — For garnish. Adds a fresh, sharp bite that cuts through the richness. If you don’t have green onions, fresh cilantro works well too.
Optional Add-ins
Jalapeños (½ cup, diced) — For extra heat. Fresh or pickled, both work. I add them if my kids are feeling brave.
Diced Tomatoes (½ cup, drained) — For extra freshness. Just make sure to drain them well to avoid a watery casserole.
Guacamole (¼ cup, for serving) — I love dolloping fresh guac on top right before serving. It adds a cool, creamy contrast.
Equipment Needed
You don’t need fancy equipment for this. Here’s what I actually use:
Large Skillet or Dutch Oven — I use a 12-inch cast-iron skillet because it browns the beef evenly and holds heat well. A large pot works too, but a skillet gives you more surface area for browning.
Baking Dish — A 9×13-inch baking dish is perfect. It needs to be deep enough to hold the shells and the filling without overflowing. Glass or ceramic works best for even baking.
Colander — For draining the pasta and the beans. A fine-mesh strainer works for the beans, but a large colander is better for the pasta.
Measuring Cups and Spoons — Standard stuff. I keep a set on the counter for easy access.
Wooden Spoon or Spatula — For stirring the beef and mixing the filling. A silicone spatula is great for scraping the bowl clean.
Knife and Cutting Board — For chopping green onions and jalapeños. Sharp knives make this task easier and safer.
How to Make It: Step-by-Step
Alright, let’s make this! I’m walking you through exactly how I do it, including the little tricks I’ve picked up over the years.
Step 1: Prep Your Pasta (10 minutes)
Bring a large pot of salted water to a boil. It should taste like the ocean. Add the jumbo shells and cook them al dente, about 8-9 minutes. Check them frequently toward the end because jumbo shells can go from perfect to mushy quickly. Once cooked, drain them and rinse with cold water to stop the cooking process. This also helps prevent them from sticking together. Lay them out on a baking sheet or plate, shell-side up, ready for filling. Don’t worry if they’re a bit stiff; they’ll soften in the oven.
Step 2: Brown the Beef (5-7 minutes)
While the pasta cooks, heat your large skillet over medium-high heat. Add the ground beef, breaking it up with a wooden spoon as it cooks. Cook until browned and no pink remains, about 5-7 minutes. If there’s excess grease, drain it off, but leave a little bit for flavor. This step is crucial for texture—you want the beef to be crumbly, not in big clumps.
Step 3: Build the Filling (5 minutes)
Reduce the heat to medium. Add the taco seasoning to the beef and stir well to coat. Let it cook for 1 minute to bloom the spices. Then, add the drained black beans, corn, salsa, and sour cream. Stir everything together until well combined. The mixture should be moist but not soupy. If it looks too dry, add a splash of water or more salsa. Taste and adjust seasoning if needed. This is your filling, so it should be flavorful on its own.
Step 4: Stuff the Shells (10 minutes)
This is the fun part. Take a shell and fill it with about 2-3 tablespoons of the beef mixture. You don’t need to overstuff it; just fill the cavity. Repeat with all the shells. It takes a little time, but it’s meditative. If you’re in a rush, you can skip stuffing and just mix everything into the baking dish, but stuffed shells look more impressive and hold the filling better.
Step 5: Assemble and Bake (25-30 minutes)
Preheat your oven to 375°F (190°C). Arrange the stuffed shells in the baking dish, seam-side down. Pour any remaining filling over the top of the shells. Sprinkle the shredded cheese evenly over the entire dish. Cover the dish with foil and bake for 20 minutes. Then, remove the foil and bake for another 5-10 minutes, until the cheese is bubbly and slightly browned. The cheese should be melted and golden, with some crispy edges.
Step 6: Rest and Serve (5 minutes)
Remove the dish from the oven and let it rest for 5 minutes. This allows the filling to set slightly, making it easier to serve. Garnish with sliced green onions and fresh cilantro if desired. Serve warm, with extra salsa or guacamole on the side. This Cheesy Beef Taco Stuffed Shells recipe is best enjoyed fresh, but leftovers are great too.
Expert Tips & Tricks
Here’s everything I’ve learned from making this dozens of times. These tips will save you from my mistakes.
Don’t Overcook the Pasta
This is the #1 mistake people make. If you cook the shells until they’re perfectly soft in the pot, they’ll turn to mush in the oven. Cook them al dente, firm to the bite. They’ll finish cooking in the sauce. I learned this the hard way with a pot of soggy shells that looked like a sad mess.
Drain Your Beans and Salsa
Excess moisture is the enemy of a good casserole. Make sure your beans are thoroughly rinsed and drained. If you’re using canned salsa, drain off some of the liquid. You want the filling to be moist, not watery. I always set out a colander before I start cooking so I don’t forget.
Use Full-Fat Dairy
Don’t skimp on the sour cream or cheese. Low-fat versions can make the filling dry and the cheese grainy. Full-fat sour cream adds creaminess and tang, while full-fat cheese melts smoothly. It’s worth the calories for the flavor.
Let It Rest
I know it’s tempting to dig in immediately, but letting the casserole rest for 5 minutes makes a huge difference. The filling sets, making it easier to scoop out without falling apart. It also allows the flavors to meld together.
Freezing Instructions
You can freeze this dish before or after baking. If freezing before baking, cover tightly with foil and freeze for up to 3 months. Thaw in the fridge overnight and bake as directed, adding 10-15 minutes to the baking time. If freezing after baking, let it cool completely, wrap tightly, and freeze. Reheat in the oven at 350°F until warmed through.
Variations & Substitutions
Once you’ve nailed the basic version, here’s how you can mix it up. I’ve tried all of these.
Turkey or Chicken Version
Ground turkey or chicken works great as a leaner alternative. I use 93/7 turkey for better flavor. Just make sure to brown it well and add a little extra seasoning, as poultry is milder than beef.
Veggie-Loaded
Add 1 cup of diced bell peppers or zucchini to the beef mixture. Sauté them with the beef for the first 2 minutes. This adds color and nutrients without changing the flavor profile much. My kids don’t even notice the extra veggies.
Spicy Jalapeño Version
For those who like heat, add ½ cup of diced jalapeños to the filling and use a hot salsa. You can also sprinkle extra cheese and a drizzle of hot sauce on top before baking. This is my favorite version when I want a kick.
Bean-Free Option
If you’re not a fan of beans, just omit them and add more corn or extra beef. The dish will still be delicious, just with a different texture.
Gluten-Free
Use gluten-free jumbo shells. Most brands work well, but check the package for cooking times. Everything else is naturally gluten-free.
Serving & Storage
How to Serve:
I usually serve this straight from the baking dish at the dinner table—it looks rustic and stays warm. But here are other ways I’ve enjoyed it:
- Side Dishes: Simple green salad with lime vinaigrette, Mexican rice, or refried beans. Garlic bread is optional, but let’s be honest, it’s always welcome.
- Toppings Bar: When I have guests, I put out: extra sour cream, chopped cilantro, diced tomatoes, and hot sauce. Everyone customizes their bowl.
- Wine Pairing: Not a wine expert, but my wine-snob friend says a crisp Sauvignon Blanc or a light Pinot Grigio works great with this.
Storage Instructions:
Refrigerator:
Store leftovers in an airtight container for up to 4 days. The sauce will thicken in the fridge—totally normal.
Reheating:
Best method: Add to a skillet with a splash of milk or cream over low heat. Stir until heated through and creamy again. Microwave method: Heat in 30-second intervals, stirring between. Add a splash of milk if it’s too thick. Never works: Trying to reheat in the pot you cooked it in. It always burns on the bottom. Ask me how I know.
Freezing:
Yes, this freezes well. Wrap tightly in foil and freeze for up to 3 months. Thaw in the fridge overnight and reheat in the oven at 350°F for 20-25 minutes.
Nutrition Information
I’m not a nutritionist, but here’s the breakdown if you’re tracking.
Per Serving (based on 6 servings):
| Nutrient | Amount |
|---|---|
| Calories | 450 |
| Protein | 28g |
| Carbs | 42g |
| Fiber | 6g |
| Sugar | 4g |
| Fat | 20g |
| Saturated Fat | 10g |
| Cholesterol | 70mg |
| Sodium | 650mg |
What’s Good:
- High protein from beef and cheese
- Good fiber from beans and corn
- Calcium from the cheese
What to Know:
- Higher in calories from cheese and beef
- Contains dairy and gluten
- Moderate sodium (use low-sodium salsa and beans to reduce)
My Take:
Look, this is comfort food with cheese and beef. It’s not a diet recipe. But it’s way better than takeout, costs less, and I know exactly what’s in it. When I want to make it lighter, I use turkey and low-fat cheese. But usually? I just eat a reasonable portion and enjoy it.
Final Thoughts
So that’s my Cheesy Beef Taco Stuffed Shells recipe! I’ve probably talked your ear off at this point, but when you make a recipe this often, you have a lot to say about it.
This has saved weeknight dinners more times than I can count. It’s my answer to “what’s for dinner” when I’m tired, don’t want takeout, and still want something that tastes really good. My kids are happy, my husband’s happy, and I’m happy because I’m not stressed about cooking.
Make it yours! Try different add-ins, swap in your favorite vegetables, adjust the garlic (though more is always better in my opinion). The best recipes are the ones you adapt to your family’s tastes.
If you make this, drop a comment and let me know what you think! I love hearing how recipes turn out in your kitchen. And if something doesn’t work, tell me that too—I’m here to help troubleshoot.
Happy cooking! And I hope your kitchen smells half as good as mine does right now.
Frequently Asked Questions
Can I use ground turkey instead of beef?
Absolutely. Ground turkey is a leaner option and works great in this recipe. Just make sure to brown it well and add a little extra seasoning, as turkey is milder than beef. I often use 93/7 turkey for better flavor.
Can I make this ahead of time?
Yes! You can assemble the dish up to 24 hours ahead and store it in the fridge. Just add 10-15 minutes to the baking time if you’re baking it straight from the fridge. This is perfect for busy weeknights.
Why did my shells turn out mushy?
Most likely, you overcooked the pasta in the pot. Remember, you only need to cook them al dente because they’ll finish cooking in the oven. Also, make sure you’re using jumbo shells, not regular ones, as regular shells can disintegrate.
Can I freeze this dish?
Yes, this dish freezes very well. You can freeze it before or after baking. Wrap it tightly in foil and freeze for up to 3 months. Thaw in the fridge overnight and reheat in the oven at 350°F until warmed through.
What kind of cheese should I use?
I recommend a Mexican cheese blend (cheddar, Monterey Jack, queso fresco) for the best melt and flavor. You can also use a mix of mozzarella and cheddar if you prefer. Avoid pre-shredded cheese if possible, as it doesn’t melt as smoothly, but it works in a pinch.
Can I add vegetables?
Definitely! Diced bell peppers, onions, zucchini, or spinach all work well. Sauté them with the beef before adding the other ingredients. This adds nutrients and color without changing the flavor profile much.
How do I store leftovers?
Store leftovers in an airtight container in the fridge for up to 4 days. Reheat in the microwave with a splash of water or milk to keep it moist, or in the oven at 350°F for 15-20 minutes.
Pin This Recipe!
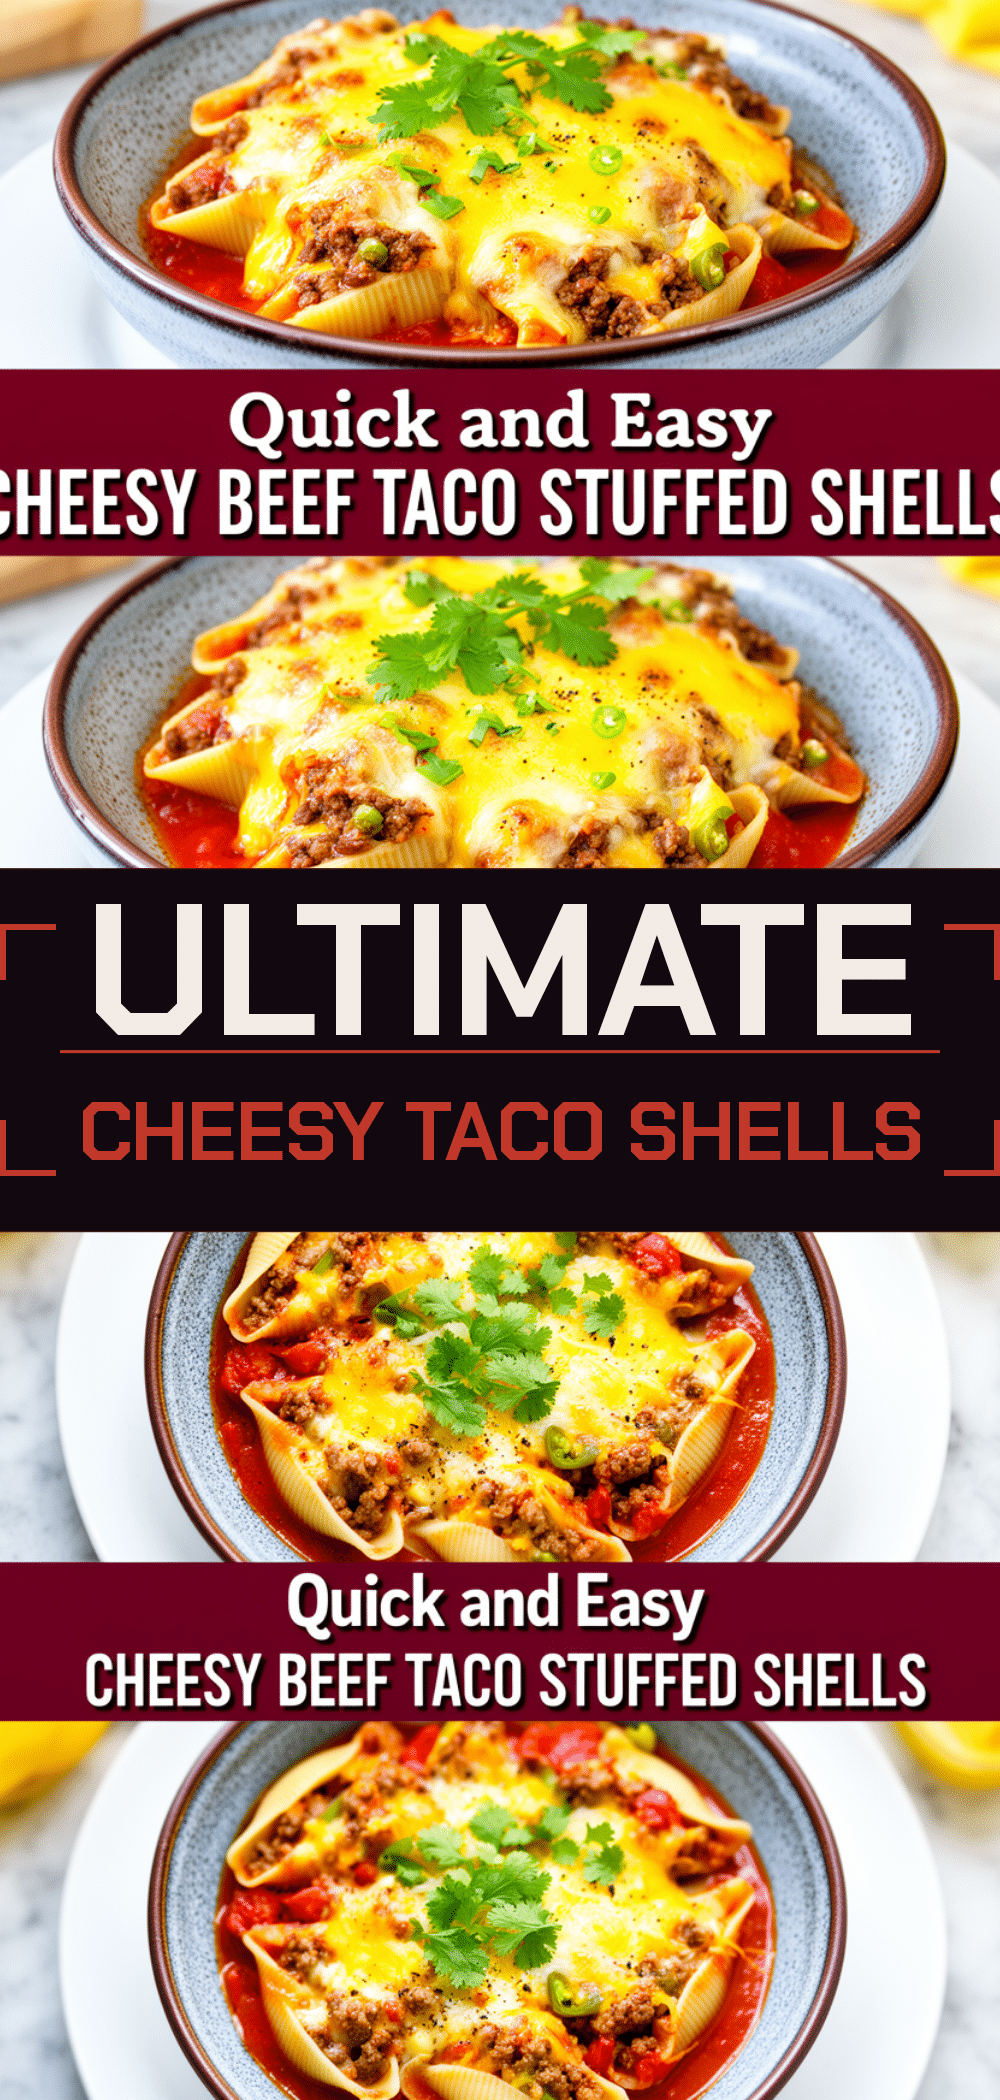
Cheesy Beef Taco Stuffed Shells
- Total Time: 55 minutes
- Yield: 6 servings 1x
Description
A hearty, kid-friendly weeknight dinner that combines savory taco-seasoned beef with creamy, cheesy stuffed pasta shells. This one-dish wonder is easy to make, freezes well, and offers flexible ingredient options.
Ingredients
- 12–15 oz jumbo pasta shells
- 1 lb ground beef (80/20 recommended)
- 1 packet taco seasoning (or 2–3 tbsp homemade)
- 1 can (15 oz) black beans, drained and rinsed
- 1 cup corn (frozen or canned)
- 1 cup salsa (medium or hot)
- 1/2 cup sour cream
- 2 cups shredded Mexican cheese blend
- 2–3 green onions, sliced (for garnish)
- Optional: 1/2 cup diced jalapeños
- Optional: 1/2 cup diced tomatoes, drained
- Optional: 1/4 cup guacamole for serving
Instructions
- Preheat oven to 375°F (190°C).
- Bring a large pot of salted water to a boil. Cook jumbo shells al dente (8-9 minutes), drain, rinse with cold water, and lay shell-side up.
- In a large skillet over medium-high heat, brown the ground beef, breaking it up with a spoon. Drain excess grease if desired, leaving some for flavor.
- Reduce heat to medium. Add taco seasoning to the beef and cook for 1 minute. Stir in black beans, corn, salsa, and sour cream until well combined.
- Fill each shell with about 2-3 tablespoons of the beef mixture.
- Arrange stuffed shells seam-side down in a 9×13-inch baking dish. Pour remaining filling over the top.
- Sprinkle shredded cheese evenly over the dish.
- Cover with foil and bake for 20 minutes. Remove foil and bake for another 5-10 minutes until cheese is bubbly and golden.
- Let rest for 5 minutes before serving. Garnish with green onions.
Notes
Do not overcook the pasta; it should be al dente as it will finish cooking in the oven. Ensure beans and salsa are well-drained to prevent a watery casserole. This dish freezes well before or after baking. For a lighter version, use ground turkey and low-fat cheese.
- Prep Time: 25 minutes
- Cook Time: 30 minutes
- Category: Main Course
- Cuisine: Mexican-American
Nutrition
- Serving Size: 1 stuffed shell with
- Calories: 450
- Sugar: 4
- Sodium: 650
- Fat: 20
- Saturated Fat: 10
- Carbohydrates: 42
- Fiber: 6
- Protein: 28
Keywords: taco stuffed shells, beef pasta, family dinner, weeknight meals, comfort food, cheesy casserole, easy recipes



