Last Labor Day, I stood in front of the grill looking completely overwhelmed. My brother-in-law was judging my burger-flipping technique (he’s always been critical, bless his heart), and I had somehow ended up with a mountain of meat that I didn’t know what to do with. I wanted something impressive, but I also didn’t want to spend four hours marinating ribs or babysitting a slow cooker. I just wanted a burger. A really, really good burger that didn’t require a culinary degree.
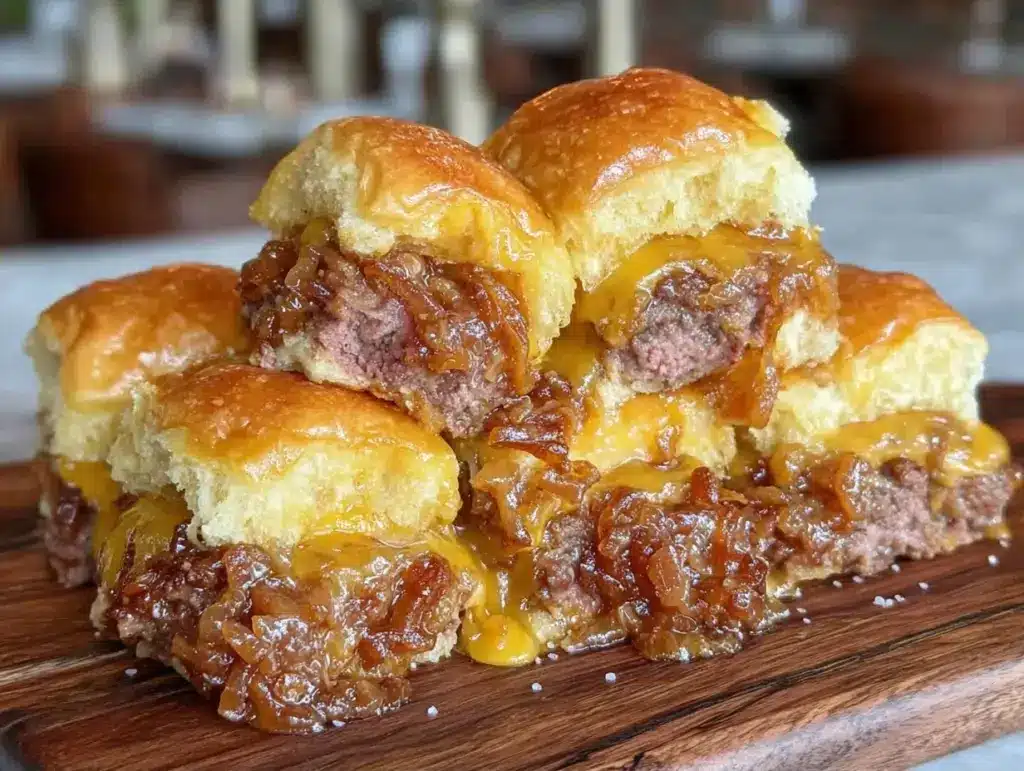
So I did what I always do when I’m stressed: I went simple. I took that ground beef, smashed it flat, seared it until it was crusty, and piled it onto soft slider buns with onions I’d caramelized slowly until they were sweet and jammy. The result? Silence. Then my brother-in-law asked for the recipe. That’s when I knew I had struck gold.
These Labor Day smash burger sliders are my answer to “what’s for dinner?” when I want maximum flavor with minimum fuss. They’re crispy, juicy, and packed with that deep, savory onion flavor that makes people stop talking and start eating. I’ve made them for backyard BBQs, quick Tuesday nights, and even when I just need a hug in food form. Once you try them, you’ll agree: if you can only make one thing this weekend, make these.
Why You’ll Love This Recipe
I’ve tested this slider recipe about a dozen times, tweaking the onion timing and the meat ratio until it felt foolproof. Here’s why these burgers have taken over my kitchen:
Stupid Simple Technique — Seriously, if you can press a ball of meat onto a hot pan, you can make these. The “smash” method is less about precision and more about letting the heat do the work. I’ve taught my teenagers to make these while I’m pouring drinks. It’s that easy.
Maximum Crisp, Minimum Effort — The secret to a great burger isn’t the patty thickness; it’s the crust. Smashing the meat creates more surface area for that Maillard reaction ( fancy word for “good browning”). You get restaurant-quality crunch without a grill. My cast iron skillet does all the heavy lifting.
Caramelized Onions That Taste Like Magic — Most people skip caramelized onions because they think it takes forever. With this method, you get deeply sweet, jammy onions in about 20 minutes without burning your fingers. They’re the star of the show, adding a sweetness that balances the salty beef perfectly.
Perfectly Sized for Sharing — Sliders are the ultimate crowd-pleaser. They’re easy to eat standing up, easy to share, and easy to customize. My kids like theirs with just cheese, my husband wants extra onions, and I like a drizzle of sauce. Everyone wins.
Beginner-Proof — I really can’t mess these up. If you overcook them slightly, they’re still tasty. If you undercook the onions, they’re just sautéed (still good). The margin for error is huge, which makes them perfect for anyone who’s nervous about cooking meat.
Ingredients You’ll Need
Here’s the best part: you probably have most of this already. This recipe relies on high-quality basics rather than a long shopping list. I’m particular about a few things here, but I’ll tell you exactly why.
For the Beef Patties
Ground beef (1.5 lbs / 680g) — This is non-negotiable. Use 80/20 ground chuck. Leaner beef like 90/10 will dry out and won’t stick to the pan as well. The fat is what creates that juicy, tender bite. Don’t skimp on the fat content.
Salt and black pepper (to taste) — Simple seasonings. I use kosher salt because it’s easier to control. Freshly cracked black pepper adds a nice kick.
Butter (2 tablespoons) — I use unsalted butter for cooking the patties. It adds a rich, nutty flavor that oil alone can’t match. Olive oil works if you’re out of butter, but butter is better here.
For the Caramelized Onions
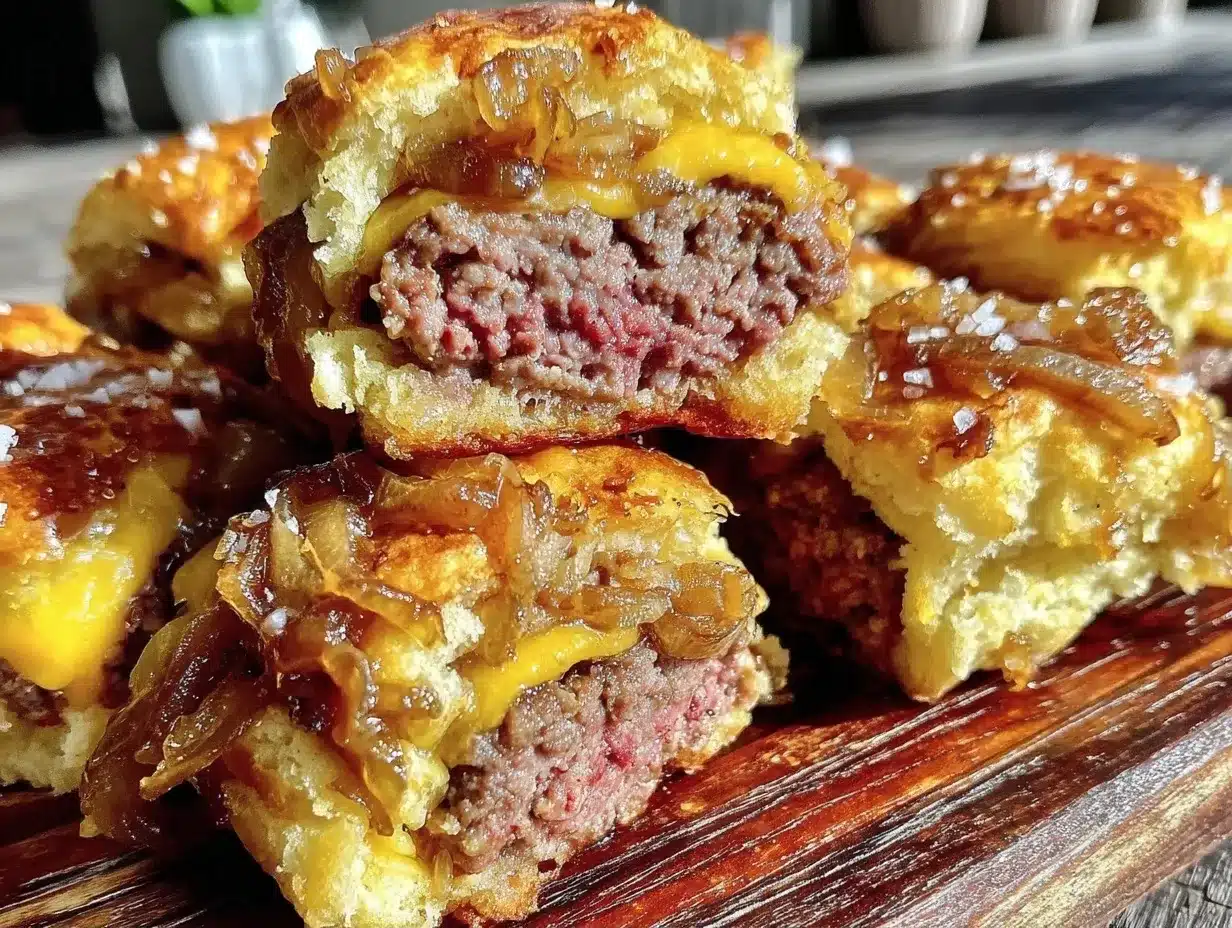
Yellow onions (2 large, thinly sliced) — Yellow onions are sweetest when cooked. Sweet onions like Vidalia work too, but yellow gives that classic burger flavor. Slice them thinly and evenly so they cook at the same rate.
Butter (2 tablespoons) — More butter never hurt anyone, especially when it’s helping the onions caramelize evenly.
Sugar (1 teaspoon) — Just a pinch. This helps speed up the caramelization process and adds depth. You won’t taste it as sweet; it just makes the onions richer.
Salt (½ teaspoon) — Helps draw out the moisture from the onions so they cook down faster.
For the Assembly
Slider buns (8-10 buns) — I love soft potato rolls or brioche buns. They’re sturdy enough to hold the juices but soft enough to bite through easily. Avoid dense sandwich bread; it gets soggy too fast.
American cheese (8-10 slices) — This is the classic choice for a reason. It melts smoothly and adds that distinct “burger joint” flavor. Provolone or cheddar work too, but American is the gold standard for meltability.
Optional toppings — Pickles, ketchup, mustard, or a simple garlic aioli. I keep it simple with just mayo and mustard, but feel free to customize.
Equipment Needed
You don’t need fancy gadgets for this. Here’s what I actually use:
Cast iron skillet or heavy stainless steel pan — This is crucial. You need a pan that holds heat well. A thin non-stick pan will lose heat when you add the cold meat, and you won’t get that crust. My well-seasoned cast iron is my best friend here.
Smash tool or sturdy spatula — You can buy a specific burger press, but a heavy spatula or even the bottom of a glass works. Just make sure it’s something you can press down with.
Large skillet — For the onions. I use a separate pan so I can cook them while the meat rests. If you’re making a smaller batch, one large pan works fine.
Sharp knife — For slicing the onions thinly. A dull knife makes slicing onions a painful experience.
Measuring spoons — For the sugar and salt. Precision helps with the onions.
How to Make It: Step-by-Step
Alright, let’s make these Labor Day smash burger sliders! I’m walking you through exactly how I do it, including the little tricks I’ve picked up over the years.
Step 1: Prep the Onions (15-20 minutes)
Start with the onions because they take the longest. Thinly slice your onions into half-moons. Melt 2 tablespoons of butter in a large skillet over medium heat. Add the onions and ½ teaspoon of salt. Stir to coat. Cook for about 5 minutes, stirring occasionally, until they start to soften and turn translucent. Sprinkle in the teaspoon of sugar. This helps them brown faster. Keep cooking for another 10-15 minutes, stirring every few minutes. You want them dark brown, jammy, and sweet. If they start sticking, add a splash of water to deglaze the pan. Set aside.
Step 2: Prep the Meat (5 minutes)
While the onions cook, form your ground beef into 8-10 small balls, about 2 ounces each. Don’t overwork the meat! Just gently roll it in your hands. Keep them cold until you’re ready to cook. This helps them hold their shape initially. Season them lightly with salt and pepper on both sides.
Step 3: Get the Pan Hot (2 minutes)
Place your cast iron skillet over medium-high heat. Let it get good and hot. Add 1 tablespoon of butter. Wait until it foams and then starts to turn golden. This is when you know it’s ready. If the butter burns, you’ve gone too long. Pull it off the heat for a second if needed.
Step 4: Smash the Patties (1-2 minutes per side)
Place a beef ball in the hot pan. Immediately press down on it with your smash tool or spatula. You want it thin—about ¼ inch thick. Don’t be shy with the pressure. If it sticks, the pan isn’t hot enough. Wait a second, then press again. Season the top side with salt and pepper. Cook for 2-3 minutes until a deep, dark crust forms. You’ll see the edges turn brown and the juices rise to the top.
Step 5: Flip and Cheese (1 minute)
Flip the patties. They should be beautifully craggy and brown. Immediately place a slice of American cheese on each patty. Cook for another 30-60 seconds until the cheese is melted. You don’t want to overcook the beef at this stage; you want it juicy inside.
Step 6: Toast the Buns (1 minute)
While the cheese melts, butter the cut sides of your slider buns. Place them cut-side down in the pan (or a separate skillet) for about 30 seconds. You just want them toasted and golden. This prevents them from getting soggy.
Step 7: Assemble
Build your sliders! Spread mayo or mustard on the bottom bun, add the cheesy patty, pile on those caramelized onions, and top with the bun. Serve immediately.
Expert Tips & Tricks
Here’s everything I’ve learned from making these dozens of times. These tips will save you from my early mistakes.
Don’t Press After the Smash — Once you smash the meat, don’t press it again. You’ll squeeze out all the juices. Just let it cook undisturbed to build that crust.
Keep the Meat Cold — If the beef gets warm before it hits the pan, it becomes mushy and hard to smash. Keep the meat balls in the fridge until the last minute.
High Heat is Key — If your pan isn’t hot enough, the meat will steam instead of sear. You want that loud sizzle when the meat hits the butter. If it’s quiet, your pan is too cold.
Patience with Onions — Don’t rush the onions. If you crank the heat too high, they’ll burn before they caramelize. Medium-low and patience yield the best results.
One Pan Wonders — If you’re short on dishes, cook the onions first, remove them, then cook the burgers in the same pan. The leftover onion bits and beef fat will flavor the patties beautifully.
Variations & Substitutions
Once you’ve nailed the basic version, here’s how you can mix it up. I’ve tried all of these.
Double Smash — For extra crunch, smash the patty, flip it, and smash it again after 1 minute of cooking. This creates a super-crispy edge.
Spicy Kick — Add a slice of pepper jack cheese and a few slices of jalapeño. Or mix a teaspoon of cayenne into the beef before forming the balls.
Veggie Boost — Add a slice of tomato and a leaf of arugula to the top bun. The peppery arugula cuts through the richness of the beef.
Gluten-Free — Use gluten-free slider buns. Most major brands work well. Just watch the toast time so they don’t burn.
Dairy-Free — Use a dairy-free cheese alternative and butter substitute. It’s not quite the same melt, but it’s still delicious.
Bacon Lover’s — Add a strip of crispy bacon on top of the cheese. It adds a smoky crunch that pairs perfectly with the sweet onions.
Serving & Storage
These sliders are best served immediately while the cheese is melty and the buns are warm. But here’s how to handle leftovers.
Storage — Store leftover patties and onions in separate airtight containers in the fridge for up to 3 days. Do not store assembled sliders; the buns will get soggy.
Reheating — Reheat the patties in a skillet over medium heat for 1-2 minutes per side. Reheat the onions in the microwave or a small pan. Toast fresh buns. Assemble right before eating.
Freezing — You can freeze the cooked patties and onions separately for up to 2 months. Thaw in the fridge overnight and reheat as above. The texture of the onions might be slightly softer, but the flavor remains.
Nutrition Information
I’m not a nutritionist, but here’s the breakdown if you’re tracking. Keep in mind this is for one slider with cheese and onions, no added sauces.
Per Serving (1 slider):
- Calories: 280
- Protein: 18g
- Carbs: 22g
- Fat: 14g
- Sodium: 450mg
This is comfort food, so it’s not a diet recipe. But it’s way better than takeout, and you control the quality of the ingredients. When I want to make it lighter, I use leaner beef and skip the cheese on some of them. But usually? I just enjoy it.
Final Thoughts
So that’s my go-to Labor Day smash burger sliders! I’ve probably talked your ear off at this point, but when you make a recipe this often, you have a lot to say about it.
These burgers have saved weekend dinners more times than I can count. They’re my answer to “what’s for dinner?” when I want something hearty, satisfying, and easy. My kids are happy, my husband’s happy, and I’m happy because I’m not stressed about cooking.
Make them yours! Try different cheeses, add different toppings, or just enjoy them plain. The best recipes are the ones you adapt to your family’s tastes. If you make this, drop a comment and let me know what you think! I love hearing how recipes turn out in your kitchen. And if something doesn’t work, tell me that too—I’m here to help troubleshoot.
Happy cooking! And I hope your kitchen smells half as good as mine does right now.
Frequently Asked Questions
Can I use ground turkey instead of beef?
You can, but the texture will be different. Turkey is leaner and won’t get that same juicy, beefy flavor. If you use turkey, add a tablespoon of olive oil to the meat to keep it moist. I prefer beef for this recipe, but turkey works in a pinch.
Why did my burgers stick to the pan?
Usually means your pan wasn’t hot enough, or the meat was too warm. Make sure your cast iron is smoking hot before adding the meat. Also, don’t try to move the patty immediately after smashing. Let it sear for 2 minutes, and it will release naturally.
Can I make these ahead for a party?
Yes! Prep the onion and form the meat balls ahead of time. When guests arrive, just cook the burgers and toast the buns. It takes about 15 minutes to cook everything, so you can handle a crowd easily.
What’s the best cheese to use?
American cheese is the classic choice because it melts perfectly. Provolone, cheddar, or Swiss also work well. Avoid hard cheeses like Parmesan; they don’t melt the same way. For a fancy twist, try brie or goat cheese.
How do I get the onions to caramelize faster?
Add a pinch of sugar and a splash of water if they start sticking. The sugar helps them brown, and the water helps them steam slightly before browning. Keep the heat at medium-low and be patient. Rushing it leads to burnt, bitter onions.
Can I freeze the raw meat balls?
Yes! Form the meat balls, place them on a baking sheet, and freeze until solid. Then transfer to a freezer bag. They’ll keep for up to 3 months. Cook them straight from frozen, adding an extra minute to the cook time.
What sides go well with these sliders?
I love serving them with grilled pineapple for a sweet and smoky contrast. Simple coleslaw or potato salad are also great choices. If you want something lighter, a fresh garden salad with vinaigrette works perfectly.
Pin This Recipe!
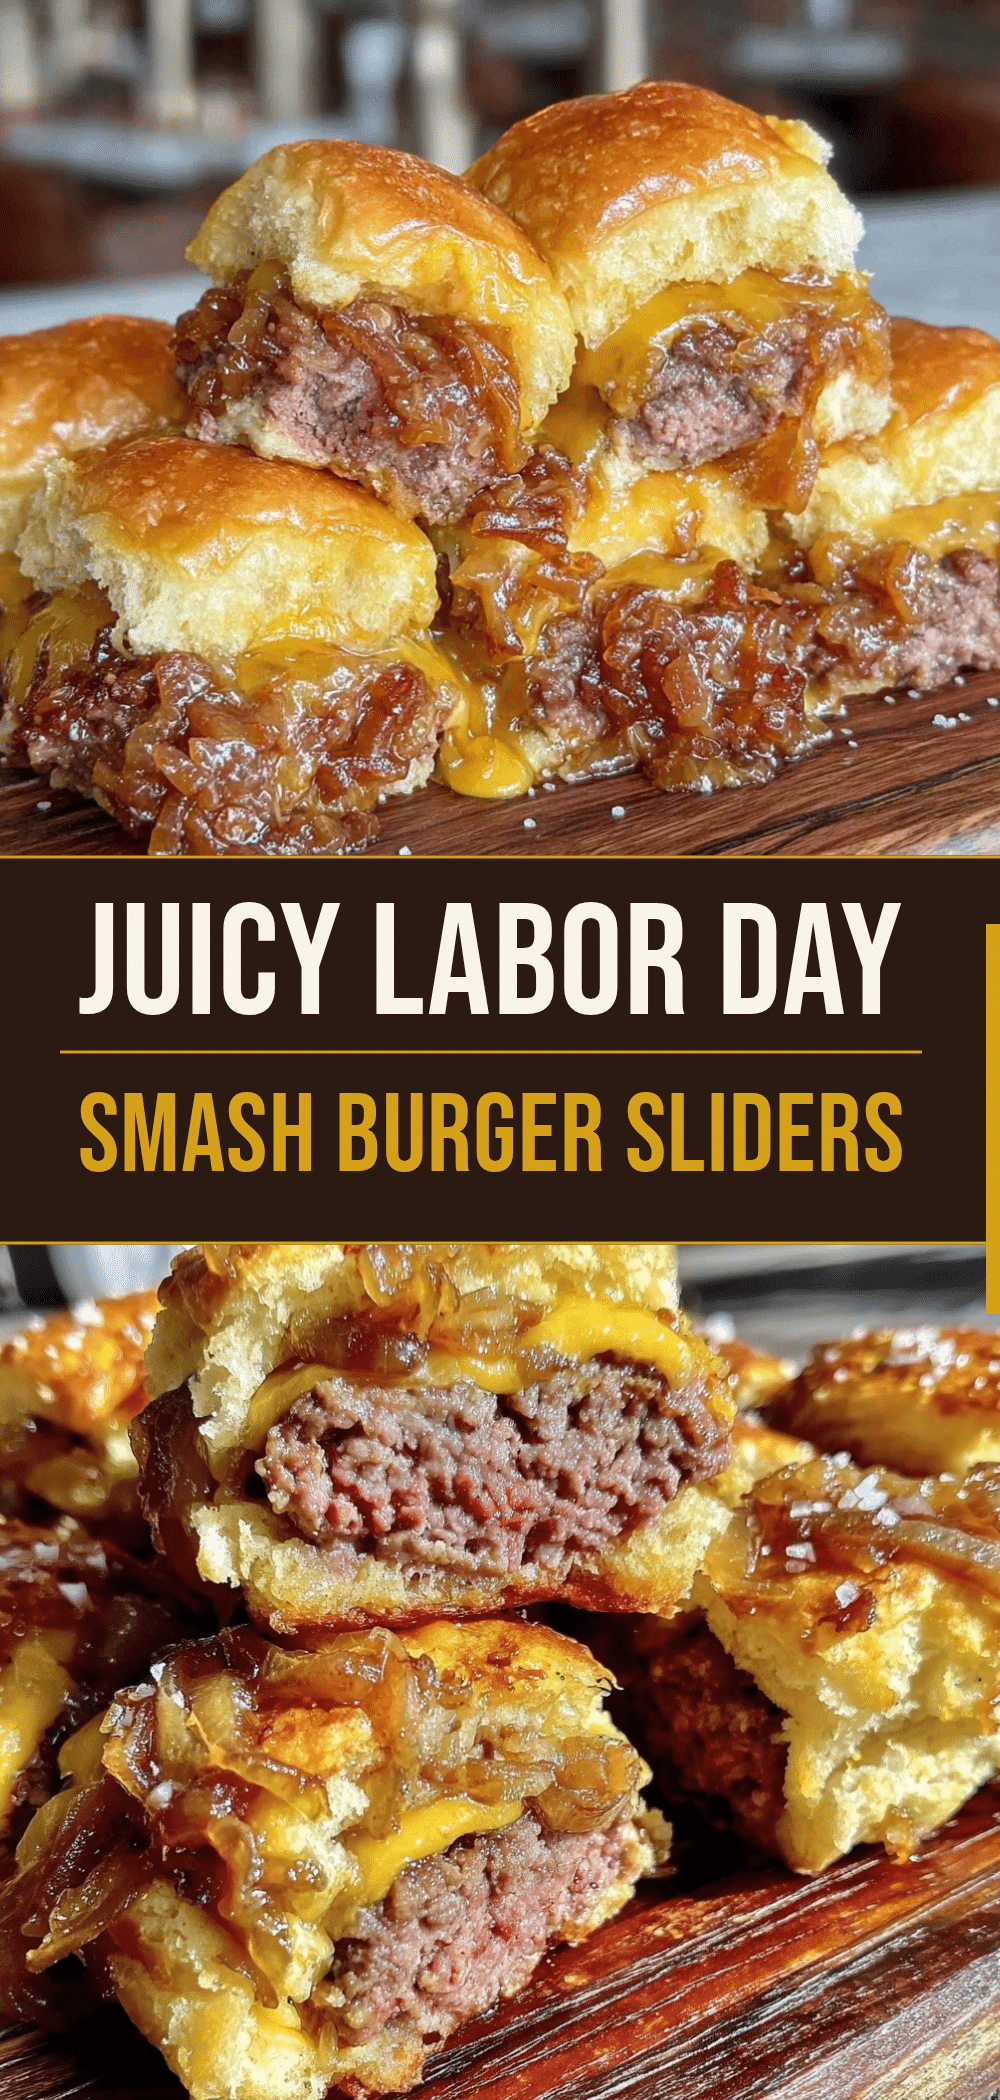

Labor Day Smash Burger Sliders: Easy & Foolproof
- Total Time: 45 minutes
- Yield: 8-10 servings 1x
Description
These Labor Day smash burger sliders are crispy, juicy, and packed with savory caramelized onion flavor. They are a beginner-proof, foolproof recipe that delivers maximum flavor with minimum fuss, perfect for backyard BBQs or quick weeknight dinners.
Ingredients
- 1.5 lbs (680g) 80/20 ground chuck
- 2 large yellow onions, thinly sliced
- 4 tablespoons unsalted butter, divided
- Kosher salt and freshly cracked black pepper, to taste
- 1 teaspoon sugar
- 8–10 soft slider buns (potato rolls or brioche)
- 8–10 slices American cheese
- Optional toppings: pickles, ketchup, mustard, mayo, garlic aioli
Instructions
- Thinly slice onions into half-moons. Melt 2 tablespoons of butter in a large skillet over medium heat. Add onions and ½ teaspoon salt, stirring to coat. Cook for 5 minutes until softened.
- Sprinkle in 1 teaspoon of sugar. Continue cooking for 10-15 minutes, stirring occasionally, until onions are dark brown, jammy, and sweet. Add a splash of water if sticking. Set aside.
- While onions cook, form ground beef into 8-10 small balls (about 2 ounces each). Do not overwork the meat. Keep cold until ready to cook. Season lightly with salt and pepper on both sides.
- Place a cast iron skillet over medium-high heat. Let it get hot, then add 1 tablespoon of butter. Wait until it foams and turns golden.
- Place a beef ball in the hot pan and immediately press down firmly with a smash tool or spatula until about ¼ inch thick. Season the top with salt and pepper.
- Cook for 2-3 minutes until a deep, dark crust forms. Do not press again after the initial smash.
- Flip the patties. Immediately place a slice of American cheese on each patty. Cook for 30-60 seconds until cheese is melted.
- Butter the cut sides of slider buns and toast them cut-side down in the pan for about 30 seconds until golden.
- Assemble sliders by spreading mayo or mustard on the bottom bun, adding the cheesy patty, piling on caramelized onions, and topping with the bun. Serve immediately.
Notes
Keep the meat cold until cooking to ensure it holds its shape. Ensure the pan is very hot before adding meat to prevent sticking and ensure a good crust. Do not press the patties after the initial smash to retain juices. For leftovers, store patties and onions separately in airtight containers for up to 3 days. Do not store assembled sliders as buns will get soggy.
- Prep Time: 25 minutes
- Cook Time: 20 minutes
- Category: Main Course
- Cuisine: American
Nutrition
- Serving Size: 1 slider
- Calories: 280
- Sugar: 6
- Sodium: 450
- Fat: 14
- Saturated Fat: 7
- Carbohydrates: 22
- Fiber: 2
- Protein: 18
Keywords: smash burger, sliders, Labor Day recipes, easy burgers, caramelized onions, cast iron skillet, ground beef recipes, quick dinner



