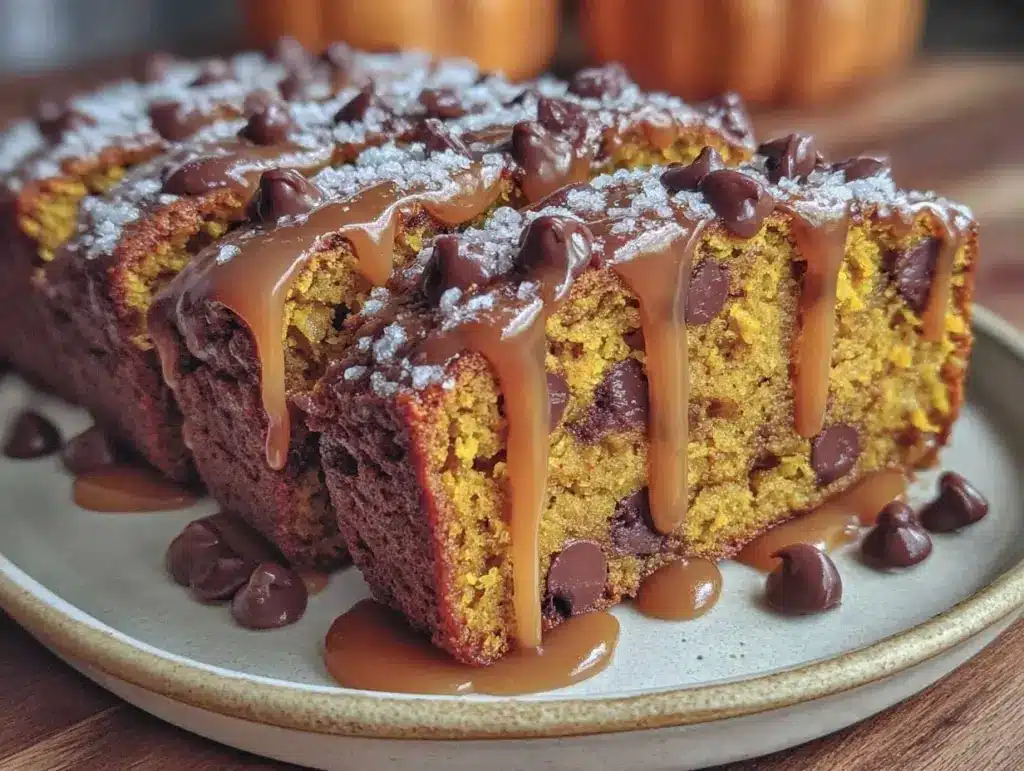
There is a specific kind of magic that happens when the air turns crisp and the leaves start to turn. For me, that magic smells like cinnamon, warm pumpkin, and melted chocolate chips. I remember the first time I made this fall pumpkin chocolate chip bread three years ago. I was standing in my kitchen at 10 PM on a Tuesday, feeling a bit overwhelmed by the week, when I saw half a can of pumpkin puree and a bag of chocolate chips staring back at me. I didn’t want to bake a complicated cake. I didn’t want to whip up a fancy dessert that required six egg whites and a whisk attachment.
I just wanted something warm. Something that tasted like autumn but took less effort than making toast.
So I threw ingredients into a bowl. Flour, sugar, pumpkin, oil, spices, and chocolate. I mixed it. I baked it. And when I pulled that loaf out of the oven, the smell hit me so hard I actually stopped breathing for a second. It was moist, deeply spiced, and packed with gooey chocolate pockets. I ate a slice warm from the pan, chocolate dripping down my chin, and realized I had found my new favorite comfort food.
I’ve made this fall pumpkin chocolate chip bread probably twenty times since then. I’ve tested it with different flours, different sweeteners, and different chocolate chips. But the version I’m sharing today? It’s the one. It’s the one that works every single time. It’s forgiving, it’s simple, and it uses just five main ingredients (plus pantry staples). If you’re looking for a baking project that won’t stress you out but will make your house smell like a bakery, this is it. Trust me, once you bake this, you’ll be making it on repeat.
Why You’ll Love This Fall Pumpkin Chocolate Chip Bread
Let’s be real. Baking can feel like a science experiment. You need precise temperatures, specific tools, and patience you might not have. This fall pumpkin chocolate chip bread is different. It’s the baking equivalent of a hug. Here’s why I keep coming back to this recipe:
- Minimal Cleanup — Seriously, you only need one bowl and one loaf pan. No stand mixer, no food processor, no three separate bowls for dry and wet ingredients. Just dump, mix, and bake. I’ve made this while talking on the phone with my mom, and it still turned out perfect.
- Impossible to Mess Up — I’ve baked for beginners who were convinced they couldn’t boil water. They made this bread. It’s incredibly forgiving. If you overmix it slightly, it’s still good. If you add a few extra chocolate chips, it’s even better. There is no way to ruin this.
- Moisture for Days — Many pumpkin breads turn out dry or cakey. Not this one. The pumpkin puree keeps it incredibly moist, almost like a dense, spiced cake. It stays fresh on the counter for days without drying out.
- Perfect Balance of Sweet and Spicy — It’s not too sweet, which I love. The pumpkin flavor shines through, and the chocolate chips provide those sweet, salty bursts. It’s the perfect snack or breakfast treat.
- Pantry Friendly — You probably have most of these ingredients right now. Pumpkin puree (not pie filling!), flour, sugar, oil, and chocolate chips. If you have those, you have dinner. Or rather, you have dessert.
This is my go-to when I want to feel like a pro baker but don’t want to spend an hour in the kitchen. It’s reliable, delicious, and makes everyone happy. Whether you’re sharing it with neighbors or keeping it all to yourself (I won’t judge), it’s a winner.
Ingredients You’ll Need
Here’s the best part: you don’t need a special trip to the grocery store for this. I’m particular about a few things here, but honestly, you can sub just about anything. Here is what I use to make this fall pumpkin chocolate chip bread every time:
For the Base
All-purpose flour (2 cups / 250g) — This is your structure. Don’t use self-rising flour unless you remove the baking powder and soda from the recipe. I measure by spooning it into the cup and leveling it off. Don’t scoop directly from the bag, or you’ll pack it down and get dense bread.
Pumpkin puree (1 cup / 240g) — Listen closely: use canned pumpkin puree, NOT pumpkin pie filling. Pie filling has sugar and spices already added, which will throw off the balance. I like Libby’s or a generic brand, as long as it’s 100% pumpkin. Thaw it if it’s frozen.
Vegetable oil (½ cup / 120ml) — I use vegetable or canola oil. You *could* use melted butter, but oil keeps the bread moister for longer. Butter makes it taste richer but drier after a day. For this recipe, oil is king.
Large eggs (2 large) — Room temperature eggs mix in easier, but if you’re in a rush, cold eggs are fine. Just whisk them well before adding.
For the Sweetness and Spice
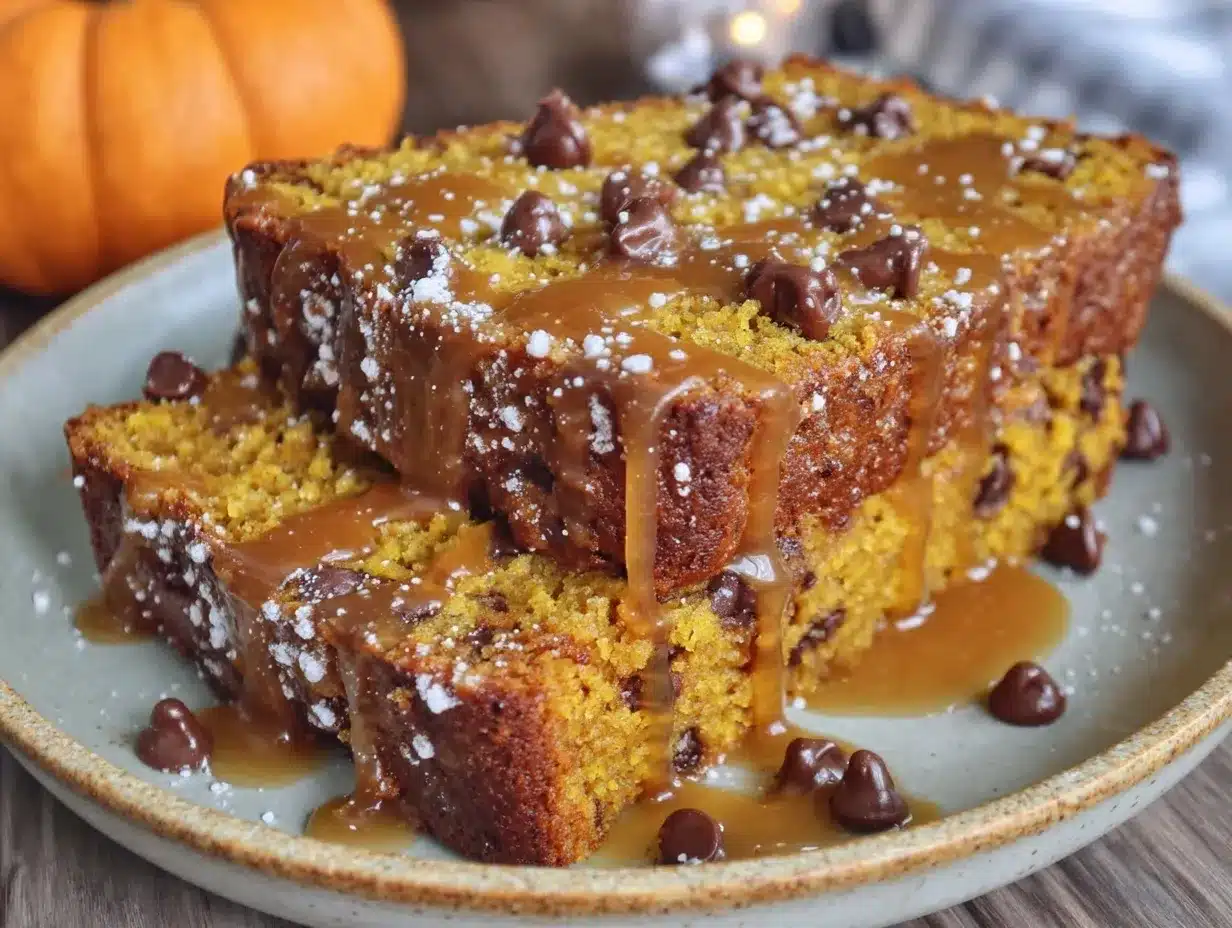
Granulated sugar (¾ cup / 150g) — I like the texture sugar gives. You can use brown sugar for a deeper, molasses flavor, but I stick to white for that classic bakery look. You can reduce it to ½ cup if you prefer less sweet.
Pumpkin pie spice (2 teaspoons) — This is the magic dust. It’s usually a blend of cinnamon, nutmeg, ginger, and cloves. If you don’t have it, make your own: 1 tsp cinnamon, ½ tsp nutmeg, ¼ tsp ginger, and a pinch of cloves.
Baking soda (1 teaspoon) — This is what makes it rise. Make sure it’s fresh! If your baking soda is old, your bread will be flat and dense. Test it by dropping a little in vinegar—if it fizzes, it’s good.
Salt (½ teaspoon) — Crucial. Salt brings out the pumpkin flavor. Don’t skip it.
The Stars of the Show
Chocolate chips (1 cup / 170g) — Semi-sweet or milk chocolate both work. I like semi-sweet because it cuts the sweetness of the bread. You can also use chocolate chunks for bigger gooey pockets. Or, if you’re feeling fancy, add a handful of walnuts or pecans. But honestly? Just chocolate is perfect.
Optional Add-ins
White chocolate chips — Mix half semi-sweet and half white for a pretty marbled look and extra sweetness.
Vanilla extract (1 teaspoon) — Not in the original 5 ingredients, but I always add it. It rounds out the flavor. If you don’t have it, skip it.
Equipment Needed
You don’t need fancy equipment for this. Here’s what I actually use:
9×5 inch Loaf Pan — Standard size. If you want smaller loaves, you can split the batter into two 8×4 pans, but reduce baking time by 10-15 minutes. Grease your pan well with butter or non-stick spray.
Large Mixing Bowl — Any bowl big enough to hold all the ingredients without spilling. Glass or ceramic is nice because you can see what’s happening.
Fork or Whisk — You don’t need an electric mixer. A simple fork or a small whisk works perfectly. This is a manual mix.
Measuring Cups and Spoons — Standard stuff. If you don’t have them, use a kitchen scale for accuracy, but cups work fine if you’re gentle with the flour.
Wire Rack — To cool the bread on. If you don’t have one, just let it cool in the pan for 10 minutes, then flip it onto a plate. It’s not pretty, but it works.
Knife — For slicing. A serrated knife is best for bread, but any sharp knife will do.
How to Make It: Step-by-Step
Alright, let’s make this! I’m walking you through exactly how I do it. It’s so simple you’ll wonder why you ever bought bread from the store.
Step 1: Prep Your Oven and Pan (2 minutes)
Preheat your oven to 350°F (175°C). Grease your 9×5 loaf pan with butter or cooking spray. If you’re worried about sticking, you can line the bottom with parchment paper, but greasing is usually enough. This step ensures your bread doesn’t stick and comes out easily.
Step 2: Mix the Wet Ingredients (3 minutes)
In your large bowl, whisk together the oil, eggs, and pumpkin puree until smooth. It should look like a thick, orange paste. If using vanilla, add it here. Mix until there are no streaks of egg. This takes about 30 seconds. Don’t overthink it.
Step 3: Add the Dry Ingredients (2 minutes)
Add the sugar, flour, baking soda, pumpkin pie spice, and salt to the wet mixture. Now, here is the key: mix gently. Use your fork or whisk just until the flour disappears. You’ll see streaks of flour at first—keep mixing until they’re gone. But stop as soon as the batter is uniform. Overmixing makes the bread tough. It should look thick and lumpy. That’s good.
Step 4: Fold in the Chocolate Chips (1 minute)
Stir in the chocolate chips. If you’re adding nuts, add them now. The batter will be very thick. This is normal. It’s not a cake batter; it’s a bread batter. Don’t add extra flour or liquid.
Step 5: Bake (50-60 minutes)
Pour the batter into your prepared loaf pan. Smooth the top with a spatula or the back of a spoon. Bake in the preheated oven for 50-60 minutes. Check at 50 minutes. Insert a toothpick into the center. If it comes out clean or with just a few moist crumbs, it’s done. If there’s wet batter on it, bake for 5-10 more minutes.
Pro Tip: If the top is browning too fast, loosely tent a piece of aluminum foil over the loaf for the last 15 minutes. This keeps the inside from burning while the center cooks.
Step 6: Cool and Slice (30 minutes)
Let the bread cool in the pan for 10 minutes. Then, turn it out onto a wire rack to cool completely. This is the hardest part. You will want to slice it warm. But wait. If you slice it hot, it will crumble and be gummy. Let it cool for at least 30 minutes. The texture sets as it cools.
Expert Tips & Tricks
Here’s everything I’ve learned from making this dozens of times. These tips will save you from my mistakes.
Don’t Use Pumpkin Pie Filling
I cannot stress this enough. Pumpkin pie filling has sugar and spices. If you use it, your bread will be too sweet and weirdly spiced. Always use plain puree. Check the label. It should say “100% Pumpkin.”
Measure Flour Correctly
Flour is the most common reason for dense bread. Don’t scoop the cup into the bag. Spoon the flour into the cup and level it with a knife. If you pack it down, you’ll have too much flour, and your bread will be dry.
Check Your Toothpick
The toothpick test is your best friend. But remember, a few moist crumbs are okay. If it’s wet batter, keep baking. If it’s clean, pull it out. Overbaking dries out pumpkin bread.
Storage is Key
This bread keeps well at room temperature for up to 3 days in an airtight container. It also freezes beautifully. Wrap slices in plastic wrap and freeze for up to 3 months. Thaw at room temperature or microwave for 20 seconds.
Add-ins are Fun
While chocolate chips are classic, you can add diced apples, cranberries, or nuts. I love adding chopped pecans for crunch. But keep the total add-ins to 1 cup so the batter doesn’t get too heavy.
Variations & Substitutions
Once you’ve nailed the basic version, here’s how you can mix it up. I’ve tried all of these.
Gluten-Free Version
Use a 1-to-1 gluten-free baking flour blend. Most brands work great in this recipe. The texture might be slightly crumblier, but it tastes just as good. I’ve used King Arthur and Bob’s Red Mill with success.
Oil-Free Version
You can substitute the oil with mashed bananas or applesauce. Use ½ cup of either. The bread will be denser and sweeter, but still moist. It’s a lighter option.
Spice It Up
Want more kick? Add a pinch of cayenne pepper. It sounds weird, but it enhances the chocolate and spice flavors. Or swap pumpkin pie spice for just cinnamon and nutmeg if you prefer a simpler flavor.
Mini Loaves
Divide the batter into two mini loaf pans or muffin tins. Bake mini loaves for 30-35 minutes. Muffins for 20-25 minutes. Perfect for gifts or single servings.
Dairy-Free
This recipe is naturally dairy-free (assuming your chocolate chips are dairy-free). Just check the chocolate chip label. Most semi-sweet chips are dairy-free.
Serving & Storage
How to Serve:
I serve this warm, sometimes with a dab of butter or cream cheese. It’s perfect with a hot cup of coffee or tea. It’s also great for breakfast with yogurt and fruit. My family eats it for lunch, too. It’s that versatile.
Side Dishes:
This is a standalone treat. But if you’re serving it for brunch, pair it with bakery-style blueberry muffins for a full spread. Or serve it alongside a savory dish like cheesy beef taco stuffed shells if you’re making a big meal.
Storage Instructions:
Refrigerator: Not recommended. It dries out the bread. Keep it at room temperature.
Freezer: Wrap tightly in plastic wrap, then in foil. Freeze for up to 3 months. Thaw overnight at room temperature.
Reheating: Microwave a slice for 20-30 seconds to bring back the moisture. Or toast it lightly for a crispy edge.
Nutrition Information
I’m not a nutritionist, but here’s the breakdown if you’re tracking. This is per slice (1/10 of the loaf).
| Nutrient | Amount |
|---|---|
| Calories | 220 |
| Fat | 10g |
| Carbs | 32g |
| Fiber | 2g |
| Sugar | 18g |
| Protein | 4g |
What’s Good: It’s a decent source of carbs for energy, and the pumpkin adds some fiber and vitamins. The chocolate chips provide a mood boost.
What to Know: It’s higher in sugar and calories because of the chocolate and oil. It’s a treat, not a health food. But it’s better than store-bought bread full of preservatives.
Final Thoughts
So that’s my go-to fall pumpkin chocolate chip bread! I’ve probably talked your ear off at this point, but when you make a recipe this often, you have a lot to say about it.
This has saved my baking life more times than I can count. It’s my answer to “what can I make that’s easy but impressive?” My kids are happy, my husband’s happy, and I’m happy because I’m not stressed about cooking. It’s simple, it’s delicious, and it tastes like home.
Make it yours! Try different add-ins, swap in your favorite chocolate, or adjust the spices. The best recipes are the ones you adapt to your tastes.
If you make this, drop a comment and let me know what you think! I love hearing how recipes turn out in your kitchen. And if something doesn’t work, tell me that too—I’m here to help troubleshoot. Happy baking! And I hope your kitchen smells half as good as mine does right now.
Frequently Asked Questions
Q: Can I use fresh pumpkin instead of canned?
A: You can, but it’s more work. You’ll need to roast and puree the pumpkin yourself, and it’s much wetter than canned. If you use fresh, you may need to reduce the liquid or add a bit more flour. For simplicity, I stick with canned.
Q: Why did my bread turn out dense?
A: Usually, this means you used too much flour or overmixed the batter. Remember to spoon and level your flour, and mix just until combined. Also, check your baking soda. If it’s old, it won’t rise properly.
Q: Can I use brown sugar instead of white?
A: Yes! Brown sugar will give the bread a deeper, molasses flavor and a slightly denser texture. It’s delicious. I often use half white and half brown for the best of both worlds.
Q: How do I know when the bread is done?
A: Use the toothpick test. Insert it into the center. If it comes out clean or with a few moist crumbs, it’s done. If there’s wet batter, bake for 5 more minutes. The top should be golden brown and spring back when pressed lightly.
Q: Can I freeze this bread?
A: Absolutely. Wrap it tightly in plastic wrap and then in foil. Freeze for up to 3 months. Thaw at room temperature or microwave a slice for 20 seconds.
Q: What if I don’t have pumpkin pie spice?
A: Make your own! Mix 1 tsp cinnamon, ½ tsp nutmeg, ¼ tsp ginger, and a pinch of cloves. It’s easy and tastes just as good.
Q: Can I add nuts?
A: Yes, ½ to 1 cup of chopped walnuts or pecans works great. Fold them in with the chocolate chips. It adds a nice crunch.
Pin This Recipe!
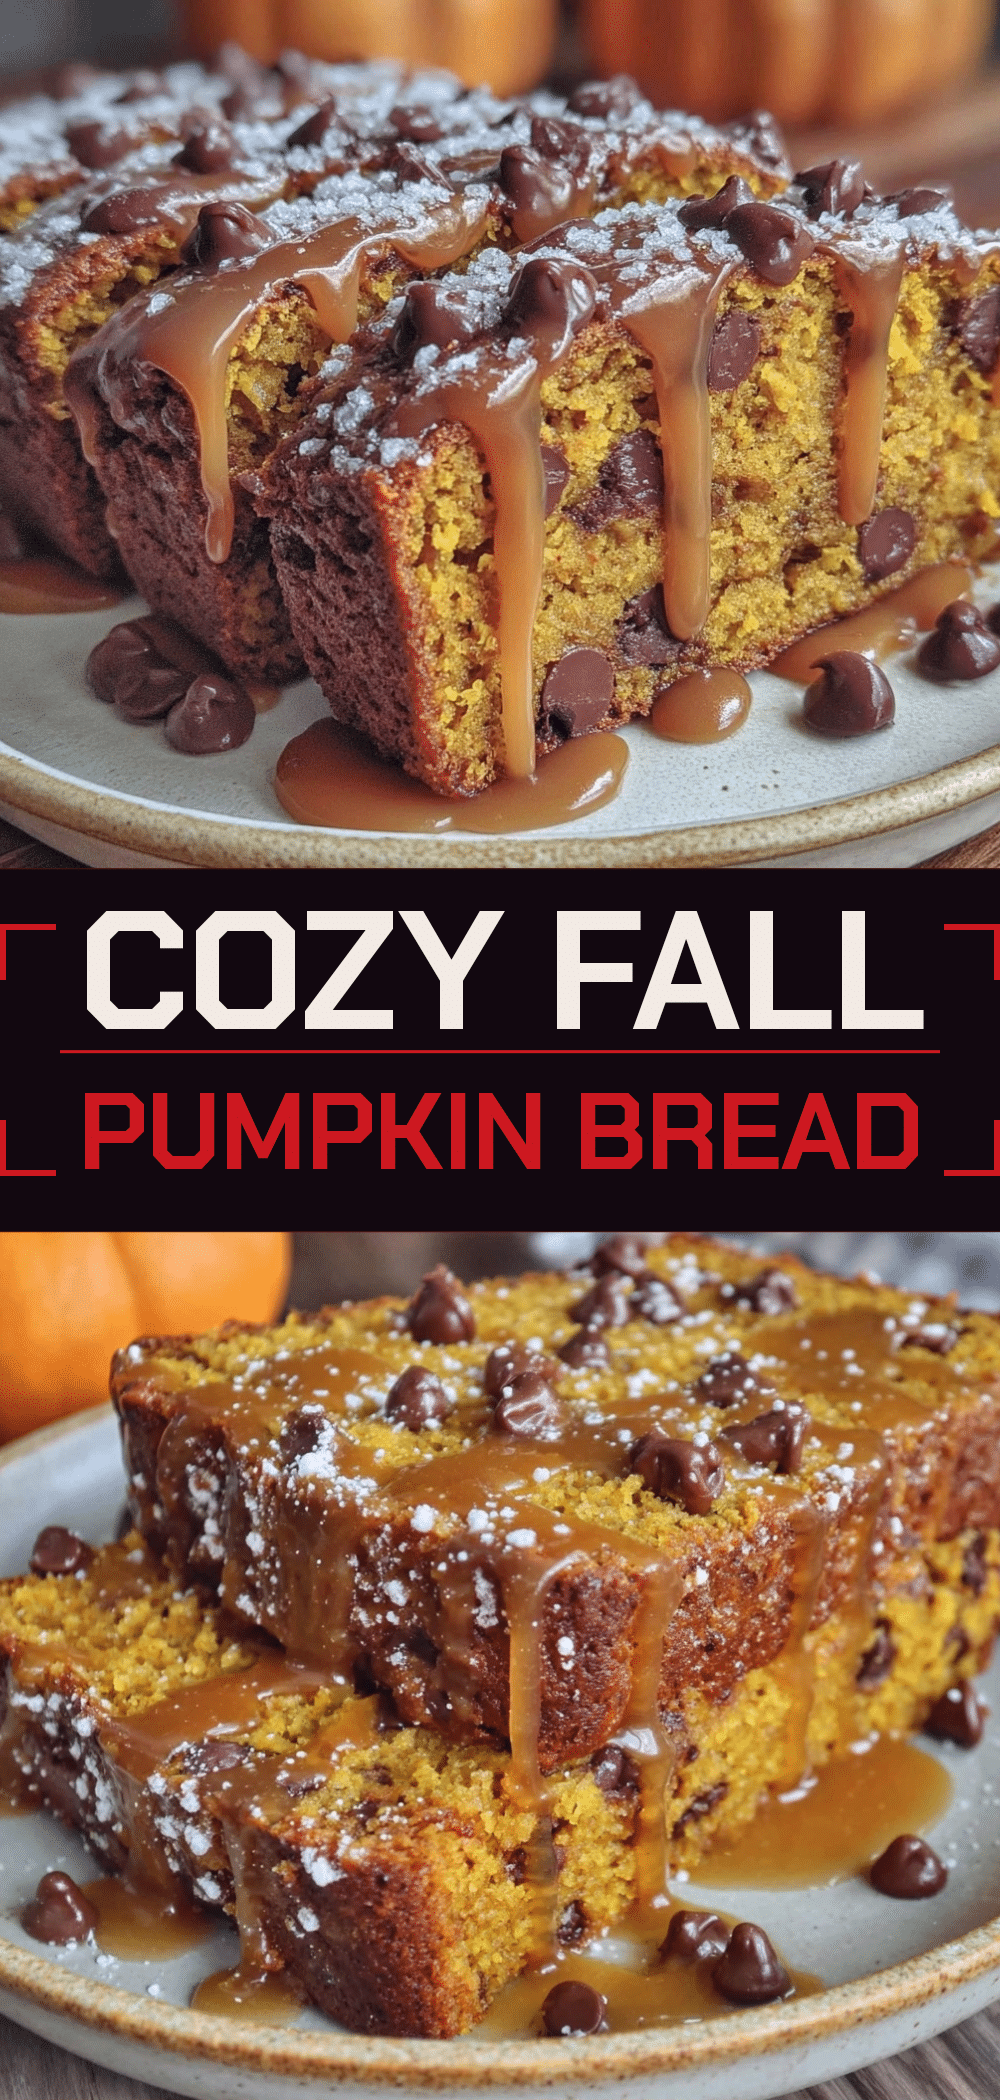
Fall Pumpkin Chocolate Chip Bread: 5-Ingredient No-Fail Recipe
- Total Time: 1 hour 10 minutes
- Yield: 10 servings 1x
Description
A moist, deeply spiced pumpkin bread packed with gooey chocolate chips. This forgiving, one-bowl recipe requires minimal cleanup and uses simple pantry staples for a perfect autumn treat.
Ingredients
- 2 cups (250g) all-purpose flour
- 1 cup (240g) pumpkin puree (not pie filling)
- 1/2 cup (120ml) vegetable oil
- 2 large eggs
- 3/4 cup (150g) granulated sugar
- 2 teaspoons pumpkin pie spice
- 1 teaspoon baking soda
- 1/2 teaspoon salt
- 1 cup (170g) chocolate chips (semi-sweet or milk)
- 1 teaspoon vanilla extract (optional)
Instructions
- Preheat oven to 350°F (175°C). Grease a 9×5 inch loaf pan with butter or cooking spray.
- In a large mixing bowl, whisk together the vegetable oil, eggs, and pumpkin puree until smooth. Add vanilla extract if using.
- Add the sugar, flour, baking soda, pumpkin pie spice, and salt to the wet mixture.
- Mix gently with a fork or whisk just until the flour disappears. The batter should be thick and lumpy; do not overmix.
- Fold in the chocolate chips (and nuts if using).
- Pour the batter into the prepared loaf pan and smooth the top.
- Bake for 50-60 minutes. Check at 50 minutes by inserting a toothpick into the center; it should come out clean or with moist crumbs. If the top browns too quickly, tent with foil.
- Let the bread cool in the pan for 10 minutes, then transfer to a wire rack to cool completely (at least 30 minutes) before slicing.
Notes
Use canned pumpkin puree, not pumpkin pie filling. Measure flour by spooning it into the cup and leveling it off to avoid dense bread. The bread keeps well at room temperature for 3 days or can be frozen for up to 3 months.
- Prep Time: 10 minutes
- Cook Time: 50-60 minutes
- Category: Dessert
- Cuisine: American
Nutrition
- Serving Size: 1 slice (1/10 of the
- Calories: 220
- Sugar: 18
- Sodium: 250
- Fat: 10
- Saturated Fat: 3
- Carbohydrates: 32
- Fiber: 2
- Protein: 4
Keywords: pumpkin bread, chocolate chip bread, fall baking, easy bread recipe, one bowl baking, pumpkin dessert, autumn recipes



