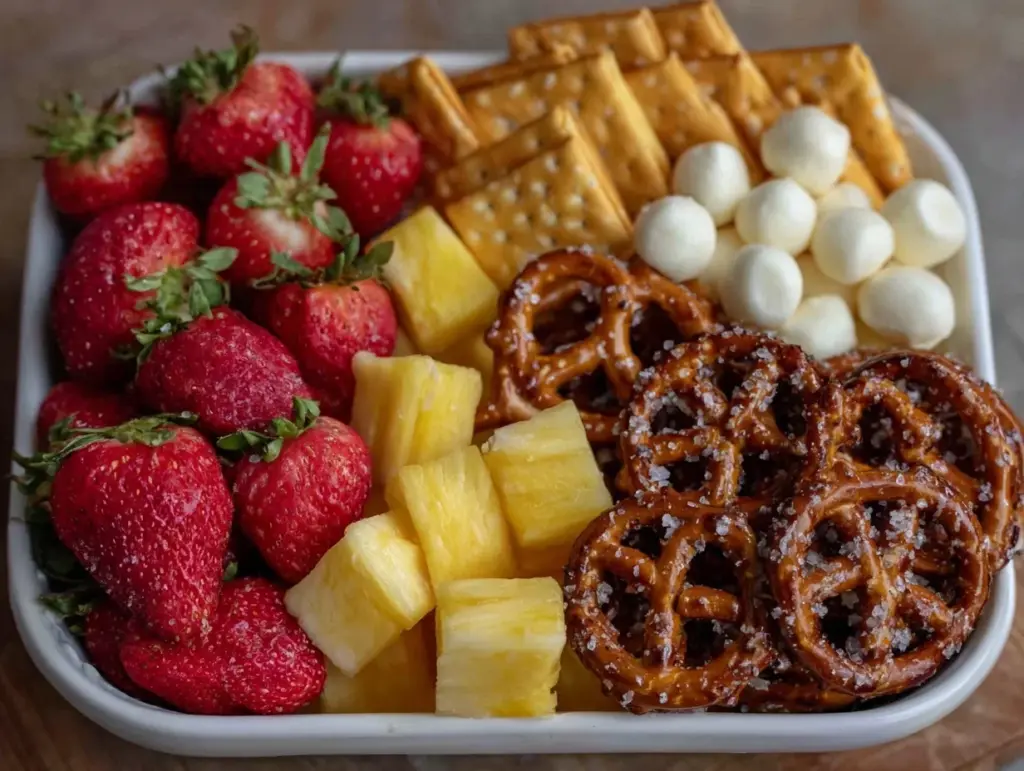
Last August, I stood in the grocery aisle staring at a brightly colored, plastic-wrapped Lunchable for about ten minutes. It cost $6.50. Inside was three sad squares of processed cheese, a handful of dry crackers that tasted like cardboard, and a single, bruised grape. My seven-year-old looked at it, then looked at me with that specific mix of disappointment and hope, and I knew right then that I needed to do better.
I didn’t want to spend my mornings assembling complicated bento boxes with tweezers and tiny cookie cutters. I don’t have time for that, and quite frankly, I’m not an artist. I just wanted something that felt special, tasted real, and didn’t require a chemistry degree to assemble. So I grabbed a container, some sharp cheddar, some turkey slices, a few crackers, and an apple. I tossed it together in two minutes flat. My kid ate it in five minutes, asked for seconds the next day, and never looked back at the plastic trays.
That was the birth of these homemade lunchable snack boxes. They’re not just a substitute for the store-bought version; they’re better in every way. You control the salt. You get actual fruit instead of dried fruit that’s been coated in sugar. And the best part? They are so simple that even a tired parent at 6:30 PM on a Sunday can make them without thinking. If you can only make one thing for back-to-school lunch this year, make this. You really can’t mess it up.
Why You’ll Love These Snack Boxes
There’s a reason these boxes have taken over our school drop-off routine. It’s not just because they’re cheaper (though they are). It’s because they feel like a treat without being a junk-food trap. Here’s why I keep making these week after week:
- Zero Cooking Required — Seriously. If you can open a package and slice an apple, you can make this. No heating up the kitchen, no dirty pots, no smell of onions lingering in the car. It’s pure assembly.
- Customizable Chaos — My kid loves cheese but hates ham. My neighbor’s kid is allergic to nuts but loves pretzels. With this method, you build exactly what your child will actually eat. No more throwing away the “included” items they won’t touch.
- Actually Healthy — You get real protein, real dairy, and real fruit. The store-bought versions are basically sodium bombs. These boxes let you add a handful of grapes or some berry slices, and suddenly you’ve hit two food groups before noon.
- Fun Factor — Let’s be honest, kids love picking their own snacks. Having options in a box makes lunch feel like a choice, not a chore. It gives them a sense of control, which is huge for a seven-year-old.
- Leftover Savior — This is my secret weapon. That half-eaten block of cheese? The last three crackers? The random apple? It all gets used up. It’s the ultimate way to prevent food waste in the fridge.
This is my go-to when I need lunch to just work. No complicated techniques, no weird ingredients, just reliable, delicious food that makes everyone happy.
Ingredients You’ll Need
Here’s the best part: you probably have most of this already. You don’t need a special trip to the store. I’m particular about quality, but only in a few spots. Here’s what you need to grab:
For the Protein Base
Ham or Turkey Slices (6-8 ounces) — I like to buy the thicker deli slices. They hold up better in the box and don’t get soggy. If you’re doing turkey, go for the roasted turkey breast. Avoid the super thin sliced deli meat if you can help it; it tends to curl up and dry out. I usually buy a pack of the thick-cut turkey and freeze half for later.
Cheese Cubes or Slices (4-6 ounces) — Sharp cheddar is my absolute favorite. It has a strong flavor that stands out against the crackers. Colby Jack works too if your kid prefers mild. Cut a block into cubes, or just leave slices folded. Cubes are easier for little hands to pick up, but slices are faster to assemble. I rotate between cheddar and mozzarella balls.
The Crunch Factor
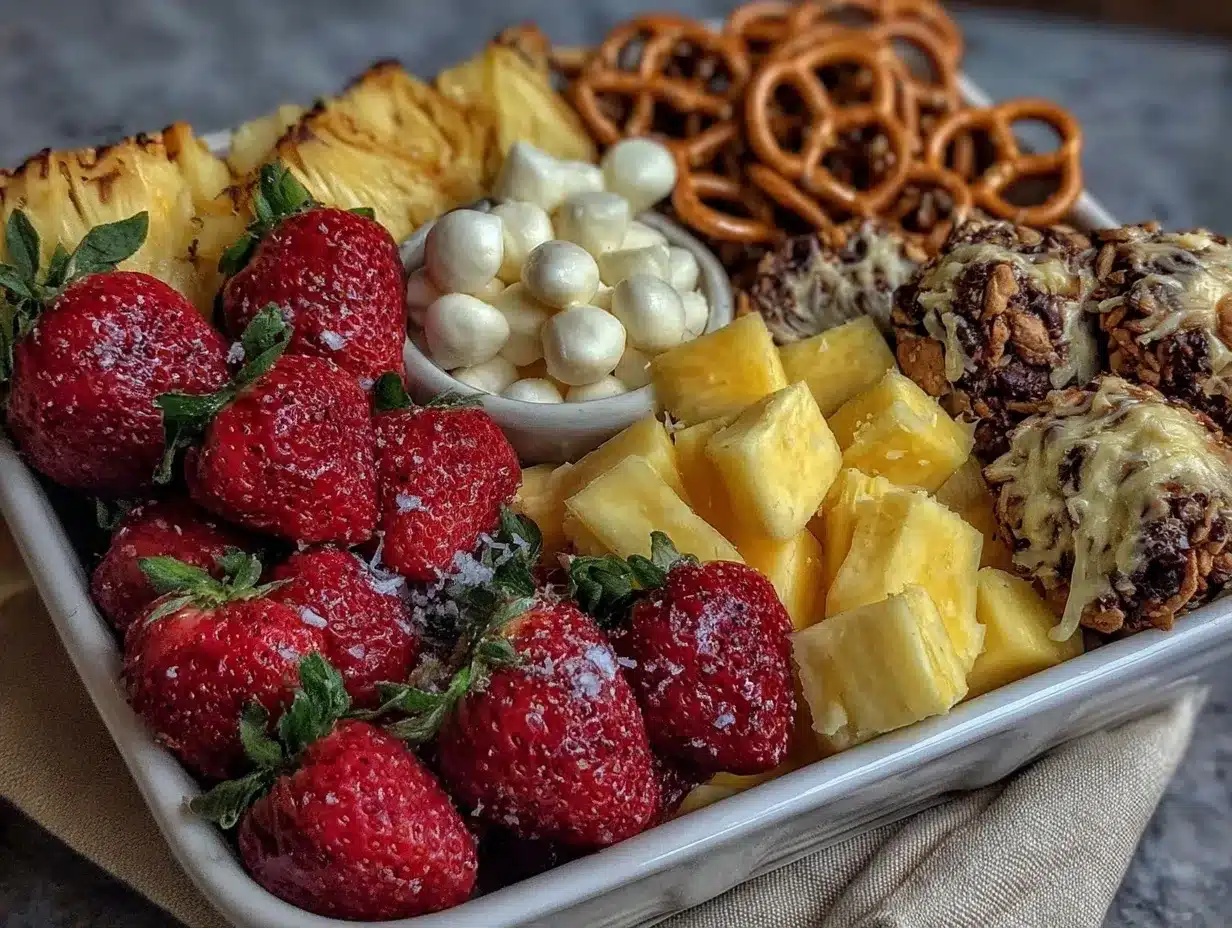
Crackers (1 small box or bag) — This is your vehicle for the cheese and meat. I stick to simple varieties: whole wheat thins, saltines, or pretzel crisps. Avoid the overly cheesy crackers because they compete with the actual cheese. I use Triscuits or simple whole wheat crackers. If your kid loves pretzels, use pretzel crisps instead. The texture contrast is key.
The Fresh Element
Fruit (1-2 servings) — This is what separates the homemade version from the junk. I use grapes (cut in half for safety if needed), apple slices (tossed in a little lemon juice so they don’t brown), strawberries, or blueberries. Keep it simple. Berries are the easiest because you don’t have to cut anything. Apples are the most filling. I rotate based on what’s on sale.
The Dip (Optional but Recommended)
Hummus or Cream Cheese (2-3 tablespoons) — A little dip makes everything feel fancy. Plain hummus or a simple garlic hummus works great with crackers. Or, if your kid is a cream cheese fan, a little schmear on the crackers is heaven. I keep a small container of hummus in the fridge specifically for these boxes.
Optional Add-ins
Vegetable Sticks — Carrot sticks, cucumber rounds, or bell pepper strips. I usually just add a few if I have them pre-cut. They add color and crunch.
Chocolate Chips — A tiny handful. It’s a treat, after all. Not everyone likes this, so I keep it separate. If your kid is a chocolate fan, this is the tie-breaker.
Nuts or Seeds — Only if there are no allergies. Sunflower seeds or pumpkin seeds are great for a protein boost. I usually skip this unless I know it’s safe for the whole class.
Equipment Needed
You don’t need fancy equipment for this. Here’s what I actually use:
Compartmentalized Lunch Box — This is the only real “tool” you need. I prefer the ones with three or four sections. It keeps the wet fruit from touching the dry crackers. My current favorite is a simple bento-style box with a rubber seal. It holds up well in a backpack.
Sharp Knife — For slicing apples and cheese. A serrated knife works best for soft cheeses or apples. Learn to hold it safely—I’ve cut more fingers than I care to admit in my early days.
Small Containers — If your lunch box doesn’t have compartments, use small silicone cups or plastic containers to hold the dip or loose items like grapes. This prevents the “fruit soup” disaster.
Apple Corer (Optional) — If you’re slicing apples a lot, an apple corer saves time and makes uniform slices. But a regular knife works fine. I only use it when I’m feeling lazy and want to speed things up.
Measuring Cups — Not strictly necessary, but I use a 1/4 cup measure to portion out crackers or hummus so I don’t overfill the box. It keeps things balanced.
Ziplock Bags — For storing the pre-cut fruit or cheese in the fridge. I prep these the night before and store them in bags so assembly in the morning takes 60 seconds.
How to Make It: Step-by-Step
Alright, let’s make this! I’m walking you through exactly how I do it, including the little tricks I’ve picked up. This takes about 5 minutes max.
Step 1: Prep Your Components (5 minutes)
Before you start assembling, get everything ready. If you’re using apples, slice them now. If you’re using grapes, wash and halve them. Cut your cheese into cubes if you’re not using slices. I usually do this the night before and store everything in the fridge. If you’re doing it in the morning, just make sure you have everything out and ready. The key is to have all components in small piles or containers so you don’t have to reach for things while assembling.
Step 2: Fold the Meat
Take your ham or turkey slices and fold them into thirds or roll them loosely. Don’t lay them flat; they’ll slide around. Folding them creates little pockets that are fun to pick up and makes the box look more abundant. I usually fold two slices and roll one slice for variety. This step takes about 30 seconds.
Step 3: Place the Protein
Put the folded meat into one of the larger compartments of your lunch box. If your box doesn’t have compartments, place it on one side. The meat should take up about a third of the box. This is your main protein source, so give it a little space.
Step 4: Add the Cheese
Place the cheese cubes or folded slices in a separate compartment. If you’re using a single-compartment box, place the cheese next to the meat, but try to keep them slightly separated so they don’t stick together. The cheese should be about a quarter of the box.
Step 5: Toss in the Crackers
Break the crackers if they’re too big. You want them to fit comfortably in the box without bending. Place them in a compartment or on the side of the box. They should be dry and crisp. If you’re using pretzels, just drop them in. The goal is to have a solid base for dipping or eating with the cheese.
Step 6: Add the Fruit
This is the colorful part. Add your fruit to the remaining space. If you’re using apples, make sure they’re dry so they don’t make the crackers soggy. If you’re using berries, just dump them in. The fruit should take up the last quarter of the box. It’s okay if it’s a little loose; it’s not going anywhere.
Step 7: Add the Dip (If Using)
If you’re adding hummus or cream cheese, put it in a small container or a dedicated dip section. If you don’t have a dip section, place the small container in the fruit compartment, nestled among the berries. The dip should be ready to go with the crackers. Don’t put it directly on the crackers yet; let your kid dip it themselves. It keeps the crackers crisp.
Step 8: Close and Pack
Check that everything fits securely. Close the lid. If you’re using a rubber-sealed box, make sure it’s tight so it doesn’t leak. Place the box in the lunch bag with an ice pack. The ice pack is crucial if you’re using dairy or meat, especially in warmer weather. I always include one, even if it’s early fall.
Expert Tips & Tricks
Here’s everything I’ve learned from making these boxes dozens of times. These tips will save you from my mistakes.
Keep It Dry — The enemy of the lunchable is soggy crackers. Never put wet fruit or vegetables directly next to the crackers. Use the compartments or a barrier like a napkin. If you’re using apples, pat them dry after slicing. If you’re using berries, make sure they’re completely dry from washing.
Rotate the Flavors — Don’t make the same box every day. Your kid will get bored. Rotate the cheese (cheddar, mozzarella, Swiss), the meat (turkey, ham, roast beef), and the crackers (thins, pretzels, wheat). I keep a list of combinations on the fridge so I don’t repeat myself. It’s like a flavor wheel.
Prep the Night Before — I slice all my apples and wash all my grapes on Sunday night. I store them in containers in the fridge. This means Monday morning is just assembly. I can’t stress this enough. If you’re trying to do this in the morning rush, you’ll skip it. Prep the components, assemble the box.
Use an Ice Pack — Always. Even in October. Meat and cheese need to stay cold. I use a small gel ice pack that fits right in the lunch bag. If you don’t have one, freeze a water bottle instead. It doubles as a drink and an ice pack. I love this hack because my kid gets a cold drink with lunch.
Make It Visual — Kids eat with their eyes. Try to make the box look colorful. Red grapes, yellow cheese, green apple slices, brown crackers. It’s not just food; it’s a little plate. I sometimes add a small paper napkin with a smiley face drawn on it. It’s a tiny thing, but it makes a difference.
Common Mistakes (and how to avoid them):
- Mistake: Crackers are crushed. Fix: Don’t pack the box too tight. Leave a little air space. If you’re using a hard-sided box, make sure the lid doesn’t press down on the crackers.
- Mistake: Fruit is mushy. Fix: Don’t wash fruit until you’re ready to pack. Or, if you wash them, dry them thoroughly. Berries are especially sensitive to moisture.
- Mistake: Meat is dry. Fix: Use thicker slices and fold them loosely. If you’re using deli meat, keep it in its original packaging until you’re ready to pack. It stays fresh longer.
Variations & Substitutions
Once you’ve nailed the basic version, here’s how you can mix it up. I’ve tried all of these, and they’re all winners.
The Mediterranean Box — Swap turkey for hummus and falafel bites (or just extra hummus). Use pita chips instead of crackers. Add cucumber slices and olives. It’s a totally different vibe, and my kid loves it. If you want to try something similar but with a main dish, check out my grilled chicken shawarma bowls for a warm lunch option.
The BBQ Box — Use BBQ chicken strips (leftover or rotisserie) instead of turkey. Add coleslaw mix (dry) and BBQ sauce for dipping. Use pretzel crisps. It’s sweet, smoky, and satisfying. I often use leftover sheet pan teriyaki chicken for this variation.
The Veggie Lover’s Box — Skip the meat. Add a hard-boiled egg (peeled and halved) for protein. Fill the rest with carrot sticks, celery, cherry tomatoes, and hummus. Use whole wheat crackers. It’s lighter and fresher. I add this one when I want something less heavy.
The Sweet Tooth Box — For days when you want a treat. Use chocolate chip cookies instead of crackers. Add cheese cubes and fruit. It’s basically a dessert box, but with protein. I limit this to once a week. My kid thinks it’s a special occasion.
Dietary Modifications:
- Gluten-Free — Use gluten-free crackers (like rice crackers or corn chips). Everything else is naturally gluten-free. I use simple corn chips and they work great.
- Dairy-Free — Skip the cheese. Add extra meat or a hard-boiled egg. Use sunflower seed butter instead of cream cheese for dipping. It’s not the same, but it’s still tasty.
- Lower-Sodium — Use low-sodium turkey and ham. Skip the salted crackers and use unsalted pretzels. You control the salt, so it’s easy to reduce.
Serving & Storage
How to Serve: — I usually pack these boxes in the morning and send them to school. They’re meant to be eaten cold. If your kid prefers warm food, you can add a small container of soup or leftovers. But for the snack box itself, cold is the way to go. I serve it with an ice pack to keep it fresh.
Storage Instructions:
- Refrigerator: Store pre-cut fruit and cheese in airtight containers for up to 3 days. The meat should be used within 2 days of opening. I prep components on Sunday and use them by Wednesday.
- Freezing: Don’t freeze the lunch box. The fruit and crackers will get soggy when thawed. Freeze the meat or cheese if you need to extend shelf life, but assemble fresh. I never freeze the assembled box.
Pro tip: If you’re packing these for a longer day, use a high-quality ice pack. I’ve had boxes sit in the car for an hour, and the ice pack kept everything safe. It’s worth the investment.
Nutrition Information
I’m not a nutritionist, but here’s the breakdown if you’re tracking. This is per box, based on typical portion sizes.
Per Serving (1 Box):
- Calories: 350-450 (depending on meat and cheese)
- Protein: 20-25g
- Carbs: 30-40g
- Fiber: 3-5g
- Sugar: 10-15g (mostly from fruit)
- Fat: 15-20g
What’s Good: — High protein from the meat and cheese. Real fruit provides vitamins and fiber. You can control the sodium by choosing your ingredients. It’s a balanced meal that keeps kids full.
What to Know: — It’s higher in sodium if you use processed deli meat. Choose low-sodium options if you’re watching salt. It’s not a low-calorie meal, but it’s nutrient-dense. When I want to make it lighter, I use turkey breast and less cheese. But usually? I just enjoy it as a satisfying lunch.
Final Thoughts
So that’s my go-to homemade lunchable snack box! I’ve probably talked your ear off at this point, but when you make a recipe this often, you have a lot to say about it. This has saved our school lunches more times than I can count. It’s my answer to “what’s for lunch?” when I’m tired, don’t want to cook, and still want something that tastes really good. My kids are happy, I’m happy because I’m not stressed about cooking, and the lunch box stays clean.
Make it yours! Try different add-ins, swap in your favorite vegetables, adjust the meat. The best recipes are the ones you adapt to your family’s tastes. If you make this, drop a comment and let me know what you think! I love hearing how recipes turn out in your kitchen. And if something doesn’t work, tell me that too—I’m here to help troubleshoot.
Happy packing! And I hope your kid’s lunch smells half as good as mine does right now.
Frequently Asked Questions
Q: Can I use cheese slices instead of cubes?
A: Absolutely! I use both. Cubes are easier for little hands to pick up, but slices are faster to assemble. I usually fold slices into quarters or thirds. It looks neater and fits better in the box. Either way works.
Q: My kid’s crackers are soggy—what happened?
A: This usually happens if the fruit or vegetables are too wet. Make sure you pat dry any cut fruit before packing. Also, don’t put wet items directly next to the crackers. Use a compartment or a barrier. If you’re using berries, make sure they’re completely dry.
Q: Can I make these ahead for the week?
A: You can prep the components ahead, but don’t assemble the boxes until the morning. The crackers will get stale and the fruit will brown. I prep everything on Sunday, but assemble on Monday morning. It takes 2 minutes.
Q: What if my kid is allergic to nuts?
A: Just skip the nuts! Use seeds like sunflower or pumpkin seeds instead. Or stick to the basic box with meat, cheese, crackers, and fruit. It’s still a complete meal without nuts. Most schools are nut-free, so it’s good to be safe.
Q: Can I use leftover pizza or pasta?
A: You can, but it’s not a snack box anymore. If you’re packing leftovers, use a separate container. The snack box is designed for cold, finger-food items. If you want warm leftovers, check out my creamy beef stroganoff or baked chicken enchilada casserole for ideas that reheat well.
Q: How do I keep the ice pack from freezing the food?
A: Use a small gel ice pack, not a large block. Wrap it in a thin towel or napkin so it doesn’t freeze the cheese or meat directly. I’ve had this happen before, and the cheese gets rock hard. A thin barrier solves it.
Q: Can I add a small dessert?
A: Yes! A few chocolate chips, a small cookie, or a piece of dark chocolate. I limit it to once or twice a week. It makes the lunch feel special. My kid loves the “treat” aspect of it.
Pin This Recipe!
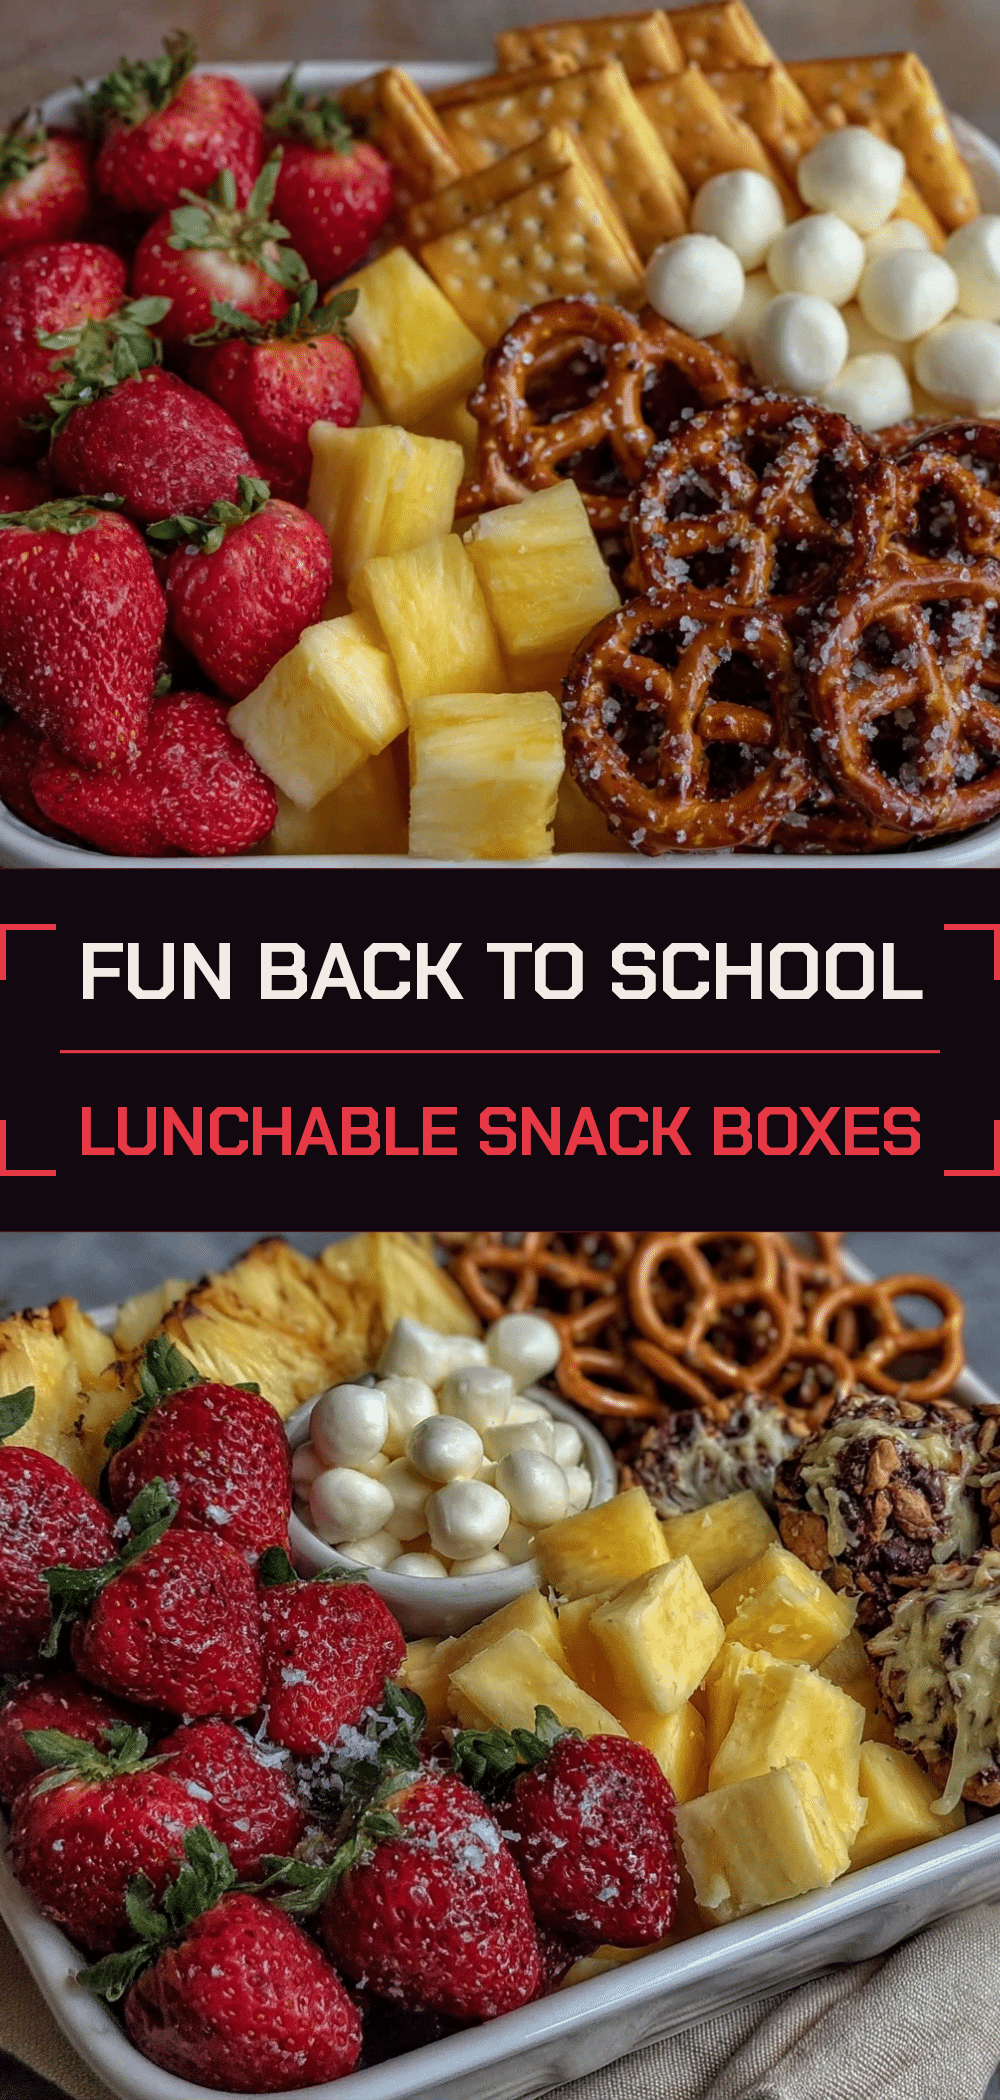

Homemade Lunchable Snack Boxes
- Total Time: 5 minutes
- Yield: 1 serving 1x
Description
A simple, customizable, and healthy alternative to store-bought Lunchables. These no-cook snack boxes allow you to control ingredients, reduce waste, and provide a fun, balanced lunch for kids in just minutes.
Ingredients
- 6–8 ounces thick-cut ham or roasted turkey slices
- 4–6 ounces sharp cheddar cheese (cut into cubes or sliced)
- 1 small box or bag of crackers (e.g., whole wheat thins, saltines, pretzel crisps)
- 1–2 servings of fresh fruit (e.g., grapes, apple slices, strawberries, blueberries)
- 2–3 tablespoons hummus or cream cheese (optional dip)
- Vegetable sticks (e.g., carrot, cucumber, bell pepper) – optional
- Chocolate chips – optional
- Nuts or seeds (e.g., sunflower, pumpkin) – optional, check for allergies
Instructions
- Prep components: Slice apples (toss with lemon juice to prevent browning), wash and halve grapes, and cut cheese into cubes. Store in the fridge until ready to pack.
- Fold the meat slices into thirds or roll them loosely to create pockets and prevent sliding.
- Place the folded meat into one of the larger compartments of the lunch box.
- Add the cheese cubes or folded slices to a separate compartment.
- Break crackers if necessary and place them in a compartment or on the side of the box.
- Add the fresh fruit to the remaining space, ensuring it is dry to prevent soggy crackers.
- If using, place the dip (hummus or cream cheese) in a small container or dedicated dip section.
- Close the lid securely and place the box in a lunch bag with an ice pack to keep meat and cheese cold.
Notes
Prep components the night before to save time in the morning. Always use an ice pack to keep meat and cheese safe. Keep wet fruits away from crackers to maintain crispness. Rotate flavors daily to prevent boredom.
- Prep Time: 5 minutes
- Cook Time: 0 minutes
- Category: Lunch
- Cuisine: American
Nutrition
- Serving Size: 1 Snack Box
- Calories: 400
- Sugar: 12
- Sodium: 600
- Fat: 17.5
- Saturated Fat: 6
- Carbohydrates: 35
- Fiber: 4
- Protein: 22.5
Keywords: lunchable, school lunch, kid friendly, no cook, healthy snacks, bento box, back to school, meal prep



