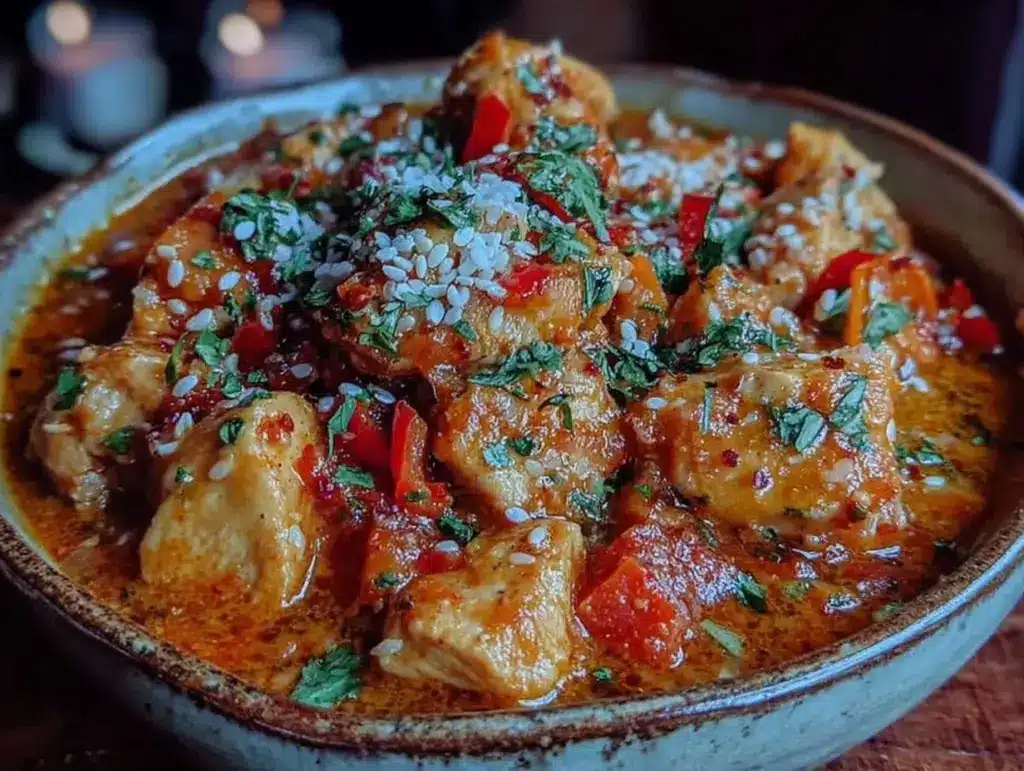
It was a Tuesday night, and I was standing in front of my stove, feeling pretty defeated. I had promised my family we’d eat dinner together, but my usual go-to recipes felt too heavy, and I really didn’t want to order takeout again. I was craving something warm, fragrant, and deeply comforting, but my pantry was light on dairy. I had a can of coconut milk, some chicken thighs, and a jar of curry paste. I figured, why not?
I threw everything into the pot, stirred it around, and waited. Ten minutes later, the smell hit me. It wasn’t the artificial, chemical smell of cheap takeout curry. It was rich, aromatic, and genuinely delicious. I tasted it. It was creamy without being heavy. It was spicy but not overwhelming. It was perfect. That night, I didn’t just eat dinner; I felt like I’d cracked a code. I had made a restaurant-quality meal with ingredients I already had, and my family devoured it.
That was months ago. Since then, I’ve made this dairy-free coconut milk chicken curry at least a dozen times. It’s become the recipe I reach for when I want something that feels special but requires zero stress. It’s forgiving, it’s simple, and it’s honestly one of the best things I’ve ever cooked. If you’re looking for a meal that’s easy to make but tastes like you spent hours on it, this is it. Seriously, if you can only master one curry recipe in your life, make this one.
Why This Dairy-Free Coconut Milk Chicken Curry Will Change Your Weeknights
There are a lot of curry recipes out there, but most of them require a trip to three different specialty stores, a mortar and pestle, and a PhD in cooking techniques. This one? You can make it with stuff you probably have right now. Here’s why this dairy-free coconut milk chicken curry has earned a permanent spot in my rotation:
- Stupidly Simple — Seriously, if you can chop an onion and open a can, you can make this. I’ve walked my teenage son through it over the phone. There’s no fancy technique, no tempering spices in hot oil until they burn. Just dump, stir, simmer.
- Creamy Without the Cream — The coconut milk gives it that luxurious, velvety texture you usually get from heavy cream or yogurt, but it’s lighter on the stomach. No dairy crash after dinner. It just feels good.
- Flavor Bomb — It tastes rich and complex, like a slow-simmered stew, but it’s ready in 30 minutes. The curry paste does all the heavy lifting for flavor, so you don’t need to measure out ten different spices.
- Highly Forgiving — I’ve made this with chicken breasts, chicken thighs, tofu, and even just extra vegetables. I’ve added too much chili or not enough salt, and it still turned out amazing. It’s hard to mess up.
- Better Than Takeout — This is hands-down the best method for getting that deep, aromatic flavor without the MSG overload. It’s healthier, cheaper, and tastes way better than anything from a plastic container.
Real talk? This is my answer to “what’s for dinner?” when I want comfort food but don’t want to feel sluggish afterward. It’s reliable, it’s delicious, and it makes my kitchen smell like a five-star restaurant. Once you try it, you’ll see why I keep coming back to it.
Ingredients You’ll Need for This Easy Curry
Here’s the best part: you probably have most of these ingredients already. This isn’t a recipe that requires a specialty grocery run. I’m particular about the quality of the coconut milk and the curry paste, but everything else is basic.
For the Curry Base
Chicken thighs (2 pounds / 900g) — Boneless, skinless. I prefer thighs because they stay juicy and don’t dry out like breasts do. If you use breasts, just be careful not to overcook them. Cut into bite-sized chunks.
Coconut milk (1 can, 13.5 oz / 400ml) — Use full-fat, unsweetened coconut milk. Not the stuff in the carton for your cereal. Look for the metal can. It needs to be rich and creamy. Shake the can before opening—it should look solid.
Red or Yellow Curry Paste (2-3 tablespoons) — This is the flavor engine. I use Maesri or Mae Ploy brands. They’re authentic, not too salty, and packed with lemongrass and galangal. Start with 2 tablespoons for mild heat, add 3 if you like it spicy. Don’t use the sweet Thai chili sauce—this is the paste in the jar.
Yellow onion (1 medium, diced / about 200g) — Sweet onions work too, but yellow gives better depth. White onions are too sharp for this. Just chop it up roughly.
Garlic (4 cloves, minced / about 1 tablespoon) — Fresh only. No jarred garlic in this recipe. It makes a huge difference in the aroma.
Ginger (1 tablespoon, freshly grated) — If you don’t have fresh ginger, you can use 1 teaspoon of ground ginger, but fresh is better. It adds that bright, zesty kick.
For the Liquid and Seasoning
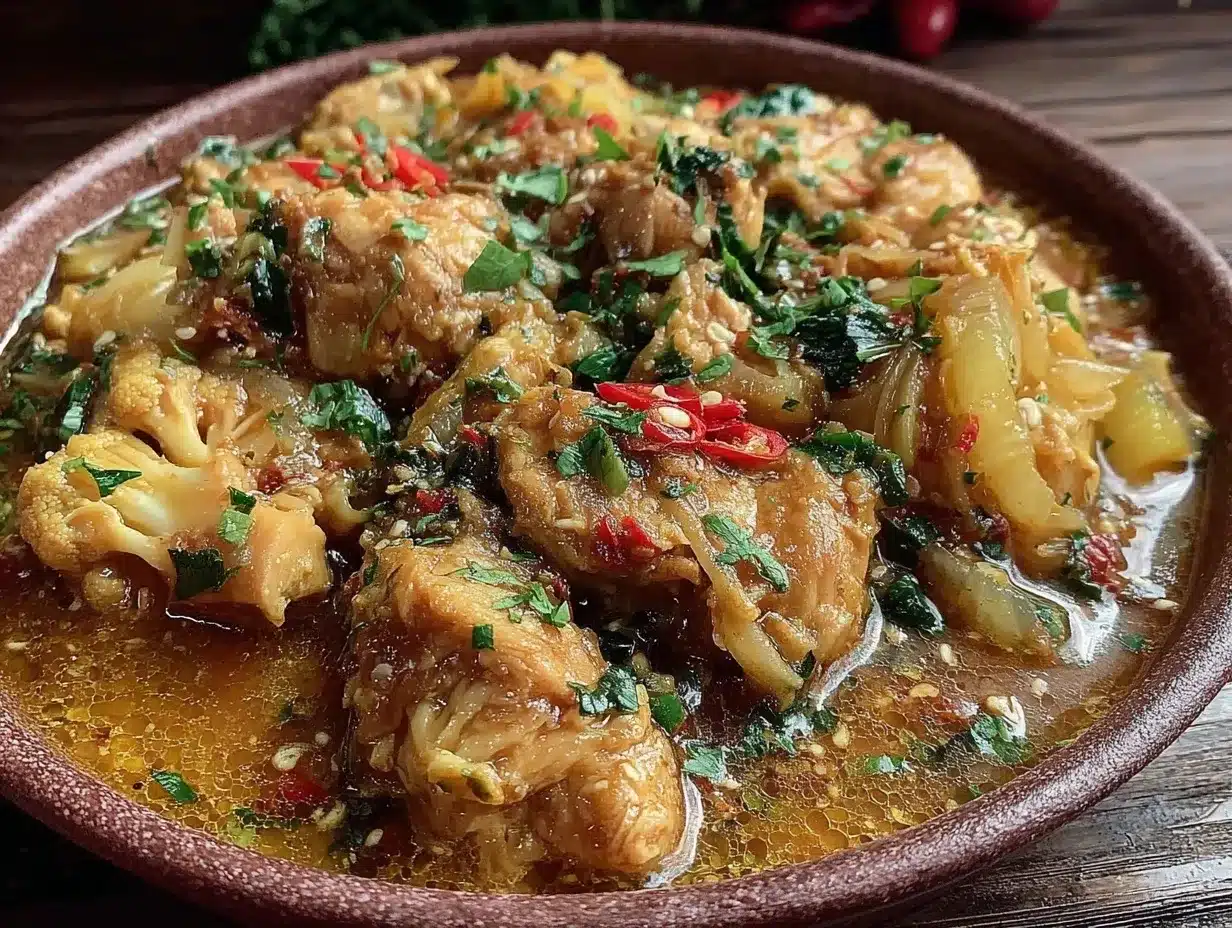
Chicken broth (1 cup / 240ml) — Low-sodium is best so you can control the salt. Vegetable broth works if you want to keep it vegetarian-friendly.
Coconut aminos (1 tablespoon) — This is my secret weapon. It adds saltiness and umami without using soy sauce, which can sometimes make the curry look muddy. If you don’t have it, use tamari or just a little extra salt.
Lime juice (1-2 tablespoons) — Freshly squeezed. This is crucial. It cuts through the richness of the coconut and brightens everything up. Don’t skip it.
Brown sugar (1 teaspoon) — Just a little bit to balance the heat and acidity. It’s not a sweet curry, but it helps round out the flavors.
For the Veggies
Red bell pepper (1 large, sliced) — Adds color and a nice crunch. I love the sweetness it brings.
Broccoli florets (2 cups) — Or cauliflower. Broccoli soaks up the sauce beautifully. I add it near the end so it stays crisp-tender.
Optional Add-ins — I sometimes add spinach at the very end, or some snap peas. You can use whatever veggies you have lying around. This recipe is very flexible.
Equipment Needed
You don’t need fancy equipment for this. Here’s what I actually use.
Large skillet or Dutch oven — I use a 12-inch cast iron skillet because it heats evenly and has great sides. A Dutch oven works too if you want to make it in one pot. Just make sure it’s big enough to hold the chicken and veggies.
Wooden spoon — For stirring. Silicone works too. Don’t use metal on non-stick.
Sharp knife and cutting board — For chopping the onion, peppers, and chicken. A dull knife makes you cry more—learned this the hard way.
Measuring spoons — Pretty standard stuff. Dollar store versions work fine.
Can opener — For the coconut milk. Yes, I know. But don’t forget it.
How to Make It: Step-by-Step
Alright, let’s make this! I’m walking you through exactly how I do it, including the little tricks I’ve picked up over time. It’s simple, so don’t overthink it.
Step 1: Prep Your Ingredients (5 minutes)
Before you start cooking, chop your onion, slice the bell pepper, and cut the chicken into bite-sized pieces. Mince the garlic and grate the ginger. I know it seems fussy, but it makes the actual cooking way less stressful. Once you start cooking, things move fast. Measure out your curry paste and coconut aminos. Have your lime ready to squeeze.
Step 2: Sauté the Aromatics (3-4 minutes)
Heat a splash of oil (coconut oil or avocado oil) in your large skillet over medium heat. Add the diced onion and cook for 2-3 minutes until it starts to soften and smell sweet. Add the minced garlic and grated ginger. Cook for 1 minute, stirring constantly. The garlic should smell amazing but not brown—browned garlic tastes bitter.
Step 3: Bloom the Curry Paste (1-2 minutes)
Add the curry paste to the pan. Stir it into the onions and garlic for about 1 minute. This step is important—it “blooms” the spices, releasing their essential oils and deepening the flavor. You’ll notice the kitchen filling with that incredible curry aroma. If it looks dry, add a splash of water to keep it from burning.
Step 4: Add the Chicken and Coconut Milk (5 minutes)
Add the chicken pieces to the pan. Stir to coat them in the curry paste. Pour in the can of coconut milk and the chicken broth. Stir well to combine. Bring it to a gentle simmer. Don’t boil it hard—just let it bubble gently. Let it cook for about 5-7 minutes, or until the chicken is cooked through and no longer pink in the middle.
Step 5: Add the Vegetables (5 minutes)
Add the sliced bell pepper and broccoli florets. Stir them into the sauce. Let it simmer for another 3-4 minutes until the vegetables are tender but still have a bit of bite. If you’re using spinach, add it now and let it wilt for 30 seconds.
Step 6: Season and Finish (2 minutes)
Remove the pan from the heat. Stir in the coconut aminos, brown sugar, and lime juice. Taste the sauce. Does it need more salt? More lime? More spice? Adjust to your liking. The sauce should be creamy, fragrant, and well-balanced. It should coat the back of a spoon.
Step 7: Serve
Serve immediately over fluffy jasmine rice or with naan bread. Top with fresh cilantro if you have it. The steam rising from the bowl is the best part.
Total Time: About 30 minutes (10 minutes active, 20 minutes mostly hands-off)
Expert Tips & Tricks for Perfect Curry
Here’s everything I’ve learned from making this dozens of times. These tips will save you from my mistakes.
- Shake the Can — Coconut milk separates in the can. Shake it vigorously before opening. If you don’t, you’ll get a watery layer and a solid layer, and it’ll be annoying to mix.
- Don’t Rush the Bloom — Cooking the curry paste for that extra minute makes a huge difference. It removes the raw, sharp taste and brings out the depth. Don’t skip it.
- Use Fresh Lime — Bottled lime juice tastes flat and metallic. Fresh lime juice is bright and zesty. It’s the difference between good and great.
- Chicken Thighs Rule — I can’t stress this enough. Chicken thighs are forgiving and stay juicy. Chicken breasts can dry out if you overcook them by even a minute. If you must use breasts, take them off the heat as soon as they’re done.
- Adjust the Heat — Curry paste varies by brand. If you’re sensitive to spice, start with 1 tablespoon and add more later. You can always add heat, but you can’t take it away.
- Let It Rest — If you have time, let the curry sit for 10 minutes after cooking before serving. The flavors meld together and get even better.
Common Mistakes (and how to avoid them)
Mistake: Sauce is too watery
Fix: Simmer it longer without the lid. The excess liquid will evaporate. Or add a teaspoon of cornstarch mixed with water to thicken it.
Mistake: Sauce is too thick
Fix: Add a splash more chicken broth or water. Coconut milk thickens as it cools, so don’t worry if it looks a bit thick in the pan.
Mistake: Chicken is dry
Fix: You cooked it too long. Next time, remove the chicken from the pan once it’s cooked, and add it back in at the very end just to warm through.
Variations & Substitutions
Once you’ve nailed the basic version, here’s how you can mix it up. I’ve tried all of these.
Protein Swaps
Shrimp Curry — Use shrimp instead of chicken. Add them in the last 3 minutes of cooking. They cook so fast!
Tofu Curry — Use firm tofu, pressed and cubed. Add it in step 4 and simmer gently. It absorbs the sauce beautifully.
Chickpea Curry — Add a can of drained chickpeas in step 4. Great vegetarian option.
Veggie Boosters
Spinach or Kale — Stir in a big handful at the end. It wilts instantly and adds nutrients.
Sweet Potato — Add diced sweet potato in step 4. Simmer for 10 minutes until tender. Adds natural sweetness.
Potatoes — Yukon Gold potatoes, cubed, work great. Add them with the chicken and cook a bit longer.
Dietary Modifications
Gluten-Free — This recipe is naturally gluten-free! Just make sure your curry paste is GF (some brands add wheat, so check the label).
Whole30/Paleo — Use coconut aminos instead of soy sauce, and skip the brown sugar or use a Paleo-friendly sweetener.
Serving & Storage
How to Serve:
I usually serve this straight from the skillet at the dinner table—it looks rustic and stays warm. But here are other ways I’ve enjoyed it:
- Jasmine Rice — The classic choice. The fluffy rice soaks up the sauce perfectly.
- Naan Bread — Great for dipping. Warm it up for 2 minutes in the oven.
- Cauliflower Rice — For a lower-carb option. It’s lighter but still delicious.
Toppings Bar:
When I have guests, I put out: fresh cilantro, lime wedges, chopped peanuts, and red pepper flakes. Everyone customizes their bowl.
Storage Instructions:
Refrigerator:
Store in an airtight container for up to 4 days. The sauce will thicken in the fridge—totally normal.
Reheating:
Best method: Add to a skillet with a splash of water or coconut milk over low heat. Stir until heated through and creamy again.
Microwave method: Heat in 30-second intervals, stirring between. Add a splash of water if it’s too thick.
Freezing:
Yes, this freezes well! Let it cool completely, then freeze in an airtight container for up to 3 months. Thaw in the fridge overnight and reheat gently. The texture might be slightly different, but it’s still tasty.
Nutrition Information
I’m not a nutritionist, but here’s the breakdown if you’re tracking. This is per serving (based on 4 servings).
Per Serving:
| Nutrient | Amount |
|---|---|
| Calories | 420 |
| Protein | 35g |
| Carbs | 25g |
| Fiber | 5g |
| Fat | 22g |
| Sodium | 450mg |
What’s Good:
High in protein from the chicken. Good fats from the coconut milk. Packed with vegetables. No refined sugars (unless you add extra sweetener).
What to Know:
Higher in calories from the coconut milk, but it’s healthy fat. Moderate sodium depending on your broth. Contains coconut.
My Take:
Look, this is comfort food. It’s rich and satisfying. But it’s way better than takeout, costs less, and I know exactly what’s in it. When I want to make it lighter, I use less coconut milk and more veggies. But usually? I just enjoy a reasonable portion and feel great afterward.
Final Thoughts
So that’s my go-to dairy-free coconut milk chicken curry! I’ve probably talked your ear off at this point, but when you make a recipe this often, you have a lot to say about it.
This has saved weeknight dinners more times than I can count. It’s my answer to “what’s for dinner?” when I want something that tastes amazing but doesn’t require a lot of effort. My family is happy, I’m happy, and I’m happy because I’m not stressed about cooking.
Make it yours! Try different veggies, swap the protein, adjust the spice. The best recipes are the ones you adapt to your family’s tastes. If you make this, drop a comment and let me know what you think! I love hearing how recipes turn out in your kitchen. And if something doesn’t work, tell me that too—I’m here to help troubleshoot.
Happy cooking! And I hope your kitchen smells half as good as mine does right now.
Frequently Asked Questions
Can I use light coconut milk?
You can, but the sauce will be thinner and less rich. I recommend full-fat for the best texture. If you use light, you might want to add a tablespoon of coconut cream or a little cornstarch to thicken it up.
My sauce came out too spicy—what happened?
Usually means you used too much curry paste or a very hot brand. Next time, start with 1 tablespoon and taste as you go. To fix it now, add a splash of coconut milk or a little sugar to balance the heat.
Can I make this ahead for a dinner party?
Sort of. Make the curry up to 2 days ahead and store in the fridge. Reheat gently and add fresh lime juice right before serving. It actually tastes even better the next day because the flavors meld together. I do this all the time.
Why did my sauce separate?
Coconut milk can separate if it’s boiled too hard or if it’s cold when you add it. Keep the heat low and gentle. If it separates, just whisk it back together. It’s still safe to eat and tastes fine.
Can I use chicken breasts?
Yes, but they cook faster and can dry out. Add them in the last 5-7 minutes of cooking, and remove the pan from heat as soon as they’re done. Thighs are more forgiving, but breasts work if you’re careful.
How do I reheat leftovers without it getting dry?
Add a splash of water or coconut milk to a skillet, add your leftover curry, and heat gently over low heat, stirring frequently. The extra liquid brings back the creamy texture. Microwave sort of works but tends to dry it out.
Can I double this recipe?
Absolutely! Double everything and use your biggest pot. The cooking times stay mostly the same. I do this when I’m meal-prepping or feeding a crowd. Just make sure your skillet is big enough for the sauce.
Pin This Recipe!
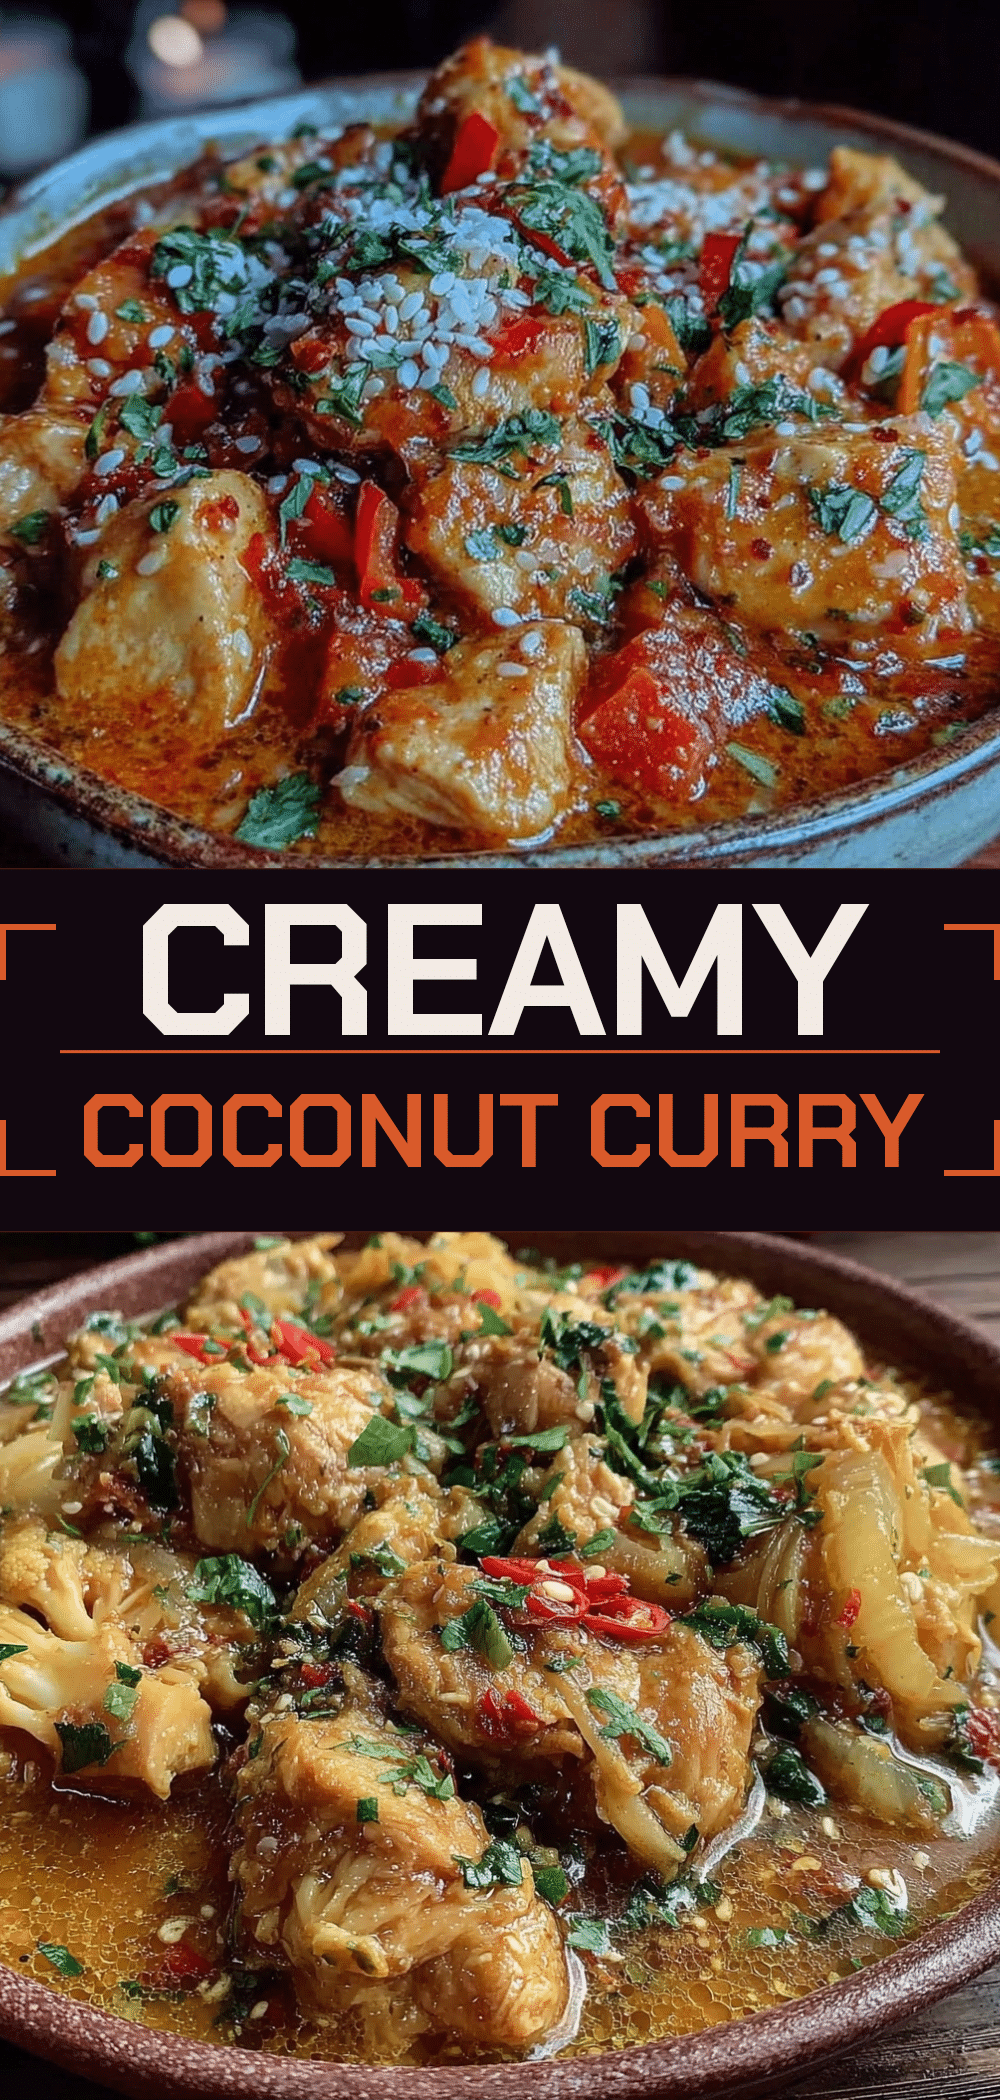

Dairy-Free Coconut Milk Chicken Curry
- Total Time: 30 minutes
- Yield: 4 servings 1x
Description
A simple, forgiving, and restaurant-quality dairy-free chicken curry made with coconut milk and curry paste. Ready in 30 minutes with minimal effort.
Ingredients
- 2 pounds boneless, skinless chicken thighs, cut into bite-sized chunks
- 1 can (13.5 oz / 400ml) full-fat, unsweetened coconut milk
- 2–3 tablespoons red or yellow curry paste
- 1 medium yellow onion, diced
- 4 cloves garlic, minced
- 1 tablespoon fresh ginger, grated
- 1 cup low-sodium chicken broth
- 1 tablespoon coconut aminos
- 1–2 tablespoons fresh lime juice
- 1 teaspoon brown sugar
- 1 large red bell pepper, sliced
- 2 cups broccoli florets
- Oil for sautéing (coconut or avocado oil)
Instructions
- Prep ingredients: Chop onion, slice bell pepper, cut chicken into chunks, mince garlic, and grate ginger.
- Heat a splash of oil in a large skillet or Dutch oven over medium heat.
- Add diced onion and cook for 2-3 minutes until softened. Add garlic and ginger, cooking for 1 minute until fragrant but not browned.
- Add curry paste and stir into the aromatics for 1 minute to bloom the spices. Add a splash of water if it looks dry.
- Add chicken pieces to the pan and stir to coat in the paste. Pour in coconut milk and chicken broth. Stir to combine.
- Bring to a gentle simmer and cook for 5-7 minutes until chicken is cooked through.
- Add bell pepper and broccoli. Simmer for 3-4 minutes until vegetables are tender-crisp.
- Remove from heat. Stir in coconut aminos, brown sugar, and lime juice. Taste and adjust seasoning.
- Serve immediately over jasmine rice or with naan bread.
Notes
Shake the coconut milk can before opening. Use fresh lime juice for best flavor. Chicken thighs are preferred over breasts to prevent drying out. Let the curry rest for 10 minutes before serving for better flavor melding. Store in an airtight container in the fridge for up to 4 days or freeze for up to 3 months.
- Prep Time: 10 minutes
- Cook Time: 20 minutes
- Category: Main Course
- Cuisine: Asian
Nutrition
- Serving Size: 1 serving (approx. 1
- Calories: 420
- Sodium: 450
- Fat: 22
- Carbohydrates: 25
- Fiber: 5
- Protein: 35
Keywords: chicken curry, dairy-free, coconut milk, easy dinner, weeknight meals, gluten-free, one-pot meal



