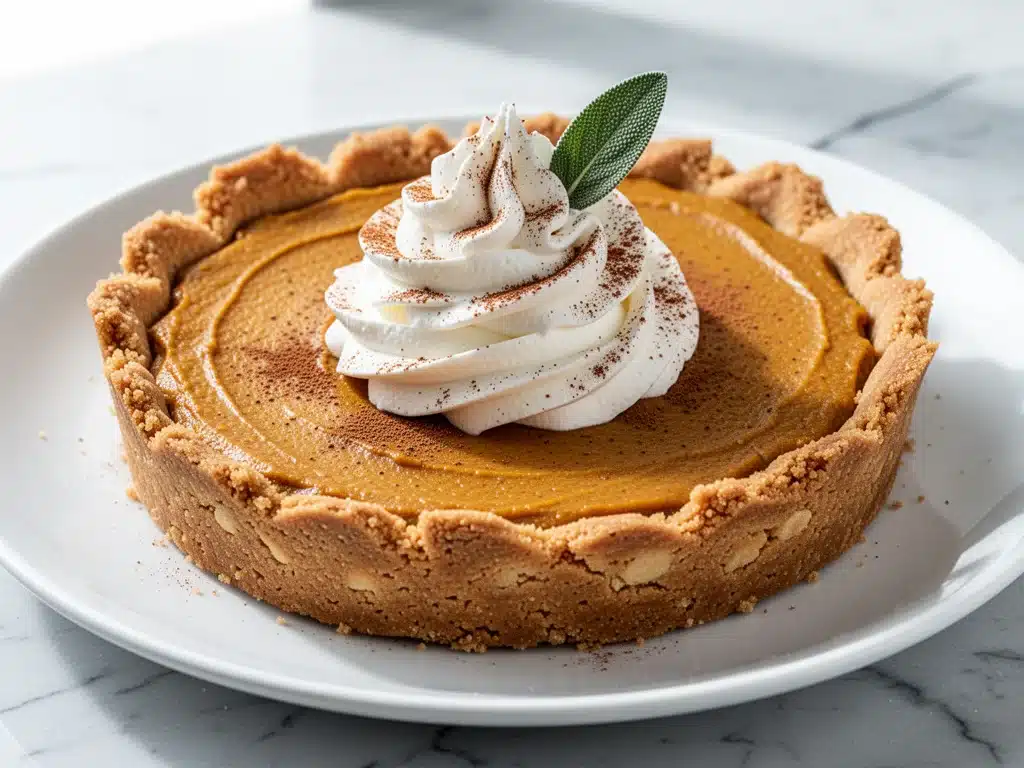
I still remember the exact moment I realized my holiday hosting strategy needed a complete overhaul. It was three years ago, and I was standing in my kitchen at 8 PM on Thanksgiving Eve, staring at a half-baked pumpkin pie that had cracked right down the middle. The oven had been running at 425°F for way too long, and instead of a smooth, custardy delight, I had a cracked mess that looked like a disaster zone. My in-laws were arriving in four hours, and I was panicking. I had already made the bacon-wrapped green bean bundles and the roasted sweet potatoes, but the centerpiece was ruined.
I was ready to order a pie from the grocery store—something I’ve never done in my life. But then I remembered a friend’s recipe she’d swiped from a magazine years ago: a no-bake pumpkin pie that actually tasted better than the baked version. I didn’t believe it. How could a pie without an oven beat the traditional gold standard? But desperation makes you try weird things. I whipped up a graham cracker crust, mixed some pumpkin puree with cream cheese and spices, chilled it for six hours, and served it the next day. My mother-in-law took one bite, paused, and asked, “Did you bake this? It’s so smooth.” I just smiled and said yes.
That was the birth of my obsession with this no-bake fall pumpkin pie. Since then, I’ve made it for every Thanksgiving, Christmas, and even random October weekends. It’s become my secret weapon for holiday desserts because it’s foolproof, incredibly creamy, and doesn’t require you to stand over a hot oven while your house already smells like roasted garlic and sage. Plus, the silky whipped cream topping? It’s the kind of luxurious finish that makes people ask for the recipe before they’ve even finished their slice.
If you’re tired of cracked pies, dry crusts, or last-minute grocery store runs, this is your answer. It’s easy, it’s elegant, and it tastes like autumn in a bowl. Let me show you how to make it.
Why You’ll Love This No-Bake Fall Pumpkin Pie
There are about ten reasons I keep making this pie, but here are the big ones that keep me coming back to the recipe box.
Zero Oven Required — Seriously, this is the best part. Your kitchen stays cool, your energy stays high, and you can focus on the loaded potato and bacon soup or whatever savory stuff you’re making instead of worrying about one more dish in the oven. It’s a game-changer for holiday hosting.
Lightning Fast Prep — You only need about 15 minutes of active time. The rest is just chilling in the fridge. I make this pie the night before a party, and it’s ready to go when guests arrive. No standing around, no watching the clock, no stress.
Smooooth Texture — Because it’s not baked, the filling stays incredibly creamy. Baked pumpkin pie can sometimes get grainy or rubbery if you overcook it. This version is like a pumpkin cheesecake meets a classic pumpkin pie. It melts in your mouth.
Make-Ahead Magic — This pie actually gets better after sitting in the fridge for 24 hours. The flavors meld together, and the crust softens just enough to be perfect. I love knowing that one less thing is on my to-do list day-of.
Customizable Toppings — While I swear by the silky whipped cream, you can get fancy with caramel sauce, candied pecans, or even a drizzle of bourbon. It’s a blank canvas for your dessert dreams.
This is my go-to when I need a dessert that looks impressive but doesn’t require me to be a professional baker. No complicated techniques, no weird ingredients, just reliable, delicious food that makes everyone happy.
Ingredients You’ll Need
Here’s the best part: you probably have most of this already in your pantry or fridge. I’m particular about a few things here, and I’ll tell you exactly why.
For the Crust:
Graham Cracker Crumbs (1 ½ cups / 150g) — I use the plain graham cracker crumbs, not the sweetened kind. You want the crust to be sturdy, not overly sweet. If you can’t find crumbs, just pulse whole graham crackers in a food processor until they’re fine.
Unsalted Butter (6 tablespoons / 85g) — Melted. I use unsalted so I can control the saltiness. If you’re out, salted works, just skip the pinch of salt in the recipe. Don’t use margarine—it won’t bind the crust properly.
Granulated Sugar (2 tablespoons / 25g) — Just a little bit to sweeten the crust. You don’t want it to be a cookie crust, just a crunchy base.
Pinch of Salt — Enhances the flavor of the graham crackers. Don’t skip it.
For the Filling:
Full-Fat Cream Cheese (8 ounces / 225g) — This is the secret to the creamy texture. Let it sit out at room temperature for 30 minutes before you start. If it’s cold and blocky, your filling will be lumpy. I’ve learned this the hard way. Soft cream cheese blends like a dream.
Pumpkin Puree (15 ounces / 425g) — One can. Make sure it’s pure pumpkin puree, not pumpkin pie filling. The filling has sugar and spices already, which will mess up the balance. Look for the 100% pure pumpkin stuff in the can aisle.
Heavy Cream (1 cup / 240ml) — Full-fat only. This adds richness and helps set the filling. Low-fat cream won’t give you the same luxurious mouthfeel.
Confectioners’ Sugar (½ cup / 60g) — Sifted. I sift mine to avoid any lumps in the smooth filling. It dissolves faster too.
Vanilla Extract (1 teaspoon / 5ml) — Pure vanilla, not imitation. It makes a huge difference in flavor depth.
Pumpkin Pie Spice (2 teaspoons) — Or make your own: 1 tsp cinnamon, ½ tsp ginger, ¼ tsp nutmeg, ¼ tsp cloves. I keep a jar of pre-mixed spice on hand for convenience.
For the Silky Whipped Cream:
Heavy Whipping Cream (1 cup / 240ml) — Cold. Very cold. This is crucial for whipping.
Confectioners’ Sugar (2 tablespoons / 20g) — For sweetness.
Vanilla Extract (½ teaspoon / 2.5ml) — For flavor.
Optional Add-ins:
Candied Pecans — Adds crunch and sweetness. I toast them lightly before candying for extra flavor.
Butterscotch Chips — Melts into the whipped cream for a butterscotch swirl. My kids love this version.
Mini Marshmallows — For a s’mores twist. Yes, really. It’s surprisingly good.
Equipment Needed
You don’t need fancy equipment for this. Here’s what I actually use.
9-Inch Pie Dish — Glass or ceramic works best. I use a glass dish because I can see the bottom crust browning slightly if I press it in tight. Metal pans work too, but glass is easier to handle.
Mixer — A hand mixer or stand mixer is helpful for the filling and whipped cream. I’ve tried doing it by hand, and it takes forever. Don’t torture yourself—use a mixer.
Food Processor — For the crust. If you don’t have one, use a zip-top bag and a rolling pin. It’s messy but effective.
Spatula — A rubber spatula is essential for folding the whipped cream into the pumpkin mixture without deflating it.
Measuring Cups and Spoons — Standard stuff. Dollar store versions work fine.
Sifter — For the confectioners’ sugar. Or just use a fine-mesh strainer. Lumps in a no-bake pie are unacceptable.
Chilling Space — You need room in your fridge for the pie to set. If your fridge is packed, make this pie a day or two before you need it.
How to Make It: Step-by-Step
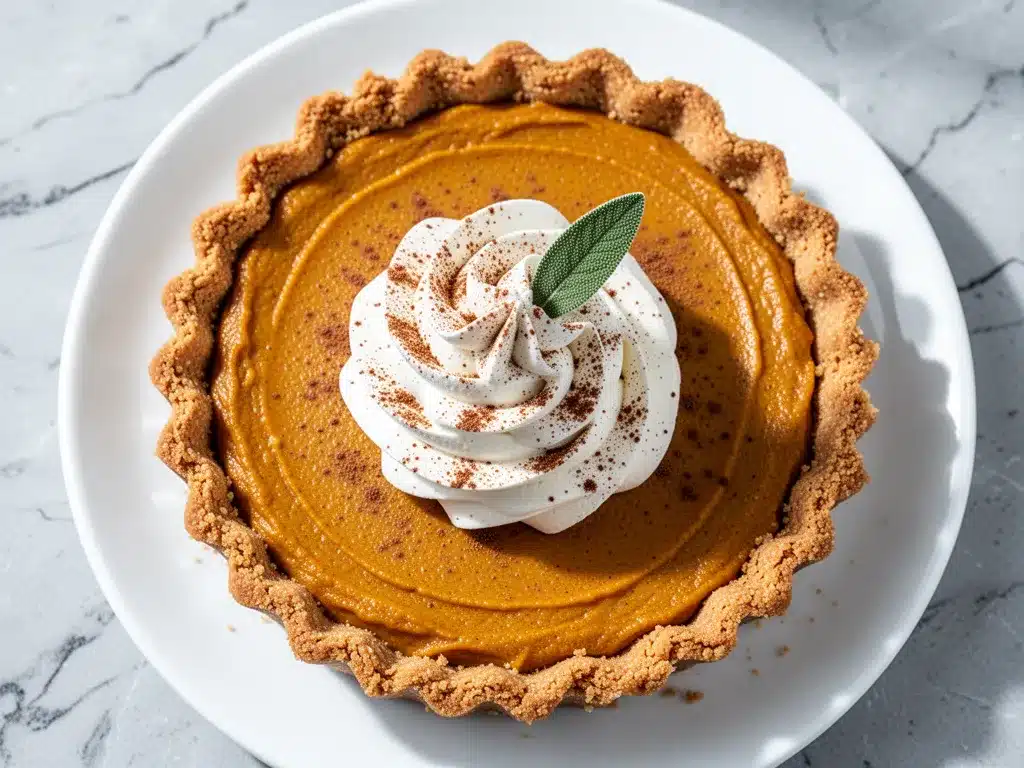
Alright, let’s make this! I’m walking you through exactly how I do it, including the little tricks I’ve picked up.
Step 1: Make the Crust (5 minutes)
Preheat your oven to 350°F (175°C). In a medium bowl, mix the graham cracker crumbs, melted butter, sugar, and salt until it looks like wet sand. Press this mixture firmly into the bottom and up the sides of your 9-inch pie dish. Use the bottom of a measuring cup to pack it down tight. Bake for 8-10 minutes until it smells fragrant. Let it cool completely. This step is crucial—if you put the filling on a warm crust, it’ll get soggy.
Step 2: Prepare the Cream Cheese (2 minutes)
In a large mixing bowl, beat the softened cream cheese until it’s smooth and creamy. No lumps allowed. If you see any lumps, keep beating. This takes about 2-3 minutes with a mixer. Scrape down the sides of the bowl to ensure everything is incorporated.
Step 3: Add the Pumpkin and Spices (3 minutes)
Add the pumpkin puree, confectioners’ sugar, vanilla extract, and pumpkin pie spice to the cream cheese. Beat on low speed until just combined. Be careful not to overmix once the sugar is in, or you might get a gritty texture. The mixture should be smooth and orange.
Step 4: Whip the Cream (5 minutes)
In a separate cold bowl, whip the heavy cream, confectioners’ sugar, and vanilla until stiff peaks form. This means when you lift the beaters, the cream stands up straight. Don’t over-whip it into butter, but don’t under-whip it either. You want it fluffy and stable.
Step 5: Fold It Together (3 minutes)
Here’s the magic step. Gently fold one-third of the whipped cream into the pumpkin mixture to lighten it up. Then, gently fold in the remaining whipped cream. Use a spatula and cut down the middle, scrape the bottom, and fold over. Do this gently to keep the air in the cream. The mixture should be light, airy, and smooth.
Step 6: Fill and Chill (6 hours minimum)
Pour the filling into the cooled crust. Smooth the top with a spatula. Cover loosely with plastic wrap and refrigerate for at least 6 hours, or overnight. This is where the pie sets and the flavors meld. I usually make it the night before, so it’s ready by morning.
Step 7: Top and Serve (5 minutes)
Just before serving, whip up a fresh batch of silky whipped cream (or use the extra from Step 4 if you saved some). Dollop it on top of the pie. Sprinkle with candied pecans or a dusting of cinnamon. Slice with a sharp knife dipped in hot water for clean cuts.
Total Time: About 20 minutes active, plus 6 hours chilling.
Expert Tips & Tricks
Here’s everything I’ve learned from making this dozens of times. These tips will save you from my mistakes.
Room Temperature Cream Cheese
This is the #1 tip. If your cream cheese is cold, it will create lumps in your filling that you can’t fix. Let it sit on the counter for 30 minutes before you start. If you forget, microwave it in 10-second bursts, stirring in between, until it’s soft but not melted.
Cold Cream for Whipping
Make sure your heavy cream and mixing bowl are cold. If your kitchen is warm, put the bowl in the fridge for 10 minutes before whipping. Cold cream whips faster and holds its shape better. I keep a chilled bowl in the fridge just for this.
Don’t Overmix
Once you add the whipped cream, fold gently. Overmixing deflates the air and makes the pie dense. You want it light and fluffy, like a mousse. Take your time with this step.
Chill Thoroughly
Don’t rush the chilling process. If you cut into it too soon, it’ll be soupy. 6 hours is the minimum, but overnight is best. The pie sets as it sits, so patience pays off.
Sharp Knife for Slicing
Dip your knife in hot water and wipe it dry between cuts. This gives you clean, professional-looking slices. It’s a small trick that makes a big difference in presentation.
Variations & Substitutions
Once you’ve nailed the basic version, here’s how you can mix it up. I’ve tried all of these.
Butterscotch Swirl
Melt ½ cup butterscotch chips and drizzle them over the whipped cream before serving. Or fold them into the whipped cream for a marbled effect. My husband’s favorite.
Maple Bourbon
Add 1 tablespoon of bourbon and 1 tablespoon of maple syrup to the pumpkin mixture. It gives it a sophisticated, adult twist. Great for holiday parties.
Mini Meringue Topping
Instead of whipped cream, top with toasted meringue peaks. It’s lighter and less sweet. I do this when I want a lighter dessert.
Gluten-Free
Use gluten-free graham crackers for the crust. Everything else is naturally gluten-free. I’ve used Gluten Free Everything graham crackers, and they work great.
Dairy-Free
Use coconut cream instead of heavy cream and dairy-free cream cheese. It’s different but still tasty. My lactose-intolerant friend requests this version.
Chocolate Pumpkin
Add ¼ cup cocoa powder to the pumpkin mixture. It’s like a pumpkin chocolate mousse pie. Surprisingly delicious.
Serving & Storage
How to Serve:
I usually serve this straight from the fridge at the dinner table. It looks rustic and stays cold. But here are other ways I’ve enjoyed it:
Side Dishes:
– Apple cinnamon baked oatmeal cups (for a fall-themed breakfast the next day)
– A simple green salad with balsamic vinaigrette to cut the richness
– Toasted pecans or walnuts for crunch
Storage Instructions:
Refrigerator:
Store in an airtight container or covered with plastic wrap for up to 5 days. The crust will soften slightly, but the filling stays creamy.
Freezing:
This doesn’t freeze well because the whipped cream and cream cheese can separate and become grainy when thawed. Make it fresh or store in the fridge for up to 5 days.
Meal Prep:
Make the crust and filling separately. Store the filling in a bowl and the crust in a container. Assemble just before serving for the best texture.
Nutrition Information
I’m not a nutritionist, but here’s the breakdown if you’re tracking.
Per Serving (based on 8 servings):
- Calories: 380
- Protein: 6g
- Carbs: 32g
- Fiber: 2g
- Sugar: 24g
- Fat: 24g
- Saturated Fat: 14g
- Cholesterol: 65mg
- Sodium: 220mg
- Calcium: 80mg
What’s Good:
– Decent protein from cream cheese
– Calcium from the dairy
– Pumpkin adds some vitamin A
– More filling than it looks because of the whipped cream
What to Know:
– Higher in calories from cream and cheese
– Contains dairy and gluten
– Moderate sodium (use low-sodium graham crackers to reduce if needed)
My Take:
Look, this is dessert with cream cheese and whipped cream. It’s not a diet recipe. But it’s way better than store-bought, costs less, and I know exactly what’s in it. When I want to make it lighter, I use light cream cheese and less sugar. But usually? I just eat a reasonable portion and enjoy it.
Final Thoughts
So that’s my go-to no-bake fall pumpkin pie! I’ve probably talked your ear off at this point, but when you make a recipe this often, you have a lot to say about it.
This has saved holiday dinners more times than I can count. It’s my answer to “what’s for dessert” when I’m tired, don’t want to bake, and still want something that tastes really good. My kids are happy, my in-laws are happy, and I’m happy because I’m not stressed about cooking.
Make it yours! Try different toppings, swap in your favorite spices, or add a swirl of caramel. The best recipes are the ones you adapt to your family’s tastes.
If you make this, drop a comment and let me know what you think! I love hearing how recipes turn out in your kitchen. And if something doesn’t work, tell me that too—I’m here to help troubleshoot.
Happy cooking! And I hope your kitchen smells half as good as mine does right now.
Frequently Asked Questions
Can I use pumpkin pie filling instead of pure pumpkin?
You can, but the flavor will be very sweet and the texture might be off. If you must, reduce the sugar in the recipe by half. But honestly, pure pumpkin puree tastes so much better and gives you more control over the sweetness. Buy the 100% pure stuff.
Why did my whipped cream collapse?
Usually means you over-whipped it or the cream wasn’t cold enough. Make sure your bowl and beaters are cold, and stop whipping as soon as you see stiff peaks. If it’s already collapsed, you can try re-whipping it with a little fresh cold cream, but it’s tricky.
Can I make this ahead for a dinner party?
Absolutely! This pie is actually better made a day in advance. The flavors meld, and the crust sets perfectly. I make it 24 hours before the party. Just keep it covered in the fridge until serving time.
Why did my pie turn out watery?
This usually happens if the cream cheese wasn’t fully softened, or if you overmixed the whipped cream into the pumpkin. Make sure the cream cheese is smooth before adding pumpkin, and fold gently to keep the air in the cream. Also, chill it for at least 6 hours.
Can I use a store-bought crust?
You can, but the homemade graham cracker crust is so much better. It’s crunchy and fresh. If you’re in a rush, a store-bought crust works, but it might be a bit soft. I’d still recommend making the crust if you have 5 minutes.
How do I store leftovers?
Store in an airtight container in the fridge for up to 5 days. The crust will soften, but the filling stays creamy. Reheat? No, eat it cold. This pie is meant to be served chilled.
Can I freeze this pie?
Honestly, no. The cream cheese and whipped cream don’t freeze well. They separate and become grainy when thawed. Make it fresh or store in the fridge for up to 5 days. I wish it froze better, but it just doesn’t work.
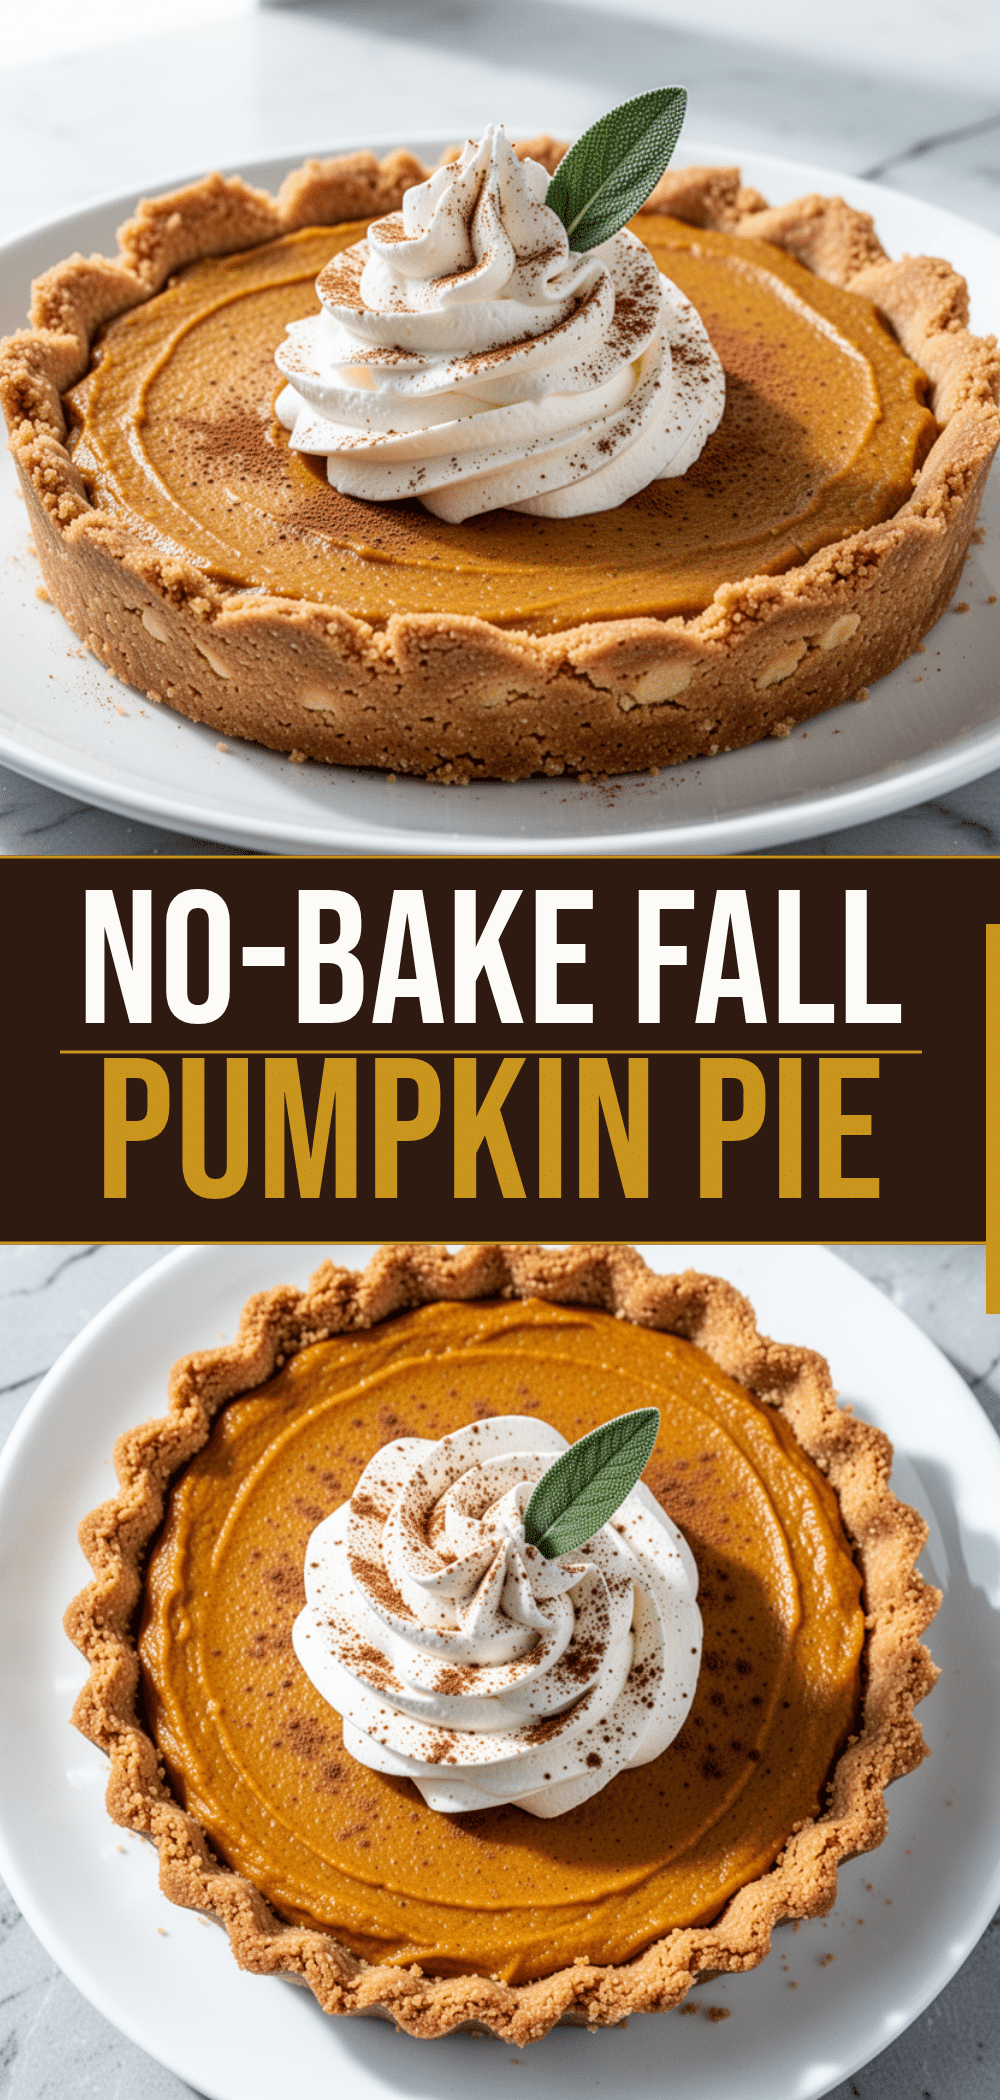
Pin This Recipe!
No-Bake Fall Pumpkin Pie: Best Easy Holiday Dessert
- Total Time: 6 hours 30 minutes
- Yield: 8 servings 1x
Description
A foolproof, creamy no-bake pumpkin pie with a graham cracker crust and silky whipped cream topping. It requires zero oven time, making it perfect for holiday hosting and make-ahead preparation.
Ingredients
- 1 ½ cups graham cracker crumbs
- 6 tablespoons unsalted butter, melted
- 2 tablespoons granulated sugar
- Pinch of salt
- 8 ounces full-fat cream cheese, softened to room temperature
- 15 ounces pure pumpkin puree
- 1 cup heavy cream, cold
- ½ cup confectioners’ sugar, sifted
- 1 teaspoon vanilla extract
- 2 teaspoons pumpkin pie spice
- 1 cup heavy whipping cream, cold (for topping)
- 2 tablespoons confectioners’ sugar (for topping)
- ½ teaspoon vanilla extract (for topping)
Instructions
- Preheat oven to 350°F (175°C). In a medium bowl, mix graham cracker crumbs, melted butter, sugar, and salt until resembling wet sand.
- Press the crust mixture firmly into the bottom and up the sides of a 9-inch pie dish. Bake for 8-10 minutes until fragrant. Let cool completely.
- In a large mixing bowl, beat the softened cream cheese until smooth and creamy, about 2-3 minutes.
- Add pumpkin puree, ½ cup confectioners’ sugar, vanilla extract, and pumpkin pie spice to the cream cheese. Beat on low speed until just combined and smooth.
- In a separate cold bowl, whip 1 cup heavy cream, 2 tablespoons confectioners’ sugar, and ½ teaspoon vanilla until stiff peaks form.
- Gently fold one-third of the whipped cream into the pumpkin mixture to lighten it. Then, gently fold in the remaining whipped cream until combined.
- Pour the filling into the cooled crust and smooth the top. Cover loosely with plastic wrap and refrigerate for at least 6 hours or overnight.
- Before serving, whip fresh cream if desired and dollop on top. Garnish with candied pecans or cinnamon. Slice with a hot knife for clean cuts.
Notes
Ensure cream cheese is at room temperature to avoid lumps. Keep heavy cream and bowls cold for best whipping results. Do not freeze this pie as the texture will become grainy. For a gluten-free version, use gluten-free graham crackers.
- Prep Time: 20 minutes
- Cook Time: 10 minutes
- Category: Dessert
- Cuisine: American
Nutrition
- Serving Size: 1 slice
- Calories: 380
- Sugar: 24
- Sodium: 220
- Fat: 24
- Saturated Fat: 14
- Carbohydrates: 32
- Fiber: 2
- Protein: 6
Keywords: no-bake pumpkin pie, fall dessert, holiday dessert, easy pumpkin pie, make-ahead dessert, graham cracker crust, creamy pumpkin pie



