Last weekend, the temperature finally dropped below 50 degrees. You know that specific kind of cold where the air feels sharp in your lungs and the sun seems to give up by 5:30 PM. I came home from a long day at work, threw my bag on the couch, and realized I had absolutely zero energy for a “real” dinner, let alone dessert. The usual go-to cookie recipes felt like too much effort, and I was too tired to bake anything that required creaming butter or whipping egg whites.
So, I did what any exhausted adult does: I raided the pantry and the fridge. I found a cup of leftover white rice (from that one-pot ground beef and rice skillet I made for lunch), a bottle of maple syrup, and a jar of cinnamon I’d been meaning to use. I tossed them into a saucepan with some milk and butter, turned the heat to low, and just… waited.
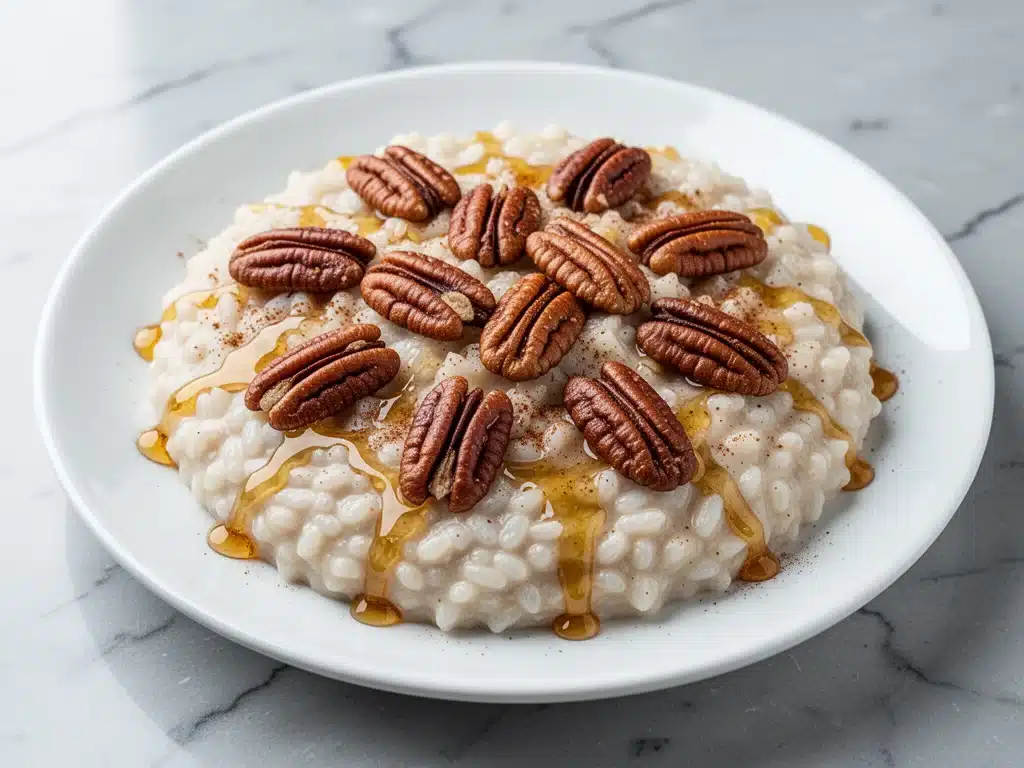
Twenty minutes later, my kitchen smelled like a bakery in October. It smelled like comfort. It smelled like my grandmother’s house, but lighter, simpler, and entirely my own invention. That accidental afternoon snack turned into the most requested dessert at our house for the rest of the fall. This fall maple cinnamon rice pudding isn’t just a way to use up leftovers; it’s the ultimate cozy hug in a bowl.
I’ve tested this recipe a dozen times since that rainy Saturday. I’ve tweaked the maple-to-cinnamon ratio (too much maple can make it cloying, too much cinnamon makes it taste like a pie filling). I’ve tried different types of rice (long-grain is best, trust me). And I’ve perfected the texture—creamy, not gluey, with just enough chew to keep it interesting. If you’re looking for a dessert that feels indulgent but is actually simple enough for a weeknight, this is it. It’s sweet, it’s spiced, and it’s ridiculously easy to make.
Why You’ll Love This Recipe
There are about ten reasons I keep making this fall maple cinnamon rice pudding, but let’s be real: you probably have three main needs right now. You want something easy. You want it to taste like a treat. And you want to spend less time standing over the stove than you do actually eating it. This recipe checks every single box.
- It’s a Leftover Lifesaver — Seriously, if you have leftover rice in the fridge, this recipe is basically free dessert. I’ve used white rice, brown rice, and even day-old risotto (though white works best). It transforms “staple food” into something special. It’s my go-to for using up the rice from our overnight cinnamon roll french toast bake prep or just random weeknight dinners.
- Stovetop Simplicity — No oven required. This is huge for fall when you don’t want to heat up the house. You just need one medium saucepan and a wooden spoon. If you can stir, you can make this. I’ve made it while helping my kids with homework. It’s low-stress cooking at its finest.
- Real Maple Flavor — I’m picky about this. I use pure maple syrup, not pancake syrup. The difference is night and day. The maple gives it a deep, woody sweetness that pairs perfectly with the warm cinnamon. It tastes sophisticated, but it’s just sugar, milk, and rice.
- Texture Perfection — Rice pudding can easily turn into a gluey mess if you’re not careful. I’ve learned the trick: low and slow heat, and constant stirring. The result is creamy but with distinct grains of rice that provide a nice chew. It’s not mushy. It’s luxurious.
- Customizable Comfort — Want it richer? Add an egg yolk at the end. Want it lighter? Use half-and-half. Want more spice? Add a pinch of nutmeg. This base recipe is forgiving. I make it for my picky eaters (just cinnamon) and for my friends who want fancy (caramelized apples on top).
This is my answer to “what’s for dessert?” when I want something sweet but don’t want to bake a whole cake. It’s quick, it’s cheap, and it smells amazing while it cooks. It’s the kind of dessert that makes you feel like you cared, even though you barely lifted a finger.
Ingredients You’ll Need
Here’s the best part: you probably have most of this already. This isn’t a recipe that requires a special trip to the store. It’s pantry-friendly, fridge-clearing goodness. I’m particular about three ingredients here, and I’ll tell you exactly why.
For the Base
Leftover white rice (2 cups cooked / about 400g) — This is the star. Long-grain white rice works best because it stays distinct. Short-grain or sticky rice will turn into a paste. If you’re using fresh rice, cook it with a little less water than usual so it’s not too soft. I usually measure out exactly two cups because that’s the perfect amount for a family of four.
Whole milk (2 cups / 480ml) — I use whole milk for the creamiest texture. Skim milk will make this taste watery. If you want it extra rich, you can swap half the milk for heavy cream, but whole milk is the sweet spot for flavor and mouthfeel. I buy the gallon jug because I use it for everything, from this to our loaded baked potato soup.
Butter (2 tablespoons / 30g) — Unsalted butter is best so you can control the salt. It adds that rich, velvety finish. Don’t skip it. The fat helps carry the cinnamon flavor and makes the pudding feel indulgent.
For the Sweetness and Spice
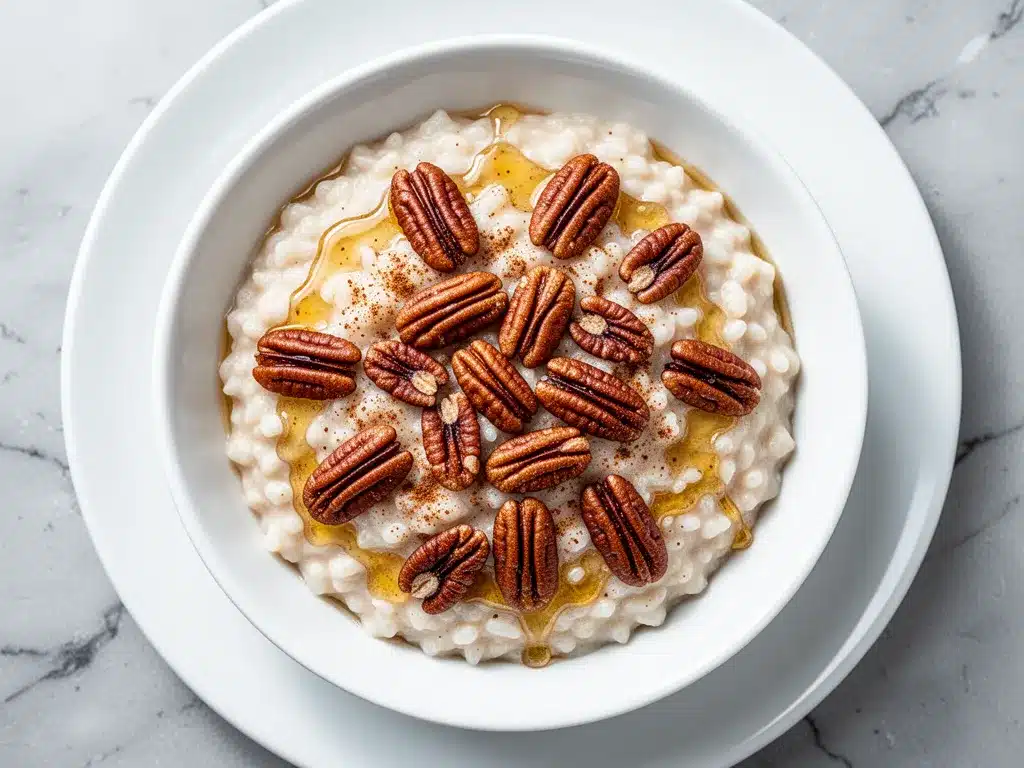
Pure maple syrup (1/3 cup / 80ml) — This is non-negotiable. I use grade A dark amber maple syrup. It has a stronger flavor than light syrup. If you use pancake syrup (which is mostly corn syrup), it will taste artificial. I keep a bottle in the fridge year-round, not just for pancakes. It’s worth the extra few dollars for the real thing.
Ground cinnamon (1 ½ teaspoons) — This is the warm, cozy heart of the recipe. Use a fresh jar if you can. If your cinnamon has been sitting in the back of the cabinet for two years, it’s probably lost its punch. Fresh cinnamon smells like autumn. It’s essential.
Salt (½ teaspoon) — Yes, salt in dessert. It’s crucial. Salt enhances the sweetness and balances the richness of the milk and butter. Without it, the pudding tastes flat. I use kosher salt, but table salt works too—just use a little less.
Optional Add-ins for Extra Coziness
Raisins or dried cranberries (¼ cup) — I add these for a chewy, fruity contrast. They plump up as they cook in the milk. My kids love this version. If you’re not a fan of dried fruit, skip it.
Vanilla extract (1 teaspoon) — A splash of vanilla at the end brightens everything up. It doesn’t make it taste like vanilla pudding; it just makes the maple flavor pop. I add it right before serving.
Pinch of nutmeg — If you’re feeling fancy, add a tiny pinch. It adds a subtle warmth that pairs beautifully with cinnamon. Don’t overdo it, though—you want cinnamon to be the star.
Apple or Pear (1 medium, diced) — For a fruitier version, sauté diced apples or pears in butter before adding the rice and milk. It’s like a deconstructed apple pie. I do this when I have apples that are getting too soft.
Equipment Needed
You don’t need fancy equipment for this. Here’s what I actually use.
Medium saucepan (3-quart) — I use a heavy-bottomed saucepan. The weight helps distribute heat evenly so the milk doesn’t scorch on the bottom. A thin pan might work, but you’ll need to stir more constantly to prevent sticking. My old stainless steel pan is perfect for this.
Wooden spoon — For stirring. Silicone works too, but I prefer wood for this because it doesn’t scratch my pan. You’ll be stirring for about 20 minutes, so get a comfortable spoon. I keep a specific stirring spoon in my drawer just for puddings.
Measuring cups and spoons — Pretty standard stuff. I use the metal measuring spoons for spices and the plastic cups for liquids. Dollar store versions work fine.
Spatula — Optional, but helpful for scraping the sides of the pan. I use a silicone spatula to get every last bit of creamy goodness off the sides.
Serving bowls — I like to serve this in wide, shallow bowls because it looks nice with the steam rising. But any bowl works. I even eat it straight from the saucepan if I’m being lazy (don’t tell my kids).
Optional: Immersion blender — If you want a super smooth, custard-like texture, you can blend half of the pudding before serving. I don’t usually do this because I like the texture of the rice, but it’s a cool trick if you want a different mouthfeel.
How to Make It: Step-by-Step
Alright, let’s make this! I’m walking you through exactly how I do it, including the little tricks I’ve picked up over the years.
Step 1: Prep Your Ingredients (2 minutes)
Before you start cooking, measure out your rice, milk, maple syrup, and cinnamon. I know it seems fussy, but it makes the actual cooking way less stressful. Once you start cooking, things move fast. Grate your nutmeg if you’re using fresh nutmeg. Set everything within arm’s reach of the stove.
Step 2: Combine and Heat (5 minutes)
Combine the leftover rice, milk, butter, and salt in your medium saucepan. Turn the heat to medium-low. I like medium-low because it gives the milk time to heat through without boiling over. Stir gently to distribute the rice. You want the milk to come up to a gentle simmer, not a rolling boil. Watch it closely in the first few minutes.
Step 3: Add the Flavor (2 minutes)
Once the mixture is hot and the butter is melted, add the maple syrup and cinnamon. Stir well to combine. The syrup will make the milk slightly sweeter and the cinnamon will start to release its aroma. You should smell that cozy, spicy scent right now. If you’re adding dried fruit or vanilla, add it now.
Step 4: Simmer and Stir (15-20 minutes)
Reduce the heat to low. This is the most important step. Let the pudding simmer gently for 15-20 minutes, stirring every 2-3 minutes. The rice will absorb the milk and swell up. The mixture will thicken as the starch from the rice releases into the liquid. Don’t walk away. Stirring is key to preventing lumps and scorching. You’ll know it’s done when the mixture coats the back of a spoon and leaves a trail when you run your finger through it.
Step 5: Check Consistency (1 minute)
After 15 minutes, check the texture. If it’s too thick, add a splash more milk. If it’s too thin, let it simmer for another 5 minutes. Remember, it will thicken more as it cools. I prefer it slightly looser in the pan because it firms up in the bowl.
Step 6: Serve (2 minutes)
Remove from heat. Taste and adjust sweetness if needed. If you want it sweeter, add a teaspoon more maple syrup. If you want more spice, add a pinch of cinnamon. Serve warm. I like to top it with a dollop of whipped cream or a sprinkle of extra cinnamon. It’s delicious hot, but it’s also great cold the next day.
Total Time: About 25 minutes (5 minutes prep, 20 minutes cooking)
Built-in Troubleshooting:
- Scorched bottom? Heat was too high. Next time, use medium-low and stir more often. If it’s already scorched, don’t try to salvage it—it’ll taste burnt. Start over.
- Too thick? Add milk a tablespoon at a time. Stir well and heat through.
- Too thin? Let it simmer longer. The rice needs time to absorb the liquid. If you’re in a rush, you can add a teaspoon of cornstarch mixed with cold water, but it’s better to just wait.
Expert Tips & Tricks
Here’s everything I’ve learned from making this dozens of times. These tips will save you from my mistakes.
The Rice Matters
Use long-grain white rice. Short-grain rice (like sushi rice) will turn into a sticky, mushy paste. Long-grain rice stays distinct and provides a nice chew. If you only have brown rice, you can use it, but it will take longer to cook (add 10-15 minutes) and the texture will be nuttier and chewier. I stick to white rice for that classic creamy texture.
Low and Slow is Key
Do not rush this. High heat will cause the milk to boil over and the rice to burn. Low heat allows the rice to absorb the milk slowly, resulting in a creamy, cohesive pudding. I set a timer for 15 minutes and set my phone nearby so I don’t wander off.
Stir Frequently
This isn’t a “set it and forget it” recipe. You need to stir every few minutes. This prevents the rice from sticking to the bottom and ensures even cooking. It’s meditative, honestly. I like to stir while I listen to a podcast or chat with my family.
The Maple Syrup Choice
Use pure maple syrup. Pancake syrup is mostly corn syrup and artificial flavor. It will make this pudding taste artificial and overly sweet. Pure maple syrup has a complex flavor that enhances the cinnamon. I buy mine in bulk to save money.
Customize the Spice
Cinnamon is classic, but you can get creative. Try adding a pinch of nutmeg, allspice, or cardamom. I love a little ginger for a spicy kick. Experiment with different spice blends to find your favorite. I keep a “pumpkin pie spice” blend on hand for easy variations.
Serving Temperature
This pudding is great warm, but it’s also delicious cold. I like to make it ahead and serve it chilled, topped with fresh fruit or nuts. The flavors meld together overnight, making it even more flavorful. It’s a great make-ahead dessert for parties.
Variations & Substitutions
Once you’ve nailed the basic version, here’s how you can mix it up. I’ve tried all of these.
Fruit-Forward Versions
Apple Cinnamon: Sauté diced apples in butter before adding the rice and milk. It’s like a deconstructed apple pie. Add a pinch of nutmeg. This is my favorite fall variation.
Pear Ginger: Use diced pears instead of apples. Add a teaspoon of ground ginger. It’s sophisticated and light.
Berry Swirl: Stir in fresh or frozen berries at the end. The heat will wilt them slightly and create a beautiful swirl. Strawberries or raspberries work best.
Texture Add-ins
Crunchy Topping: Top with toasted pecans, walnuts, or almond slivers. It adds a nice crunch that contrasts with the creamy pudding. I toast them in a dry pan for 2 minutes before adding.
Chocolate Chip: Stir in semi-sweet chocolate chips at the end. It’s like a rice pudding cookie. My kids love this version.
Coconut: Substitute half the milk with coconut milk. Add a pinch of cardamom. It’s dairy-free and tropical.
Dietary Modifications
Dairy-Free: Use oat milk or almond milk instead of dairy milk. Use coconut oil instead of butter. The texture will be slightly different but still delicious.
Gluten-Free: This recipe is naturally gluten-free. Just ensure your maple syrup and cinnamon are certified gluten-free if you have celiac disease.
Lower Sugar: Reduce the maple syrup to ¼ cup. Add a sugar-free vanilla extract. It’s still sweet from the fruit if you add apples or pears.
Protein Boost
Protein Powder: Stir in a scoop of vanilla protein powder at the end. It will thicken the pudding, so add extra milk. It’s a great post-workout dessert.
Greek Yogurt: Stir in a dollop of Greek yogurt when serving. It adds protein and tanginess. I like this with apple cinnamon pudding.
Serving & Storage
How to Serve:
I usually serve this straight from the saucepan at the dinner table—it looks rustic and stays warm. But here are other ways I’ve enjoyed it:
- With Whipped Cream: A dollop of homemade whipped cream is classic. I make mine with heavy cream, sugar, and vanilla.
- With Fresh Fruit: Top with sliced bananas, berries, or diced apples. It adds freshness and color.
- With Nuts: Toasted pecans or walnuts add crunch and richness.
- With a Drizzle of Caramel: For a decadent treat, drizzle salted caramel sauce on top. It’s irresistible.
Storage Instructions:
Refrigerator: Store in an airtight container for up to 4 days. The pudding will thicken in the fridge—totally normal. To reheat, add a splash of milk and warm it gently on the stove or in the microwave.
Freezing: This doesn’t freeze well because the rice texture changes. It can become grainy. I recommend making it fresh or storing in the fridge for up to 4 days.
Meal Prep: Make the pudding on Sunday and store in individual containers. It’s a great grab-and-go breakfast or dessert for the week. Just reheat and add toppings.
Nutrition Information
I’m not a nutritionist, but here’s the breakdown if you’re tracking.
Per Serving (based on 4 servings):
- Calories: 280
- Protein: 6g
- Carbs: 45g
- Fiber: 1g
- Sugar: 22g
- Fat: 8g
- Saturated Fat: 5g
- Cholesterol: 25mg
- Sodium: 150mg
What’s Good:
- Decent protein from milk
- Calcium from milk and cheese (if added)
- Can add fruit for vitamins
- More filling than it looks
What to Know:
- Higher in calories from milk and butter
- Contains dairy
- Moderate sugar (use less maple syrup to reduce)
My Take:
Look, this is comfort food with milk and maple syrup. It’s not a diet recipe. But it’s way better than store-bought pudding, costs less, and I know exactly what’s in it. When I want to make it lighter, I use half-and-half and less maple syrup. But usually? I just eat a reasonable portion and enjoy it.
Final Thoughts
So that’s my go-to fall maple cinnamon rice pudding! I’ve probably talked your ear off at this point, but when you make a recipe this often, you have a lot to say about it.
This has saved weeknight desserts more times than I can count. It’s my answer to “what’s for dessert?” when I’m tired, don’t want takeout, and still want something that tastes really good. My kids are happy, my husband’s happy, and I’m happy because I’m not stressed about cooking.
Make it yours! Try different add-ins, swap in your favorite fruits, adjust the spices. The best recipes are the ones you adapt to your family’s tastes. If you make this, drop a comment and let me know what you think! I love hearing how recipes turn out in your kitchen. And if something doesn’t work, tell me that too—I’m here to help troubleshoot.
Happy cooking! And I hope your kitchen smells half as good as mine does right now.
Frequently Asked Questions
Can I use brown rice instead of white rice?
You can, but the texture will be different. Brown rice is chewier and takes longer to cook. You’ll need to simmer it for 25-30 minutes instead of 15-20. The flavor will be nuttier. If you’re in a hurry, stick with white rice. It’s creamier and faster.
Why did my rice pudding turn out watery?
Usually means you didn’t let it simmer long enough. The rice needs time to absorb the milk. Let it simmer for the full 20 minutes, stirring frequently. If it’s still watery, let it sit for a few minutes off the heat—it will thicken as it cools. If it’s still too thin, you can add a teaspoon of cornstarch mixed with cold water.
Can I make this ahead for a dinner party?
Absolutely! This tastes even better the next day as the flavors meld. Make it up to 2 days ahead and store in the fridge. Reheat gently with a splash of milk. It’s a great make-ahead dessert because you can prep it in the morning and just reheat it before serving.
Can I use almond milk instead of dairy milk?
You can, but the texture will be thinner. Almond milk has less fat than dairy milk. You might want to add a little more butter or a splash of cream to compensate. Oat milk is a better substitute because it’s creamier. I’ve used oat milk with great results.
How do I reheat leftovers without it getting dry?
Add a splash of milk or cream to a skillet, add your leftover pudding, and heat gently over low heat, stirring frequently. The extra liquid brings back the creamy texture. Microwave sort of works but tends to dry it out. If you do microwave, definitely add a splash of milk first and heat in short bursts, stirring between.
Can I double this recipe?
Yes! Double everything and use a larger saucepan. The cooking times stay roughly the same, but you might need to stir more often to prevent sticking. I do this when I’m feeding a crowd or meal-prepping for the week.
Pin This Recipe!
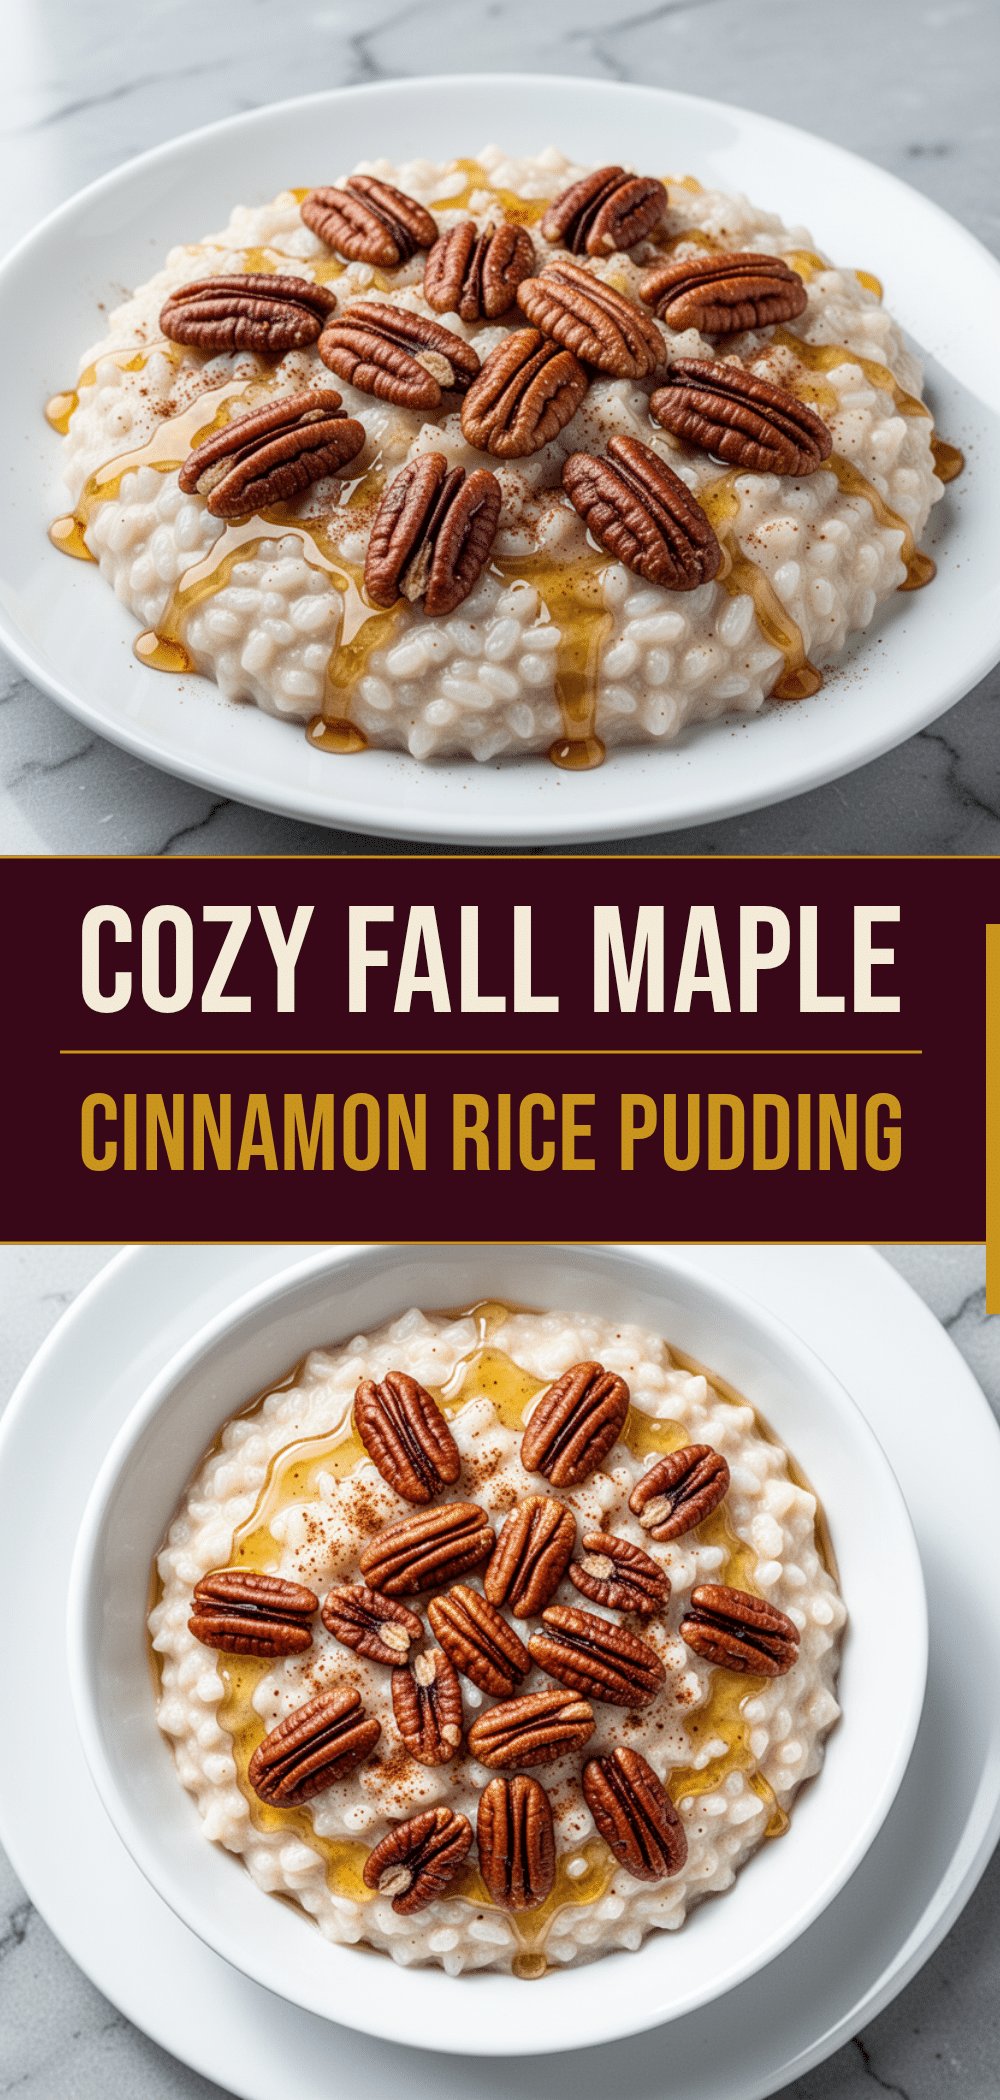

Fall Maple Cinnamon Rice Pudding
- Total Time: 25 minutes
- Yield: 4 servings 1x
Description
A cozy, stovetop dessert made with leftover rice, pure maple syrup, and warm cinnamon. It’s creamy, simple to make, and perfect for using up leftovers.
Ingredients
- 2 cups cooked long-grain white rice
- 2 cups whole milk
- 2 tablespoons unsalted butter
- 1/3 cup pure maple syrup (grade A dark amber)
- 1 1/2 teaspoons ground cinnamon
- 1/2 teaspoon salt
- Optional: 1/4 cup raisins or dried cranberries
- Optional: 1 teaspoon vanilla extract
- Optional: Pinch of nutmeg
- Optional: 1 medium apple or pear, diced
Instructions
- Measure out the rice, milk, maple syrup, and cinnamon. Set everything within arm’s reach of the stove.
- Combine the leftover rice, milk, butter, and salt in a medium heavy-bottomed saucepan.
- Turn the heat to medium-low and stir gently to distribute the rice. Heat until the mixture reaches a gentle simmer.
- Once hot and the butter is melted, add the maple syrup and cinnamon. Stir well to combine. Add optional dried fruit or vanilla now if using.
- Reduce the heat to low. Simmer gently for 15-20 minutes, stirring every 2-3 minutes to prevent scorching and ensure even cooking.
- Check consistency after 15 minutes. If too thick, add a splash of milk. If too thin, simmer for another 5 minutes. The pudding should coat the back of a spoon.
- Remove from heat. Taste and adjust sweetness or spice if needed.
- Serve warm, topped with whipped cream, fresh fruit, nuts, or extra cinnamon. Can also be served cold.
Notes
Use long-grain white rice for the best texture; short-grain rice will become mushy. Use pure maple syrup, not pancake syrup, for authentic flavor. Stir frequently to prevent the milk from scorching. The pudding will thicken as it cools. It can be stored in the refrigerator for up to 4 days.
- Prep Time: 5 minutes
- Cook Time: 20 minutes
- Category: Dessert
- Cuisine: American
Nutrition
- Serving Size: 1 bowl
- Calories: 280
- Sugar: 22
- Sodium: 150
- Fat: 8
- Saturated Fat: 5
- Carbohydrates: 45
- Fiber: 1
- Protein: 6
Keywords: rice pudding, maple syrup, cinnamon, fall dessert, cozy, stovetop, leftover rice, easy dessert, comfort food



