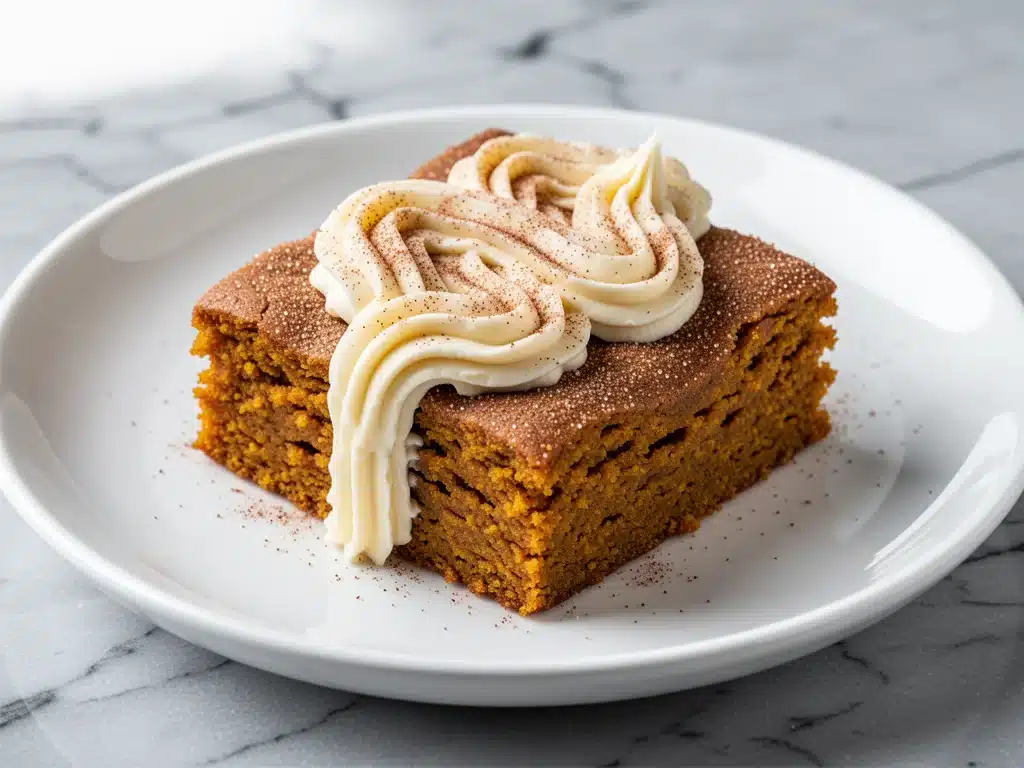
Last Tuesday, I was staring at a leftover can of pumpkin puree and a block of cream cheese, feeling that specific mid-week baking urge that hits when you’re trying to avoid doing actual housework. I knew I didn’t have the energy for a complex pie crust—my arms were tired, my patience was thin, and honestly, I just wanted something sweet that smelled like autumn without requiring a degree in pastry arts. So I threw together a batch of what I thought would be a simple pumpkin cookie bar. I added cinnamon, some brown sugar, and a tangy cream cheese swirl because, well, why not?
Twenty minutes later, the kitchen smelled like a bakery in Brooklyn. I cut a square, let it cool for exactly four minutes (which took an eternity), and took a bite. It was soft, chewy, tangy, and perfectly spiced. I ate one. Then I ate two. Then I had to force myself to walk away from the pan because if I didn’t, I would have eaten the entire thing in one sitting. That was three weeks ago. I’ve made these fall pumpkin snickerdoodle bars at least six times since then. Six. My neighbors have started bringing me their empty baking pans because they know I’m always making more.
There’s something magical about combining the nostalgic, cinnamon-sugar crunch of a snickerdoodle with the moist, spiced richness of pumpkin. It’s the perfect intersection of cozy and indulgent. I’ve tested this recipe with different types of pumpkin, different cream cheese brands, and even tried swapping in maple syrup (spoiler: don’t do that unless you want a soggy mess). After countless tweaks, I’ve landed on the perfect ratio. These bars are tender enough to melt in your mouth but structured enough to hold together in a lunchbox. They’re my go-to for potlucks, holiday gatherings, or just Tuesday nights when you need a hug in dessert form.
If you’ve ever struggled with pumpkin desserts that turn out dry or flat, or if your cream cheese swirls always disappear into the batter, this is the recipe for you. I’m sharing exactly how I make my fall pumpkin snickerdoodle bars, including the secrets to getting that signature crinkly top and that bright, tangy center. It’s easier than you think, and I promise, once you taste them, you’ll be making them on repeat all season long.
Why You’ll Love This Recipe
There are a dozen reasons I keep coming back to these bars, but let’s be real—you don’t need another complicated dessert that requires seven different types of flour and a stand mixer with a planetary attachment. Here’s why this fall pumpkin snickerdoodle bars recipe has earned a permanent spot in my rotation:
- One Bowl Wonder — Seriously, you don’t even need a mixer. I mix the dry ingredients in one bowl and the wet in another, then whisk them together. No creaming butter and sugar for ten minutes. Just simple, straightforward mixing. I’ve made these while holding a toddler and answering work emails. It’s that easy.
- The Snickerdoodle Effect — Most pumpkin bars are just… pumpkin bars. These have that distinct snickerdoodle personality. The edges get slightly crisp and sugary, while the centers stay soft and cake-like. That cinnamon-sugar coating on top? It creates a delicate crust that contrasts beautifully with the soft interior. It’s texture heaven.
- Tangy Cream Cheese Swirl — This is the game-changer. Pumpkin is sweet and earthy, but it can be one-dimensional. The cream cheese layer adds a bright, tangy punch that cuts through the richness. It’s not just a dollop on top; it’s swirled in so every bite has that creamy, cheesecake-like surprise. It’s like getting two desserts in one.
- Perfectly Moist — I’ve seen recipes that turn out dry as a brick. Not these. The combination of pumpkin puree and brown sugar keeps these bars incredibly moist for days. I’ve kept them on the counter for four days, and they were still soft. (They usually don’t last that long, but I’m telling you the truth.)
- Make-Ahead Friendly — These bars actually get better the next day. The flavors meld together, the cinnamon deepens, and the texture becomes even more tender. I make them on Sunday for Wednesday cravings. They travel well in a container, too, making them perfect for office parties or school bake sales.
- Budget-Friendly — You probably already have most of these ingredients. Pumpkin puree is cheap in the fall, cream cheese is pantry-staple cheap, and flour and sugar are basics. This makes a 9×13 pan of bars for under $10. That’s a lot of dessert for the price of a couple of fancy coffees.
This is my answer to “what dessert can I make that feels fancy but doesn’t take all day?” It’s reliable, delicious, and always gets compliments. My husband says they’re better than anything you’d buy at a bakery, and honestly, I believe him.
Ingredients You’ll Need
Here’s the best part: you likely have 80% of these ingredients in your kitchen already. This isn’t a recipe that requires a special trip to a specialty store. I’m particular about a few things, though, so pay attention to the details.
For the Pumpkin Bar Base
All-purpose flour (2 ½ cups / 315g) — The foundation. Don’t try to swap this for almond flour unless you want a completely different texture. Cake flour makes them too delicate; all-purpose gives that perfect tender crumb.
Baking soda (1 teaspoon) — Essential for lift. Pumpkin is dense, so you need the baking soda to help the bars rise and get that nice dome. Don’t use baking powder instead; it won’t work the same way.
Ground cinnamon (2 teaspoons) — Use fresh cinnamon if you can. Old, dusty cinnamon from the back of your cabinet will make these taste flat. If it doesn’t smell strong when you open it, toss it.
Ground ginger (½ teaspoon) — This adds warmth without overpowering. It’s the secret ingredient that makes it taste like fall. If you’re allergic, skip it, but you’ll miss that depth.
Nutmeg (¼ teaspoon) — Just a pinch. Too much nutmeg makes it taste medicinal. I measure this with my left hand because I’m paranoid about overdoing it.
Salt (½ teaspoon) — Enhances all the flavors. Don’t skip it, even if you’re watching sodium. It makes the cinnamon and pumpkin pop.
Unsalted butter (½ cup / 115g, softened) — This needs to be room temperature. Cold butter won’t cream properly with the sugar, and you’ll end up with dense, greasy bars. I take it out of the fridge 30 minutes before I start.
Brown sugar (1 cup / 200g, packed) — This is non-negotiable. White sugar makes them crisp; brown sugar makes them chewy and moist. Dark brown sugar is even better for that deeper molasses flavor.
Granulated sugar (½ cup / 100g) — Balances the sweetness of the brown sugar and helps with the crinkly top.
Large egg (1 room temperature) — Acts as the binder. Room temperature eggs incorporate better into the batter. If you’re in a rush, place the egg in a bowl of warm water for 5 minutes.
Pure vanilla extract (1 teaspoon) — Real vanilla, please. I use McCormick or Nielsen-Massey. Vanilla bean paste is amazing if you want visible specks, but regular extract works fine.
Pumpkin puree (1 cup / 240g) — Use canned pure pumpkin, not pumpkin pie filling. Pie filling has sugar and spices already added, which will mess up the balance. Look for Libby’s or a store-brand 100% pure pumpkin.
For the Cream Cheese Swirl
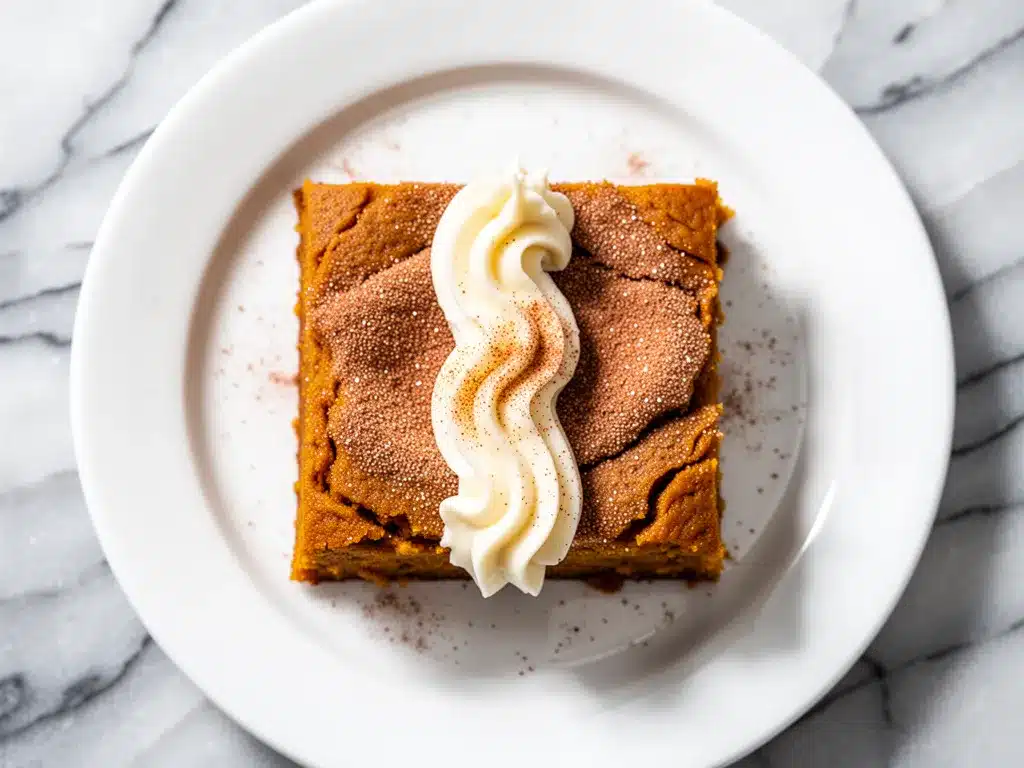
Full-fat cream cheese (4 oz / 115g, softened) — This needs to be very soft. If it’s lumpy, it won’t swirl nicely. I microwave it for 10 seconds if I’m impatient, but be careful not to melt it.
Powdered sugar (2 tablespoons) — Sweetens the cream cheese slightly and helps it blend smoothly.
Vanilla extract (¼ teaspoon) — Just a hint to tie it to the pumpkin flavor.
For the Cinnamon Sugar Topping
Granulated sugar (2 tablespoons) — Mix with the cinnamon.
Ground cinnamon (1 teaspoon) — This is what creates that classic snickerdoodle crust on top.
Butter, melted (1 tablespoon) — Brushed on top before adding the cinnamon sugar to help it stick.
Equipment Needed
You don’t need fancy gadgets for this. Here’s what I actually use:
9×13-inch baking pan — Glass or metal works. I prefer glass because it browns the bottom evenly. Grease it well with butter or cooking spray.
Medium mixing bowls — Two bowls are ideal (one for dry, one for wet). A large bowl works if you’re careful.
Whisk — For the dry ingredients and the cream cheese mixture. A fork works in a pinch, but a whisk is faster.
Fork or small spatula — For swirling the cream cheese. I use a butter knife for a thicker swirl, or a skewer for thin lines.
Parchment paper — Highly recommended. It makes removing the bars clean and easy. Just line the pan with an overhang on the sides.
How to Make It: Step-by-Step
Alright, let’s make these fall pumpkin snickerdoodle bars! I’m walking you through exactly how I do it, including the little tricks I’ve picked up over the years.
Step 1: Prep Your Pan and Oven (5 minutes)
Preheat your oven to 350°F (175°C). Line your 9×13-inch baking pan with parchment paper, leaving a slight overhang on the long sides. This is crucial for removing the bars later without them sticking. Grease the parchment lightly with butter or non-stick spray.
Step 2: Mix the Dry Ingredients (2 minutes)
In a medium bowl, whisk together the flour, baking soda, cinnamon, ginger, nutmeg, and salt. Whisking aerates the flour and distributes the leavening agent evenly. This prevents dry spots of baking soda in your finished bars. Set aside.
Step 3: Cream the Butter and Sugars (3 minutes)
In a large bowl, beat the softened butter, brown sugar, and granulated sugar together. You can use a hand mixer or a sturdy spoon. Beat until the mixture is light, fluffy, and pale in color. This usually takes about 2-3 minutes. This step incorporates air, which helps the bars rise. If you rush this, your bars will be dense.
Step 4: Add Wet Ingredients (1 minute)
Beat in the egg and vanilla extract until fully combined. Then, add the pumpkin puree. Mix on low speed just until incorporated. Do not overmix here. The batter will look slightly curdled—that’s normal. It will come together when you add the dry ingredients.
Step 5: Combine Wet and Dry (2 minutes)
Gradually add the dry ingredients to the wet ingredients. Mix on low speed or use a spatula until just combined. The batter will be thick and sticky. This is correct. If it seems too dry, add a teaspoon of milk, but it shouldn’t be needed.
Step 6: Spread the Batter (2 minutes)
Spread the batter evenly into your prepared pan. Use a wet spatula or your fingers (greased with butter) to smooth the top. The batter is sticky, so wetting your tools helps it spread smoothly.
Step 7: Make the Cream Cheese Swirl (2 minutes)
In a small bowl, mix the softened cream cheese, powdered sugar, and vanilla until smooth and creamy. Dollop spoonfuls of this mixture evenly over the pumpkin batter. Use a knife, skewer, or toothpick to gently swirl the cream cheese into the batter. Don’t over-swirl; you want visible ribbons, not a uniform mixture.
Step 8: Add Cinnamon Sugar Topping (1 minute)
Melt the 1 tablespoon of butter. Brush it lightly over the top of the swirls. Sprinkle the cinnamon-sugar mixture evenly over the top. This will create that signature snickerdoodle crust as it bakes.
Step 9: Bake (25-30 minutes)
Bake in the preheated oven for 25-30 minutes. The bars are done when the edges are golden brown and the center is just set. It should spring back lightly when touched. A toothpick inserted into the center should come out with moist crumbs, not wet batter. If you see wet batter, give it 2-3 more minutes.
Step 10: Cool and Slice (30 minutes)
Let the bars cool in the pan for at least 20 minutes before slicing. They are fragile when hot. Once cooled, use the parchment overhang to lift them out of the pan. Slice into squares. Dust with extra powdered sugar if you want to be fancy (I usually do).
Expert Tips & Tricks
Here’s everything I’ve learned from making these dozens of times. These tips will save you from my mistakes.
- Room Temperature Ingredients Matter — Softened butter and cream cheese are non-negotiable. If your butter is cold, it won’t cream with the sugar. If your cream cheese is cold, it won’t swirl. Take everything out of the fridge an hour before you start.
- Don’t Overmix the Batter — Once you add the flour, mix until just combined. Overmixing develops gluten, which makes the bars tough instead of tender. A few small lumps are okay.
- The Swirl Technique — Don’t just dollop and ignore. Use a knife to cut through the batter and swirl up and down a few times. Too many swirls will blend the cream cheese into the pumpkin. You want distinct pockets of tanginess.
- Cool Completely Before Cutting — I know it’s hard. But cutting hot bars will make them crumble. Let them cool in the pan. If you can’t wait, chill them in the fridge for 15 minutes to firm up.
- Storage is Key — Store in an airtight container at room temperature for up to 4 days. They stay moist longer than most bars. If you live in a humid climate, keep them in the fridge.
Variations & Substitutions
Once you’ve nailed the basic version, here’s how you can mix it up. I’ve tried all of these.
- Gluten-Free — Use a 1-to-1 gluten-free flour blend. The texture will be slightly more delicate, but it works well. I’ve used Bob’s Red Mill and King Arthur with good results.
- Dairy-Free — Use vegan butter and dairy-free cream cheese blocks (not the tub kind). The texture might be slightly different, but the flavor is still great.
- Spice It Up — Add a pinch of cardamom or allspice for extra warmth. Or add ½ teaspoon of cloves for a deeper fall flavor.
- Chocolate Chip — Fold ½ cup of chocolate chips into the batter before baking. The chocolate and pumpkin are a classic combo.
- Maple Glaze — Instead of cinnamon sugar, drizzle a maple glaze (powdered sugar + maple syrup) over the cooled bars for a different twist.
Serving & Storage
I usually serve these warm with a cup of coffee or tea. They’re perfect for autumn gatherings, but they’re also great for lunchboxes or desk snacks.
Side Dishes: Pair with a glass of cold milk or a latte. They’re rich, so you don’t need much else.
Refrigerator: Store in an airtight container for up to 4 days. They actually taste better on day 2 as the flavors meld.
Freezing: Yes, you can freeze these! Wrap individual bars in plastic wrap, then place in a freezer bag. Freeze for up to 3 months. Thaw at room temperature. The texture holds up surprisingly well.
Pro Tip: If you’re making them ahead for a party, bake them the day before. They’ll be easier to slice and the flavors will be fully developed.
Nutrition Information
I’m not a nutritionist, but here’s the breakdown if you’re tracking. Each bar (makes 12) contains approximately:
- Calories: 280
- Fat: 12g
- Carbs: 42g
- Sugar: 28g
- Protein: 3g
It’s a treat, so enjoy it in moderation. But honestly, it’s better than store-bought cake, and you know exactly what’s in it.
Final Thoughts
So that’s my go-to fall pumpkin snickerdoodle bars recipe! I’ve probably talked your ear off at this point, but when you make a recipe this often, you have a lot to say about it. These bars have saved me more times than I can count. They’re my answer to “what dessert can I make that feels special but doesn’t take all day?”
Make it yours! Try different spices, add nuts, or swap the cream cheese for a lemon glaze. The best recipes are the ones you adapt to your family’s tastes. If you make this, drop a comment and let me know what you think! I love hearing how recipes turn out in your kitchen.
Happy baking! And I hope your kitchen smells half as good as mine does right now.
Frequently Asked Questions
Can I use pumpkin pie filling instead of pure pumpkin?
No. Pumpkin pie filling has sugar and spices already added, which will throw off the sweetness and flavor balance of these bars. You need 100% pure pumpkin puree. If you accidentally use pie filling, you’ll need to reduce the sugar significantly, but it’s risky. Stick to pure pumpkin.
Why did my bars turn out dry?
Likely overbaking. Pumpkin bars continue to cook in the pan after you take them out of the oven. Pull them when the center is just set but still looks slightly soft. Also, make sure you’re using room temperature ingredients so the batter mixes properly.
Can I make these ahead of time?
Yes! They actually taste better the next day. Bake them, cool completely, and store in an airtight container at room temperature. They’ll stay fresh for up to 4 days.
How do I get a clean swirl?
Make sure your cream cheese mixture is smooth and not too thick. If it’s too stiff, it won’t swirl nicely. Add a teaspoon of milk if needed. Also, don’t swirl too much—just a few gentle passes with a knife are enough.
Can I freeze these bars?
Yes. Wrap individual bars tightly in plastic wrap, then place in a freezer-safe bag. Freeze for up to 3 months. Thaw at room temperature for best texture.
What if I don’t have a 9×13 pan?
You can use an 8×8 pan, but the bars will be thicker and may take 5-10 minutes longer to bake. Check them at 25 minutes. The baking time will vary based on pan size.
Can I add nuts?
Absolutely. Fold ½ cup of chopped pecans or walnuts into the batter before baking. They add a nice crunch and pair beautifully with the pumpkin and cinnamon.
Pin This Recipe!
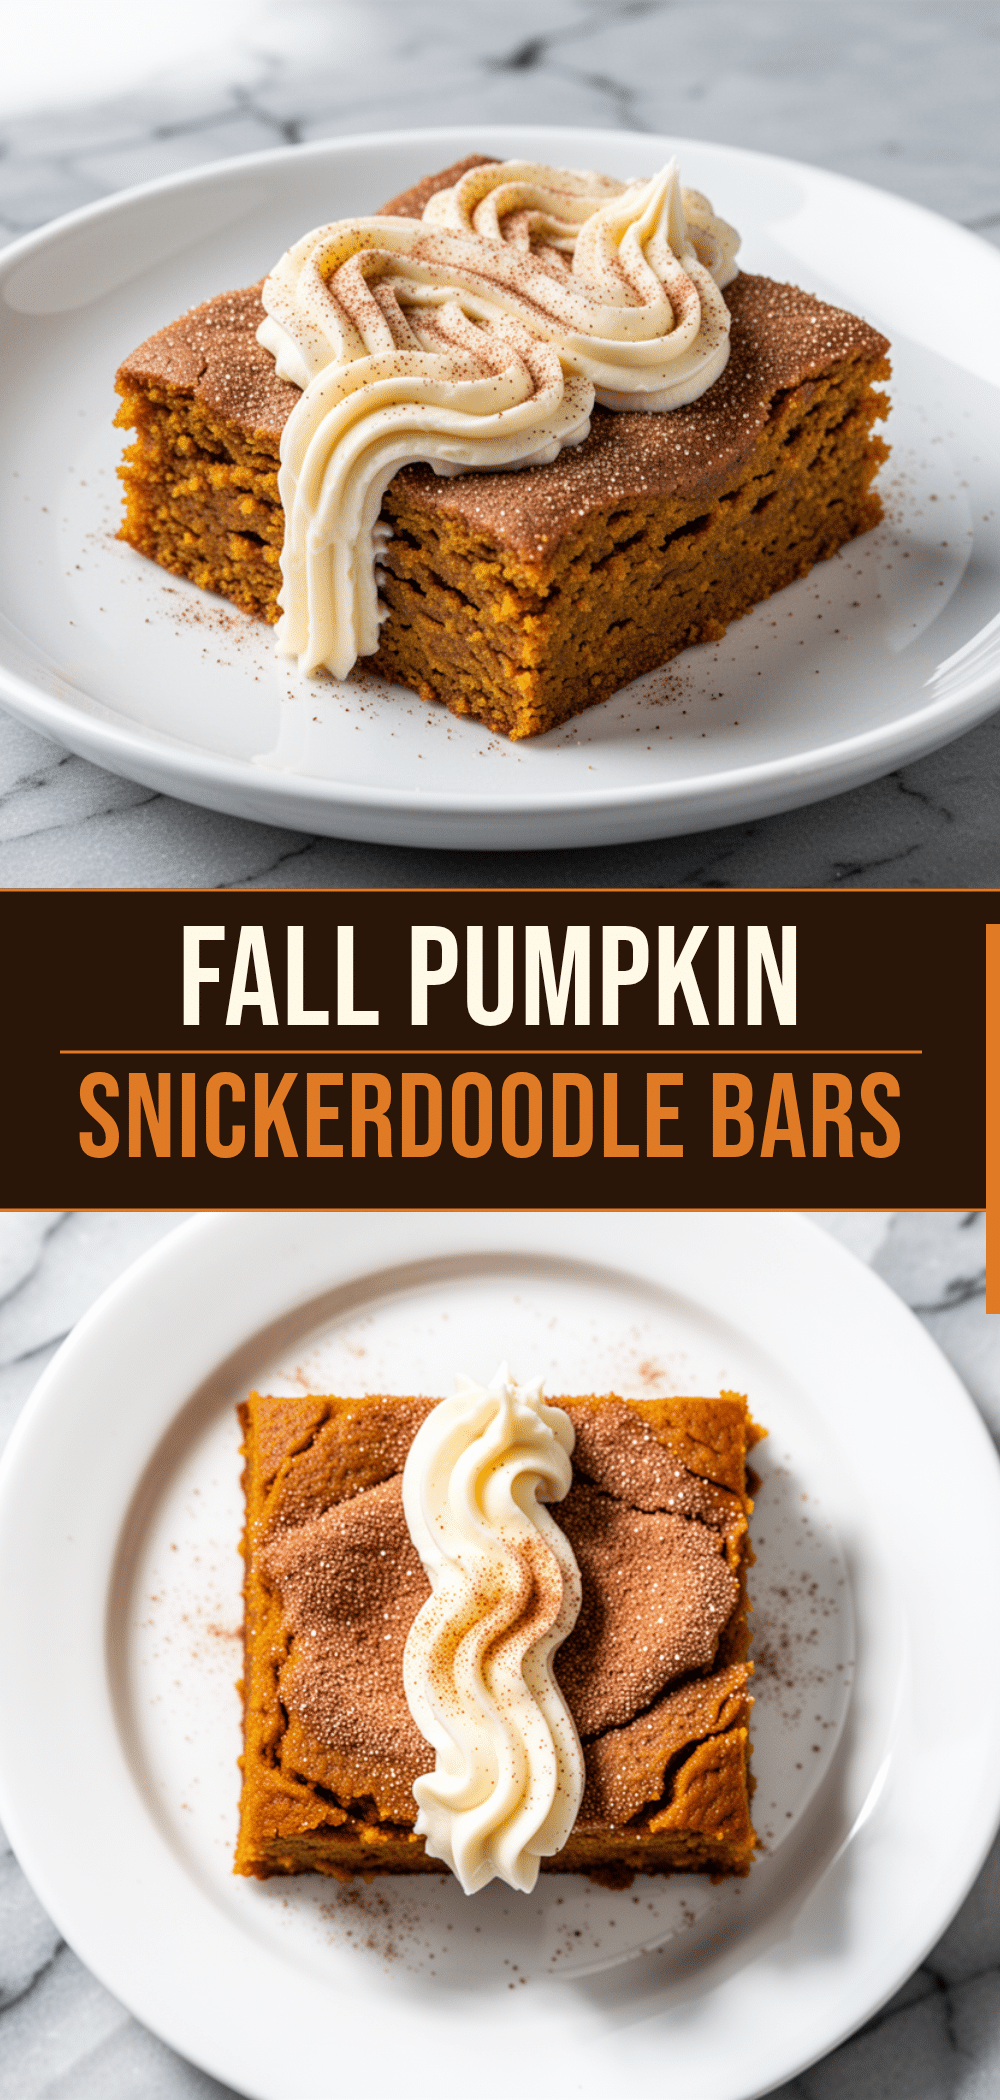
Fall Pumpkin Snickerdoodle Bars
- Total Time: 45 minutes
- Yield: 12 servings 1x
Description
Soft, chewy pumpkin bars with a tangy cream cheese swirl and a signature cinnamon-sugar crust. This easy one-bowl recipe delivers the nostalgic flavor of snickerdoodles with the moist richness of pumpkin.
Ingredients
- 2 ½ cups all-purpose flour
- 1 teaspoon baking soda
- 2 teaspoons ground cinnamon
- ½ teaspoon ground ginger
- ¼ teaspoon nutmeg
- ½ teaspoon salt
- ½ cup unsalted butter, softened
- 1 cup packed brown sugar
- ½ cup granulated sugar
- 1 large egg, room temperature
- 1 teaspoon pure vanilla extract
- 1 cup pure pumpkin puree
- 4 oz full-fat cream cheese, softened
- 2 tablespoons powdered sugar
- ¼ teaspoon vanilla extract
- 2 tablespoons granulated sugar (for topping)
- 1 teaspoon ground cinnamon (for topping)
- 1 tablespoon butter, melted (for topping)
Instructions
- Preheat oven to 350°F (175°C). Line a 9×13-inch baking pan with parchment paper, leaving an overhang on the long sides, and grease lightly.
- In a medium bowl, whisk together the flour, baking soda, 2 teaspoons cinnamon, ginger, nutmeg, and salt. Set aside.
- In a large bowl, beat the softened butter, brown sugar, and ½ cup granulated sugar until light, fluffy, and pale in color (about 2-3 minutes).
- Beat in the egg and 1 teaspoon vanilla extract until combined. Add the pumpkin puree and mix on low speed just until incorporated.
- Gradually add the dry ingredients to the wet ingredients and mix until just combined. The batter will be thick and sticky.
- Spread the batter evenly into the prepared pan.
- In a small bowl, mix the softened cream cheese, 2 tablespoons powdered sugar, and ¼ teaspoon vanilla until smooth. Dollop spoonfuls over the pumpkin batter.
- Use a knife or skewer to gently swirl the cream cheese into the batter, creating visible ribbons.
- Melt the 1 tablespoon of butter and brush it lightly over the top. Sprinkle with the mixture of 2 tablespoons granulated sugar and 1 teaspoon cinnamon.
- Bake for 25-30 minutes, or until the edges are golden brown and the center is just set.
- Let the bars cool in the pan for at least 20 minutes before slicing into squares.
Notes
Ensure butter and cream cheese are at room temperature for proper mixing and swirling. Do not overmix the batter to avoid tough bars. Bars can be stored in an airtight container at room temperature for up to 4 days or frozen for up to 3 months.
- Prep Time: 15 minutes
- Cook Time: 30 minutes
- Category: Dessert
- Cuisine: American
Nutrition
- Serving Size: 1 bar
- Calories: 280
- Sugar: 28
- Sodium: 250
- Fat: 12
- Saturated Fat: 7
- Carbohydrates: 42
- Fiber: 1
- Protein: 3
Keywords: pumpkin bars, snickerdoodle bars, fall dessert, cream cheese swirl, pumpkin dessert, easy baking, one bowl dessert



