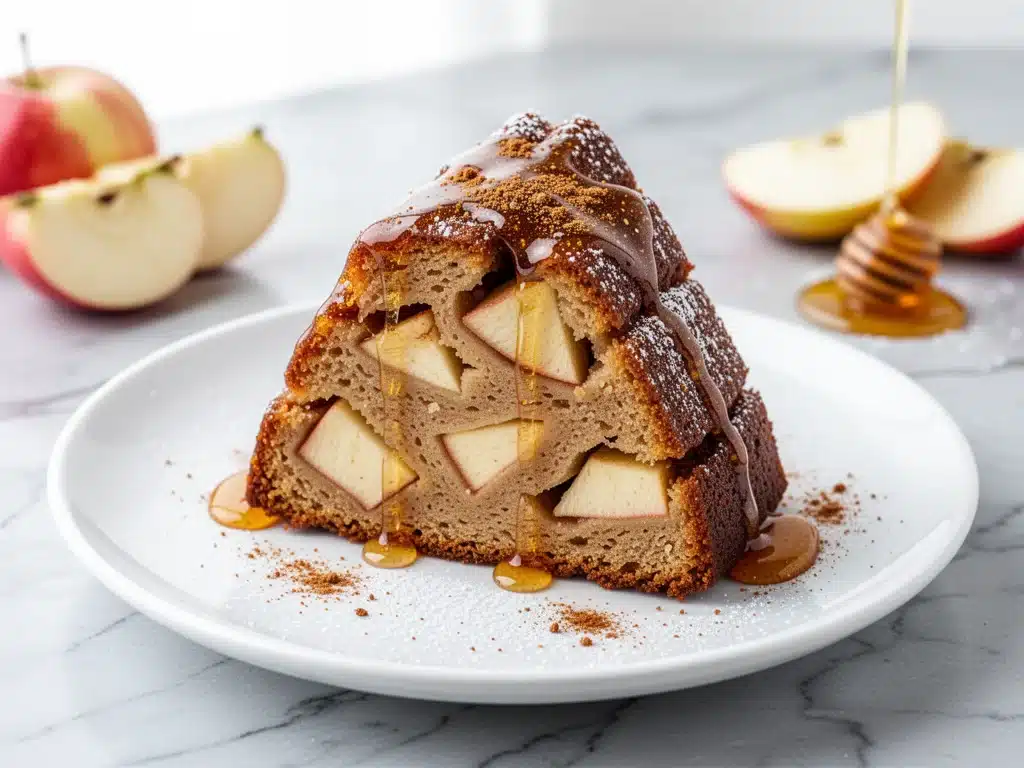
I still remember the first Rosh Hashanah my husband and I hosted together. We were young, excited, and completely overwhelmed by the tradition of symbols—apples dipped in honey for a sweet year, round challah for continuity, pomegranates for righteousness. But the centerpiece, the thing that actually defines the holiday’s flavor profile, is the honey cake. And let me tell you, the store-bought versions I’d tasted at friends’ houses were… let’s just say they were dry, crumbly, and tasted more like cardboard soaked in sugar than the rich, spiced dessert I had in mind.
I wanted something that felt like a hug. Something that was moist enough to melt in your mouth but sturdy enough to hold up to a thick, sticky glaze. I wanted a cake that smelled like cinnamon and autumn the moment it came out of the oven. After three failed attempts (RIP to a very dense brick I made in 2018), I finally cracked the code. This Rosh Hashanah Sweet Apple Honey Cake with Sticky Cinnamon Glaze isn’t just a dessert; it’s the star of the table. It’s tender, deeply spiced, and holds that perfect balance of sweetness and warmth that makes everyone ask for the recipe before they’ve even finished their second slice.
I’ve made this cake for every Rosh Hashanah since, and it’s become the one dish my in-laws specifically request. It’s easier than it looks, uses ingredients you probably already have, and the aroma it fills your house with? Priceless. If you’ve ever been intimidated by holiday baking, this is the recipe to start with. It’s forgiving, it’s delicious, and it’s going to make you look like a pro.
Why You’ll Love This Holiday Honey Cake
There’s a reason this cake has taken over our holiday table. It’s not just about the nostalgia; it’s about how well it actually works in a real kitchen. Here’s why this specific version is the one you’ll keep coming back to:
- Moisture That Actually Lasts — Most honey cakes dry out by day two. Not this one. The grated apple and the honey keep it incredibly moist for up to five days. In fact, my family insists it tastes better the next day when the flavors have had time to meld. I deliberately make extra for lunch the following day.
- No Fancy Equipment Needed — You don’t need a stand mixer. A hand mixer or even a good old-fashioned whisk and elbow grease will do the job. I’ve made this in cramped college dorm kitchens and spacious family homes with the same success. If you can mix batter, you can make this.
- Complex Flavor, Simple Ingredients — It tastes like it took hours to develop those deep, spiced notes, but it’s just a handful of pantry staples. Cinnamon, ginger, cloves, allspice, honey, and apples. That’s it. It’s like having fall apple butter cinnamon donuts in cake form, but with that special holiday significance.
- The Glaze Is Game-Changing — That sticky cinnamon glaze? It’s not just decoration. It soaks into the top crust, creating this incredible texture contrast—crisp on top, soft and tender underneath. It’s the kind of detail that makes guests think you spent all day in the kitchen.
- Make-Ahead Friendly — This is crucial for holiday hosting. You can bake the cake two days ahead, store it covered, and just glaze it right before serving. It saves you so much stress on the big day, letting you actually enjoy the dinner instead of being stuck at the stove.
This cake has saved my sanity during holiday prep. It’s reliable, it’s crowd-pleasing, and it brings that traditional warmth to the table without the headache. Whether you’re hosting a large gathering or just treating yourself to a cozy afternoon tea, this honey cake delivers every single time.
Ingredients You’ll Need
Here’s the thing about honey cake: the quality of your honey matters more than you’d think. Since honey is the main sweetener and flavor driver, don’t skimp on it. I use a nice, mild wildflower or clover honey. Avoid strong buckwheat honey unless you want that robust, molasses-like flavor to dominate—the mild ones let the spices shine. Also, you probably have most of the dry spices already. If not, it’s a quick trip to the store.
For the Cake
Unsalted butter (½ cup / 115g) — Softened to room temperature. This makes creaming it with the honey much easier. If you’re in a rush, microwave it in 5-second bursts, but don’t melt it.
Raw honey (1 cup / 340g) — This is the star. Use a high-quality, liquid honey. If it’s crystallized, gently warm it in a bowl of hot water until it’s pourable. Don’t overheat it.
Large eggs (3 whole, plus 1 yolk) — Room temperature eggs incorporate better into the batter. I always take them out of the fridge 30 minutes before I start baking. The extra yolk adds richness and keeps the crumb tender.
Vanilla extract (2 teaspoons) — Pure vanilla, please. The cheap stuff has a chemical aftertaste that really shows up in light-colored batters like this.
All-purpose flour (2 cups / 250g) — Spoon and level method, don’t scoop straight from the bag or you’ll end up with dense cake. I use Gold Medal flour because it’s consistent.
Baking soda (1 teaspoon) — Essential for that rise. Make sure it’s fresh! If your baking soda is older than six months, replace it. It won’t work if it’s stale.
Baking powder (½ teaspoon) — Just a little boost to ensure it doesn’t flatten out.
Salt (½ teaspoon) — Balances the sweetness. Don’t skip it.
Ground cinnamon (2 teaspoons) — The primary spice. Use a fresh jar if possible.
Ground ginger (1 teaspoon) — Adds that warm, zesty kick.
Ground cloves (¼ teaspoon) — Strong stuff! Don’t add more, or it’ll overpower everything. Just a pinch is enough.
Ground allspice (½ teaspoon) — Adds depth and complexity. It tastes like a mix of cinnamon, nutmeg, and cloves.
Apple (1 medium, about 150g) — I use a Granny Smith for tartness, but a Fuji or Gala works if you prefer sweeter. Peel it and grate it finely. The moisture from the apple is key to the cake’s texture.
For the Sticky Cinnamon Glaze
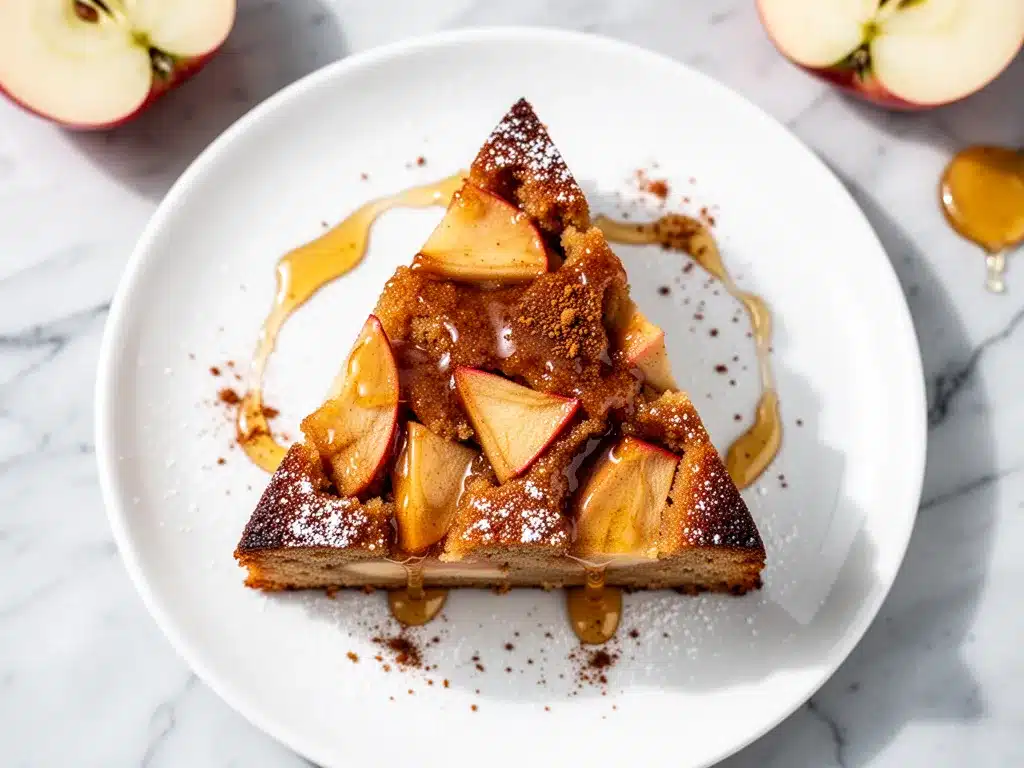
Confectioners’ sugar (1 cup / 120g) — Sifted to remove lumps. Nobody likes gritty glaze.
Unsalted butter (2 tablespoons / 30g) — Melted.
Honey (2 tablespoons / 30g) — To tie the glaze back to the cake flavor.
Ground cinnamon (1 teaspoon) — For that spicy kick in the topping.
Milk or cream (1-2 tablespoons) — Just enough to get the consistency right. Start with 1 tablespoon and add more if needed.
Equipment Needed
You don’t need a fancy kitchen for this. Here’s what I actually use, and what you can swap out if you’re missing something.
9×13 inch baking pan — This is the standard size for honey cakes. Grease it well with butter or non-stick spray. I also line the bottom with parchment paper for easy removal, though it’s not strictly necessary if you grease well.
Large mixing bowl — I use a 5-quart glass bowl. It’s sturdy and easy to see what’s happening.
Hand mixer or whisk — A hand mixer makes the creaming process faster, but a whisk works fine if you’re patient. It takes about 3-4 minutes of whisking to get the butter and honey well combined.
Box grater — For the apple. I use the fine side to get those small shreds that distribute evenly throughout the batter.
Measuring cups and spoons — Standard stuff. Accurate measurements are crucial in baking, especially with spices.
Spatula — A rubber spatula is best for folding in the flour and scraping the bowl.
Small saucepan or microwave-safe bowl — For melting the butter for the glaze.
Whisk (small) — For mixing the glaze until smooth.
Cooling rack — Essential. Never glaze a warm cake; the glaze will just melt into the crumbs.
How to Make It: Step-by-Step
Alright, let’s make this! I’m walking you through exactly how I do it, including the little tricks I’ve picked up over the years. It’s straightforward, but there are a few key moments to watch for.
Step 1: Prep Work (10 minutes)
Preheat your oven to 350°F (175°C). Grease your 9×13 inch baking pan thoroughly. I like to dust it with a little flour after greasing, tapping out the excess, to ensure the cake doesn’t stick. Peel and grate your apple. I keep the grated apple in a small bowl and cover it with a damp paper towel so it doesn’t dry out while I’m mixing the batter.
Step 2: Cream the Butter and Honey (3-4 minutes)
In your large mixing bowl, combine the softened butter and honey. Using a hand mixer on medium speed (or a whisk), beat them together until they are smooth and well combined. It might look a bit separated at first, but keep going. This step is important because it incorporates air into the mixture, which helps the cake rise. Scrape down the sides of the bowl with a spatula.
Step 3: Add Eggs and Vanilla (2 minutes)
Add the three eggs and the extra yolk one at a time, beating well after each addition. Then stir in the vanilla extract. The mixture should look creamy and slightly pale. If it looks curdled, don’t panic—it will come together when you add the dry ingredients. Just keep mixing.
Step 4: Combine Dry Ingredients (1 minute)
In a separate medium bowl, whisk together the flour, baking soda, baking powder, salt, cinnamon, ginger, cloves, and allspice. Whisking them together ensures that the spices are distributed evenly, so you don’t get a bite that’s purely cinnamon or purely flour.
Step 5: Mix Wet and Dry (2-3 minutes)
Reduce your mixer speed to low. Gradually add the dry ingredients to the wet mixture, about half a cup at a time, mixing just until combined after each addition. Do not overmix! Once all the flour is incorporated, stop mixing. Overmixing develops gluten, which makes the cake tough. You want a tender crumb.
Step 6: Fold in the Apple (1 minute)
Using your rubber spatula, gently fold the grated apple into the batter. Fold until just combined. The batter will be thick and sticky. That’s exactly what you want. Spread the batter evenly into your prepared pan. Use the spatula to smooth the top.
Step 7: Bake (35-40 minutes)
Place the pan in the center of the preheated oven. Bake for 35-40 minutes. The cake is done when the top is golden brown, the edges pull away slightly from the pan, and a toothpick inserted into the center comes out clean or with just a few moist crumbs attached. If the top is browning too fast, cover it loosely with aluminum foil for the last 10 minutes.
Step 8: Cool Completely (1 hour)
This is the hardest part. Let the cake cool in the pan for 10 minutes, then transfer it to a wire rack to cool completely. It must be completely cool before you add the glaze, or the glaze will melt right off. I usually make the cake the day before, which also helps the flavors develop.
Step 9: Make the Glaze (5 minutes)
While the cake cools, make the glaze. In a small bowl, whisk together the melted butter and honey. Then add the confectioners’ sugar, cinnamon, and 1 tablespoon of milk. Whisk until smooth. If it’s too thick, add another tablespoon of milk. It should be thick enough to coat the back of a spoon but fluid enough to drizzle.
Step 10: Glaze and Serve
Pour the glaze over the completely cooled cake. Use a spatula to spread it evenly to the edges. The glaze will soak into the top slightly, creating that sticky, sweet crust. Slice into squares and serve. It’s best at room temperature.
Expert Tips & Tricks
Here’s everything I’ve learned from making this dozens of times. These tips will save you from my mistakes.
Don’t Overmix the Batter
I cannot stress this enough. Once you add the flour, mix until it *just* disappears. The cake should be dense but tender, not airy like a sponge. Honey cake is supposed to have a rich, moist crumb. Overmixing makes it tough.
The Apple Matters
Grate the apple finely. If the shreds are too big, they’ll sink to the bottom or create uneven pockets of moisture. Also, squeeze out any *excess* liquid from the grated apple if it seems very watery, but don’t dry it out completely. You want that moisture in the cake.
Room Temperature Ingredients
Take your eggs and butter out of the fridge at least 30 minutes before baking. Cold ingredients don’t emulsify well with honey, and you’ll end up with a lumpy batter. A smooth batter leads to a smooth cake.
Test for Doneness Early
Ovens vary. Start checking at 35 minutes. If the toothpick comes out wet, give it 5 more minutes. If it comes out clean, it’s done. A dry honey cake is sad. A moist honey cake is heaven.
Glaze Consistency
The glaze should be pourable but not runny. If it’s too thin, it’ll drip off the sides. If it’s too thick, it’ll be chunky. Adjust with small amounts of milk until it’s perfect.
Variations & Substitutions
Once you’ve nailed the basic version, here’s how you can mix it up. I’ve tried all of these.
Spice It Up
Add a pinch of nutmeg or cardamom to the dry ingredients. It adds a lovely floral note. I sometimes swap half the cinnamon for cardamom for a more complex flavor.
Add Nuts
Fold in ½ cup of chopped walnuts or pecans with the apple. They add crunch and pair beautifully with the honey. Toast the nuts first for extra flavor.
Gluten-Free Version
Use a 1-to-1 gluten-free flour blend. The texture might be slightly denser, but it still works well. I’ve used Bob’s Red Mill blend with good results.
Dairy-Free Option
Substitute the butter with coconut oil or a dairy-free butter alternative. For the glaze, use dairy-free butter and coconut milk. The flavor will be slightly different but still delicious.
Honey Variations
Try using a different type of honey, like orange blossom or lavender, for a unique twist. Just keep the quantity the same.
Serving & Storage
How to Serve:
I usually serve this straight from the pan, cut into squares. It looks rustic and homemade. It pairs beautifully with a cup of tea or coffee. For a more formal presentation, dust with powdered sugar and garnish with fresh apple slices or cinnamon sticks.
Storage:
Store the cake in an airtight container at room temperature for up to 5 days. It actually gets moister as it sits. If your kitchen is very hot, you might want to refrigerate it, but let it come to room temperature before serving for the best texture.
Freezing:
You can freeze the cake (without glaze) for up to 3 months. Wrap it tightly in plastic wrap and then in aluminum foil. Thaw overnight in the fridge before glazing and serving. The glaze doesn’t freeze well, so always add it fresh.
Nutrition Information
I’m not a nutritionist, but here’s the breakdown if you’re tracking. Keep in mind this is a rich, sweet cake, so portions matter.
Per Serving (based on 12 slices):
- Calories: 280
- Protein: 3g
- Carbs: 42g
- Fiber: 1g
- Sugar: 28g
- Fat: 11g
- Saturated Fat: 6g
- Cholesterol: 55mg
- Sodium: 180mg
Look, this is honey cake. It’s sweet. It’s meant to be enjoyed. But it’s also made with real ingredients, no artificial preservatives, and it’s far better than anything from a box. When I make this, I enjoy a slice with my morning coffee and call it a day. It’s a treat, not a diet food.
Final Thoughts
So that’s my Rosh Hashanah Sweet Apple Honey Cake with Sticky Cinnamon Glaze. It’s my go-to for the holidays, and I hope it becomes yours too. There’s something special about baking this cake—it fills your house with the scent of cinnamon and honey, and it brings everyone together around the table. It’s a tradition I’m proud to share.
If you make this, please let me know how it turns out! I love hearing from readers who’ve tried my recipes. And if you have any questions, drop them in the comments. I’m here to help. Happy baking, and may your new year be sweet!
Frequently Asked Questions
Can I use maple syrup instead of honey?
You can, but the flavor will be different. Maple syrup has a distinct taste that won’t give you that traditional honey cake flavor. If you must use it, use pure maple syrup and expect a different taste profile. Honey is really the best choice for authenticity.
Why did my cake turn out dry?
This usually happens if you overbake it or use too much flour. Make sure you’re spooning and leveling your flour, not scooping it. Also, check your oven temperature with an oven thermometer; ovens can run hot. Remove the cake as soon as the toothpick comes out clean.
Can I make this cake ahead of time?
Yes! This is actually the best way to make it. Bake it 1-2 days ahead, let it cool completely, and store it covered at room temperature. Glaze it the day you plan to serve it. The flavors meld and improve over time.
Is this cake very sweet?
It’s sweet, but not cloyingly so. The spices and the apple balance the honey. If you prefer less sweet, you can reduce the honey in the cake by ¼ cup and reduce the sugar in the glaze by half. But honestly, the sweetness is part of the tradition.
Can I freeze this cake?
Yes, freeze it without the glaze. Wrap it tightly in plastic wrap and foil. It will keep for up to 3 months. Thaw overnight in the fridge and glaze before serving. The glaze should always be made fresh.
Pin This Recipe!
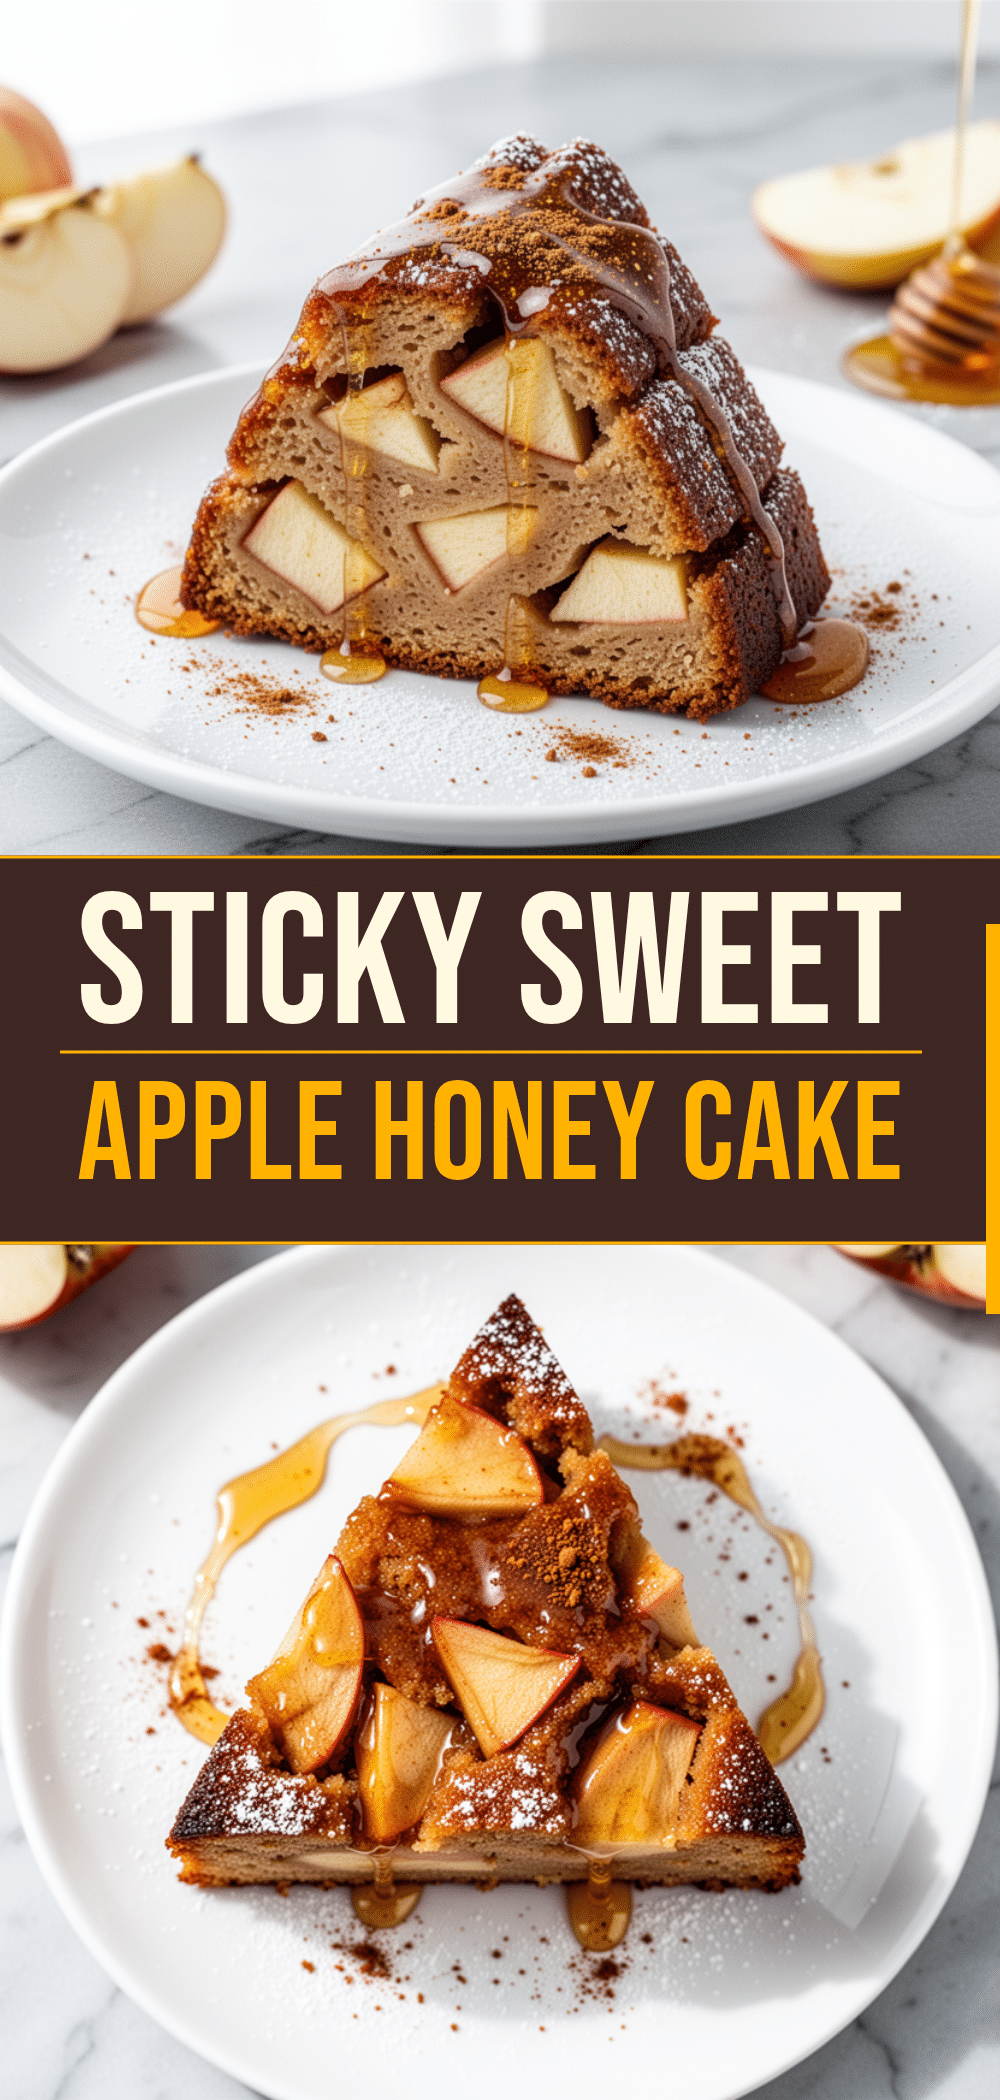
Rosh Hashanah Sweet Apple Honey Cake with Sticky Cinnamon Glaze
- Total Time: 1 hour 45 minutes
- Yield: 12 servings 1x
Description
A moist, deeply spiced honey cake featuring grated apple and a sticky cinnamon glaze. This forgiving holiday dessert is perfect for Rosh Hashanah and improves in flavor over time.
Ingredients
- 1/2 cup (115g) unsalted butter, softened
- 1 cup (340g) raw honey
- 3 large eggs plus 1 yolk, room temperature
- 2 teaspoons pure vanilla extract
- 2 cups (250g) all-purpose flour
- 1 teaspoon baking soda
- 1/2 teaspoon baking powder
- 1/2 teaspoon salt
- 2 teaspoons ground cinnamon
- 1 teaspoon ground ginger
- 1/4 teaspoon ground cloves
- 1/2 teaspoon ground allspice
- 1 medium apple (about 150g), peeled and finely grated
- 1 cup (120g) confectioners’ sugar, sifted
- 2 tablespoons (30g) unsalted butter, melted
- 2 tablespoons (30g) honey
- 1 teaspoon ground cinnamon
- 1–2 tablespoons milk or cream
Instructions
- Preheat oven to 350°F (175°C). Grease a 9×13 inch baking pan and dust with flour.
- In a large mixing bowl, cream the softened butter and honey together until smooth and well combined, about 3-4 minutes.
- Add the eggs and extra yolk one at a time, beating well after each addition. Stir in the vanilla extract.
- In a separate medium bowl, whisk together the flour, baking soda, baking powder, salt, cinnamon, ginger, cloves, and allspice.
- Reduce mixer speed to low. Gradually add the dry ingredients to the wet mixture, mixing just until combined. Do not overmix.
- Gently fold the grated apple into the batter until just combined. Spread the batter evenly into the prepared pan.
- Bake for 35-40 minutes, or until a toothpick inserted into the center comes out clean. If browning too fast, cover with foil.
- Let the cake cool in the pan for 10 minutes, then transfer to a wire rack to cool completely.
- While the cake cools, whisk together the melted butter, honey, confectioners’ sugar, cinnamon, and 1 tablespoon of milk until smooth. Add more milk if needed for consistency.
- Pour the glaze over the completely cooled cake and spread evenly. Slice into squares and serve at room temperature.
Notes
The cake is best made 1-2 days ahead to allow flavors to meld. Store in an airtight container at room temperature for up to 5 days. Can be frozen (without glaze) for up to 3 months. Ensure ingredients are at room temperature for best emulsion. Do not overmix the batter to avoid a tough texture.
- Prep Time: 10 minutes
- Cook Time: 35-40 minutes
- Category: Dessert
- Cuisine: Jewish
Nutrition
- Serving Size: 1 square slice
- Calories: 280
- Sugar: 28
- Sodium: 180
- Fat: 11
- Saturated Fat: 6
- Carbohydrates: 42
- Fiber: 1
- Protein: 3
Keywords: Rosh Hashanah, honey cake, apple cake, holiday baking, Jewish dessert, cinnamon glaze, sweet apple honey cake



