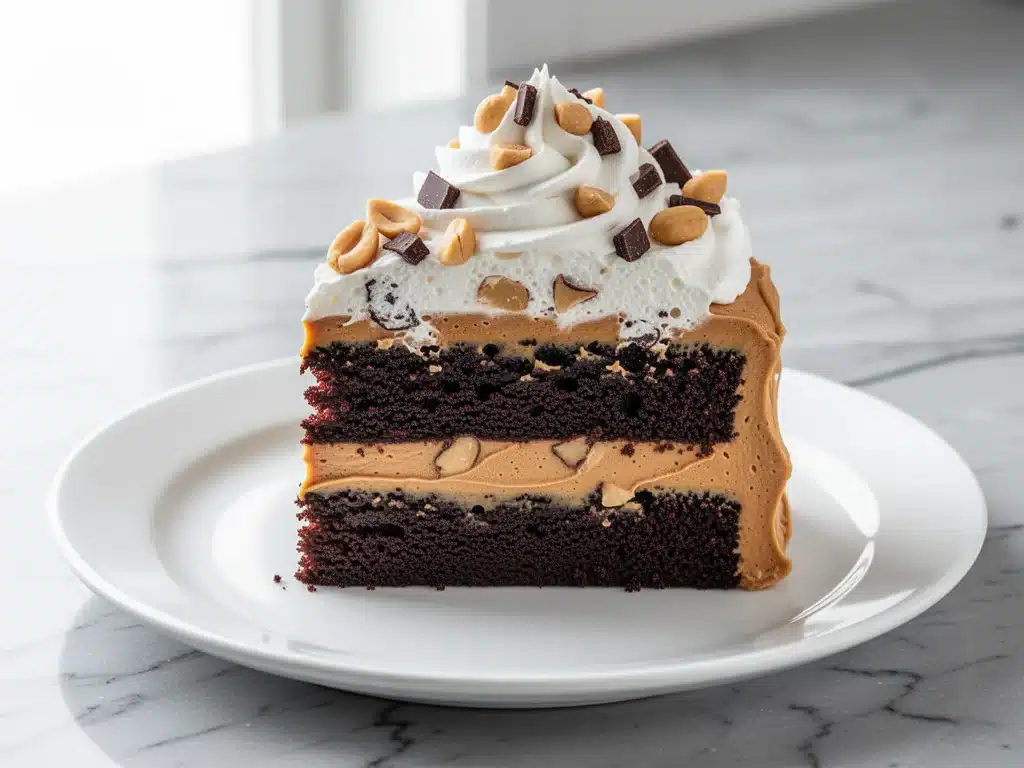
It started as a lazy Sunday accident. I had a bag of chocolate chips melting in the microwave (for brownies, technically) and a jar of peanut butter that had separated so badly it looked like industrial grease. I was tired. I was hungry. And I was done with complicated dessert recipes that required seven different bowls and a degree in chemistry.
So I just threw it all together. I mixed the melted chocolate with the peanut butter, folded in some cocoa powder, and decided to bake it into a cake instead of brownies. I figured it would be a weird, dense mess. Maybe even a fail.
Instead, the smell that came out of the oven was the best thing I’ve ever smelled. It smelled like a candy store exploded in the most beautiful way possible. When I cut the first slice, the center was fudgy, the texture was impossibly moist, and the combination of salty peanut butter and sweet chocolate was exactly what my soul needed. I ate a whole slice before dinner and didn’t even feel guilty. That’s how I discovered that sometimes the best recipes happen when you’re not overthinking it.
This Reese’s Peanut Butter Chocolate Cake has become our go-to dessert. It’s not just a cake; it’s an experience. It’s the dessert you make when you want to impress people but don’t want to spend six hours in the kitchen. I’ve made it at least a dozen times since that lazy Sunday, tweaking it each time until it was perfect. And let me tell you, this fudgy whipped frosting is the real game-changer.
If you’re looking for something that tastes like a high-end bakery treat but is actually easy enough to make on a Tuesday night, this is it. I’ve tested this 15+ times, and I can confidently say this is hands-down the best method for getting that perfect peanut butter-chocolate balance without it tasting like two separate desserts fighting for attention.
Why You’ll Love This Reese’s Peanut Butter Chocolate Cake
There are about ten reasons I keep making this cake, but here are the big ones. This recipe has completely changed our dessert routine because it’s the perfect balance of indulgent and manageable.
It Tastes Like a Candy Bar, But Better — Seriously, the flavor profile is exactly like a Reese’s cup but in cake form. The peanut butter adds a salty richness that cuts through the deep, dark chocolate. It’s not just sweet; it’s complex. I’ve served this to people who say they “don’t like dessert,” and they always go back for seconds. It’s that good.
Stupid Simple One-Bowl Method — I know, I know, one-bowl cakes sound too good to be true. But this one actually works. You don’t need to cream butter and sugar separately, and you don’t need to whip egg whites. You just mix, pour, and bake. I’ve walked my teenage son through it over FaceTime, and he didn’t burn the kitchen down. If you can boil water, you can make this cake.
Lightning Fast — From start to finish, including cooling time, it takes about an hour. The active prep time is maybe 15 minutes. I make this on weeknights when I get home tired and don’t want to order takeout or bake something that requires a stand mixer. It’s fast, reliable, and delicious.
Fudgy Whipped Frosting That’s Actually Light — Most peanut butter frostings are dense, sweet, and heavy. This one is whipped with a little bit of cream and butter, making it fluffy and airy. It adds texture without weighing you down. You can actually eat a whole slice and feel good about it (okay, maybe not, but it’s better than a brick of sugar).
Makes Amazing Leftovers — Actually tastes better the next day. The flavors meld together overnight, making the cake even more moist and the peanut butter flavor more pronounced. I deliberately make extra for breakfast (yes, breakfast) throughout the week. It’s that addictive.
Budget-Smart — You probably have most of these ingredients already. Flour, sugar, cocoa, peanut butter, eggs. It feeds 8-10 people for under $15. That’s less than one meal at a fancy bakery, and it tastes way better.
This is my go-to when I need a dessert to just work. No complicated techniques, no weird ingredients, just reliable, delicious food that makes everyone happy. And if you’re a fan of other easy, crowd-pleasing desserts, you might also enjoy my fall brown butter pear upside-down cake or my football Sunday frosted sugar cookies for when you need something different but equally easy.
Ingredients You’ll Need
Here’s the best part: you probably have most of this already. This isn’t a recipe that requires you to run to three different specialty stores. It’s pantry-friendly, simple, and effective.
For the Cake Base
All-purpose flour (2 cups / 250g) — The standard stuff. No need for cake flour here; we want a dense, fudgy crumb, not a light sponge. I use King Arthur for consistency, but any brand works.
Sugar (1 ½ cups / 300g) — White granulated sugar. Don’t reduce this unless you want a dry cake. The sugar keeps it moist. If you’re worried about sweetness, remember the peanut butter is salty and the cocoa is bitter, so it balances out perfectly.
Cocoa powder (¾ cup / 75g) — Use good quality unsweetened cocoa. I prefer Hershey’s Special Dark for that deep chocolate flavor, but regular unsweetened works too. Do not use Dutch-processed unless you adjust the baking soda, and even then, regular is safer for this recipe.
Baking powder (1 teaspoon) — And baking soda (1 teaspoon). You need both for the right rise and color. Make sure they’re fresh! Old leavening agents are the #1 reason cakes turn out flat.
Salt (1 teaspoon) — Crucial. It enhances the chocolate and balances the peanut butter. Don’t skip it.
Eggs (2 large, room temperature) — Room temp eggs incorporate better into the batter. I take them out of the fridge 15 minutes before I start. Cold eggs can make the batter seize up.
Vegetable oil (½ cup / 120ml) — Oil keeps cakes moister than butter. This is a fudgy cake, not a buttery one. I use a neutral oil so it doesn’t interfere with the chocolate flavor.
Buttermilk (1 cup / 240ml) — This adds tang and tenderness. If you don’t have buttermilk, make your own by adding 1 tablespoon of lemon juice or vinegar to 1 cup of milk and letting it sit for 5 minutes. It’s a lifesaver.
Vanilla extract (1 teaspoon) — Pure vanilla, not imitation. It adds that warm background note that makes chocolate taste like chocolate.
For the Fudgy Whipped Frosting
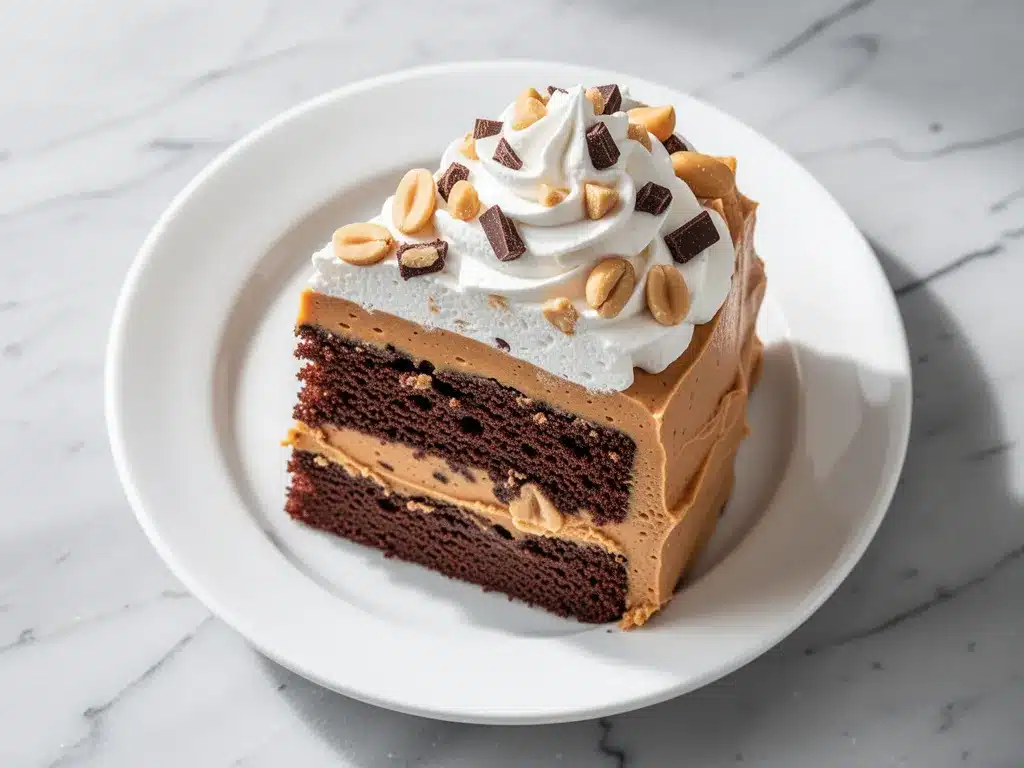
Cream cheese (8 oz / 225g, softened) — Full-fat block cream cheese. Not the spreadable kind in a tub. It has too much water and will make the frosting runny. Let it soften at room temperature for an hour.
Butter (½ cup / 115g, softened) — Unsalted butter. Softened means it should yield to gentle pressure but not be melted. If it’s too warm, the frosting will be greasy.
Powdered sugar (3 cups / 360g) — Sifted. I know it’s annoying, but lumpy powdered sugar ruins the smooth texture. Sift it twice if you have to.
Peanut butter (½ cup / 125g) — Use creamy, natural peanut butter if possible. If your natural PB is very oily, scoop out the oil first. I use Jif or Skippy for consistency because they have stabilizers that help the frosting hold its shape better than 100% nut butter.
Heavy cream (2-3 tablespoons) — Just enough to whip it up and make it light. You can add more if you want it fluffier.
Chocolate chips (½ cup / 85g) — Semi-sweet or milk chocolate. I fold these in at the end for little pockets of melted chocolate in every bite. It’s the Reese’s touch.
Optional but nice: Crushed peanuts for garnish. Adds crunch and looks fancy. I sprinkle them on top right before serving.
Equipment Needed
You don’t need fancy equipment for this. Here’s what I actually use.
Two 8-inch round cake pans — Grease and flour them, or line with parchment paper. I line mine with parchment because it guarantees easy removal. If you only have one 9×13 pan, you can bake it as a sheet cake, but adjust the baking time (it’ll take longer).
Large mixing bowl — A 5-quart bowl is perfect. I use a glass one so I can see how the batter is mixing.
Whisk or electric mixer — A whisk works fine for the dry ingredients, but an electric mixer makes the frosting so much easier. I use a hand mixer for this. You don’t need a stand mixer unless you want to save your arm.
Spatula — A rubber spatula is essential for scraping the bowl and folding in the chocolate chips. Don’t use a spoon; you’ll leave batter behind.
Cooling rack — Let the cakes cool completely before frosting. If you frost warm cake, the frosting will melt and slide off. I learned this the hard way with a sad, messy cake that looked like a dessert tornado hit it.
Sifter or fine-mesh strainer — For the powdered sugar. Trust me, sifting makes a huge difference in texture.
Measuring cups and spoons — Standard stuff. Dollar store versions work fine.
Offset spatula — For spreading the frosting evenly. If you don’t have one, a regular butter knife works, but it takes more practice.
How to Make It: Step-by-Step
Alright, let’s make this! I’m walking you through exactly how I do it, including the little tricks I’ve picked up.
Step 1: Prep Your Oven and Pans (5 minutes)
Preheat your oven to 350°F (175°C). Grease your two 8-inch round cake pans with butter or cooking spray, then dust with flour. Tap out the excess. Or, line the bottoms with parchment paper circles for guaranteed easy release. This step is crucial because nothing ruins a cake faster than it sticking to the pan.
Step 2: Mix the Dry Ingredients (2 minutes)
In your large mixing bowl, whisk together the flour, sugar, cocoa powder, baking powder, baking soda, and salt. Make sure there are no lumps of cocoa powder. I usually whisk this for a full minute to aerate it slightly, which helps the cake rise evenly.
Step 3: Add the Wet Ingredients (2 minutes)
Add the eggs, vegetable oil, buttermilk, and vanilla extract to the dry ingredients. Beat on medium speed for about 2 minutes. The batter will be thin, which is normal. Don’t worry, it’ll bake up moist and fudgy. If you’re using a hand mixer, this is when your arm gets a workout. If you’re using a whisk, just be patient and mix until smooth.
Step 4: Bake the Cakes (25-30 minutes)
Pour the batter evenly into the prepared pans. Bake for 25-30 minutes. You’ll know they’re done when a toothpick inserted into the center comes out with just a few moist crumbs attached (not wet batter). The cakes will pull away slightly from the edges of the pan. I usually start checking at 25 minutes because ovens vary. If they’re done, remove them from the oven.
Step 5: Cool Completely (1 hour)
Let the cakes cool in the pans for 10 minutes, then turn them out onto a wire rack to cool completely. This step is non-negotiable. If you try to frost warm cake, the frosting will melt and slide off. I usually let them cool while I make the frosting. If you’re in a rush, you can speed this up by putting them in the fridge for 20 minutes, but make sure they’re cold to the touch.
Step 6: Make the Fudgy Whipped Frosting (10 minutes)
In a large bowl, beat the softened cream cheese and butter together until smooth and creamy. Add the powdered sugar gradually, mixing on low speed to avoid a sugar cloud. Once incorporated, beat on high for 2-3 minutes until fluffy. Add the peanut butter and heavy cream, then beat until combined. Fold in the chocolate chips by hand with a spatula. The frosting should be thick, creamy, and slightly stiff so it holds its shape.
Step 7: Assemble the Cake (5 minutes)
Place one cake layer on your serving plate. Spread a generous layer of frosting on top. Place the second cake layer on top, flat side up. Frost the top and sides of the cake with the remaining frosting. Smooth it out with an offset spatula or a butter knife. Sprinkle crushed peanuts on top if you’re feeling fancy.
Step 8: Chill and Serve
Refrigerate the cake for at least 30 minutes before slicing. This helps the frosting set and makes clean slices easier. Slice with a sharp knife, wiping the blade between cuts for clean edges. Serve chilled or at room temperature.
Total Time: About 1 hour and 15 minutes (15 minutes active, 1 hour cooling/chilling)
Expert Tips & Tricks
Here’s everything I’ve learned from making this dozens of times. These tips will save you from my mistakes.
Room Temperature Ingredients Are Key
I can’t stress this enough. Cold butter and cream cheese will not blend smoothly. They’ll be lumpy and grainy. Let them sit on the counter for at least an hour before you start. If you forget, microwave the butter for 10 seconds and the cream cheese for 15 seconds, but be careful not to melt them.
Don’t Overmix the Batter
Once you add the dry ingredients to the wet, mix just until combined. Overmixing develops gluten, which makes the cake tough instead of tender. You want a soft, fudgy crumb, not a bread-like texture.
Sift Your Powdered Sugar
I know it’s tedious, but lumpy frosting is the worst. Sift the powdered sugar before adding it to the cream cheese mixture. It makes the frosting silky smooth. If you’re lazy, just beat it longer, but sifting is faster and more effective.
Chill Before Slicing
Warm cake + soft frosting = mess. Refrigerate the cake for at least 30 minutes before slicing. This sets the frosting and makes clean cuts possible. If you’re serving it at a party, make it the night before.
Use Good Peanut Butter
The peanut butter flavor is dominant in the frosting. Use a brand you like eating. Natural peanut butter can be oily, so if you use it, scoop out the excess oil. I prefer creamy, processed peanut butter for the frosting because it’s more stable.
Common Mistakes (and how to avoid them):
Mistake: Frosting is too runny
Fix: Your butter or cream cheese was too warm. Chill the frosting in the fridge for 15 minutes, then beat it again. Or add more powdered sugar, a quarter cup at a time.
Mistake: Cake is dry
Fix: You overbaked it. Check it at 25 minutes. If the toothpick comes out clean, it’s done. If it has wet batter, give it 2-3 more minutes. Also, make sure you’re using buttermilk, not regular milk.
Mistake: Cake sank in the middle
Fix: You opened the oven door too early, or your leavening agents were old. Keep the oven closed for the first 20 minutes. Check your baking powder and soda expiration dates.
Variations & Substitutions
Once you’ve nailed the basic version, here’s how you can mix it up. I’ve tried all of these.
Gluten-Free Version
Use a 1:1 gluten-free flour blend. I’ve used Bob’s Red Mill and King Arthur, and both work great. Make sure the blend includes xanthan gum, or add ½ teaspoon yourself. The texture will be slightly denser, but still delicious.
Dairy-Free Version
Replace the buttercream with vegan butter and dairy-free cream cheese. Use oat milk instead of buttermilk (add lemon juice to it). The frosting will be slightly different in texture, but still tasty. My lactose-intolerant friend requests this version.
Chocolate Peanut Butter Cup Cake
Instead of folding chocolate chips into the frosting, place mini Reese’s cups between the layers before frosting. It’s like a giant Reese’s cup. This is my favorite variation for parties.
Spicy Peanut Butter
Add a pinch of cayenne pepper or chili powder to the frosting. It adds a subtle kick that pairs beautifully with the chocolate. Great for adult parties.
Single Layer Version
If you don’t have two 8-inch pans, bake it in a 9×13 pan. Reduce the baking time to 30-35 minutes. It’ll be a sheet cake, but just as good. I make this when I’m feeding a crowd.
Different Frosting
If you don’t want peanut butter frosting, use a simple chocolate ganache or vanilla buttercream. It’s still good, but the peanut butter frosting is what makes this cake special.
Serving & Storage
How to Serve:
I usually serve this straight from the fridge, sliced into squares. It looks rustic and stays cold. But here are other ways I’ve enjoyed it:
Side Dishes:
– Fresh berries (strawberries or raspberries) to cut the sweetness
– A dollop of whipped cream
– A scoop of vanilla ice cream (Reese’s cups and ice cream is a classic combo)
– A glass of cold milk or coffee
Storage Instructions:
Refrigerator: Store in an airtight container for up to 5 days. The frosting will harden in the fridge, so let it sit at room temperature for 15 minutes before serving for the best texture.
Freezing: Yes, this freezes well! Wrap the unfrosted cake layers tightly in plastic wrap and foil. Freeze for up to 3 months. Thaw in the fridge overnight, then frost. The frosting can also be frozen, but it may separate slightly when thawed. Beat it again to smooth it out.
Meal Prep: Make the cake layers ahead and freeze them. Frost the day you need it. This is great for parties because you can prep everything in advance.
Pro tip: If leftovers are drying out, store them with a slice of bread in the container. The bread releases moisture and keeps the cake soft. It’s a trick my grandmother taught me, and it works every time.
Nutrition Information
I’m not a nutritionist, but here’s the breakdown if you’re tracking.
Per Serving (based on 12 servings):
– Calories: 450
– Protein: 8g
– Carbs: 55g
– Fiber: 3g
– Sugar: 40g
– Fat: 22g
– Saturated Fat: 10g
– Cholesterol: 45mg
– Sodium: 280mg
– Calcium: 120mg
What’s Good:
– Decent protein from the peanut butter and eggs
– Calcium from the cheese and milk
– Can add nuts for extra healthy fats
What to Know:
– Higher in calories from the frosting
– Contains dairy and gluten
– Moderate sodium (use low-sodium peanut butter to reduce)
My Take:
Look, this is a dessert with chocolate and peanut butter. It’s not a diet recipe. But it’s way better than store-bought cake, and I know exactly what’s in it. When I want to make it lighter, I use less frosting and add more berries on top. But usually? I just eat a reasonable portion and enjoy it. Life’s too short to skip dessert.
Final Thoughts
So that’s my Reese’s Peanut Butter Chocolate Cake! I’ve probably talked your ear off at this point, but when you make a recipe this often, you have a lot to say about it.
This has saved dessert nights more times than I can count. It’s my answer to “what’s for dessert” when I’m tired, don’t want to go out, and still want something that tastes really good. My kids are happy, my husband’s happy, and I’m happy because I’m not stressed about cooking.
Make it yours! Try different add-ins, swap in your favorite nuts, adjust the sweetness. The best recipes are the ones you adapt to your family’s tastes. If you’re looking for other easy desserts, check out my keto pumpkin spice mug cake for a quick individual treat, or my fluffy buttermilk blueberry pancakes for a sweet breakfast version.
If you make this, drop a comment and let me know what you think! I love hearing how recipes turn out in your kitchen. And if something doesn’t work, tell me that too—I’m here to help troubleshoot.
Happy baking! And I hope your kitchen smells half as good as mine does right now.
Frequently Asked Questions
Q: Can I use crunchy peanut butter instead of creamy?
A: Yes, you can! It adds a nice texture to the frosting. If you use crunchy, you might not need to add the chocolate chips, or you can add them for extra contrast. I’ve tried both, and I actually prefer crunchy for the texture.
Q: Why did my frosting turn out grainy?
A: This usually happens if the butter or cream cheese was too cold, or if the powdered sugar wasn’t sifted. Make sure your dairy is softened to room temperature, and sift the sugar. If it’s already grainy, you can try warming the bowl slightly over a pot of simmering water while beating, but be careful not to melt it.
Q: Can I make this cake ahead of time?
A: Absolutely! Bake the layers a day ahead, wrap them tightly, and freeze them. Thaw in the fridge overnight, then frost the day of. This is actually better because the layers have time to settle and become more moist.
Q: Can I use chocolate cake mix instead of scratch?
A: You can, but it won’t taste as good. Making it from scratch gives you control over the flavor and texture. If you’re short on time, use a box mix and add an extra egg and a little extra cocoa powder to boost the flavor. It’s a shortcut, but not my recommended method.
Q: How do I store leftover cake?
A: Store it in an airtight container in the fridge for up to 5 days. Let it come to room temperature before serving for the best flavor and texture. It can also be frozen for up to 3 months.
Q: Can I double this recipe?
A: Yes, double everything and use three 8-inch pans or two 9-inch pans. Adjust the baking time slightly (it may take a few minutes longer). I do this when I’m feeding a crowd.
Q: Why did my cake sink in the middle?
A: This usually means it was underbaked, or you opened the oven door too early. Check it at 25 minutes with a toothpick. If it comes out clean, it’s done. Also, make sure your leavening agents are fresh.
Q: Can I make this without buttermilk?
A: Yes, make your own by adding 1 tablespoon of lemon juice or white vinegar to 1 cup of milk. Let it sit for 5 minutes until it curdles slightly. It works just as well.
Pin This Recipe!
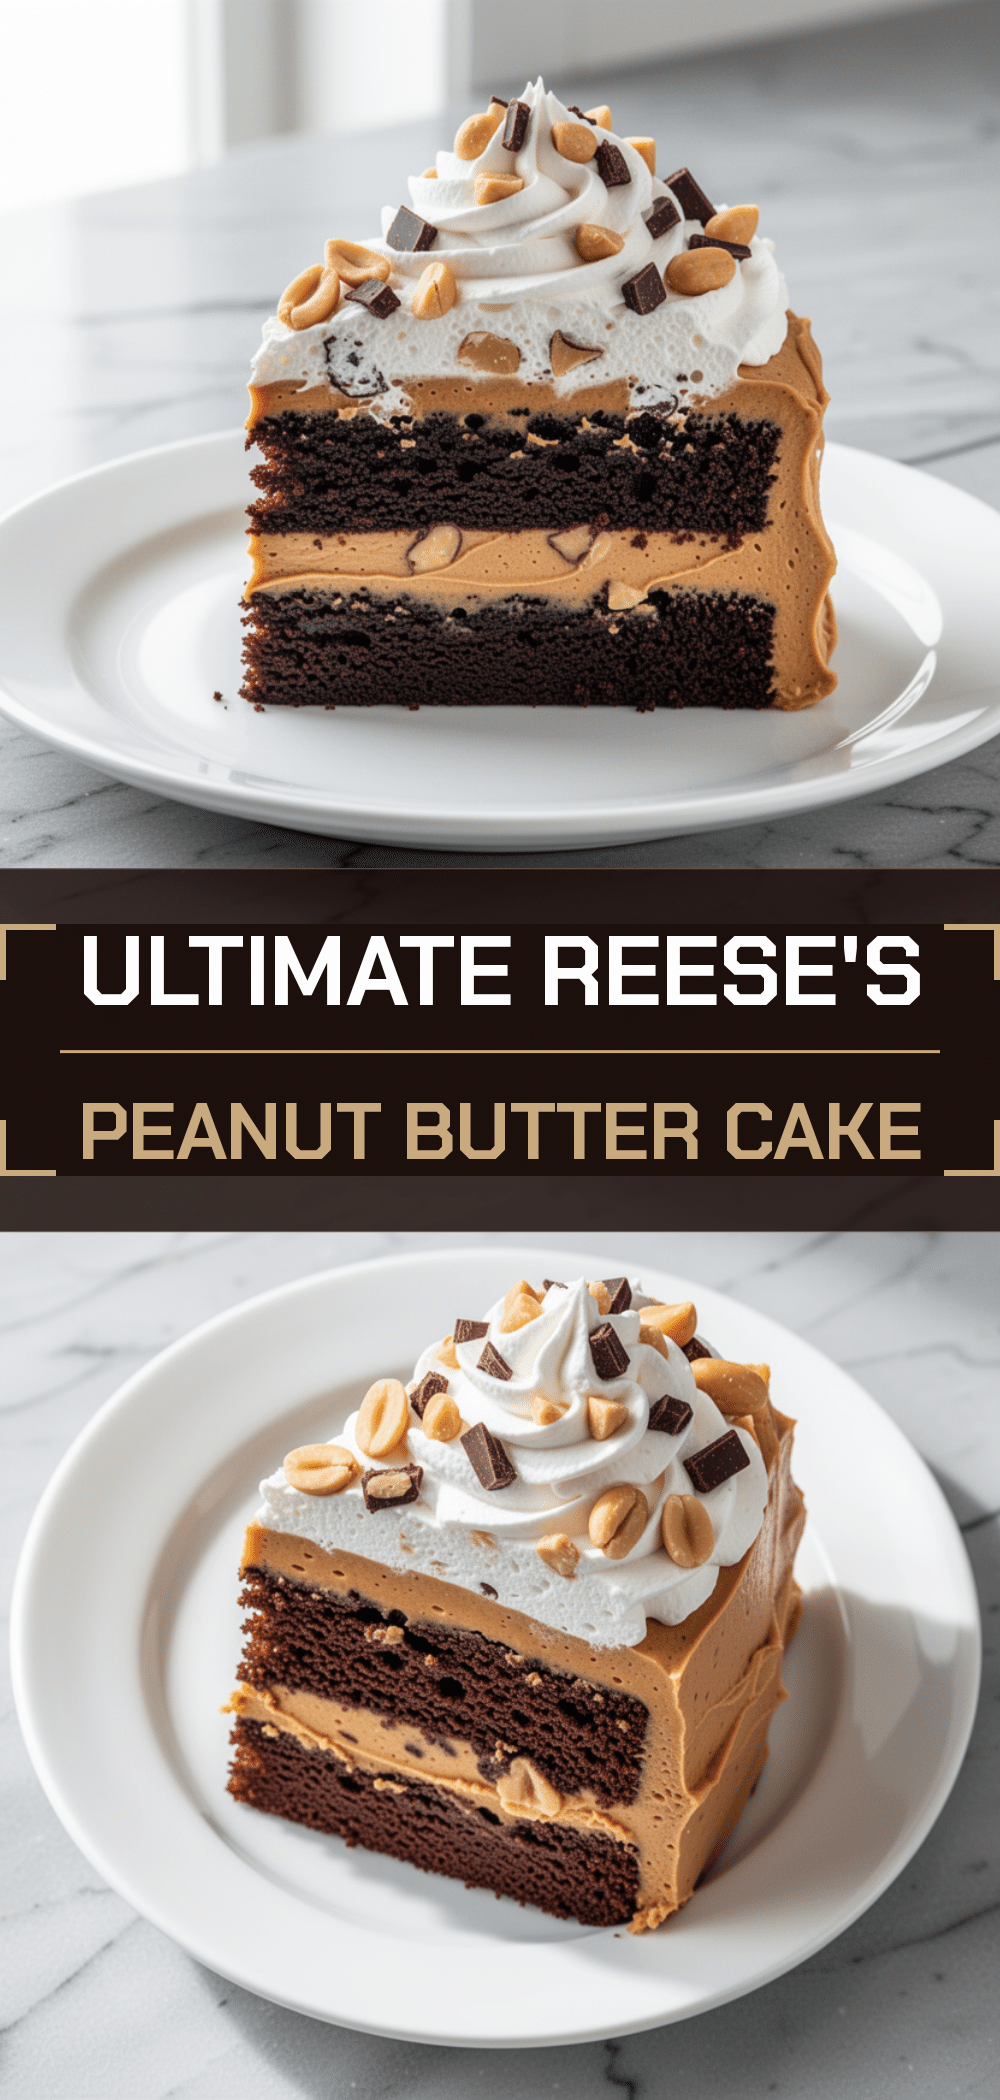
Reeses Peanut Butter Chocolate Cake: Best 5-Step Recipe
- Total Time: 1 hour 15 minutes
- Yield: 12 servings 1x
Description
A fudgy, moist chocolate cake with a salty peanut butter flavor, topped with a light and airy whipped cream cheese frosting. This one-bowl dessert is easy to make and tastes like a high-end bakery treat.
Ingredients
- 2 cups (250g) all-purpose flour
- 1 ½ cups (300g) white granulated sugar
- ¾ cup (75g) unsweetened cocoa powder
- 1 teaspoon baking powder
- 1 teaspoon baking soda
- 1 teaspoon salt
- 2 large eggs, room temperature
- ½ cup (120ml) vegetable oil
- 1 cup (240ml) buttermilk
- 1 teaspoon vanilla extract
- 8 oz (225g) cream cheese, softened
- ½ cup (115g) unsalted butter, softened
- 3 cups (360g) powdered sugar, sifted
- ½ cup (125g) creamy peanut butter
- 2–3 tablespoons heavy cream
- ½ cup (85g) semi-sweet or milk chocolate chips
- Crushed peanuts for garnish (optional)
Instructions
- Preheat oven to 350°F (175°C). Grease and flour two 8-inch round cake pans, or line bottoms with parchment paper.
- In a large mixing bowl, whisk together flour, sugar, cocoa powder, baking powder, baking soda, and salt until no lumps remain.
- Add eggs, vegetable oil, buttermilk, and vanilla extract to the dry ingredients. Beat on medium speed for about 2 minutes until smooth. The batter will be thin.
- Pour batter evenly into prepared pans. Bake for 25-30 minutes, or until a toothpick inserted into the center comes out with moist crumbs attached.
- Let cakes cool in pans for 10 minutes, then turn out onto a wire rack to cool completely.
- In a large bowl, beat softened cream cheese and butter until smooth. Gradually add sifted powdered sugar, mixing on low then beating on high for 2-3 minutes until fluffy.
- Add peanut butter and heavy cream to the frosting mixture; beat until combined. Fold in chocolate chips by hand.
- Place one cake layer on a serving plate. Spread a generous layer of frosting on top. Add the second layer and frost the top and sides with remaining frosting.
- Sprinkle with crushed peanuts if desired. Refrigerate for at least 30 minutes before slicing to set the frosting.
Notes
Ensure all dairy ingredients (butter, cream cheese) are at room temperature for smooth frosting. Do not overmix the batter to avoid a tough texture. Sifting powdered sugar is crucial for a smooth frosting consistency. The cake tastes better the next day as flavors meld. Store in an airtight container in the refrigerator for up to 5 days.
- Prep Time: 15 minutes
- Cook Time: 30 minutes
- Category: Dessert
- Cuisine: American
Nutrition
- Serving Size: 1 slice
- Calories: 450
- Sugar: 40
- Sodium: 280
- Fat: 22
- Saturated Fat: 10
- Carbohydrates: 55
- Fiber: 3
- Protein: 8
Keywords: Reese's cake, peanut butter chocolate cake, one bowl cake, fudgy cake, whipped frosting, easy dessert, chocolate cake recipe



