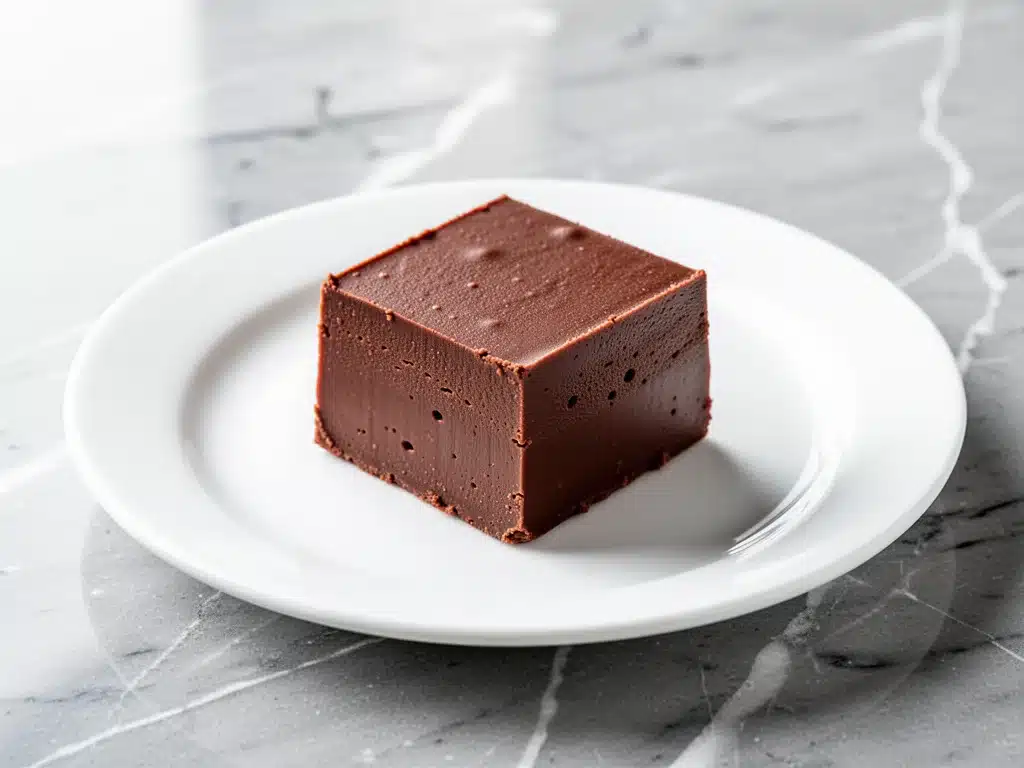
I have a confession to make. Three years ago, I attempted to make holiday fudge for the first time. I thought, “How hard can it be? Sugar, chocolate, butter. It’s just candy.” I was wrong. So, so wrong. I ended up with a tray of chocolate gravel that tasted like burnt sugar and regret. My husband ate one piece, politely smiled, and then proceeded to eat an entire bag of store-bought Hershey’s bars while I stood there in the kitchen, defeated and covered in chocolate splatter.
That was the moment I decided I needed to fix this. I didn’t just want to make fudge; I wanted to make the kind of fudge that makes people close their eyes and sigh when they take a bite. The kind that’s silky, smooth, and melts on your tongue without any grainy surprises. I spent the next two years testing every method I could find—thermometer vs. no thermometer, old-school stovetop vs. microwave shortcuts. And after about forty failed batches (yes, forty), I finally cracked the code.
This foolproof homemade chocolate fudge recipe is the result of all those mistakes. It’s not complicated, but it is precise. The secret isn’t in fancy ingredients; it’s in understanding how sugar behaves. Once you get the hang of it, you’ll wonder why you ever bought fudge from a store. This silky smooth dessert for holidays has become the centerpiece of our Christmas table. It’s rich, it’s indulgent, and best of all, it’s guaranteed to work if you follow my steps. If you’re looking for other easy holiday desserts to round out your menu, this pairs beautifully with our no-bake pumpkin pie for a perfect spread.
Why You’ll Love This Silky Smooth Chocolate Fudge
There are a million reasons to make homemade fudge, but here’s why this specific version has earned a permanent spot in my holiday rotation:
- Actually Silky, Not Sandy — Most fudge recipes fail because the sugar crystallizes. This method uses a specific technique to prevent that graininess. The result is a texture so smooth it feels like eating a chocolate truffle.
- No Candy Thermometer Required — I know, I know, most “foolproof” recipes still demand a thermometer. I’ve tested this without one using the cold water test, which is just as accurate and way less stressful. If you can boil water, you can make this.
- Ingredients You Already Have — You don’t need exotic chocolates or rare extracts. Just good-quality semi-sweet chocolate, butter, sweetened condensed milk, and vanilla. That’s it. Simple pantry staples.
- Makes a Great Gift — Cut into squares and tied with a ribbon, this fudge is the ultimate edible gift. I wrapped batches for my neighbors last year, and I still get asked for the recipe in January.
- Better Than Store-Bought — Seriously. Store-bought fudge is often waxy and overly sweet. This homemade version has a deep, rich chocolate flavor that actually tastes like chocolate, not just sugar.
This isn’t just a recipe; it’s a confidence builder. Once you make this, you’ll never look at a candy thermometer the same way again. And if you need a quick, no-bake option to keep in your back pocket, this fits the bill perfectly alongside our overnight vanilla chia pudding for a healthier-ish treat contrast.
Ingredients You’ll Need
Before we start, let’s talk about what goes into this silky smooth dessert for holidays. I’m particular about a few of these because they make the difference between “okay” and “amazing.”
For the Fudge Base:
Semi-Sweet Chocolate Chips (12 ounces / 340g) — Use high-quality chips. Ghirardelli or Lindt work great. Avoid the cheap generic kind; they often contain palm oil which can affect the melt. You want smooth, even melting.
Sweetened Condensed Milk (14 ounces / 396g can) — This is the key to the fudge’s structure. Do not use evaporated milk. Do not make your own condensed milk unless you have time (it takes hours). The sugar content in condensed milk is what makes it fudge and not just chocolate sauce. Keep it chilled until you’re ready to use it.
Unsalted Butter (2 tablespoons) — Adds richness and helps emulsify the mixture. Room temperature is fine, but don’t melt it.
Vanilla Extract (1 teaspoon) — Pure vanilla makes a huge difference. Avoid imitation vanilla; it tastes artificial and clashes with the chocolate.
For the Mix-Ins (Optional but Recommended):
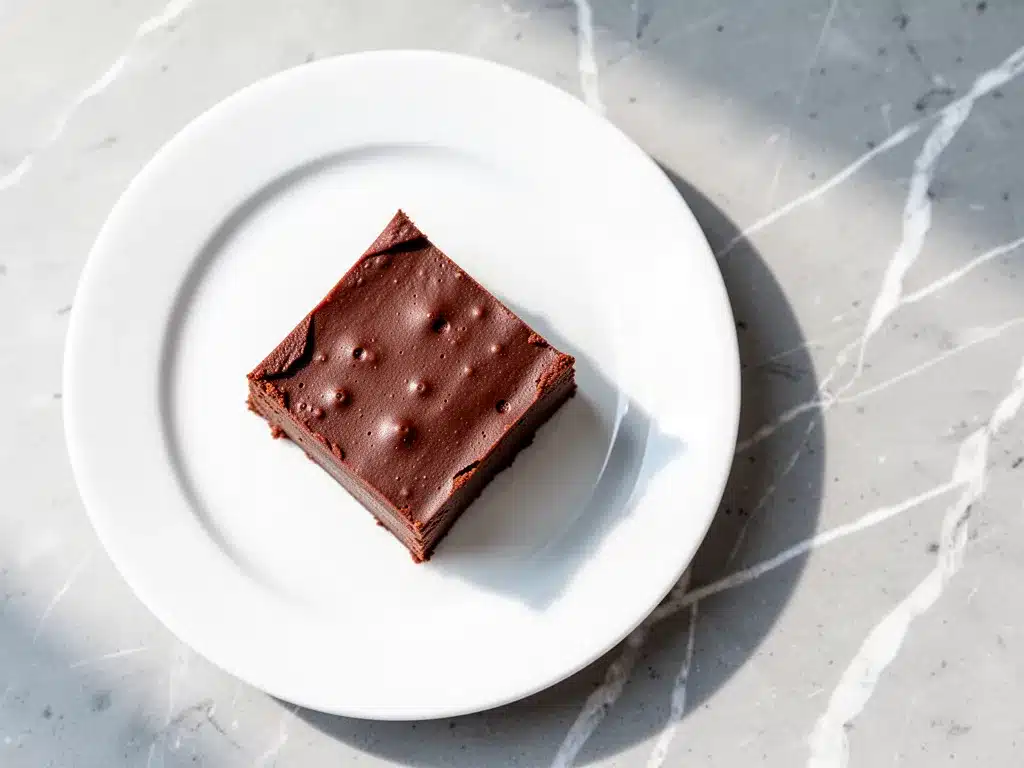
Chopped Walnuts or Pecans (½ cup) — If you like nutty fudge, toast the nuts in a dry pan for 3 minutes before adding. It brings out their flavor.
Sea Salt Flakes — A sprinkle on top after pouring adds a professional touch and cuts the sweetness.
Mini Marshmallows — For a classic “chocolate marshmallow fudge” vibe, stir these in at the end. It’s a crowd-pleaser, especially with kids.
Quick Tip: I always keep a bag of high-quality chocolate chips in my pantry specifically for this. When the holidays hit, I grab the bag and the condensed milk, and I’m ready to go. It’s my emergency dessert strategy.
Equipment Needed
You don’t need a fancy kitchen for this. Here’s what I actually use:
Heavy-Bottomed Saucepan — I use a 2-quart saucepan. Heavy bottoms distribute heat evenly, which prevents scorching. Thin pans are risky here.
Wooden Spoon or Silicone Spatula — You need something sturdy for stirring. Metal spoons can scratch non-stick pans, and flimsy spatulas might melt if they touch the hot bottom.
8×8 Inch Baking Pan — Line this with parchment paper or foil. I prefer foil because it’s easier to lift the fudge out later. Grease it lightly with butter.
Measuring Cups and Spoons — Precision matters in candy making. Don’t eyeball the condensed milk.
Small Bowl of Cold Water — For the “soft ball” test. This is your backup if you don’t have a thermometer.
How to Make It: Step-by-Step
Alright, let’s make this! I’m walking you through exactly how I do it, including the little tricks I’ve picked up over the years. This silky smooth dessert for holidays is easier than you think, but you have to pay attention.
Step 1: Prep Your Pan and Ingredients
Line your 8×8 inch pan with parchment paper or foil, leaving an overhang on the sides. This is crucial for removing the fudge later. Grease the lining with a little butter. Have all your ingredients measured and ready within arm’s reach. Once you start cooking, things move fast.
Step 2: Combine Chocolate, Milk, and Butter
In your heavy-bottomed saucepan, combine the chocolate chips, sweetened condensed milk, and butter. Stir them together gently. This helps distribute the heat evenly when you start cooking.
Step 3: Cook Over Medium Heat
Place the saucepan over medium heat. Stir constantly with your wooden spoon or spatula. This is the most important part. You must stir continuously to prevent the bottom from burning and to ensure the sugar dissolves evenly. If you stop stirring, you’ll get lumps or burnt bits.
Keep stirring until the mixture comes to a gentle boil. You’ll see bubbles forming around the edges. Once it boils, keep stirring. Don’t walk away. Don’t check your phone. Just stir.
Step 4: Reach the Soft Ball Stage
Continue cooking and stirring for about 5-7 minutes after the mixture starts boiling. You are looking for the “soft ball” stage. If you have a candy thermometer, it should read 234°F to 240°F (112°C to 115°C).
No thermometer? Use the cold water test. Drop a small amount of the hot syrup into the bowl of cold water. Let it sit for a few seconds. Pick it up with your fingers. If it forms a soft, pliable ball that holds its shape but is still squishy, you’re done. If it’s hard, you’ve overcooked it. If it’s just a thin thread, keep cooking.
Step 5: Remove from Heat and Add Vanilla
As soon as you hit the soft ball stage, remove the pan from the heat immediately. Stir in the vanilla extract. If you’re adding nuts or marshmallows, stir them in now. The residual heat will cook the marshmallows slightly and toast the nuts.
Step 6: Pour and Cool
Pour the hot fudge into your prepared pan. Use your spatula to spread it evenly. Tap the pan gently on the counter to release any air bubbles. Let it cool at room temperature for about 2-3 hours. Do not refrigerate it yet; rapid cooling can cause cracking.
Step 7: Cut and Serve
Once the fudge is completely cool and firm, lift it out of the pan using the parchment overhang. Place it on a cutting board. Use a sharp knife to cut into squares. I cut mine into 1-inch squares. If the knife sticks, dip it in hot water and wipe it dry between cuts. This keeps the edges clean.
Total Time: About 30 minutes active, plus 3 hours cooling.
Expert Tips & Tricks for Perfect Fudge
Here’s everything I’ve learned from making this dozens of times. These tips will save you from my mistakes.
Don’t Rush the Stirring
The number one reason fudge fails is uneven cooking. Stirring constantly ensures that the sugar dissolves completely and the mixture heats evenly. If you rush this step, you’ll end up with grainy fudge. Set a timer and commit to stirring for the full cook time.
Know Your Altitude
If you live at a high altitude, water boils at a lower temperature, which affects candy making. If you’re above 2,000 feet, you may need to cook the fudge to a slightly higher temperature (add 5°F for every 1,000 feet). I live at sea level, so 235°F is perfect for me.
Use a Heavy Pan
Thin pans create hot spots. A heavy-bottomed stainless steel or enamel pan distributes heat evenly. This is worth the investment if you plan to make candy often.
Don’t Overcook
If you cook the fudge past the soft ball stage, it will become hard and crumbly instead of soft and chewy. It’s better to undercook slightly than overcook. You can always cook it a bit longer, but you can’t undo overcooked fudge.
Cool Completely Before Cutting
I know it’s tempting to cut into it while it’s still warm. Resist the urge. Warm fudge is messy and will stick to the knife. Let it cool completely for clean, sharp cuts.
Variations & Substitutions
Once you’ve nailed the basic version, here’s how you can mix it up. I’ve tried all of these.
Chocolate Marshmallow Fudge
Stir in 1 cup of mini marshmallows in the last minute of cooking. It creates a classic “marshmallow cream” texture inside the chocolate. This is my kids’ favorite version.
Butterscotch Fudge
Swap the chocolate chips for butterscotch chips. Keep the condensed milk and butter the same. Add a pinch of cinnamon for a fall twist. It’s rich and caramel-like.
Mint Chocolate Fudge
Add ½ teaspoon of peppermint extract along with the vanilla. Sprinkle crushed peppermint candies on top before it sets. Great for Christmas.
Coconut Chocolate Fudge
Stir in ½ cup of toasted coconut flakes. It adds a nice chew and tropical flavor. Pairs well with the fall brown butter pear upside-down cake if you’re making a large dessert table.
Dairy-Free Option
Use dairy-free chocolate chips and coconut milk condensed milk (you can make your own by simmering full-fat coconut milk with sugar). It’s not quite as rich, but it works in a pinch.
Nut-Free
Simply omit the nuts. The fudge is still delicious on its own. If you want crunch, add extra marshmallows or crushed pretzels.
Serving & Storage
How to Serve:
I usually serve this fudge on a platter with a small sign labeling it. It’s perfect for holiday parties, office potlucks, or gift-giving. Wrap squares in wax paper and place them in a tin for a rustic look.
Side Dishes:
This fudge is rich, so it pairs well with black coffee or strong tea. I also like to serve it with a glass of cold milk or a cup of fall maple cinnamon rice pudding for a cozy dessert spread.
Storage Instructions:
Store fudge in an airtight container at room temperature for up to 2 weeks. Layer squares between parchment paper to prevent sticking. If your kitchen is very hot, you can refrigerate it, but let it come to room temperature before serving to restore the soft texture.
Freezing:
Fudge freezes well! Wrap squares tightly in plastic wrap, then place them in a freezer-safe bag. They’ll last for up to 3 months. Thaw at room temperature before eating.
Nutrition Information
I’m not a nutritionist, but here’s the breakdown if you’re tracking. This is definitely a treat, so enjoy it in moderation!
Per Square (based on 64 squares):
- Calories: 95
- Fat: 5g
- Carbs: 12g
- Sugar: 11g
- Protein: 1g
Look, this is chocolate fudge. It’s supposed to be sweet and rich. It’s not a health food. But it’s better than store-bought because you control the ingredients. When I make this, I use good chocolate, which means less sugar and more flavor, so you don’t need to eat as much to feel satisfied.
Final Thoughts
So that’s my foolproof homemade chocolate fudge! I’ve talked your ear off, I know, but when you make a recipe this often, you have a lot to say about it. This fudge has saved my holiday reputation more times than I can count. It’s my go-to when I need a dessert that looks impressive but is actually super easy.
Make it yours! Try different mix-ins, adjust the chocolate type, or sprinkle sea salt on top. The best recipes are the ones you adapt to your family’s tastes. If you make this, drop a comment and let me know what you think! I love hearing how recipes turn out in your kitchen.
Happy cooking! And I hope your kitchen smells half as good as mine does right now.
Frequently Asked Questions
Why is my fudge grainy?
Grainy fudge usually means the sugar crystallized. This can happen if you didn’t stir enough during cooking, or if sugar crystals formed on the side of the pan and fell into the mixture. To prevent this, wash down the sides of the pan with a wet pastry brush during cooking. Also, make sure you’re using high-quality chocolate chips that melt smoothly.
Can I use milk chocolate instead of semi-sweet?
You can, but the fudge will be much sweeter. Semi-sweet chocolate has a better balance of sugar and cocoa, which cuts through the sweetness of the condensed milk. If you prefer milk chocolate, reduce the amount of sugar in any added mix-ins (like nuts or marshmallows) to balance it out.
Do I really need a candy thermometer?
No, but it helps. The cold water test is just as accurate. Drop a small amount of the hot syrup into cold water. If it forms a soft ball that holds its shape, you’re done. If it’s hard, you’ve overcooked it. If it’s just a thread, keep cooking.
Can I make this ahead of time?
Yes! In fact, fudge often tastes better the next day after the flavors have had time to meld. Make it 2-3 days ahead and store it in an airtight container at room temperature. It freezes well for up to 3 months.
Why did my fudge not set?
If your fudge is soft or sticky, you likely didn’t cook it long enough. The mixture needs to reach the soft ball stage (235°F). If you undercooked it, the sugar concentration isn’t high enough to hold its shape. Unfortunately, you can’t fix already-cooked fudge, but you can try re-cooking it on low heat, stirring constantly, until it reaches the correct temperature.
Can I add alcohol to this fudge?
Absolutely. Add 1-2 tablespoons of your favorite liquor in the last minute of cooking. Bourbon, rum, or peppermint schnapps work well. The alcohol will evaporate slightly, leaving behind a rich flavor.
Is there a microwave version of this recipe?
Yes, but the stovetop method gives more control. For the microwave version, combine ingredients in a microwave-safe bowl. Microwave on high for 1 minute, stir, then microwave in 30-second intervals, stirring after each, until melted and smooth. Then proceed with the cooling step. It’s faster but requires more frequent stirring to prevent burning.
Pin This Recipe!
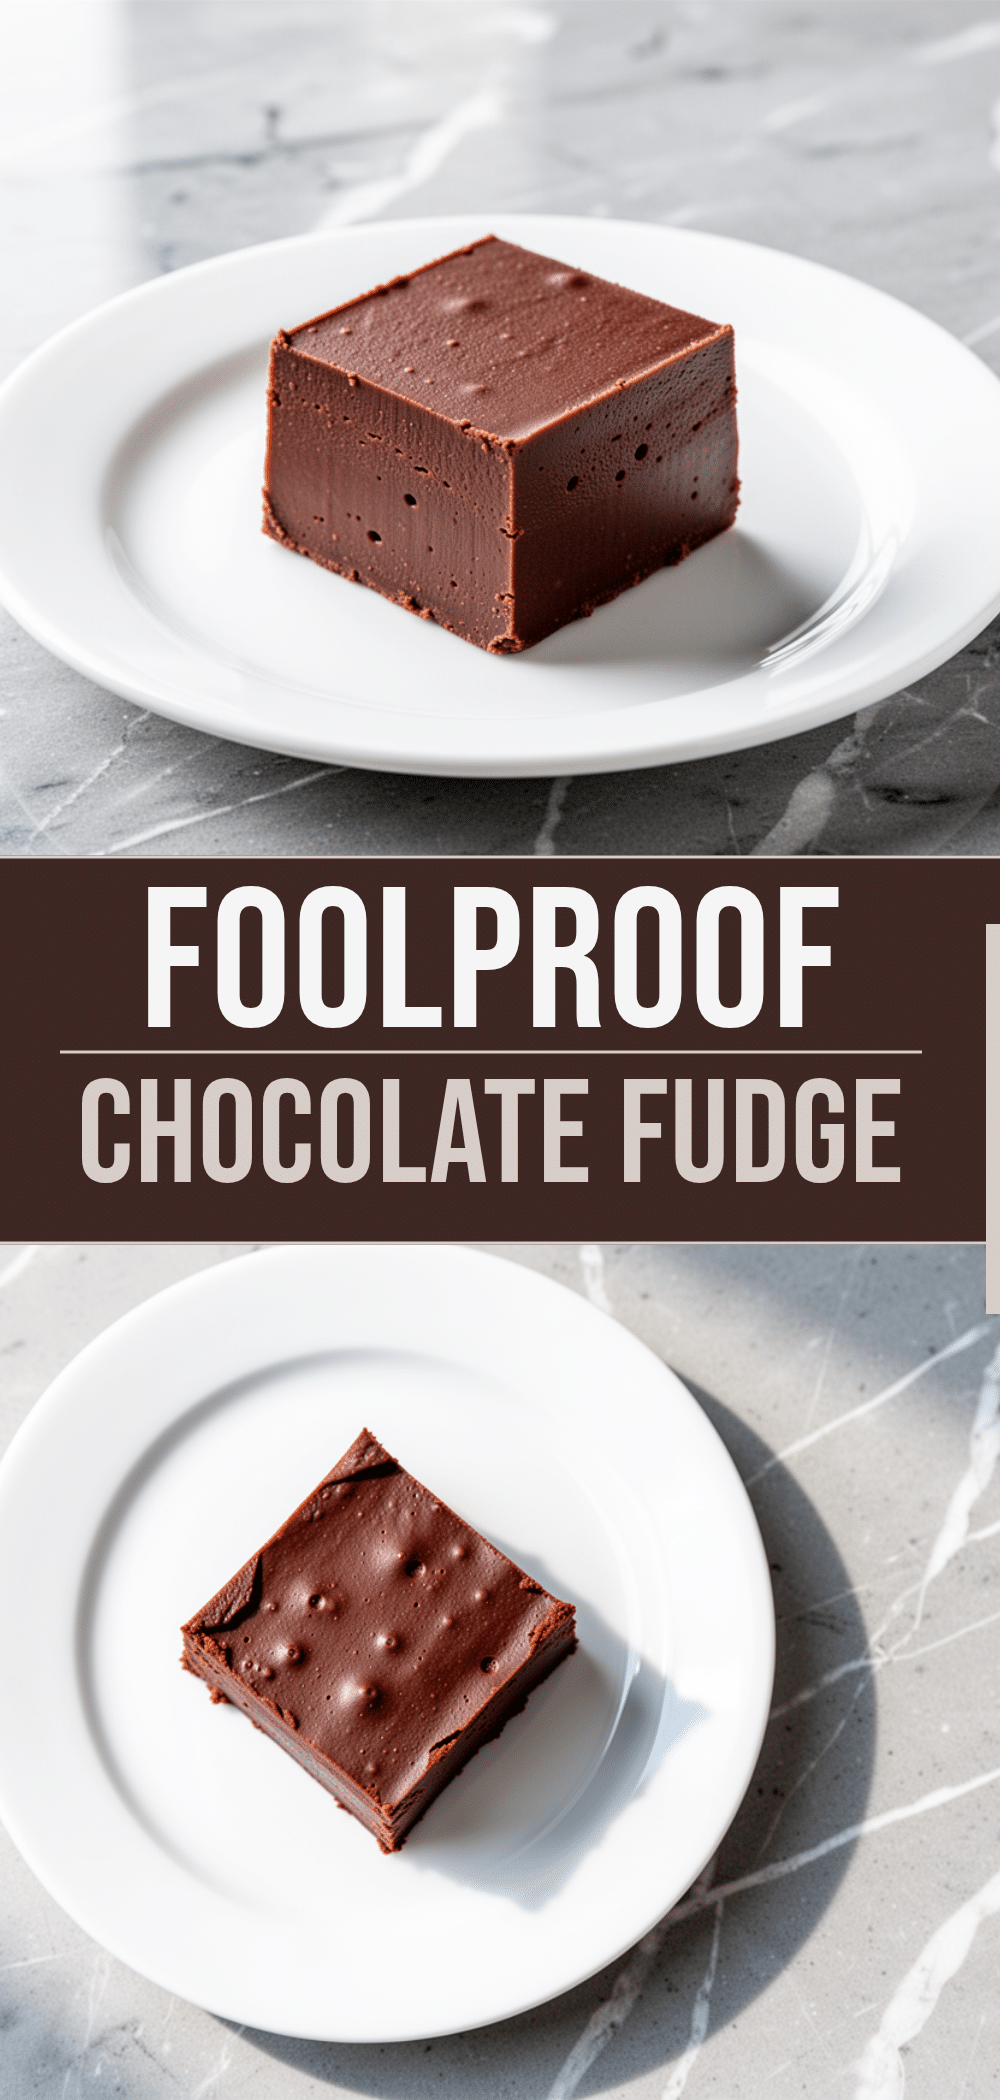
Foolproof Homemade Chocolate Fudge: Silky Smooth Holiday Treat
- Total Time: 3 hours 30 minutes
- Yield: 64 servings 1x
Description
A foolproof, silky smooth chocolate fudge recipe that requires no candy thermometer. Made with simple pantry staples like semi-sweet chocolate chips and sweetened condensed milk, this holiday dessert is rich, indulgent, and guaranteed to work.
Ingredients
- 12 ounces (340g) high-quality semi-sweet chocolate chips
- 14 ounces (396g) can sweetened condensed milk (chilled)
- 2 tablespoons unsalted butter (room temperature)
- 1 teaspoon pure vanilla extract
- Optional: ½ cup chopped walnuts or pecans (toasted)
- Optional: Sea salt flakes for topping
- Optional: 1 cup mini marshmallows
Instructions
- Line an 8×8 inch baking pan with parchment paper or foil, leaving an overhang on the sides, and grease lightly with butter.
- In a heavy-bottomed 2-quart saucepan, combine the chocolate chips, sweetened condensed milk, and butter. Stir gently to distribute ingredients.
- Place the saucepan over medium heat and stir constantly with a wooden spoon or silicone spatula to prevent burning and ensure even sugar dissolution.
- Continue stirring until the mixture comes to a gentle boil, then keep stirring for 5-7 minutes until it reaches the ‘soft ball’ stage (234°F-240°F or 112°C-115°C).
- If using a thermometer, verify the temperature. If not, perform the cold water test: drop a small amount of syrup into cold water; it should form a soft, pliable ball.
- Immediately remove the pan from heat and stir in the vanilla extract. If adding nuts or marshmallows, stir them in now using residual heat.
- Pour the hot fudge into the prepared pan and spread evenly. Tap the pan gently to release air bubbles.
- Let the fudge cool at room temperature for 2-3 hours until completely firm. Do not refrigerate during this initial cooling phase.
- Lift the fudge out of the pan using the parchment overhang. Cut into 1-inch squares using a sharp knife (dip knife in hot water between cuts if needed).
- Serve or store in an airtight container.
Notes
Stir constantly to prevent graininess and burning. Do not overcook or the fudge will become hard. For high altitude cooking (above 2,000 feet), increase cooking temperature by 5°F for every 1,000 feet. Store at room temperature for up to 2 weeks or freeze for up to 3 months.
- Prep Time: 10 minutes
- Cook Time: 20 minutes
- Category: Dessert
- Cuisine: American
Nutrition
- Serving Size: 1 square (1-inch)
- Calories: 95
- Sugar: 11
- Sodium: 15
- Fat: 5
- Saturated Fat: 3
- Carbohydrates: 12
- Fiber: 1
- Protein: 1
Keywords: chocolate fudge, holiday dessert, homemade fudge, no thermometer fudge, silky smooth fudge, christmas treats, easy candy recipe



