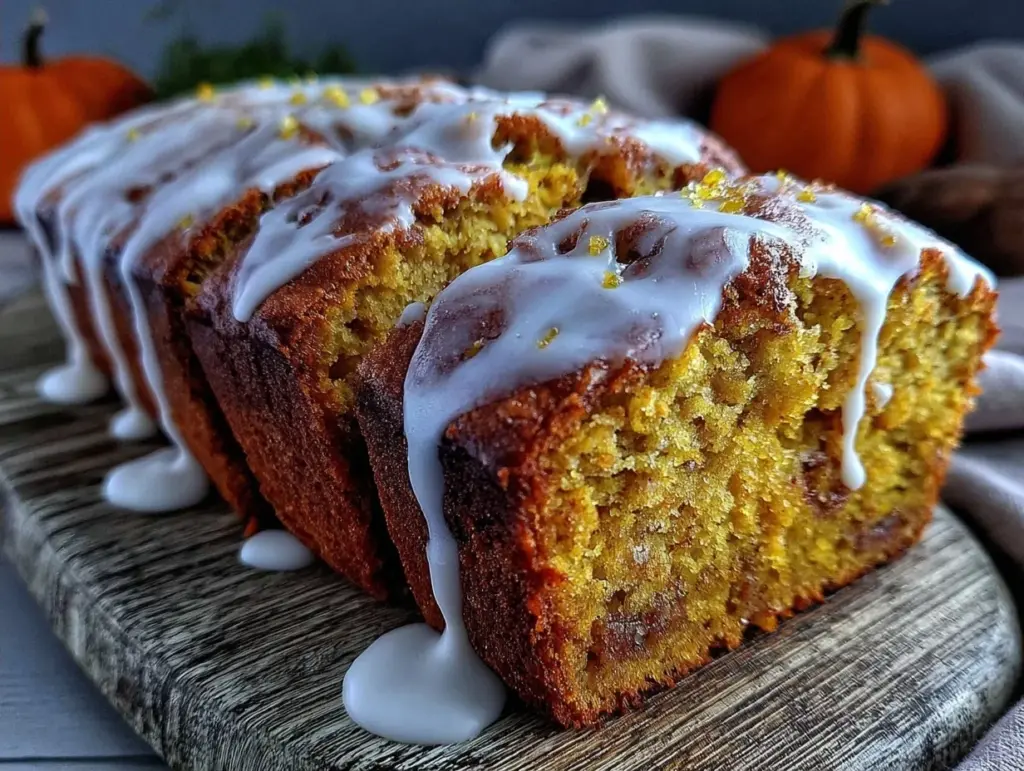
There is a specific kind of guilt that comes with baking a standard loaf of banana bread. You know the one. You mix the batter, you wait for the glorious smell of cinnamon and caramelized sugar to fill your apartment, you slice into that beautiful, moist loaf, and then you realize you’ve just committed to eating banana bread for breakfast, lunch, and dinner for the next five days. By day three, the novelty has worn off. The texture gets weird. You’re staring at a plastic-wrapped slice wondering if you should just throw it out.
I used to hate that feeling. I loved banana bread, but I hated the waste. And when fall rolled around and I desperately wanted that pumpkin spice vibe—the warmth of nutmeg, the earthiness of the pumpkin, the cozy aroma—I was stuck. Do I make a whole loaf and suffer through the leftovers? Or do I skip it entirely and miss out on the season?
Then I figured it out. The small batch approach changed everything for me. This Small Batch Pumpkin Spice Banana Bread for One is my absolute favorite way to enjoy autumn flavors without the commitment. It bakes in a ramekin or a small mug. It takes about 20 minutes from start to finish. And most importantly? It makes exactly one serving. No freezer storage. No sad, dry leftovers on Thursday. Just one perfect, warm, spiced loaf that tastes like a hug.
I’ve tested this recipe dozens of times using different types of bananas and various pumpkin purees. I’ve made it while half-asleep on rainy Sundays and while rushing out the door for work. It always works. If you’ve ever felt frustrated by recipes that demand six overripe bananas and a full 9×5 pan, this is the recipe you’ve been waiting for. It’s finally, a recipe that doesn’t leave you with a week of leftovers you didn’t ask for.
Why You’ll Love This Single-Serve Pumpkin Spice Banana Bread
There are about ten reasons I keep coming back to this little ramekin loaf, but here are the big ones that make it a staple in my fall routine.
Zero Waste, Maximum Flavor — Seriously, this is the best part. You use exactly one banana. You use exactly one-third cup of pumpkin puree. Everything you mix goes into the batter. There is nothing left over. No half-used cans of pumpkin. No sad, mushy bananas hiding in the fruit bowl. It’s efficient cooking at its finest.
Lightning Fast — I’m talking 10 minutes of prep and 12-15 minutes of baking. That’s it. I make this on weekdays when I need a quick afternoon pick-me-up or a light dinner. It’s faster than ordering takeout and tastes infinitely better. Plus, it’s ready while you’re still getting dressed.
Perfectly Moist Texture — People think small-batch baking leads to dry, crumbly results. Not here. Because the portion is small, the heat penetrates evenly, and the ratio of wet ingredients (banana and pumpkin) to dry ingredients is spot-on. It’s dense like a muffin but soft like cake. It stays moist for hours.
Customizable Toppings — Since it’s just one serving, you can get fancy. Top it with a dollop of Greek yogurt, a drizzle of maple syrup, or a sprinkle of walnuts. I even like to melt a few chocolate chips on top right after it comes out of the oven. It’s your tiny canvas.
Great for Meal Prep (Sort Of) — You can actually make two or three of these at once in a standard muffin tin. I do this on Sunday mornings. They keep in the fridge for up to 3 days and reheat beautifully in the microwave for 30 seconds. It’s like having fresh baked goods on demand without the effort.
This is my go-to when I want something sweet but not overly heavy. It’s comforting, it’s seasonal, and it respects your time and your appetite. No stress, no waste, just good food.
Ingredients You’ll Need
Here’s the best part: you probably have most of this already in your kitchen. I’m particular about a few things, but overall, this is a pantry-friendly recipe.
For the Base:
Ripe banana (1 medium / about 100g, peeled) — This is the star. It needs to be very ripe, with brown spots on the peel. The browner, the sweeter, and the easier it mixes into a batter. If your banana is green, it won’t work. Trust me.
Pumpkin puree (⅓ cup / 80g) — Make sure it’s 100% pure pumpkin, NOT pumpkin pie filling. Pie filling has sugar and spices already added, which will throw off the balance. I buy the small cans or the refrigerated tubs.
All-purpose flour (½ cup / 65g) — Standard flour works fine. I’ve tried self-rising flour, but you have to adjust the baking powder, so stick with plain all-purpose for consistency.
Baking powder (½ teaspoon) — This is what makes it rise. Don’t skip it. If yours is old (over 6 months), your bread might be dense. Check the date on your tin.
Butter (2 tablespoons / 30g, melted) — I use unsalted butter. Melt it in the microwave for 15 seconds. It adds richness and keeps the crumb tender. Olive oil works too, but butter tastes better here.
For the Flavor:
Brown sugar (2 tablespoons / 25g) — I prefer brown sugar over white because it adds a deeper, molasses-like flavor that pairs perfectly with pumpkin. Light or dark brown both work.
Pumpkin pie spice (1 teaspoon) — This is a blend of cinnamon, nutmeg, ginger, and cloves. If you don’t have it, you can mix your own: ½ tsp cinnamon, ¼ tsp nutmeg, ¼ tsp ginger, and a pinch of cloves.
Cinnamon (½ teaspoon) — Even with pumpkin pie spice, I like an extra hit of cinnamon. It’s the scent of fall.
Salt (¼ teaspoon) — Crucial. Salt balances the sweetness and brings out the pumpkin flavor. Don’t skip it.
Milk (1 tablespoon / 15ml) — Just a splash. It helps loosen the batter so it’s not too dense. Whole milk or almond milk both work.
Optional Add-ins:
Walnuts or pecans (2 tablespoons, chopped) — Adds crunch. I toast them in the pan first for extra flavor, but raw is fine.
Chocolate chips (1 tablespoon) — Because why not? Pumpkin and chocolate is a weird combo that actually works.
Cream cheese swirl — Mix 1 tablespoon cream cheese with a teaspoon of sugar and swirl it in before baking. It’s like a mini cheesecake.
Equipment Needed
You don’t need fancy equipment for this. Here’s what I actually use.
12-ounce ramekin or large mug — I use a ceramic ramekin. It’s the perfect size. A large coffee mug (12-16 oz) works too, but make sure it’s microwave-safe if you plan to reheat leftovers (though there shouldn’t be any!).
Small mixing bowl — Any bowl that can hold about 2 cups. I use a small glass bowl.
Fork — For mashing the banana. No mixer needed. This is a hand-mash recipe.
Spatula — For stirring the batter. Silicone works best.
Olive oil spray or butter — To grease the ramekin. Prevents sticking and gives a nice crust.
Microwave — To melt the butter quickly.
Oven — Standard bake setting. I use a toaster oven for this sometimes because it’s faster to preheat, but a full oven works fine too.
Small measuring spoons and cup — Accuracy matters more in small batches. A little too much baking powder can make it taste bitter.
How to Make It: Step-by-Step
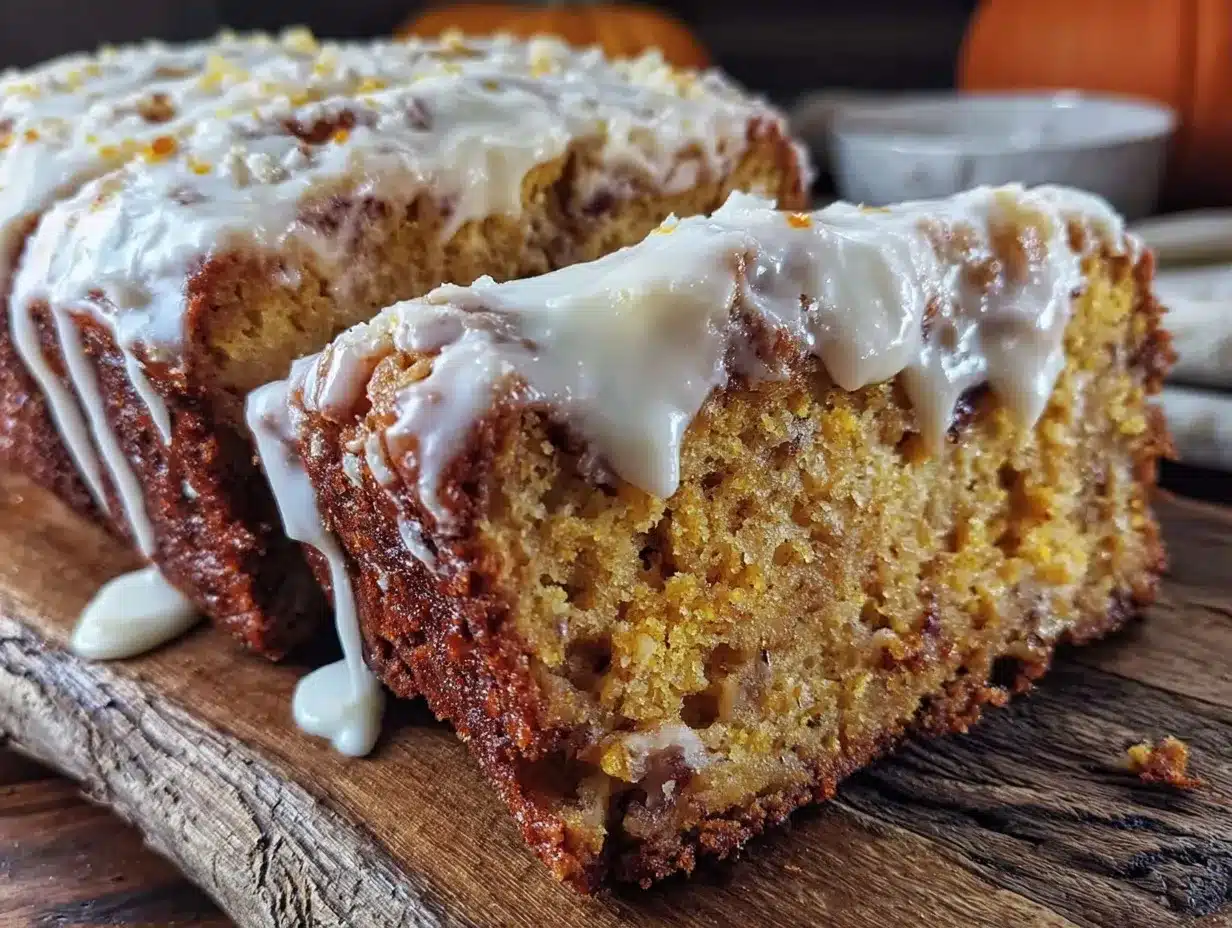
Alright, let’s make this! I’m walking you through exactly how I do it, including the little tricks I’ve picked up.
Step 1: Prep Your Oven and Ramekin (2 minutes)
Preheat your oven to 350°F (175°C). If you’re using a toaster oven, this heats up in about 3 minutes. Grab your ramekin or large mug. Spray it lightly with olive oil spray or rub it with a little butter. This ensures the bread releases easily and gets a golden edge.
Step 2: Mash the Banana (1 minute)
In your small mixing bowl, peel the ripe banana and add it. Use a fork to mash it until it’s mostly smooth with just a few small lumps. You want about ½ cup of mashed banana. If it’s too wet (some bananas are juicier), mash it longer. You want a paste-like consistency.
Step 3: Mix Wet Ingredients (1 minute)
Add the melted butter, pumpkin puree, brown sugar, and milk to the mashed banana. Stir vigorously with the fork or spatula until everything is combined and smooth. The mixture should look like a thick, orange-brown batter. No lumps of sugar remaining.
Step 4: Add Dry Ingredients (1 minute)
Sprinkle in the flour, baking powder, pumpkin pie spice, cinnamon, and salt. Gently fold these into the wet mixture. Do not overmix! Stop as soon as you no longer see streaks of flour. Overmixing develops gluten and makes the bread tough. You want it tender.
Step 5: Add Mix-ins (Optional) (30 seconds)
If you’re adding nuts or chocolate chips, fold them in now. If you’re doing a cream cheese swirl, dollop it on top and use a knife to swirl it gently.
Step 6: Bake (12-15 minutes)
Place the ramekin on a baking sheet (for easy cleanup) and put it in the preheated oven. Bake for 12-15 minutes. It’s done when the top is golden brown, the edges pull away slightly from the sides, and a toothpick inserted into the center comes out clean or with just a few moist crumbs.
Step 7: Cool and Serve (5 minutes)
Let it cool in the ramekin for 5 minutes. It’s very hot inside! Then, run a knife around the edge and invert it onto a plate, or just eat it straight from the ramekin. Top with a dollop of Greek yogurt or a drizzle of maple syrup if you’re feeling fancy.
Total Time: About 20 minutes (5 minutes prep, 15 minutes bake)
Expert Tips & Tricks
Here’s everything I’ve learned from making this dozens of times. These tips will save you from my mistakes.
The Banana Rule
The riper the banana, the better. Green bananas are starchy and not sweet enough. Brown bananas are sugary and easy to mash. If you have green bananas, put them on a baking sheet at 300°F for 15 minutes to blacken them. It’s a hack I learned from these coconut flour muffins where ripeness was key.
Don’t Overbake
Small batches bake faster than you think. Start checking at 12 minutes. If the toothpick comes out with wet batter, give it 2 more minutes. If it comes out clean, it’s done. Overbaked pumpkin bread gets dry and crumbly.
Puree vs. Pie Filling
I can’t stress this enough: use pure pumpkin puree. Pumpkin pie filling has added sugar and spices. If you use it, your bread will be too sweet and the texture will be wrong. Save the pie filling for this pumpkin spice french toast where the extra sweetness works.
Room Temperature Ingredients
If your butter or milk is cold, the batter might separate slightly. Let them sit out for 10 minutes. It helps the emulsion and gives a smoother crumb.
Reheating Like a Pro
If you make two and save one, reheat it in the microwave for 20-30 seconds. Add a tiny splash of water to the ramekin before microwaving to keep it moist. It’ll taste almost fresh.
Variations & Substitutions
Once you’ve nailed the basic version, here’s how you can mix it up. I’ve tried all of these.
Gluten-Free Version
Swap the all-purpose flour for a 1:1 gluten-free flour blend. I use Bob’s Red Mill or King Arthur. It works perfectly. Just make sure your baking powder is gluten-free.
Dairy-Free Version
Use coconut oil instead of butter and almond milk instead of dairy milk. The flavor changes slightly (hint of coconut), but it’s still delicious. I also use this method for dairy-free treats where the substitution is seamless.
Lower Sugar
Reduce the brown sugar to 1 tablespoon. The banana and pumpkin provide enough sweetness. Use a sugar substitute like monk fruit if you prefer.
Protein Boost
Add 1 scoop of vanilla protein powder. You might need an extra tablespoon of milk because protein powder absorbs liquid. It makes it more filling for breakfast.
Spice It Up
Add a pinch of cayenne pepper. It adds a subtle heat that contrasts with the sweetness. Great with coffee.
Serving & Storage
How to Serve:
I usually serve this warm, straight from the ramekin. It looks rustic and stays hot. But here are other ways I’ve enjoyed it:
Side Dishes:
- Cup of black coffee or chai tea
- Small side of fresh berries
- Slice of sharp cheddar cheese
Toppings Bar:
When I have guests, I put out: whipped cream, maple syrup, chopped pecans, and a dollop of Greek yogurt for a tangy contrast.
Storage Instructions:
Refrigerator: Store in an airtight container for up to 3 days. It stays moist.
Reheating: Microwave for 20-30 seconds. Do not bake again.
Freezing: Yes, you can freeze it! Wrap the cooled bread tightly in plastic wrap and foil. Freeze for up to 1 month. Thaw in the fridge overnight and reheat.
Pro tip: If you’re meal prepping, bake 3-4 ramekins at once. They stack well in the fridge.
Nutrition Information
I’m not a nutritionist, but here’s the breakdown if you’re tracking. This is per serving (one ramekin).
| Nutrient | Amount |
|---|---|
| Calories | 280 |
| Protein | 4g |
| Carbs | 45g |
| Fiber | 3g |
| Sugar | 22g |
| Fat | 10g |
| Sodium | 250mg |
What’s Good: High in fiber from banana and pumpkin. Good source of potassium. Single serving helps with portion control.
What to Know: Contains sugar from banana and brown sugar. Moderate calories. Not low-carb unless modified.
My Take: This is a treat, not a health food. But it’s better than a cupcake or a slice of pie. It’s balanced, satisfying, and leaves you feeling good.
Final Thoughts
So that’s my go-to Small Batch Pumpkin Spice Banana Bread for One! I’ve probably talked your ear off at this point, but when you make a recipe this often, you have a lot to say about it.
This has saved me from so many waste-related guilt trips. It’s my answer to “what’s for dessert” when I want something cozy but don’t want to commit to a whole loaf. My apartment smells amazing, my cravings are satisfied, and I have zero leftovers to deal with.
Make it yours! Try different nuts, swap the sugar, add chocolate. The best recipes are the ones you adapt to your tastes. If you make this, drop a comment and let me know what you think! I love hearing how recipes turn out in your kitchen.
Happy baking! And I hope your kitchen smells half as good as mine does right now.
Frequently Asked Questions
Can I use canned pumpkin pie filling instead of puree?
No, not recommended. Pie filling has added sugar and spices. Your bread will be too sweet and the texture will be off. Stick to 100% pure pumpkin puree.
Why did my banana bread turn out dense?
Usually, this means you overmixed the batter. Once you add the flour, mix just until combined. Also, check your baking powder. If it’s old, it won’t rise properly.
Can I make this in the microwave?
Yes! Cook on high for 1-2 minutes. Check at 1 minute. It will be more like a cake texture than a baked crust, but it’s fast and works in a pinch.
How do I store leftovers?
Since this is a single serve, there shouldn’t be leftovers! But if you make multiple, store them in an airtight container in the fridge for up to 3 days.
Can I freeze this?
Absolutely. Wrap it tightly and freeze for up to 1 month. Thaw in the fridge and reheat in the microwave.
What if I don’t have pumpkin pie spice?
Make your own! Mix ½ tsp cinnamon, ¼ tsp nutmeg, ¼ tsp ginger, and a pinch of cloves. It’s just as good.
Can I use whole wheat flour?
You can, but it will be denser and nuttier. I recommend mixing half all-purpose and half whole wheat for the best texture.
Pin This Recipe!
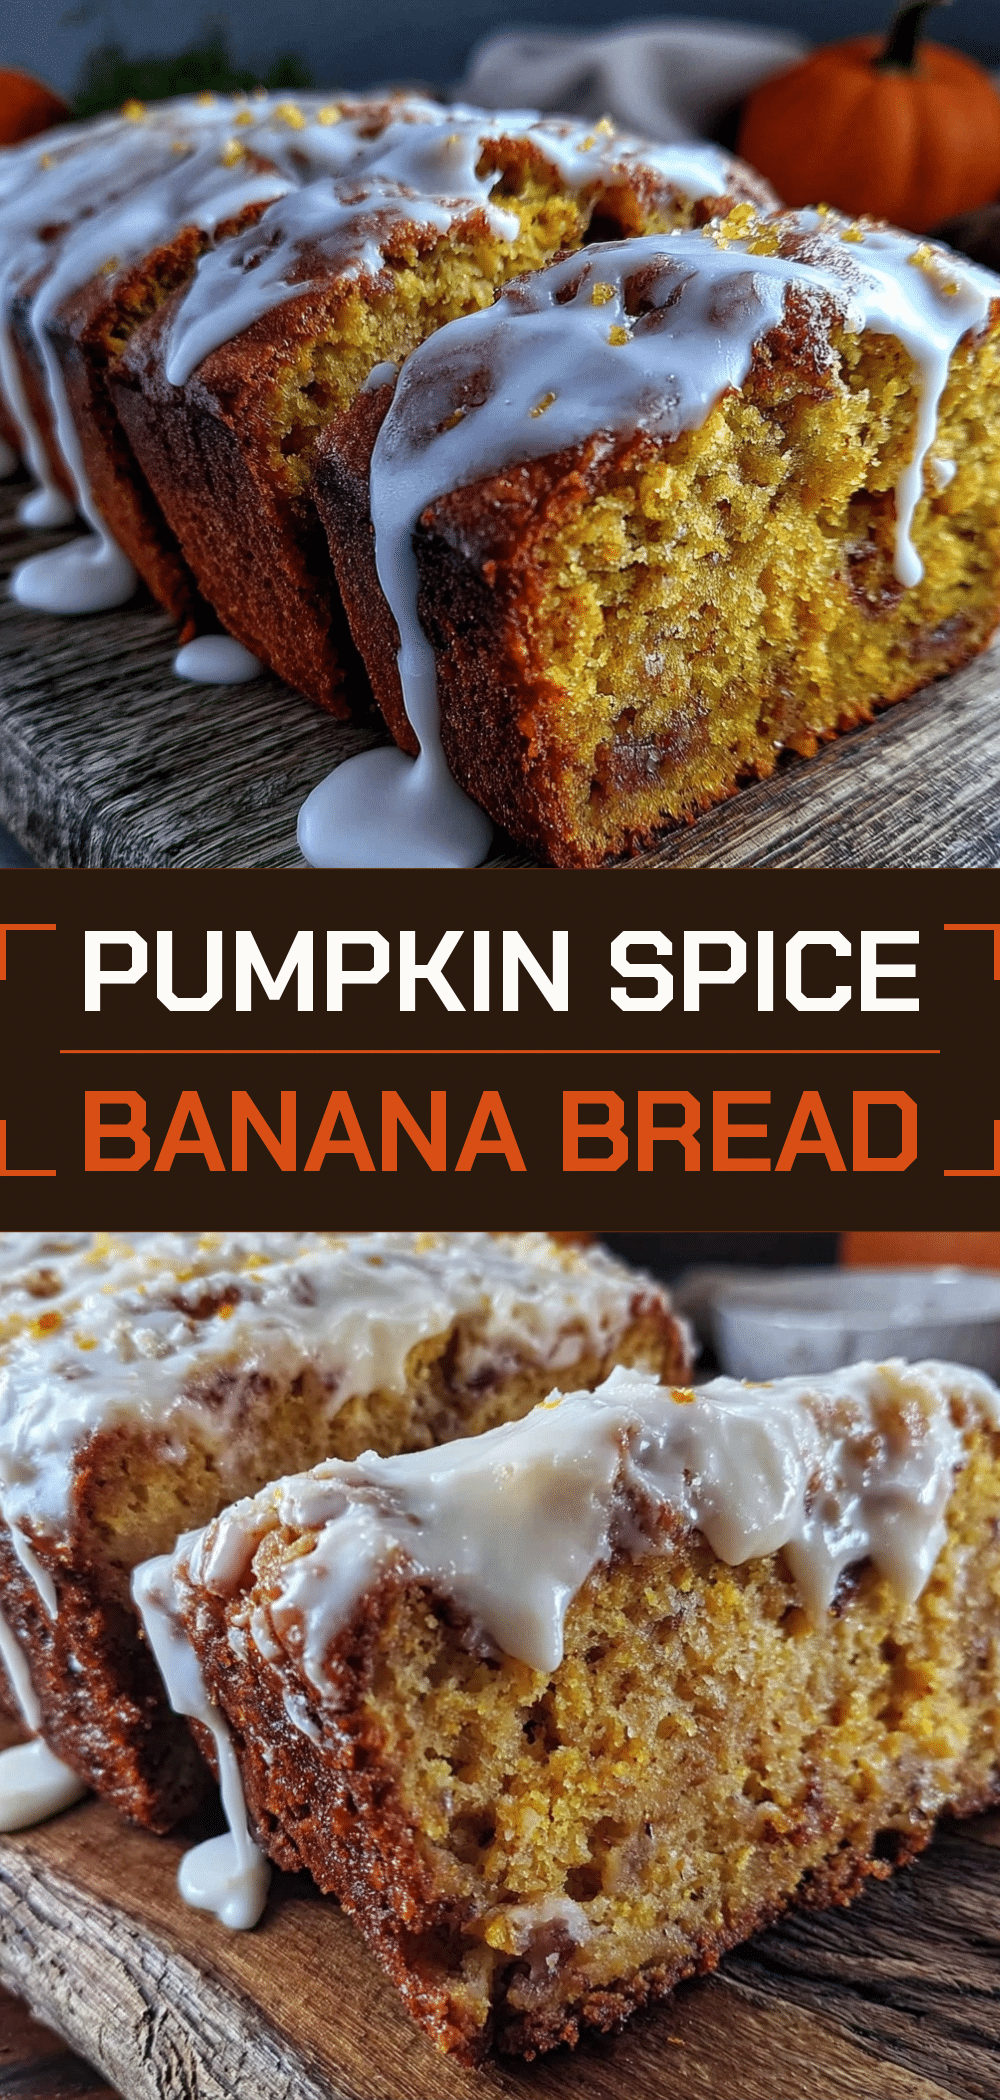
Small Batch Pumpkin Spice Banana Bread for One
- Total Time: 20 minutes
- Yield: 1 serving 1x
Description
A single-serving pumpkin spice banana bread baked in a ramekin or mug, offering all the cozy autumn flavors without the waste of a full loaf.
Ingredients
- 1 medium ripe banana (about 100g, peeled)
- 1/3 cup (80g) pure pumpkin puree
- 1/2 cup (65g) all-purpose flour
- 1/2 teaspoon baking powder
- 2 tablespoons (30g) unsalted butter, melted
- 2 tablespoons (25g) brown sugar
- 1 teaspoon pumpkin pie spice
- 1/2 teaspoon cinnamon
- 1/4 teaspoon salt
- 1 tablespoon (15ml) milk
- Optional: 2 tablespoons chopped walnuts or pecans
- Optional: 1 tablespoon chocolate chips
- Optional: 1 tablespoon cream cheese mixed with 1 teaspoon sugar for swirl
Instructions
- Preheat oven to 350°F (175°C). Grease a 12-ounce ramekin or large mug with butter or olive oil spray.
- In a small mixing bowl, mash the ripe banana with a fork until mostly smooth (about 1/2 cup).
- Add the melted butter, pumpkin puree, brown sugar, and milk to the mashed banana. Stir vigorously until the mixture is smooth and combined.
- Sprinkle in the flour, baking powder, pumpkin pie spice, cinnamon, and salt. Gently fold into the wet mixture until just combined; do not overmix.
- Fold in optional mix-ins like nuts or chocolate chips, or dollop cream cheese mixture on top for a swirl.
- Place the ramekin on a baking sheet and bake for 12-15 minutes, or until the top is golden brown and a toothpick inserted into the center comes out clean.
- Let cool in the ramekin for 5 minutes before serving. Enjoy warm with toppings like Greek yogurt or maple syrup.
Notes
Ensure the banana is very ripe with brown spots for maximum sweetness and ease of mashing. Use 100% pure pumpkin puree, not pumpkin pie filling. Do not overmix the batter to avoid a tough texture. For meal prep, you can bake multiple ramekins at once in a muffin tin.
- Prep Time: 5 minutes
- Cook Time: 15 minutes
- Category: Breakfast
- Cuisine: American
Nutrition
- Serving Size: 1 ramekin loaf
- Calories: 280
- Sugar: 22
- Sodium: 250
- Fat: 10
- Saturated Fat: 6
- Carbohydrates: 45
- Fiber: 3
- Protein: 4
Keywords: pumpkin spice banana bread, single serve recipe, small batch baking, ramekin bread, fall breakfast, gluten-free option, dairy-free option



