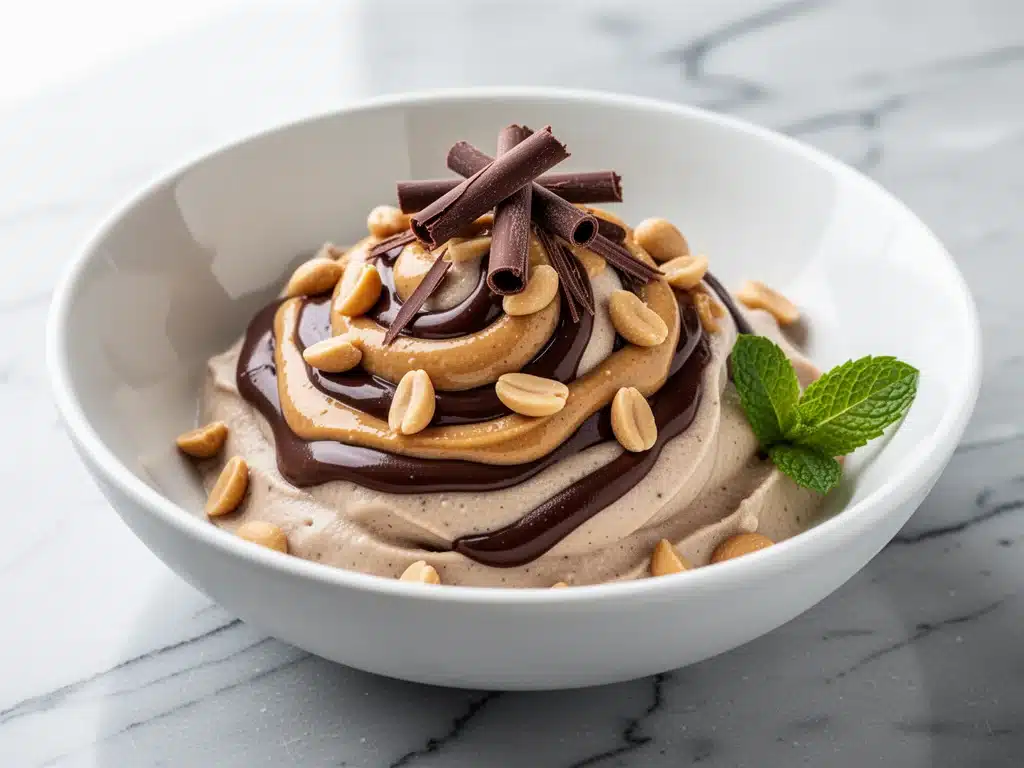
I have a confession to make: I used to think “nice cream” was just a trendy name for a mediocre excuse for dessert. You know the type. Frozen banana mush with a sprinkle of cacao powder that tasted like dirt and regret. I was skeptical. I was closed-minded. I was wrong.
It started because I was stuck. It was one of those Tuesday nights where the house was quiet, my kids were asleep, and I desperately wanted something sweet that didn’t feel like I was cheating on my healthy eating goals. I opened the freezer, hoping to find leftover ice cream, but all I saw was a half-eaten container of vanilla and a bag of bananas that were looking a little too brown to eat raw. I was ready to just eat a spoonful of peanut butter straight from the jar (don’t judge me) when I remembered a technique I’d seen floating around social media. Frozen bananas. Blended. No ice cream maker required.
I threw three ingredients into my blender: frozen bananas, natural peanut butter, and cocoa powder. I hit the button, expecting a disaster. Instead, I got a cloud of chocolatey, creamy perfection that tasted like a brownie batter smoothie but had the texture of soft-serve ice cream. It was rich. It was cold. It was dairy-free magic.
This dairy-free chocolate peanut butter nice cream has become my go-to rescue dessert. It’s happened so many times now that my kids have caught on. They’ll walk into the kitchen, see the blender running, and do that little dance they do when they know dessert is coming. I’ve tested this recipe with different bananas, different peanut butters, and even different blenders, and I can tell you with certainty: this is the easiest, most satisfying dessert you’ll ever make. It’s sweet, it’s crunchy (if you add mix-ins), and it’s ready in less time than it takes to drive to the grocery store.
I’ve made this at least a dozen times in the last month alone. Sometimes I add a pinch of sea salt. Sometimes I swirl in some chocolate chips. But the core recipe? It’s just three ingredients. That’s it. No weird gums, no stabilizers, no expensive nut milks that go bad in your fridge before you use them. Just fruit, nuts, and cocoa. If you’ve been looking for a way to satisfy your sweet tooth without the dairy hangover, you need to try this. Seriously. It’s that good.
Why You’ll Love This Recipe
There are a million reasons to keep frozen bananas in your freezer, but here are the big ones that keep me coming back to this dairy-free chocolate peanut butter nice cream week after week.
- Stupid Simple Ingredients — Seriously, if you can identify a banana and a jar of peanut butter, you can make this. I don’t mean “simple” in the vague sense. I mean you need exactly three items. No vanilla extract to measure, no salt to pinch, no maple syrup to drizzle. Just blend and eat. I’ve made this for guests who are lactose intolerant, and they ask for the recipe every time.
- Lightning Fast — 5 minutes. That’s the total time from frozen banana to soft-serve ice cream. I’m talking about active time. The bananas freeze while you’re doing literally anything else. I make this after dinner while the dishes are washing. It’s faster than ordering takeout and way cheaper.
- Pantry-Friendly — You probably have all of this already. Bananas are cheap. Peanut butter is a staple. Cocoa powder is in the baking aisle. I keep a bag of frozen bananas in my freezer specifically for this. It’s my secret weapon for last-minute cravings.
- Dairy-Free by Default — No need to hunt for expensive almond or oat milk. No need to worry about cross-contamination if you’re avoiding dairy for health reasons. This is naturally plant-based and creamy without any of the artificial thickeners you find in store-bought vegan ice creams.
- Kid-Approved Texture — This is the holy grail. Most healthy desserts fail because the texture is icy or grainy. Not this. The frozen bananas create a silky, smooth mouthfeel that mimics traditional ice cream perfectly. My picky eaters think they’re getting a treat, not a health hack.
- Customizable — Once you nail the base, you can add anything. Chocolate chips, crushed peanuts, swirls of caramel, even a spoonful of chia pudding for extra fiber. It’s a blank canvas for your imagination.
This is my answer to “can we have ice cream?” when I don’t want to give them processed sugar and dairy. It feels indulgent, but it’s actually just fruit and nuts. And that’s the best part.
Ingredients You’ll Need
Here’s the best part: you probably have most of this already. I’m particular about the quality of two ingredients here, and I’ll tell you exactly why it matters.
The Base
Ripe Bananas (3 large, peeled and frozen / about 900g) — This is the most critical ingredient. You want bananas that are very ripe, with brown spots on the peel. The riper the banana, the sweeter the nice cream. If they’re yellow, they’ll taste bland. Peel them, break them in half, and freeze them in a bag for at least 4 hours (overnight is best). I keep a dedicated freezer bag just for this.
Natural Peanut Butter (½ cup / 120g) — I use creamy, natural peanut butter with no added sugar or hydrogenated oils. The oil separation is fine—you just need to stir it well before measuring. If you use crunchy peanut butter, the texture will be chunky. I prefer creamy for that smooth ice cream feel. Brands like Madécasse or Smucker’s Natural work great.
Cocoa Powder (2-3 tablespoons / 15-20g) — Use unsweetened cocoa powder. Not hot chocolate mix. Not Dutch-processed if you can help it (regular natural cocoa has a brighter chocolate flavor). I use Hershey’s Regular Cocoa because it’s what’s in my pantry, but any good unsweetened cocoa works. This gives it that rich chocolate brownie taste.
Optional Add-Ins
Sea Salt (a pinch) — Just a tiny pinch enhances the chocolate flavor. I don’t measure it; I just pinch it with my fingers. It makes the peanut butter taste more like a candy bar.
Vanilla Extract (1 teaspoon) — Optional, but I add it sometimes for depth. If you’re keeping it strictly 3-ingredient, skip it. It’s still delicious without.
Chocolate Chips (¼ cup, dairy-free) — For texture. I fold these in at the end. They stay slightly frozen and crunchy, which is amazing.
Crushed Peanuts (2 tablespoons) — For that Reese’s Cup vibe. I crush them in a bag with a rolling pin. Adds a nice crunch.
Milk (1-2 tablespoons, any plant milk) — Sometimes the blender gets stuck. I add a splash of almond milk, oat milk, or even water to help it move. You don’t need much. Just enough to get the blades moving.
Tip: Don’t use frozen banana slices that are still in the peel. They take forever to thaw enough to peel. Peel them first, then freeze. It saves so much frustration.
Equipment Needed
You don’t need fancy equipment for this. Here’s what I actually use.
High-Speed Blender — I use a Vitamix, and it makes this incredibly smooth. But you don’t need to spend $500. A standard blender works too, but it might take a bit longer and more scraping. If you don’t have a blender, a food processor works, but the texture might be slightly different. I’ve tried both.
Freezer-Safe Bags — For storing the peeled bananas. I use Ziploc bags, but any freezer bag works. Just squeeze out the air so you don’t get freezer burn.
Spatula — A rubber spatula is essential for scraping down the sides of the blender. The mixture gets thick fast, and you need to get every bit out.
Serving Bowls — I serve it straight from the blender for that soft-serve look. Or I scoop it into bowls. Whatever feels easiest.
Optional: Ice Cream Scoop — If you let it freeze for an hour after blending, it firms up enough to scoop. A regular ice cream scoop works, but it might take some effort. A spoon works fine too.
Tool Tip: If your blender is struggling, stop and scrape down the sides. Don’t just keep running it. Let it rest for 30 seconds, then try again. Patience is key.
How to Make It: Step-by-Step
Alright, let’s make this! I’m walking you through exactly how I do it, including the little tricks I’ve picked up.
Step 1: Prep the Bananas (Days Before)
Pick bananas that are ripe. I mean really ripe. Yellow with brown spots. The sweeter they are, the better the dessert. Peel them completely. Break them in half (this helps them fit in the bag). Place them in a freezer-safe bag, squeeze out the air, and freeze for at least 4 hours. Overnight is ideal. I usually freeze a bunch when I buy them, so they’re always ready.
Step 2: Blend the Base (2-3 Minutes)
Add the frozen banana pieces to your blender. Add the peanut butter and cocoa powder. Start blending on low. It’s going to look chunky. It’s going to look like it’s not working. Keep going. Stop the blender and scrape down the sides with your spatula. Add a splash of plant milk if it’s really stuck. Blend on high until it’s completely smooth and creamy. This might take 2-3 minutes. Don’t rush it. The texture should be like soft-serve ice cream.
Step 3: Taste and Adjust (1 Minute)
Stop the blender and taste it. Do you want it sweeter? Add a little more peanut butter or a drizzle of maple syrup. Do you want more chocolate? Add another tablespoon of cocoa. Do you want more salt? Pinch it in. This is your chance to make it perfect.
Step 4: Add Mix-Ins (1 Minute)
If you’re adding chocolate chips, crushed peanuts, or anything else, pulse them in now. Don’t blend too much or you’ll crush the mix-ins. Just a few pulses to distribute them.
Step 5: Serve or Freeze (Instant or 1 Hour)
Eat it right away for soft-serve texture. Or scoop it into a container and freeze for 1 hour for firmer ice cream. I usually eat it straight from the blender because I don’t have patience.
Total Time: 5 minutes active (plus freezing time for bananas)
Expert Tips & Tricks
Here’s everything I’ve learned from making this dozens of times. These tips will save you from my mistakes.
Use Ripe Bananas — This is non-negotiable. Green bananas taste bland and starchy. Yellow bananas are okay, but brown-spotted bananas are sweet and creamy. If your bananas are too green, leave them on the counter for a few days until they spot. Trust me.
Don’t Skip the Scrape — Frozen bananas are hard. They stick to the sides of the blender. Stop every 30 seconds and scrape down the sides. This ensures even blending. If you don’t, you’ll get a chunky mess.
Peanut Butter Matters — Use natural peanut butter. If you use processed peanut butter with hydrogenated oils, it might get too thick or grainy. Natural peanut butter blends smoother and tastes better. Stir it well before measuring.
Cocoa Powder Choice — Use unsweetened cocoa powder. If you use sweetened cocoa, you’ll need to reduce any added sugar. I prefer natural cocoa for its bright flavor, but Dutch-processed works too. Just adjust sweetness.
Temperature Control — If the mixture gets too warm while blending, it’ll melt. Work quickly. If your blender is powerful, it might heat up the mixture. If that happens, let it sit for a minute before blending more.
Common Mistakes:
Mistake: Mixture is too thick — Fix: Add plant milk, one tablespoon at a time. Keep blending until smooth.
Mistake: Mixture is too thin — Fix: Freeze it for 30 minutes. Or add more frozen banana.
Mistake: Tastes bland — Fix: Add more cocoa or peanut butter. Or a pinch of salt.
Variations & Substitutions
Once you’ve nailed the basic version, here’s how you can mix it up. I’ve tried all of these.
Reese’s Cup Version — Add crushed peanuts and chocolate chips. This is the closest to a candy bar. My kids love this version.
Mocha Nice Cream — Add 1 teaspoon of instant coffee or espresso powder. It enhances the chocolate flavor. Great for coffee lovers.
Strawberry Peanut Butter — Swap half the bananas for frozen strawberries. Adds a fruity twist. Surprisingly delicious.
Chocolate Chip Cookie Dough — Add dairy-free chocolate chips and a pinch of sea salt. Add a tablespoon of oat flour if you want a cookie dough texture.
Almond Butter Swap — Use almond butter instead of peanut butter. Slightly more expensive, but delicious. Works with any nut butter.
Dietary Modifications:
Nut-Free — Use sunflower seed butter (SunButter) instead of peanut butter. It has a similar texture and taste. Great for school-safe lunches.
Sugar-Free — Use unsweetened cocoa and natural peanut butter with no added sugar. The sweetness comes entirely from the bananas. You can add stevia or monk fruit if you want extra sweetness.
Serving & Storage
How to Serve: I serve it straight from the blender for that soft-serve look. It’s rustic and fun. But here are other ways I’ve enjoyed it:
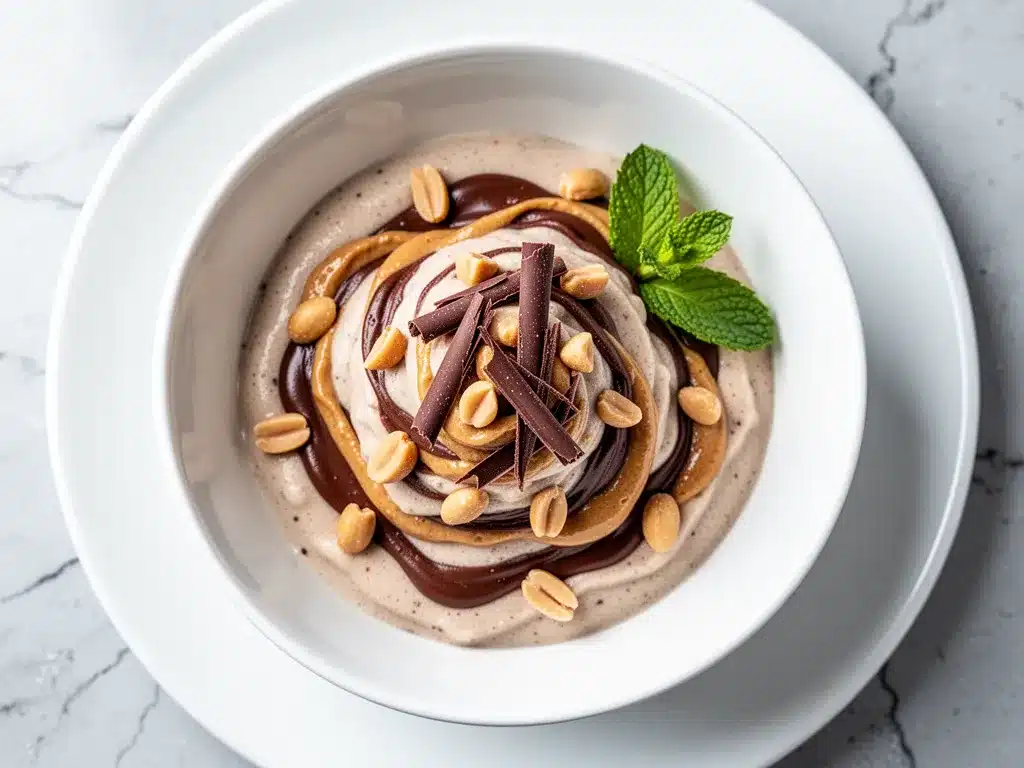
As a Dessert Bowl — Scoop it into bowls and top with fresh fruit, nuts, or drizzles of chocolate sauce. It looks fancy but takes 5 minutes.
As a Smoothie Bowl — Blend it less so it’s thicker. Top with granola, coconut flakes, and berries. Perfect for breakfast.
As a Dip — Thin it out with a little more milk. Use it as a dip for apple slices or pretzels. It’s a healthy snack alternative.
Storage Instructions:
Refrigerator: Nice cream doesn’t store well in the fridge because it melts. Eat it immediately.
Freezer: Scoop it into an airtight container and freeze for up to 1 week. It will get hard. Let it sit on the counter for 10-15 minutes before eating to soften.
Pro Tip: If you’re meal-prepping, freeze the bananas in portions. One bag per serving. Then you just dump and blend. Saves time during the week.
Nutrition Information
I’m not a nutritionist, but here’s the breakdown if you’re tracking. This is per serving (based on 2 servings).
| Nutrient | Amount |
|---|---|
| Calories | 350 |
| Protein | 12g |
| Carbs | 45g |
| Fiber | 6g |
| Sugar | 28g |
| Fat | 14g |
| Saturated Fat | 2g |
| Sodium | 5mg |
What’s Good: High in fiber from bananas and peanut butter. Good source of plant-based protein. No added sugar (unless you add it). Naturally dairy-free.
What to Know: Higher in carbs from bananas. If you’re watching sugar, be mindful of the banana ripeness. Use less ripe bananas to reduce sugar.
My Take: Look, this is a fruit-based dessert. It’s not a diet food, but it’s way better than processed ice cream. It’s filling, it’s sweet, and it’s made from real ingredients. When I want to make it lighter, I use less peanut butter and more cocoa. But usually? I just enjoy a reasonable portion and appreciate that it’s healthy-ish.
Final Thoughts
So that’s my go-to dairy-free chocolate peanut butter nice cream! I’ve probably talked your ear off at this point, but when you make a recipe this often, you have a lot to say about it.
This has saved dessert nights more times than I can count. It’s my answer to “what’s for dessert?” when I’m tired, don’t want to cook, and still want something that tastes really good. My kids are happy, my husband’s happy, and I’m happy because I’m not stressed about cooking.
Make it yours! Try different add-ins, swap in your favorite nut butter, adjust the cocoa. The best recipes are the ones you adapt to your family’s tastes.
If you make this, drop a comment and let me know what you think! I love hearing how recipes turn out in your kitchen. And if something doesn’t work, tell me that too—I’m here to help troubleshoot.
Happy cooking! And I hope your kitchen smells half as good as mine does right now.
Frequently Asked Questions
Q: Can I use fresh bananas instead of frozen?
A: You can, but the texture will be more like a smoothie than ice cream. If you use fresh bananas, add a cup of ice cubes to the blender. It’ll help it get thicker. But frozen bananas are the secret to that creamy texture.
Q: Why is my nice cream too thick to blend?
A: Frozen bananas are hard. Add a splash of plant milk, one tablespoon at a time. Blend on low first, then high. Scrape down the sides often. If it’s still stuck, let it sit for 5 minutes to thaw slightly.
Q: Can I make this ahead for a party?
A: Yes! Make the nice cream, scoop it into a container, and freeze for 1-2 hours. Let it sit on the counter for 10 minutes before serving to soften. It holds up well for a few hours.
Q: Why did my nice cream get icy?
A: Usually means the bananas weren’t ripe enough, or you didn’t blend long enough. Ripe bananas create creaminess. Blend until completely smooth. Also, make sure your blender is powerful enough.
Q: Can I use almond butter instead of peanut butter?
A: Absolutely! It works great. Just note that almond butter is slightly sweeter and less salty, so you might want to add a pinch of salt.
Q: How do I store leftovers?
A: Scoop into an airtight container and freeze for up to 1 week. It will get hard. Let it thaw on the counter for 10-15 minutes before eating.
Q: Can I make this nut-free?
A: Yes! Use sunflower seed butter (SunButter) instead of peanut butter. It has a similar texture and taste. Great for school-safe lunches.
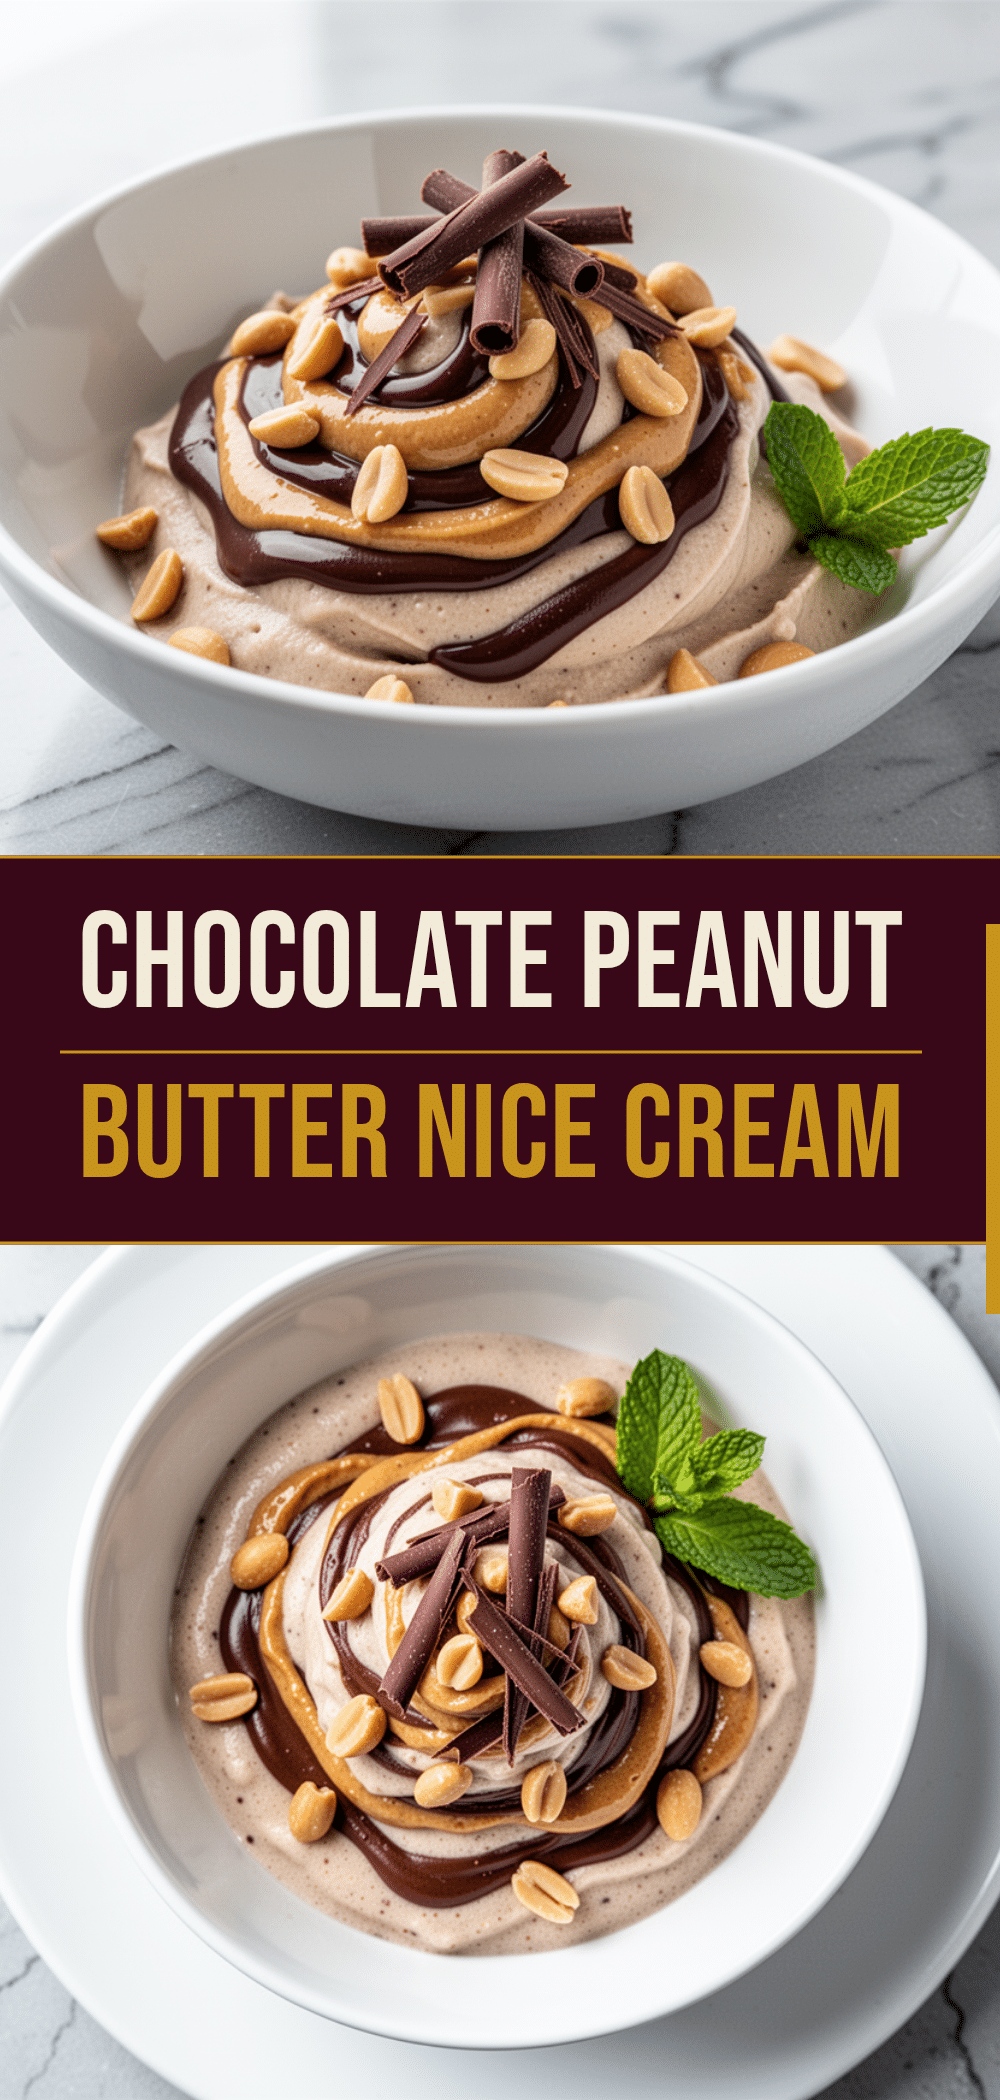
Pin This Recipe!
Dairy-Free Chocolate Peanut Butter Nice Cream
- Total Time: 5 minutes
- Yield: 2 servings 1x
Description
A simple, 3-ingredient dairy-free dessert made from frozen bananas, natural peanut butter, and cocoa powder. It blends into a creamy, soft-serve texture without an ice cream maker.
Ingredients
- 3 large ripe bananas, peeled, broken in half, and frozen (about 900g)
- 1/2 cup natural peanut butter (creamy, no added sugar or hydrogenated oils)
- 2–3 tablespoons unsweetened cocoa powder
- 1–2 tablespoons plant milk (optional, for blending assistance)
- Pinch of sea salt (optional)
- 1 teaspoon vanilla extract (optional)
- 1/4 cup dairy-free chocolate chips (optional)
- 2 tablespoons crushed peanuts (optional)
Instructions
- Freeze peeled banana pieces in a freezer-safe bag for at least 4 hours or overnight.
- Add frozen bananas, peanut butter, and cocoa powder to a high-speed blender.
- Blend on low, then high, stopping to scrape down the sides with a spatula every 30 seconds.
- Continue blending for 2-3 minutes until the mixture is completely smooth and creamy, resembling soft-serve ice cream. Add a splash of plant milk if the blender gets stuck.
- Taste and adjust sweetness or chocolate intensity if desired.
- Pulse in optional mix-ins like chocolate chips or crushed peanuts.
- Serve immediately for soft-serve texture, or scoop into a container and freeze for 1 hour for firmer ice cream.
Notes
Use very ripe bananas with brown spots for maximum sweetness and creaminess. Do not skip scraping down the sides of the blender to ensure a smooth texture. If the mixture is too thick, add plant milk one tablespoon at a time. If too thin, freeze for 30 minutes.
- Prep Time: 5 minutes
- Cook Time: 0 minutes
- Category: Dessert
- Cuisine: American
Nutrition
- Serving Size: Approximately 1 cup
- Calories: 350
- Sugar: 28
- Sodium: 5
- Fat: 14
- Saturated Fat: 2
- Carbohydrates: 45
- Fiber: 6
- Protein: 12
Keywords: dairy-free, vegan, nice cream, frozen banana, healthy dessert, 3-ingredient, gluten-free, nut-free option



