Last Tuesday, I was staring into the fridge at 8 PM, feeling that specific kind of hungry desperation where you don’t want dinner, you just want something sweet. I didn’t have time to run to the store, and I definitely didn’t want to spend an hour washing dishes. So I looked at my pantry and saw three things: butter, sugar, and a bag of chocolate chips. That’s it. That’s the whole story.
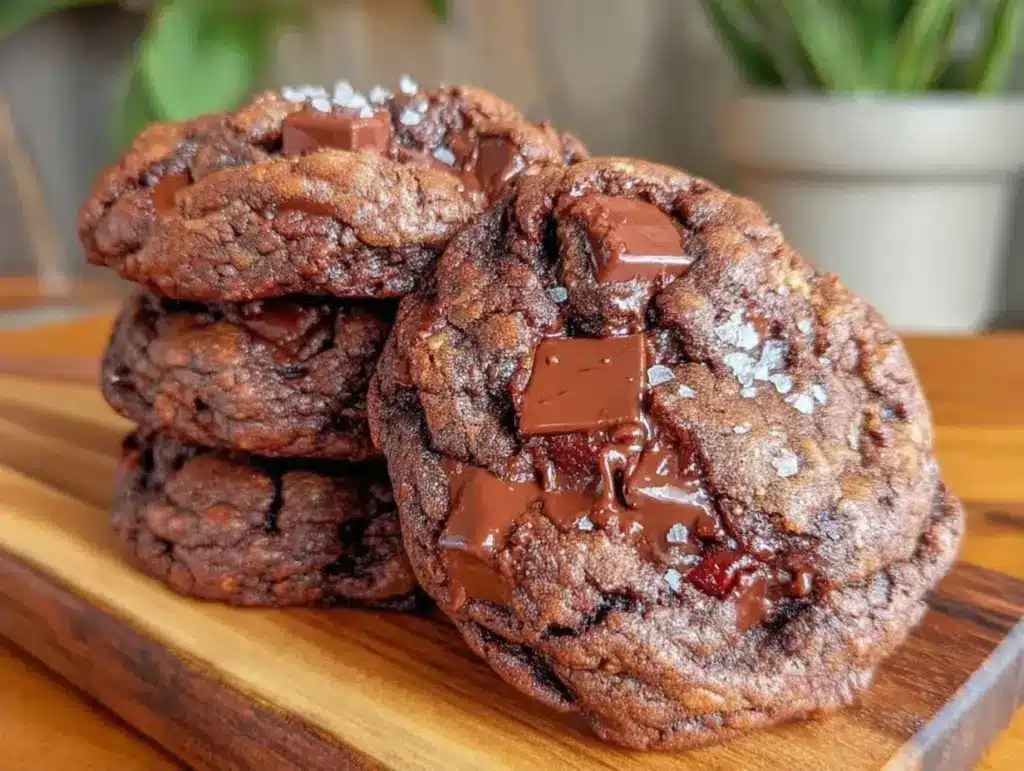
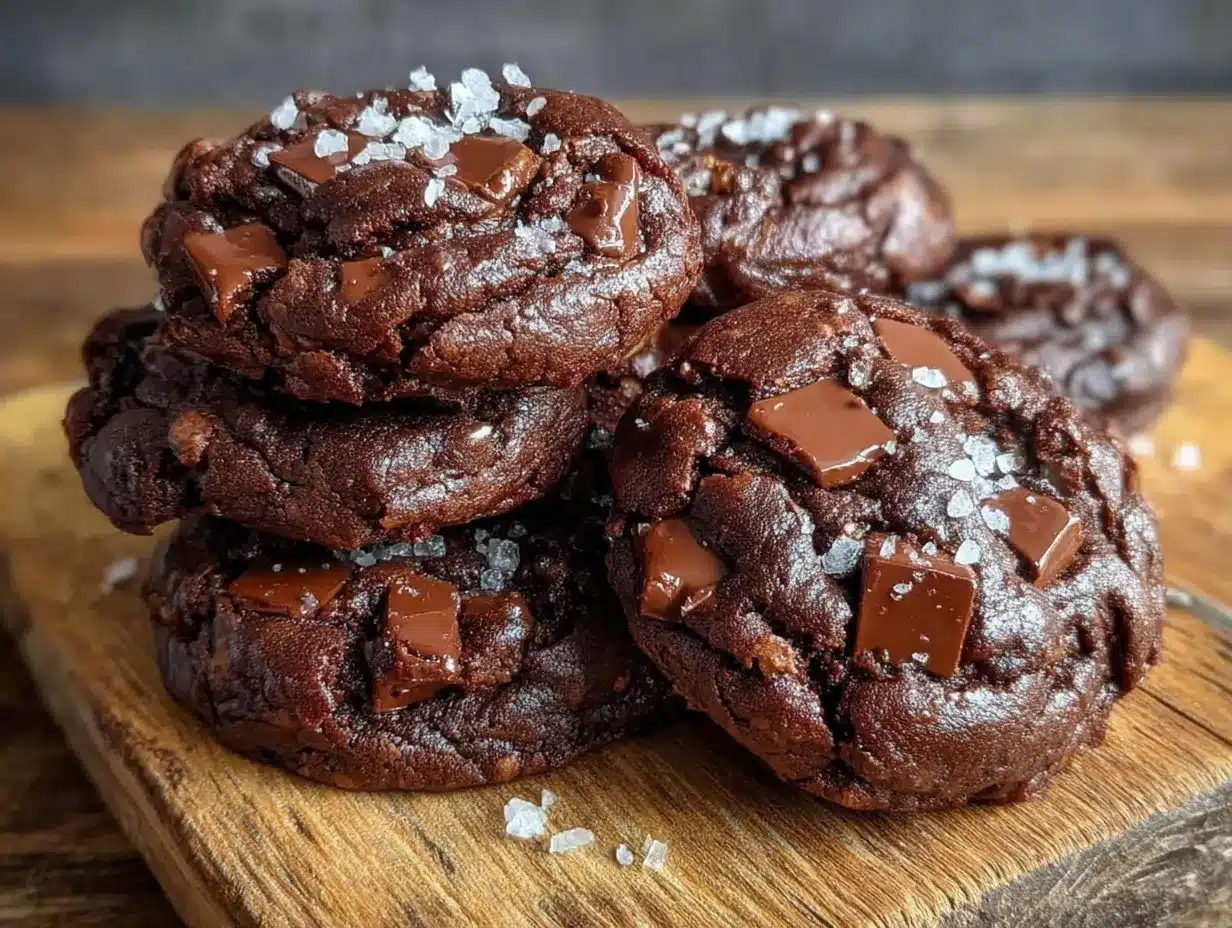
I threw together what I thought would be a mediocre, rushed cookie. But when they came out of the oven? They were wrong. Wrong in the best way possible. Thick, chewy, impossibly fudgy centers that stayed soft for days. Crispy edges that shattered when you bit into them. My dog, who usually only wakes up for actual food, sniffed one and gave me a look that said, “What is this magic?”
I’ve made these Ultra Fudgy One-Bowl Chocolate Chip Cookies roughly forty times in the last six months. I’ve tweaked them, tested them, and fed them to neighbors who didn’t believe me when I said there were only five ingredients. They always come back asking for the recipe. And honestly? I don’t blame them. This is the cookie you make when you want to impress people but refuse to do any actual work.
Here’s the thing about baking: most people think you need a mixer, a scale, and a degree in chemistry to get good results. I’m here to tell you that’s a lie. You need a bowl, a spoon, and about ten minutes. This 5-ingredient chocolate chip cookie recipe is the definition of beginner-proof. If you can mix stuff together, you can master this. And once you try this version, I promise you’ll never go back to those dry, cakey cookies from the box mix again.
Why You’ll Love This Recipe
There are a lot of cookie recipes out there. I’ve tried the flourless ones, the keto ones, the ones that require chilling dough for 24 hours. This one-bowl chocolate chip cookie is the only one that stays in my regular rotation. Here’s why it’s the winner:
- Zero Equipment Needed — Seriously. No stand mixer. No hand mixer. Just one bowl and a wooden spoon (or a spatula if you’re fancy). I’ve made these while standing at my counter in pajamas. It’s that easy.
- Actually Fudgy, Not Cakey — Most home recipes turn out like little cakes. This one uses a specific ratio of butter to flour that keeps the center dense and chewy. It’s the kind of cookie that feels indulgent without being heavy.
- Five Ingredients, Period — Butter, sugar, egg, flour, chocolate chips. That’s it. No vanilla extract (it’s in the chocolate), no baking soda tweaks, no weird spices. You probably have all of this already. If you don’t, it’s a 5-minute trip to the corner store.
- Foolproof for Beginners — I’ve walked my teenage niece through this recipe over FaceTime. She burned the toast earlier that day, but she nailed these cookies perfectly. The margin for error is huge. You really can’t mess this up.
- Storage Friendly — These cookies stay soft for days if kept in an airtight container. I make a batch on Sunday, and they’re still chewy on Thursday. They reheat beautifully in the microwave for 10 seconds—warm, gooey perfection.
This is my go-to when I want to bake but don’t want the commitment. It’s reliable, it’s delicious, and it makes your kitchen smell like a bakery without the stress.
Ingredients You’ll Need
Before we get to the mixing, let’s talk about what goes in. I’m keeping this list short on purpose. Simple ingredients mean you can focus on the technique, and the flavor shines through.
The Wet Stuff
Salted Butter (½ cup / 113g) — This is key. Use real butter, not margarine. I like to soften it in the microwave for 15-20 seconds so it’s pliable but not melted. If you use unsalted butter, add a tiny pinch of salt later, but salted makes the chocolate flavor pop.
Granulated Sugar (½ cup / 100g) — This helps create those crispy edges. Don’t skip it for brown sugar if you want that specific texture, though you can mix them. For this specific one-bowl cookie method, granulated gives us that crisp outside.
Light Brown Sugar (½ cup / 100g) — This is what makes them chewy. It adds moisture and a hint of molasses flavor. Press it down into the cup when you measure it.
Large Egg (1 large) — Room temperature is best, but honestly? Cold egg works fine here. Just whisk it well into the butter mixture so it doesn’t curdle.
Vanilla Extract (1 teaspoon) — I know I said five ingredients, but vanilla is non-negotiable for me. It rounds out the flavor. If you’re truly out, you can skip it, but don’t say I didn’t warn you.
The Dry Stuff
All-Purpose Flour (1 ½ cups / 190g) — Don’t pack this down! Spoon it into the cup and level it off. Too much flour = dry, hard cookies. I use Gold Medal or King Arthur, but any standard AP flour works.
Baking Powder (½ teaspoon) — Just a little bit to help them spread slightly without puffing up too much. We want flat and fudgy, not tall and cakey.
Salt (¼ teaspoon) — Even if your butter is salted, this tiny pinch balances the sweetness. It’s the secret weapon.
The Star
Chocolate Chips (1 cup / 170g) — I use semi-sweet chips, like Nestlé Toll House or Ghirardelli. But honestly? Chopped chocolate bars are even better. If you have a bar of chocolate lying around, chop it up. You get those beautiful melty pockets.
Equipment Needed
You don’t need fancy gadgets. Here’s what I actually use, and what you can swap:
- Large Mixing Bowl — Any bowl that’s big enough to hold the dough without it spilling when you stir. I use a 4-quart ceramic bowl.
- Wooden Spoon or Silicone Spatula — For mixing. A spoon is traditional and sturdy; a spatula is good for scraping the sides.
- Baking Sheet — Standard 13×18 inch sheet. I use a light-colored aluminum one. Dark pans bake faster and can burn the bottoms.
- Parchment Paper — I’m obsessive about this. It prevents sticking and makes cleanup a breeze. No parchment? Use a silicone mat. No mat? Butter the pan heavily.
- Cooling Rack — Optional but recommended. If you don’t have one, just let them cool on the pan for 5 minutes, then move them.
That’s it. Seriously. If you have a bowl and a spoon, you’re ready to go.
How to Make It: Step-by-Step
Alright, let’s make these. I’m going to walk you through exactly how I do it. There are no complex techniques here, just straightforward mixing and baking.
Step 1: Cream the Butter and Sugars (2 minutes)
In your large bowl, combine the softened butter, granulated sugar, and brown sugar. Use your spoon or a hand whisk to mix them together vigorously. You want to mash the butter with the sugar until it looks smooth and slightly creamy. This takes about 2 minutes of arm work. Don’t rush this step—incorporating air here helps with texture.
Step 2: Add the Egg and Vanilla (1 minute)
Crack the egg into the bowl and add the vanilla. Whisk it in until it’s fully combined. The mixture might look a little separated or curdled at first—don’t panic. That’s normal. Keep whisking for another 30 seconds until it comes back together into a shiny, glossy paste.
Step 3: Mix in the Dry Ingredients (1 minute)
Add the flour, baking powder, and salt to the wet mixture. Switch to your wooden spoon or spatula. Stir gently until the flour disappears. Crucial Tip: Do not overmix. As soon as you don’t see streaks of white flour, stop. Overmixing develops gluten, which makes cookies tough. We want tender and fudgy.
Step 4: Fold in the Chocolate (30 seconds)
Pour in your chocolate chips. Fold them in gently. Reserve a small handful of chips to press on top of the cookies later if you want them to look fancy. For now, just get them distributed evenly.
Step 5: Scoop and Bake (12-14 minutes)
Preheat your oven to 350°F (175°C). Line your baking sheet with parchment paper. Scoop tablespoon-sized portions of dough onto the sheet, spacing them about 2 inches apart. They will spread.
Bake for 10-12 minutes. Here’s the visual cue: you want the edges to be lightly golden and set, but the centers should still look soft, slightly underbaked, and puffy. They will firm up as they cool. If you bake them until the center is hard, they’ll be dry.
Step 6: Cool and Eat
Let them sit on the hot baking sheet for 5 minutes. This is the hardest part. They are extremely fragile right now. After 5 minutes, move them to a cooling rack (or eat one warm). Eat them warm for maximum gooeyness. Eat them cold for maximum chew.
Expert Tips & Tricks
Here’s everything I’ve learned from making this one-bowl chocolate chip cookie dozens of times. These tips will save you from common mistakes.
Butter Temperature is Everything
If your butter is melted, your cookies will spread into flat discs. If it’s too hard, they won’t spread enough. You want it softened—yogurt consistency. Poke it with your finger; it should leave an indent but not feel greasy. If you microwave it, do it in 5-second bursts.
Don’t Skimp on the Chocolate
This recipe is designed for a high chocolate-to-dough ratio. If you reduce the chips, you lose that fudgy texture. Use a full cup. If you want extra luxury, swap half the chips for chopped chocolate bars. The irregular shapes melt better.
Chill the Dough (Optional but Recommended)
For the absolute best flavor, chill the dough for 30 minutes before baking. This allows the flour to hydrate and the flavors to meld. It also prevents over-spreading. But if you’re impatient like me? Skip it. It still works.
Use a Cookie Scoop
I know it’s an extra tool, but a small ice cream scoop or cookie scoop ensures uniform size. Uniform size means even baking. No more burnt edges and raw centers.
Salt on Top
Right after they come out of the oven, sprinkle a tiny flake of sea salt on top. It contrasts with the sweet chocolate and makes them taste like they came from a high-end bakery. It’s a game-changer.
Variations & Substitutions
Once you’ve nailed the basic version, here’s how you can mix it up. I’ve tried all of these.
- Double Chocolate — Add 2 tablespoons of cocoa powder to the dry ingredients. Use dark chocolate chips. It’s intense and rich.
- White Chocolate Macadamia — Swap semi-sweet chips for white chocolate chips and add ½ cup chopped macadamia nuts. It’s tropical and sweet.
- Peanut Butter Chip — Use peanut butter chips instead of chocolate. Or swirl a teaspoon of peanut butter into each ball of dough before baking.
- Gluten-Free — Swap the all-purpose flour for a 1:1 gluten-free flour blend (like Bob’s Red Mill). The texture is almost identical. I’ve tested this, and my GF friends loved them.
- Vegan — Use vegan butter and a flax egg (1 tbsp ground flax + 3 tbsp water). Use dairy-free chocolate chips. They hold together well, though they’re slightly more delicate.
These variations keep things interesting, but the classic version is my forever favorite. It’s reliable. It’s delicious. It just works.
Serving & Storage
These cookies are best served fresh, but they store surprisingly well.
Storage
Room Temperature: Store in an airtight container for up to 5 days. Place a piece of bread in the container with the cookies—the cookies will absorb the moisture from the bread and stay soft. This is an old baker’s trick that actually works.
Freezing Dough: Scoop the dough onto a baking sheet and freeze until solid. Then transfer to a freezer bag. You can bake them straight from frozen, just add 1-2 minutes to the bake time. This is great for meal prep.
Freezing Baked Cookies: They freeze well for up to 3 months. Thaw at room temperature. They might lose a tiny bit of crispness, but they’re still good.
Serving Suggestions
I usually serve these with a cold glass of milk. Classic. But they’re also great with a cup of coffee or a scoop of vanilla ice cream. If you’re making them for a party, pair them with something savory to balance the sweetness. Maybe some cheesy beef taco stuffed shells for dinner, then these for dessert? Perfect combo.
Nutrition Information
I’m not a nutritionist, but here’s the breakdown if you’re tracking. Keep in mind these are estimates based on standard ingredients.
- Calories: ~180 per cookie
- Fat: 10g
- Carbs: 22g
- Sugar: 14g
- Protein: 2g
Look, this is a treat. It’s not a health food. But compared to store-bought cookies, it’s made with real ingredients. I try to eat them in moderation, but honestly? One is rarely enough. Enjoy them guilt-free.
Final Thoughts
So that’s my ultra fudgy one-bowl chocolate chip cookie recipe. I’ve probably talked your ear off at this point, but when you make a recipe this often, you have a lot to say about it. This cookie has saved my baking routine. It’s my answer to “I want to bake something” when I have zero energy and no patience for fuss.
It’s simple, it’s forgiving, and it tastes incredible. Make it yours! Try different chocolates, add nuts, or just eat them straight from the pan like I do. The best recipes are the ones you adapt to your life, not the other way around.
If you make this, drop a comment and let me know how they turned out! I love hearing from readers. And if something doesn’t work, tell me—I’m here to help troubleshoot. Happy baking!
Frequently Asked Questions
Can I use brown sugar instead of granulated sugar?
You can, but the texture will change. Granulated sugar creates crisp edges, while brown sugar creates chewiness. For this specific one-bowl chocolate chip cookie recipe, the mix is what gives us that perfect contrast. If you use all brown sugar, they’ll be softer and cakier. If you want crispier edges, stick with the granulated.
Why did my cookies spread too much?
Usually, this means the butter was too warm or melted. Make sure your butter is softened, not liquid. Also, check your oven temperature. If your oven runs hot, your cookies might spread and burn before they set. Use an oven thermometer to verify.
Can I double this recipe?
Absolutely. Just use a larger bowl. The mixing time might increase slightly. Bake them in batches—you don’t want to overcrowd the pan, or they’ll steam instead of bake. They’ll taste exactly the same.
How do I know when they’re done?
This is the hardest part. They look underbaked when they come out. That’s good! The edges should be golden brown, and the centers should look soft and puffy. They will firm up as they cool on the pan. If you wait until the center is hard, they’ll be overbaked.
Can I make these nut-free?
Yes! This recipe is naturally nut-free if you use standard chocolate chips. Just check the label to ensure no nuts were processed in the same facility. If you want to add crunch, try toasted oats or extra chocolate chips.
What if I don’t have baking powder?
You can use baking soda, but use half the amount (¼ teaspoon) and make sure you have an acid in the recipe (like brown sugar or buttermilk) to activate it. Since this recipe uses brown sugar, baking soda works fine. Just be careful not to add too much, or they’ll taste metallic.
Can I freeze the baked cookies?
Yes, but they’re best fresh. If you do freeze them, let them thaw at room temperature. They might lose a little bit of their crispness, but the fudgy center will remain. Reheat them in the microwave for 10 seconds to restore freshness.
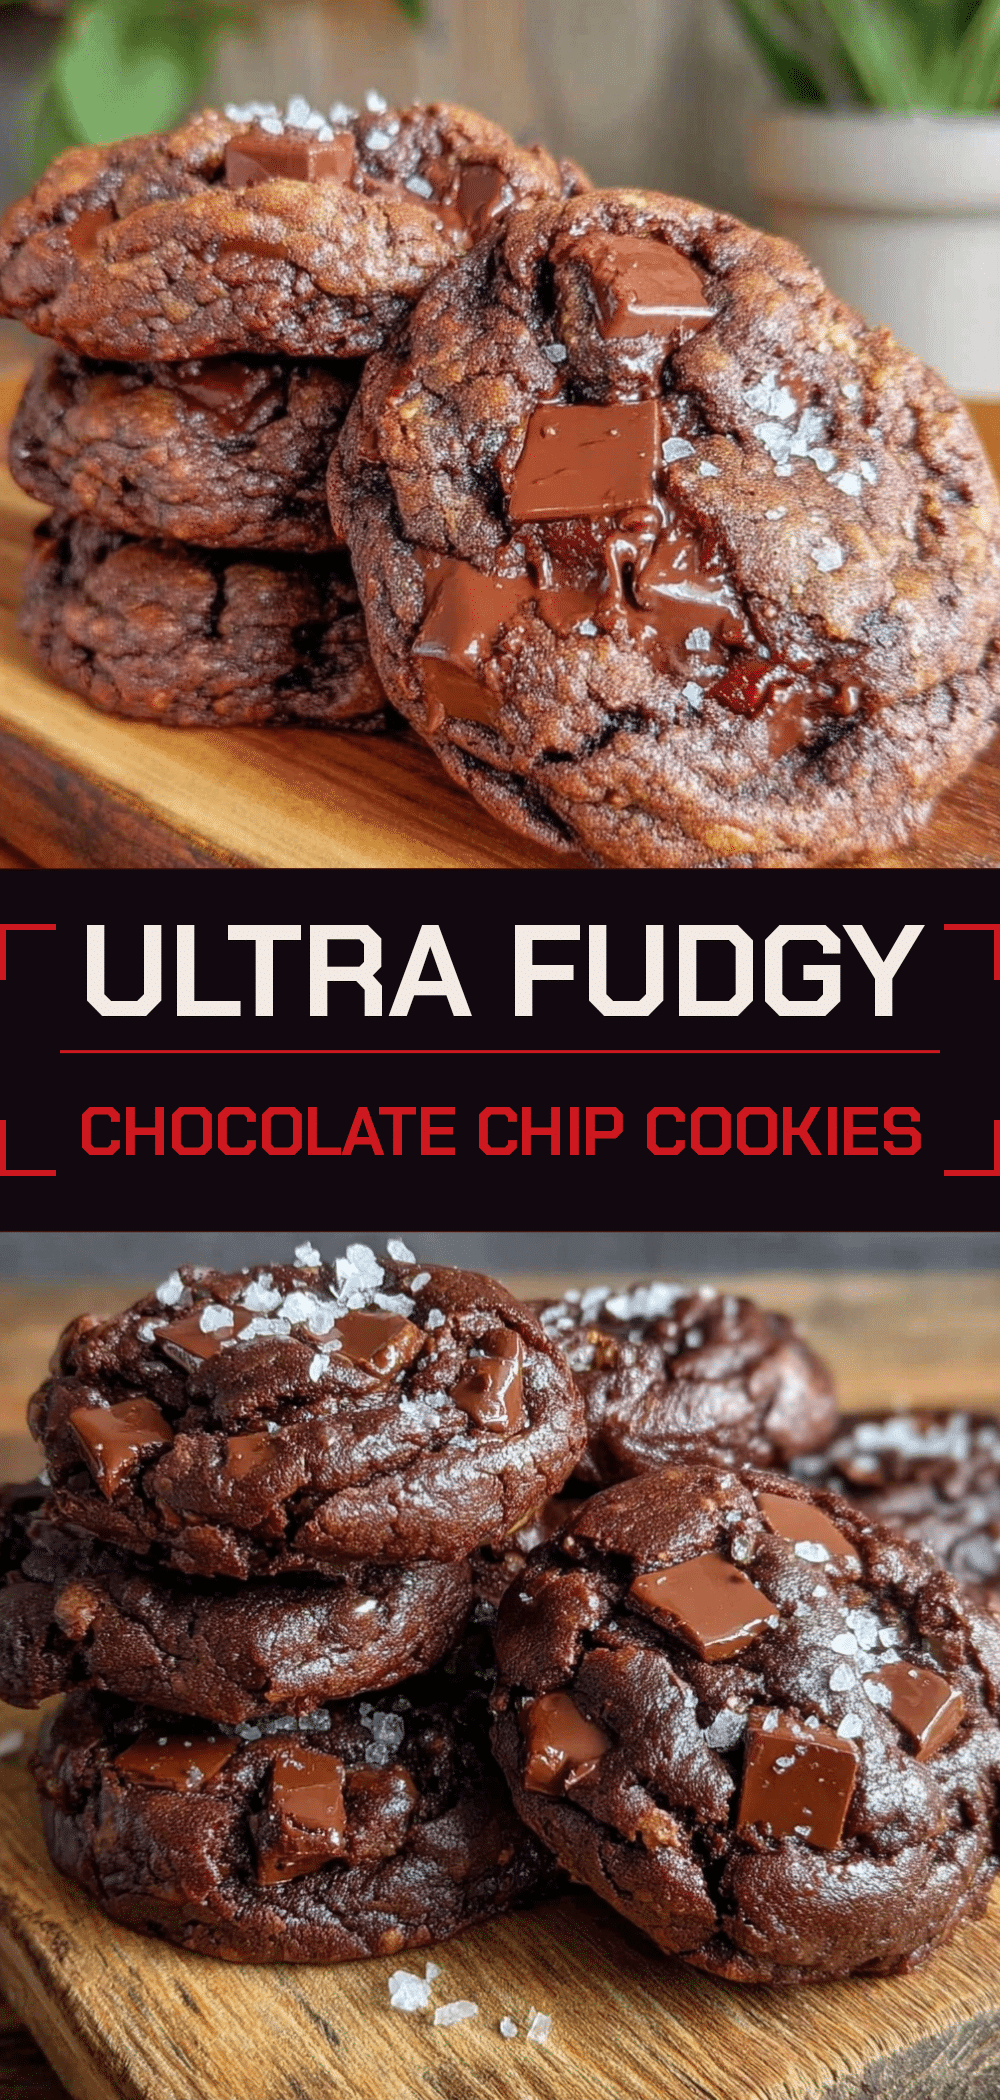
Pin This Recipe!
Ultra Fudgy One-Bowl Chocolate Chip Cookies
- Total Time: 22 minutes
- Yield: Approximately 12-15 cookies 1x
Description
These ultra-fudgy, beginner-proof chocolate chip cookies require only five ingredients and one bowl. They feature crispy edges, chewy centers, and take just 10 minutes to prepare.
Ingredients
- 1/2 cup (113g) salted butter, softened
- 1/2 cup (100g) granulated sugar
- 1/2 cup (100g) light brown sugar, packed
- 1 large egg, room temperature
- 1 teaspoon vanilla extract
- 1 1/2 cups (190g) all-purpose flour
- 1/2 teaspoon baking powder
- 1/4 teaspoon salt
- 1 cup (170g) semi-sweet chocolate chips
Instructions
- Preheat oven to 350°F (175°C) and line a baking sheet with parchment paper.
- In a large mixing bowl, combine softened butter, granulated sugar, and brown sugar. Mix vigorously for about 2 minutes until smooth and creamy.
- Add the egg and vanilla extract to the butter mixture. Whisk until fully combined and glossy, about 30 seconds.
- Add the flour, baking powder, and salt to the wet ingredients. Stir gently with a wooden spoon or spatula until just combined. Do not overmix.
- Fold in the chocolate chips, reserving a small handful for topping if desired.
- Scoop tablespoon-sized portions of dough onto the prepared baking sheet, spacing them 2 inches apart.
- Bake for 10-12 minutes, or until edges are lightly golden but centers still look soft and puffy.
- Let cookies cool on the baking sheet for 5 minutes before transferring to a cooling rack or serving warm.
Notes
Ensure butter is softened but not melted for the best texture. Do not overmix the dough to avoid tough cookies. For extra flavor, sprinkle sea salt on top immediately after baking. Cookies stay soft for up to 5 days in an airtight container.
- Prep Time: 10 minutes
- Cook Time: 12 minutes
- Category: Dessert
- Cuisine: American
Nutrition
- Serving Size: 1 cookie
- Calories: 180
- Sugar: 14
- Sodium: 120
- Fat: 10
- Saturated Fat: 6
- Carbohydrates: 22
- Fiber: 1
- Protein: 2
Keywords: chocolate chip cookies, one-bowl recipe, easy cookies, fudgy cookies, beginner baking, 5 ingredient cookies



