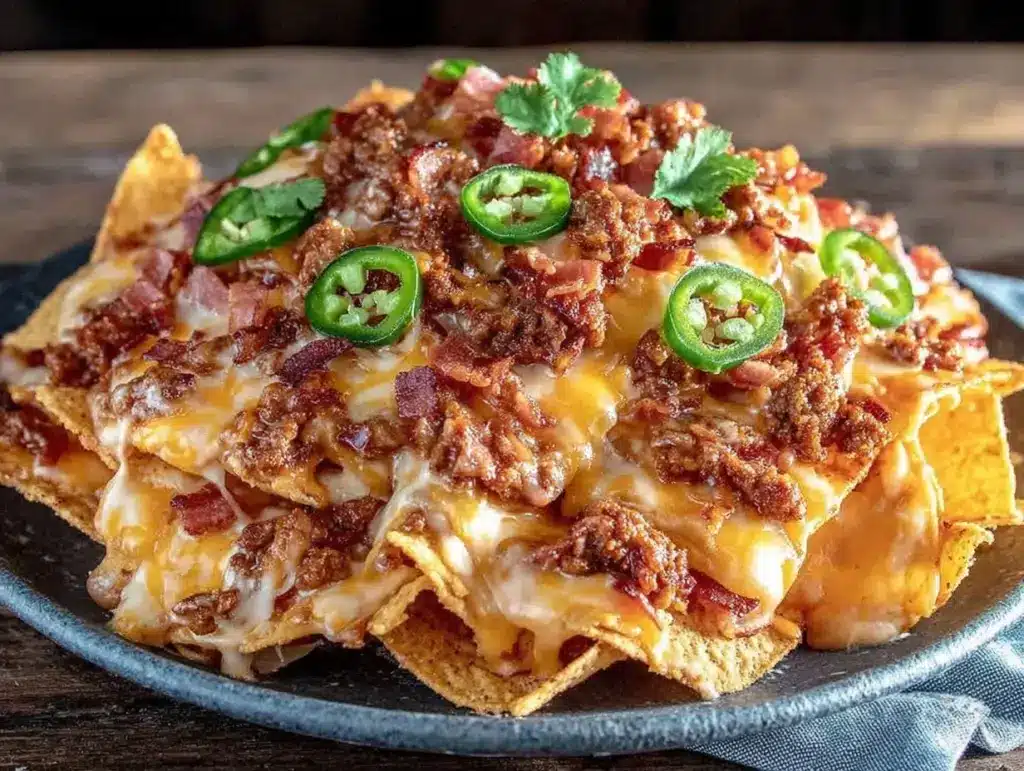
I have a confession to make: I used to think making nachos at home was a waste of time. You know the type. You’d spend 45 minutes chopping jalapeños, browning beef, making a cheese sauce from scratch, and then realize the chips got soggy before you could even grab a napkin. It was more work than ordering delivery, and honestly, the delivery was usually better.
But then I stumbled into a version that completely changed my mind about what “easy” means in the kitchen. This loaded cheesy nachos with ground beef and jalapeños isn’t just a snack; it’s a cheat code for dinner, game day, or a Tuesday night craving that hits at 8 PM.
The first time I made this, I was staring at my fridge, feeling pretty defeated. I had a bag of sturdy tortilla chips, a pound of ground beef, some cheese, and jalapeños. I threw them together with zero expectations. Ten minutes later, I was scraping the last cheesy bits off the baking sheet, laughing because I couldn’t believe how good it was. It’s rich, it’s spicy, it’s salty, and it’s ready before your takeout app even loads.
I’ve made this loaded cheesy nachos with ground beef and jalapeños probably a dozen times since that night. My kids love the cheese pull, my husband loves the spice, and I love that I didn’t have to touch a single pot or pan. It’s the ultimate no-fuss meal. If you’re looking for something that feels indulgent but requires almost zero skill, this is it. You really can’t mess this up.
Why You’ll Love This Recipe
There are a lot of reasons to keep this in your rotation, but let’s be real—it’s mostly because it’s stupidly simple and tastes like a party in your mouth. Here’s why this loaded cheesy nachos with ground beef and jalapeños is going to become your new best friend:
- Four Main Ingredients — Seriously. If you can count to four, you can make this. Ground beef, cheese, jalapeños, and chips. That’s it. No complicated spice blends, no hours of prep. Just good food made simply.
- Beginner-Proof — I’m talking about the kind of recipe that works even if you’re tired, distracted, or haven’t cooked in weeks. There’s no delicate technique here. You brown the meat, you sprinkle the cheese, you bake it. Done.
- Customizable Chaos — This is the perfect canvas. Want it milder? Skip the jalapeños. Want more protein? Add beans. Want it fancy? Add sour cream. It bends to your mood. It’s forgiving in a way most recipes aren’t.
- One Pan Wonder — You use one baking sheet. Maybe two if you’re prepping the meat, but you can even do it all in one skillet if you’re feeling lazy. Cleanup takes two minutes. This is huge for me.
- Better Than Takeout — I’ve compared this to the nachos at local dive bars and sports arenas. This wins every time. Freshly melted cheese beats cold, congealed cheese any day of the week.
- Feeds a Crowd (or Just You) — Make a small batch for a solo snack or double it for a party. It scales up and down without any fuss. It’s the most versatile snack in my book.
So basically, if you want dinner that feels like a treat but takes less effort than making a sandwich, this is your answer. It’s comforting, it’s fun, and it’s ready in the time it takes to boil water for pasta.
Ingredients You’ll Need
Here’s the best part: you probably have most of this already. I’m keeping this list short on purpose because complexity is the enemy of good nachos. You don’t need a dozen ingredients to make something amazing.
The Base
Ground Beef (1 pound / 450g) — I use 80/20 fat ratio. Yes, fat. Lean beef gets dry and crumbly. You want that juiciness to mix with the cheese. Brown it well, but don’t worry about draining every last drop of grease if you’re not into that. It adds flavor.
Tortilla Chips (1 large bag / about 12-14 oz) — This is non-negotiable. Do not use thin, flimsy chips. They’ll turn to mush under the cheese weight. Look for “restaurant style” or thick-cut chips. Brands like Fritos or sturdy generic brands work great. You want structure.
The Flavor
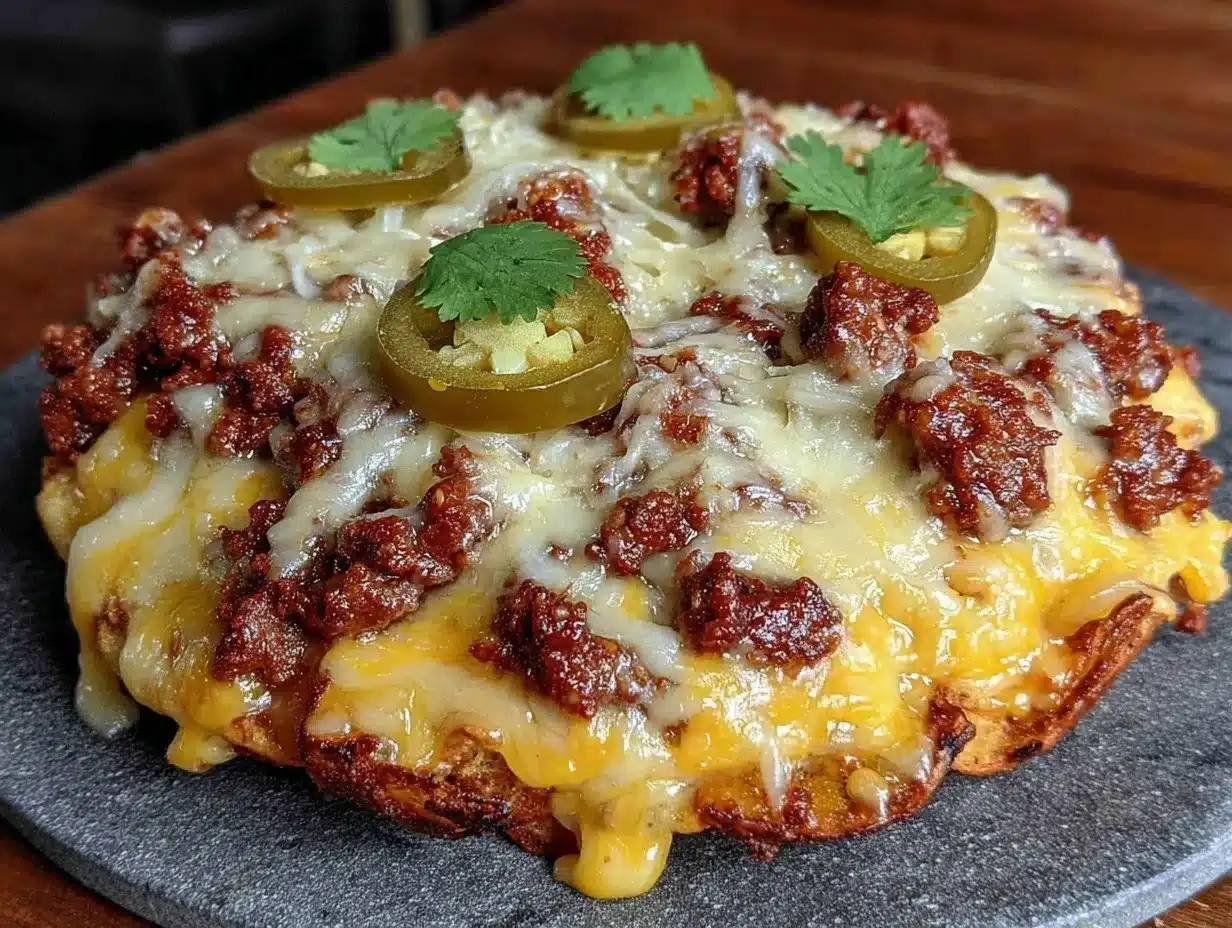
Shredded Cheddar Cheese (2 cups / about 225g) — Use sharp cheddar for the best flavor. Pre-shredded cheese has anti-caking agents that can make the sauce slightly grainy, but for nachos? It melts fine. If you’re feeling fancy, buy a block and shred it yourself. It melts smoother. I usually use a mix of cheddar and Monterey Jack if I have it, but pure cheddar is classic.
Jalapeños (2 medium, sliced / or ½ cup pickled slices) — Fresh jalapeños give you that bright, grassy heat. Pickled jalapeños give you tang and crunch. I like a mix. If you can’t handle the heat, remove the seeds from the fresh ones or use mild green chilies. But honestly, the heat cuts through the rich cheese perfectly.
The Essentials
Black Beans (1 can / 15 oz, drained and rinsed) — Optional, but I always add them. They add texture and make it feel more like a meal than just a snack. Drain them well so they don’t make the nachos soggy. If you’re skipping them, just add a little extra cheese.
Salt and Pepper — Just a pinch to season the beef. That’s it. The cheese and chips are salty enough.
Optional Toppings — Sour cream, guacamole, salsa, chopped cilantro, green onions. I usually keep it simple with just sour cream, but have fun with it. These go on *after* baking so they stay fresh.
Equipment Needed
You don’t need fancy gadgets for this. Here’s what I actually use:
Large Skillet or Cast Iron Pan — I use a 12-inch skillet to brown the beef. Cast iron is great because it holds heat well, but a non-stick pan works perfectly too. You need something wide so the beef cooks evenly.
Baking Sheet — A standard rimmed baking sheet. Line it with parchment paper for easy cleanup. I’ve tried foil, but parchment prevents sticking better and makes cleanup a breeze.
Wooden Spoon or Spatula — For breaking up the meat while it cooks. Nothing fancy needed.
Sharp Knife — For slicing jalapeños. If you’re worried about the heat getting on your hands, wear gloves or wash your hands immediately after handling them. Learned that one the hard way.
Colander — For rinsing the beans. If you skip the beans, you don’t need this.
How to Make It: Step-by-Step
Alright, let’s make this! I’m walking you through exactly how I do it. It’s foolproof.
Step 1: Prep Your Beef (5 minutes)
Heat your skillet over medium-high heat. Add the ground beef. Break it up with your spoon as it cooks. You want small crumbles, not big chunks. Cook until it’s browned all the way through, about 5-7 minutes. If you want, drain excess grease now, but I leave a little for flavor. Season with a little salt and pepper. Set it aside.
Step 2: Layer the Chips (2 minutes)
Preheat your oven to 375°F (190°C). Line your baking sheet with parchment paper. Pour the chips onto the sheet. You want a single layer, but don’t worry if they overlap a bit. You want them sturdy enough to hold the toppings. If you have a huge bag, use two sheets.
Step 3: Add the Meat and Beans (2 minutes)
Spread the browned beef evenly over the chips. If you’re using beans, scatter them over the beef now. Make sure you’re not leaving huge patches of bare chips—they’ll burn without cheese on top.
Step 4: Cheese Overload (2 minutes)
This is the fun part. Sprinkle the shredded cheese generously over everything. I mean really generous. You want to see the cheese covering most of the surface. If you have jalapeños, sprinkle half of them on now so they get warm and slightly crispy.
Step 5: Bake Until Golden (5-8 minutes)
Pop the sheet into the oven. Bake for 5-8 minutes. You’re looking for the cheese to be completely melted and bubbling. You might see little brown spots on the cheese. That’s good. That’s flavor. Watch it closely in the last minute so it doesn’t burn.
Step 6: Finish and Serve (2 minutes)
Take it out. Top with the remaining fresh jalapeños. If you’re adding sour cream, guacamole, or salsa, do it now while the nachos are hot. The heat will warm the toppings slightly. Serve immediately. These get soggy fast, so eat them while they’re hot and crispy.
Total Time: About 15 minutes. 5 minutes active, 10 minutes hands-off.
Expert Tips & Tricks
Here’s everything I’ve learned from making this dozens of times. These tips will save you from my mistakes.
Use Sturdy Chips
I can’t stress this enough. Flimsy chips = sad nachos. Buy the thickest, heaviest chips you can find. If you’re making your own chips, bake them for 10 minutes first to harden them up before adding toppings.
Don’t Skimp on Cheese
It’s called “loaded” nachos for a reason. If you’re too shy with the cheese, the chips will burn. You need a thick layer of cheese to protect the chips from direct heat. It’s a shield. Use more than you think you need.
Drain Your Beans Well
Wet beans make soggy nachos. Rinse them, drain them, and then pat them dry with a paper towel if you have time. It’s a small step that makes a big difference in texture.
Watch the Oven Closely
Every oven is different. One minute can mean the difference between “perfectly melted” and “burnt cheese.” Start checking at 5 minutes. You want bubbling, not black.
Room Temperature Cheese
If your cheese is cold from the fridge, it might take longer to melt. Take it out 10 minutes before you start. It melts more evenly.
Variations & Substitutions
Once you’ve nailed the basic version, here’s how you can mix it up. I’ve tried all of these.
Turkey Nachos
Swap ground beef for ground turkey. It’s leaner but still delicious. Just make sure to add a little olive oil to the pan so it doesn’t dry out.
Chicken Nachos
Use shredded rotisserie chicken instead of ground beef. Toss it with a little taco seasoning for extra flavor. This is a great way to use up leftovers. It’s lighter but still satisfying.
Vegetarian Nachos
Skip the meat. Add black beans, corn, and diced bell peppers. You can also add sliced mushrooms or zucchini. It’s just as filling if you load up on veggies and cheese.
Spicy Kick
Add diced serrano peppers or a dash of cayenne pepper to the beef. If you like it really hot, add some hot sauce to the cheese layer before baking.
Cheese Swap
Use Pepper Jack for extra spice. Or use a Mexican cheese blend. I’ve even used queso fresco crumbled on top after baking for a tangy finish.
Breakfast Nachos
Top with fried eggs, bacon bits, and avocado. It’s like a breakfast burrito in nacho form. Delicious.
Serving & Storage
Here’s how to enjoy and store your creation.
How to Serve
I serve these straight from the baking sheet. It’s rustic and fun. Put the sheet on the table and let everyone dig in with forks or chips. It’s interactive.
Side Dishes:
These are filling enough to be a meal, but if you want sides, try a simple green salad, some spicy chipotle corn on the cob, or loaded baked potato salad. They complement the richness well.
Drinks:
A cold beer or a margarita goes great. If you’re not drinking alcohol, try a fresh raspberry mint lemonade to cut through the spice.
Storage Instructions
Refrigerator:
Store leftovers in an airtight container for up to 2 days. The chips will lose their crunch, unfortunately. That’s just how it is with nachos.
Reheating:
Reheat in the oven at 350°F for 5-10 minutes to crisp them back up. Do not microwave. Microwaving makes the chips soggy and chewy. Trust me, I’ve tried.
Freezing:
I don’t recommend freezing nachos. The texture changes too much. The cheese separates, and the chips get weird. Make them fresh.
Nutrition Information
I’m not a nutritionist, but here’s the breakdown if you’re tracking. This is a rich, indulgent meal, so enjoy it in moderation.
Per Serving (based on 6 servings):
- Calories: 450
- Protein: 22g
- Carbs: 35g
- Fiber: 3g
- Sugar: 2g
- Fat: 26g
- Saturated Fat: 12g
- Cholesterol: 65mg
- Sodium: 680mg
What’s Good:
Decent protein from the beef and cheese. Calcium from the cheese. It’s filling.
What to Know:
Higher in calories and fat due to cheese and beef. Sodium is moderate to high. If you’re watching sodium, use low-sodium beans and cheese.
My Take:
Look, this is comfort food. It’s not a diet recipe. It’s supposed to taste good. When I want to make it lighter, I use lean beef and less cheese, but usually? I just enjoy it and balance it out with veggies the rest of the day.
Final Thoughts
So that’s my go-to loaded cheesy nachos with ground beef and jalapeños! I’ve probably talked your ear off at this point, but when you make a recipe this often, you have a lot to say about it.
This has saved weeknight dinners more times than I can count. It’s my answer to “what’s for dinner” when I’m tired, don’t want takeout, and still want something that tastes really good. My kids are happy, my husband’s happy, and I’m happy because I’m not stressed about cooking.
Make it yours! Try different add-ins, swap in your favorite vegetables, adjust the jalapeños (though more is always better in my opinion). The best recipes are the ones you adapt to your family’s tastes.
If you make this, drop a comment and let me know what you think! I love hearing how recipes turn out in your kitchen. And if something doesn’t work, tell me that too—I’m here to help troubleshoot.
Happy cooking! And I hope your kitchen smells half as good as mine does right now.
Frequently Asked Questions
Can I use ground turkey instead of beef?
Absolutely. Ground turkey works great. Just make sure to add a little olive oil to the pan because turkey is leaner. It’ll be lighter but still delicious. I use it when I want to cut back on red meat.
Why did my nachos get soggy?
Usually, this happens if the chips were too thin or if you added wet toppings before baking. Make sure to use sturdy chips and drain your beans and salsa well. Also, don’t let them sit too long after baking. Eat them hot!
Can I make this ahead of time?
You can prep the meat ahead, but don’t assemble until you’re ready to bake. The chips will get soggy if they sit under the cheese for too long. Assemble and bake right before serving for the best texture.
What cheese is best for nachos?
Sharp cheddar is classic. Monterey Jack melts beautifully. A mix of both is my favorite. Avoid pre-shredded cheese if you can help it, as it doesn’t melt as smoothly. But if you’re in a hurry, pre-shredded works fine.
Can I add other vegetables?
Yes! Bell peppers, onions, corn, and mushrooms all work well. Sauté the veggies first if they’re watery, then add them to the nachos. It adds great texture and flavor.
How do I reheat leftovers?
Oven or toaster oven is best. Bake at 350°F for 5-10 minutes until crispy again. Microwaving is a last resort—it will make the chips chewy. If you must microwave, do it in short bursts and let them cool slightly to regain some crispness.
Is this recipe gluten-free?
If you use gluten-free tortilla chips, yes! The beef, cheese, and jalapeños are naturally gluten-free. Just check your chip packaging to make sure they’re certified gluten-free.
Pin This Recipe!
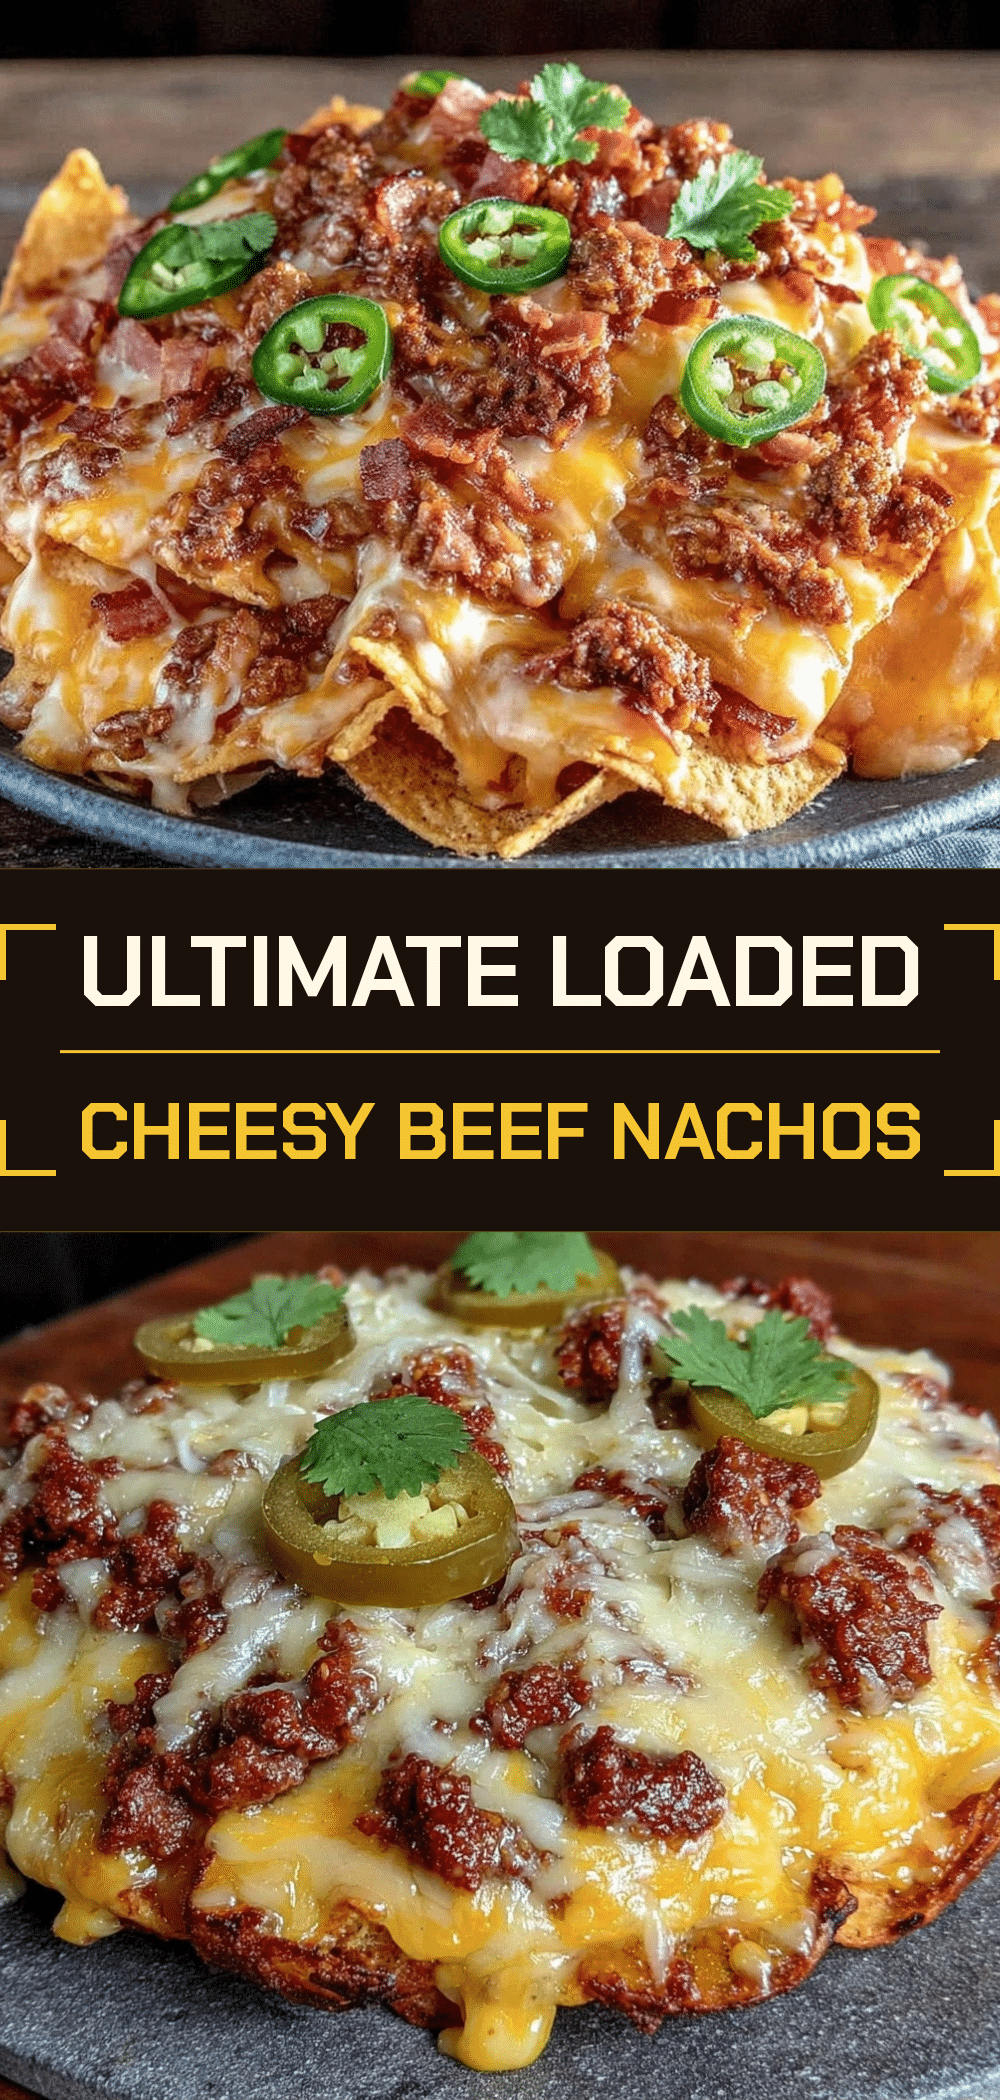
Loaded Cheesy Nachos: 4-Ingredient Beginner Recipe
- Total Time: 15 minutes
- Yield: 6 servings 1x
Description
A simple, beginner-proof recipe for loaded cheesy nachos with ground beef and jalapeños. This one-pan meal is ready in about 15 minutes and tastes better than takeout.
Ingredients
- 1 pound ground beef (80/20 fat ratio)
- 1 large bag sturdy tortilla chips (12–14 oz)
- 2 cups shredded cheddar cheese
- 2 medium jalapeños, sliced (or ½ cup pickled slices)
- 1 can (15 oz) black beans, drained and rinsed
- Salt and pepper to taste
- Optional toppings: Sour cream, guacamole, salsa, chopped cilantro, green onions
Instructions
- Preheat oven to 375°F (190°C). Line a baking sheet with parchment paper.
- Heat a large skillet over medium-high heat. Add ground beef and break it up into small crumbles. Cook until browned all the way through, about 5-7 minutes. Season with salt and pepper. Set aside.
- Pour tortilla chips onto the prepared baking sheet in a single layer.
- Spread the browned beef evenly over the chips. Scatter the drained black beans over the beef if using.
- Sprinkle the shredded cheese generously over everything. Sprinkle half of the jalapeños on top.
- Bake for 5-8 minutes until the cheese is completely melted and bubbling.
- Remove from oven and top with remaining fresh jalapeños and optional toppings like sour cream or salsa.
- Serve immediately while hot and crispy.
Notes
Use sturdy, thick-cut tortilla chips to prevent sogginess. Drain beans well and pat dry to maintain texture. Do not microwave leftovers as it makes chips chewy; reheat in the oven at 350°F for 5-10 minutes. For a lighter version, use lean beef and less cheese.
- Prep Time: 5 minutes
- Cook Time: 10 minutes
- Category: Appetizer
- Cuisine: Mexican
Nutrition
- Serving Size: 1 serving (approx. 1
- Calories: 450
- Sugar: 2
- Sodium: 680
- Fat: 26
- Saturated Fat: 12
- Carbohydrates: 35
- Fiber: 3
- Protein: 22
Keywords: nachos, ground beef, jalapeños, cheese, easy recipe, beginner recipe, game day food, one pan meal, quick dinner



