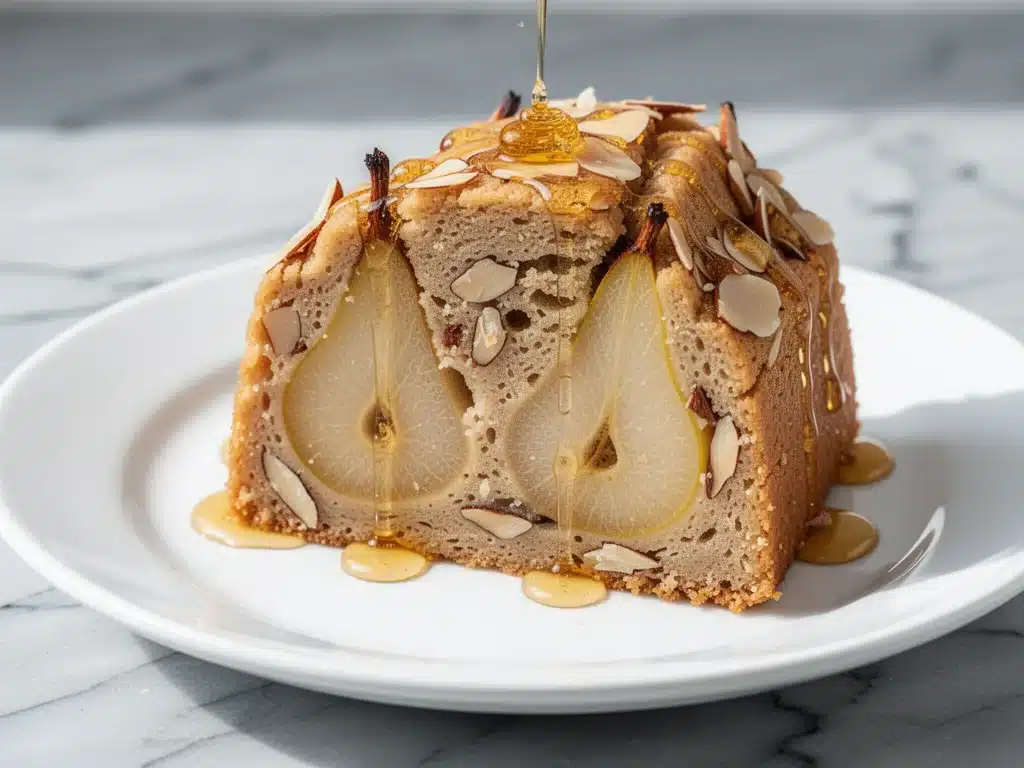
Last Saturday, I stood in my kitchen with a box of store-bought pound cake, feeling like a total fraud. I had guests coming over—good friends, the kind who bring their own wine and actually talk about things other than the weather—and I wanted to serve something that felt special. Something warm. Something that screamed “I put thought into this,” even though I had exactly forty-five minutes before they arrived. I sliced into that dry, sad cake, and I knew immediately that it wouldn’t cut it. My gluten-free sister-in-law was coming too, and let’s be honest, most GF cakes taste like dense, sweet bricks. I didn’t want to serve a brick.
So, I scrapped the plan. I pulled out some overripe pears, a bag of almond flour I’d been hoarding for a “someday” project, and a jar of honey. I threw this together in about ten minutes. While it baked, the entire house smelled like a cozy autumn cabin—warm cinnamon, toasted nuts, and sweet fruit. When my friends walked in, the first thing they said wasn’t “thanks for having us,” it was “what is that smell? And is that cake gluten-free?”
That’s the magic of this gluten-free fall pear almond cake. It looks fancy enough for a dinner party centerpiece, but it’s actually stupid simple. It’s moist, it’s tender, and that warm honey glaze? It’s the kind of drizzle that makes people close their eyes and sigh. I’ve made this cake at least six times in the last two months—once for a casual Tuesday snack, once for a bridal shower, and once because I just needed comfort food. Every single time, it disappears faster than my fall brown butter pear upside-down cake, which is saying something. If you’re looking for a dessert that’s naturally gluten-free, deeply autumnal, and practically impossible to mess up, this is it.
Why You’ll Love This Gluten-Free Fall Pear Almond Cake
There are a dozen reasons I keep making this pear almond cake, but let’s be real—you probably only care about three. Here’s why this recipe has earned a permanent spot in my rotation:
It’s Actually Moist — This is the biggest fear with gluten-free baking. Usually, you end up with something dry or crumbly. Not here. The almond flour provides healthy fats and density, while the pears add natural moisture. The result is a cake that stays tender for days. I ate the leftovers on day three, and it was still soft. Seriously.
Naturally Gluten-Free (No Weird Flours) — I hate blending five different gluten-free flours together just to make a loaf. This recipe uses almond flour as the base, so you skip the xanthan gum and rice flour hassle. It’s simple, clean, and safe for anyone with celiac disease or gluten sensitivity. My sister-in-law devoured two slices without even realizing it was GF.
Uses Overripe Pears — Do you have pears in your fruit bowl that are getting soft? Perfect. That’s exactly what you need. The softer the pear, the sweeter and more integrated it gets in the batter. It’s a great way to use up produce that’s past its prime for eating raw. Plus, poached pears are a pain. This just slices and bakes.
The Honey Glaze Is Non-Negotiable — A dry cake is boring. A cake with a warm, sticky honey glaze is an experience. This glaze isn’t just sugar; it’s floral, rich, and pairs perfectly with the earthy almond flavor. It’s the kind of finishing touch that makes people ask for the recipe.
One Bowl (Mostly) — You don’t need a stand mixer. You don’t need to cream butter and sugar for twenty minutes. You mix the dry stuff, mix the wet stuff, combine them, pour it in a pan, and bake. It’s that easy. I’ve made this while holding a toddler on one hip. It works.
Ingredients You’ll Need
Here’s the best part: you probably have most of this already. This isn’t a recipe that requires a trip to three different specialty stores. It’s pantry-friendly autumn comfort food.
For the Almond Cake Base:
Almond Flour (2 cups / 200g) — This is the star. Make sure you use blanched almond flour (skinless), not almond meal (which has skins and is too coarse). I buy mine in bulk from the baking aisle—it’s cheaper than the small bags. Look for a fine, sandy texture.
Almond Extract (1 teaspoon) — This sounds intense, but it’s subtle. It boosts that nutty flavor without making the cake taste like an almond milk carton. If you don’t have almond extract, vanilla works, but the almond flavor is what makes this special.
Baking Powder (1 ½ teaspoons) — Fresh baking powder is crucial for lift. If yours has been sitting in the back of the cabinet since 2021, toss it. Test it with a little vinegar to see if it fizzes.
Salt (½ teaspoon) — Never skip the salt. It balances the sweetness of the pears and honey. Use kosher salt.
Unsalted Butter (½ cup / 1 stick / 113g) — Softened, not melted. Room temperature butter creams better with the sugar. If you’re in a rush, cube it and microwave for 10 seconds.
Granulated Sugar (¾ cup / 150g) — Regular white sugar works fine. You can use coconut sugar for a deeper flavor, but the cake will be darker. I prefer white for a lighter crumb.
Eggs (2 large) — Room temperature eggs incorporate better into the batter. I take them out of the fridge when I start prepping.
Vanilla Extract (1 teaspoon) — Pure vanilla, please. Imitation vanilla tastes chemical and ruins the delicate flavor.
Fresh Pears (2 medium, about 1 lb / 450g) — Bartlett or Bosc pears work best. They hold their shape well and aren’t too juicy. Avoid Red Anjou; they’re too watery and will make the cake soggy.
For the Warm Honey Glaze:
Honey (¼ cup / 85g) — Use a mild honey like clover or orange blossom. Strong honey like buckwheat might overpower the pear flavor. Raw honey is great if you have it.
Heavy Cream (2 tablespoons / 30ml) — Just a splash to make the glaze pourable and glossy. Milk works too, but cream gives it that restaurant-quality sheen.
Pinch of Sea Salt — A tiny pinch in the glaze makes the honey taste sweeter and more complex.
Optional: Toasted Sliced Almonds — For garnish. Sprinkle on top before serving for a nice crunch.
Equipment Needed
You don’t need fancy gadgets for this. Here’s what I actually use:
9×9 Inch Square Baking Pan — I prefer square over round because it creates thicker slices and a nicer crust-to-cake ratio. Grease it well with butter or cooking spray.
Mixing Bowls — Two medium bowls. One for dry ingredients, one for wet. I use ceramic bowls because they don’t slide around on the counter.
Hand Mixer or Whisk — A hand mixer makes it faster, but a whisk and elbow grease work just fine. I usually just use a whisk to keep cleanup minimal.
Paring Knife — For peeling and slicing the pears. A sharp knife makes peeling way easier and safer.
Small Saucepan — For heating the honey glaze. If you don’t have a small one, a microwave-safe bowl works great for 30-second intervals.
Wire Rack — Essential for cooling the cake. If you leave it in the hot pan, it will steam and get soggy on the bottom.
How to Make It: Step-by-Step
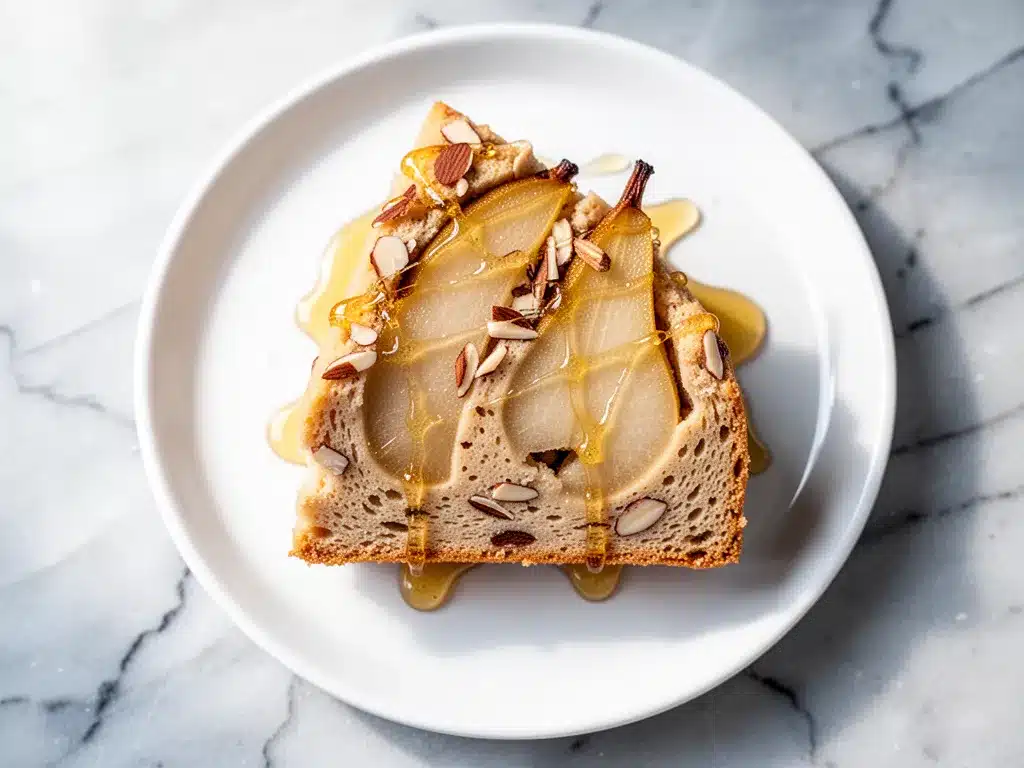
Alright, let’s make this! I’m walking you through exactly how I do it, including the little tricks I’ve picked up over the years.
Step 1: Prep Your Pan and Oven (5 minutes)
Preheat your oven to 350°F (175°C). Grease your 9×9 inch baking pan generously with butter. For extra insurance against sticking, line the bottom with parchment paper. I don’t grease the sides—this cake needs to climb up the walls to rise properly.
Step 2: Slice the Pears
Peel the pears (or leave the skin on if you like a rustic look and the skins are thin). Cut them in half, remove the core, and slice them into thin wedges—about ¼ inch thick. Try to keep the slices uniform so they bake evenly. Set them aside.
Step 3: Mix the Dry Ingredients
In a medium bowl, whisk together the almond flour, baking powder, and salt. Almond flour can be clumpy, so break up any lumps with your fingers or a whisk. This ensures a smooth batter with no dense pockets of flour.
Step 4: Cream the Butter and Sugar
In a larger bowl, beat the softened butter and sugar together until light and fluffy. This takes about 2-3 minutes with a mixer, or 5 minutes by hand. You want the mixture to look pale and airy. This step incorporates air, which helps the cake rise.
Step 5: Add Eggs and Extracts
Add the eggs one at a time, beating well after each addition. Stir in the almond extract and vanilla. The mixture might look slightly curdled—that’s normal. Just keep mixing until it’s smooth.
Step 6: Combine Wet and Dry
Gently fold the dry ingredients into the wet mixture. Use a spatula and fold carefully—don’t overmix. Almond flour doesn’t have gluten, so you can’t overmix in the traditional sense, but you don’t want to deflate the air you just whipped in. Mix until just combined.
Step 7: Assemble the Cake
Pour the batter into your prepared pan. Smooth the top. Arrange the pear slices on top in a single layer. You can overlap them slightly for a pretty look. Press them down gently so they stick to the batter.
Step 8: Bake
Bake for 35-40 minutes. The cake is done when the top is golden brown, the edges pull away slightly from the pan, and a toothpick inserted into the center (avoiding the pears) comes out clean. If the top is browning too fast, cover it loosely with foil after 25 minutes.
Step 9: Make the Glaze
While the cake bakes, combine the honey, heavy cream, and sea salt in a small saucepan over low heat. Warm it until the honey is fluid and the mixture is simmering gently. Do not boil vigorously. Remove from heat.
Step 10: Glaze and Cool
Let the cake cool in the pan for 10 minutes. Then, drizzle the warm honey glaze over the top. It will sink in slightly and create a sticky, delicious crust. Let the cake cool completely in the pan before slicing. This helps it set so it doesn’t fall apart.
Expert Tips & Tricks
Here’s everything I’ve learned from making this dozens of times. These tips will save you from my mistakes.
Choose the Right Pear
This is the #1 mistake people make. Too juicy a pear (like a Comice) will release water and make the cake soggy. Bartlett or Bosc are your best friends here. They’re firm, sweet, and hold their structure. If you’re unsure, squeeze the pear—it should give slightly but not feel mushy.
Don’t Skip the Almond Extract
I know it sounds weird to add almond extract to a cake that already has almond flour. But it amplifies the flavor profile significantly. It’s subtle, not overpowering. If you really don’t have it, use 1 ½ teaspoons of vanilla, but you’ll miss out on that classic French pear almond vibe.
Toast the Almonds for Garnish
If you’re using sliced almonds on top, toast them in a dry pan for 2-3 minutes until fragrant. It adds a nutty crunch that contrasts beautifully with the soft cake. It’s a small step that makes a big difference.
Glaze While Warm
Apply the glaze while the cake is still warm (not hot, just warm). This helps it soak in slightly and creates that glossy, sticky finish. If the cake is cold, the glaze will just sit on top and harden into a candy shell.
Cool Completely Before Slicing
I know it’s tempting. I’ve cut into it at 20 minutes and it was a mess. Almond flour cakes are delicate when hot. Let it cool for at least an hour. The structure sets, and the slices will be clean and neat.
Variations & Substitutions
Once you’ve nailed the basic version, here’s how you can mix it up. I’ve tried all of these.
Spiced Pear Version
Add 1 teaspoon of ground cinnamon and ¼ teaspoon of nutmeg to the dry ingredients. It adds a cozy, pumpkin-pie-like warmth that’s perfect for November.
Lemon Glaze Twist
Skip the honey glaze and make a lemon glaze instead. Mix ½ cup powdered sugar with 2 tablespoons lemon juice and a pinch of salt. Drizzle over the cooled cake. The citrus cuts through the richness of the almond flour beautifully.
Gluten-Free Flour Swap
Can’t eat nuts? You can swap the almond flour for a high-quality 1:1 gluten-free baking blend (like King Arthur or Bob’s Red Mill). Add ½ teaspoon of xanthan gum if your blend doesn’t include it. The texture will be lighter, more like a traditional cake, but still delicious.
Honey-Free Option
For a vegan or honey-free version, use maple syrup instead of honey in the glaze. Use ¼ cup maple syrup and 2 tablespoons of coconut oil instead of cream. It’s slightly less glossy but still sweet and sticky.
Add-Ins
Throw in ½ cup of chopped walnuts or pecans into the batter for extra crunch. Or add a handful of dried cranberries for a tart contrast. I love the combination of pear, almond, and cranberry.
Serving & Storage
How to Serve:
I usually serve this cake warm, straight from the counter. It’s rustic and inviting. But here are other ways I’ve enjoyed it:
- With Whipped Cream: A dollop of freshly whipped cream (or cool whip if you’re lazy) is classic.
- With Ice Cream: Vanilla bean ice cream is the perfect partner. The cold cream and warm cake is a texture dream.
- With Tea: This is fantastic with Earl Grey or a spiced chai. It’s not too sweet for a snack cake.
Storage Instructions:
Refrigerator: Store leftovers in an airtight container at room temperature for up to 2 days. Almond flour cakes stay moist at room temperature. If it’s very hot and humid, refrigerate it.
Fridge: If you refrigerate it, let it come to room temperature before serving. Cold almond flour cake is dense and waxy.
Freezer: This cake freezes well! Wrap individual slices tightly in plastic wrap, then in foil. Freeze for up to 3 months. Thaw at room temperature. It tastes almost as good as fresh.
Nutrition Information
I’m not a nutritionist, but here’s the breakdown if you’re tracking. Please note that this is an estimate and can vary based on specific brands and pear sizes.
Per Serving (based on 9 slices):
- Calories: 280
- Protein: 6g
- Carbs: 32g
- Fiber: 3g
- Sugar: 22g
- Fat: 16g
- Saturated Fat: 6g
What’s Good:
- Higher in protein and healthy fats due to almond flour.
- Lower in net carbs than traditional wheat cakes.
- Contains fiber from the pears.
What to Know:
- Calorie-dense due to nuts and honey.
- Contains tree nuts (almonds).
- High in sugar (natural from fruit and honey).
My Take:
Look, this is a dessert. It’s sweet, it’s rich, and it’s made with butter and honey. It’s not a health food. But it’s better than a box mix, and the almond flour gives it a nice protein boost compared to a standard white flour cake. I enjoy a square with my morning coffee or as a weekend treat. Moderation is key, as always.
Final Thoughts
So that’s my go-to gluten-free fall pear almond cake! I’ve probably talked your ear off at this point, but when you make a recipe this often, you have a lot to say about it. This cake has saved my hosting game more times than I can count. It’s my answer to “I need to bring something impressive but I don’t have time” when autumn rolls around.
My guests are always thrilled that it’s gluten-free, and my family is thrilled that it tastes amazing. It’s the perfect balance of easy and elegant. Make it yours! Try different pears, swap the glaze, or add spices. The best recipes are the ones you adapt to your tastes.
If you make this, drop a comment and let me know what you think! I love hearing how recipes turn out in your kitchen. And if something doesn’t work, tell me that too—I’m here to help troubleshoot. Happy baking!
Frequently Asked Questions
Can I use canned pears instead of fresh?
You can, but fresh is much better. Canned pears are often softer and wetter, which can make the cake soggy. If you must use canned, drain them very well and pat them dry with paper towels. You might even want to reduce the baking time by 5 minutes. But really, fresh pears are worth the effort.
Why did my cake turn out dense?
This usually happens for two reasons: overmixing the batter (which deflates the air) or using old baking powder. Almond flour is heavy, so you rely on the baking powder and the creamed butter/sugar for lift. Make sure your baking powder is fresh and don’t stir the batter vigorously once you add the dry ingredients.
Can I make this ahead of time?
Yes! This cake actually tastes better the next day as the flavors meld. You can bake it 1-2 days ahead. Store it covered at room temperature. Reheat slices gently in the microwave for 15-20 seconds if you want it warm. The glaze might soften, but it’s still delicious.
Is this cake sweet?
It’s moderately sweet. The honey glaze adds a nice sticky sweetness, but the pears and almond flour keep it balanced. If you prefer less sweet, reduce the sugar in the batter to ½ cup and use a lighter drizzle of honey. It’s still moist and flavorful either way.
Can I double this recipe?
Yes, but you’ll need a larger pan. Double the ingredients and bake in a 9×13 inch pan. The baking time will increase by about 10-15 minutes. Check with a toothpick at 45 minutes. Don’t try to bake it in two 9×9 pans at the same time unless your oven has good airflow.
What kind of honey is best?
Any mild honey works. Clover, orange blossom, or wildflower are great choices. Avoid strong, dark honeys like buckwheat or manuka unless you want a very distinct honey flavor. The goal is to complement the pear, not overpower it.
Pin This Recipe!
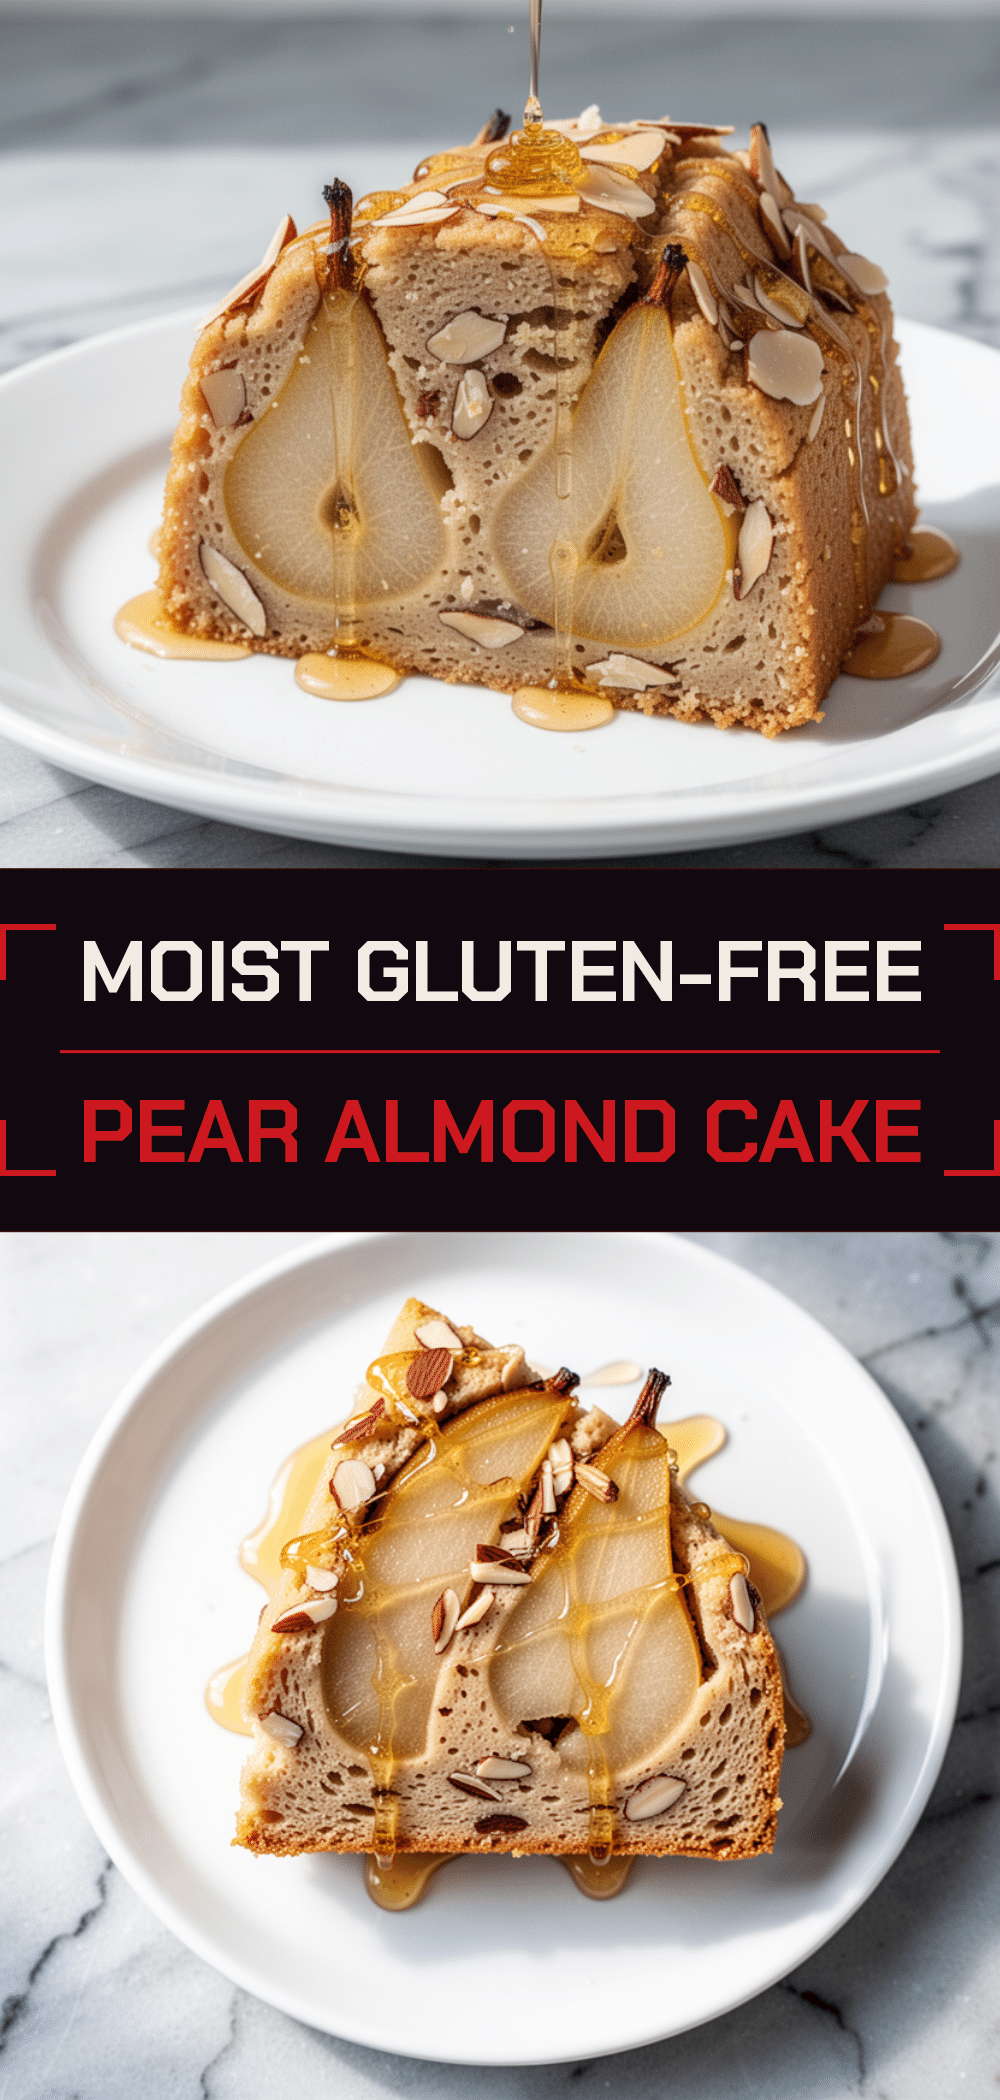
Gluten-Free Fall Pear Almond Cake: Easy & Perfect
- Total Time: 50 minutes
- Yield: 9 servings 1x
Description
A moist, tender, and naturally gluten-free almond cake featuring fresh pears and a warm honey glaze. This one-bowl dessert is perfect for autumn gatherings and requires no special gluten-free flour blends.
Ingredients
- 2 cups (200g) blanched almond flour
- 1 teaspoon almond extract
- 1 ½ teaspoons baking powder
- ½ teaspoon kosher salt
- ½ cup (113g) unsalted butter, softened
- ¾ cup (150g) granulated sugar
- 2 large eggs, room temperature
- 1 teaspoon vanilla extract
- 2 medium fresh pears (Bartlett or Bosc), peeled and sliced
- ¼ cup (85g) mild honey (clover or orange blossom)
- 2 tablespoons heavy cream
- Pinch of sea salt (for glaze)
- Toasted sliced almonds (optional, for garnish)
Instructions
- Preheat oven to 350°F (175°C). Grease a 9×9 inch square baking pan generously with butter and line the bottom with parchment paper.
- Peel the pears (optional) and slice them into thin, uniform wedges (about ¼ inch thick). Set aside.
- In a medium bowl, whisk together the almond flour, baking powder, and salt to break up any lumps.
- In a larger bowl, beat the softened butter and sugar together until light and fluffy (2-3 minutes with a mixer or 5 minutes by hand).
- Add the eggs one at a time, beating well after each addition. Stir in the almond extract and vanilla extract.
- Gently fold the dry ingredients into the wet mixture using a spatula until just combined. Do not overmix.
- Pour the batter into the prepared pan and smooth the top. Arrange the pear slices in a single layer on top of the batter, pressing them down gently.
- Bake for 35-40 minutes, or until the top is golden brown and a toothpick inserted into the center comes out clean. If browning too fast, cover loosely with foil after 25 minutes.
- While the cake bakes, combine honey, heavy cream, and a pinch of sea salt in a small saucepan over low heat. Warm until fluid and simmering gently; do not boil.
- Let the cake cool in the pan for 10 minutes. Drizzle the warm honey glaze over the top.
- Allow the cake to cool completely in the pan before slicing to ensure it sets properly.
Notes
Use blanched almond flour, not almond meal, for a finer texture. Bartlett or Bosc pears are recommended as they hold their shape better than juicier varieties like Comice. The cake must cool completely before slicing to prevent crumbling. For a honey-free version, substitute maple syrup and coconut oil.
- Prep Time: 10 minutes
- Cook Time: 40 minutes
- Category: Dessert
- Cuisine: American
Nutrition
- Serving Size: 1 slice
- Calories: 280
- Sugar: 22
- Sodium: 150
- Fat: 16
- Saturated Fat: 6
- Carbohydrates: 32
- Fiber: 3
- Protein: 6
Keywords: gluten-free, pear cake, almond flour, fall dessert, honey glaze, easy baking, dairy-free option available



