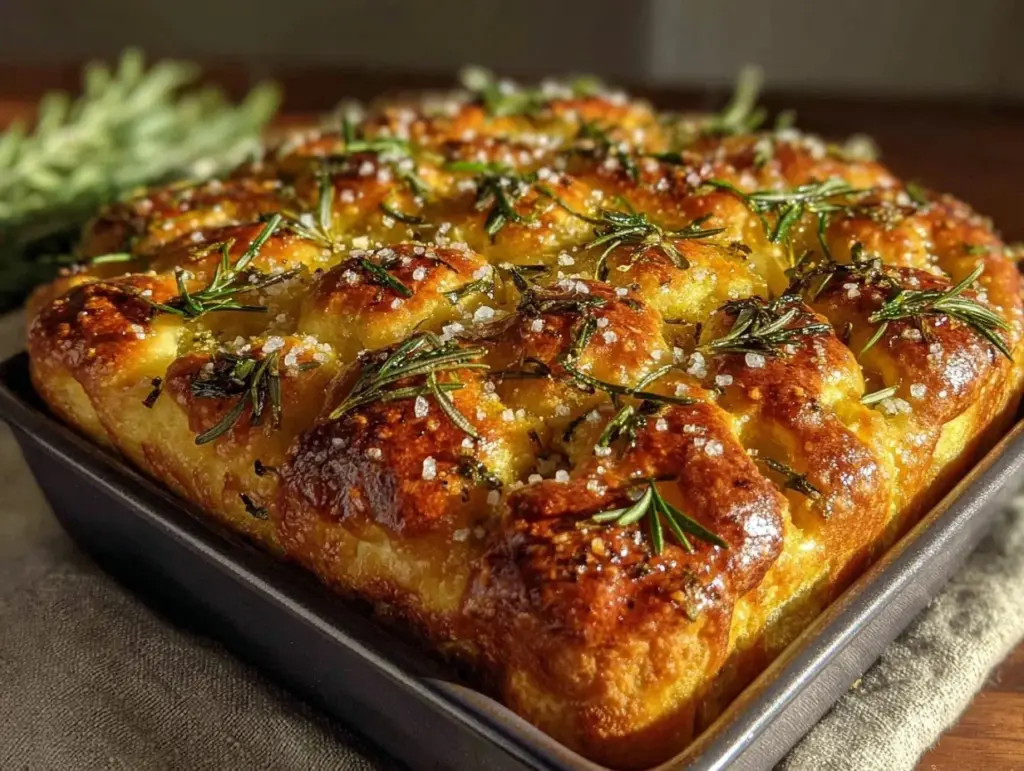
Let’s be honest for a second. When I first started playing with sourdough starter three years ago, my “focaccia” looked less like a rustic Italian masterpiece and more like a dense, sad hockey puck. I’d overmix it. I’d underproof it. I’d panic when the bubbles didn’t show up exactly when a Pinterest photo said they should. I spent months staring at dough that refused to rise, wondering if I had a serious problem with my starter or just my life choices.
Then, I stumbled on the “water dough” method. It’s a trick I picked up from a baker in Portland who told me, “Stop fighting the dough. Let it hydrate and relax.” I tried it. And suddenly, everything changed. Instead of wrestling with sticky messes, I was pressing dimples into dough that felt like silk, watching it bubble up overnight in the fridge, and pulling out a loaf that was crisp on the bottom, pillowy in the middle, and soaked in rosemary and olive oil.
This beginner-friendly sourdough focaccia with rosemary and olive oil is the recipe I make on repeat. Like, seriously. I make it when I’m stressed, when I have guests, and honestly, just because I want to smell like fresh bread while I work from home. It’s fuel for your day without feeling like diet food. It’s complex enough to feel gourmet but simple enough that you don’t need a degree in baking to pull it off.
I’ve tested this recipe at least fifteen times, tweaking the hydration and proofing times until it was foolproof. Whether you’re a sourdough veteran or you just got your starter bubbling for the first time, this is the one that will make you feel like a pro. It’s tender, it’s flavorful, and it’s genuinely easy. Let me walk you through exactly how to get that perfect crumb and that golden, crispy crust.
Why You’ll Love This Sourdough Focaccia Recipe
There are a hundred bread recipes out there, but this one sticks around in my rotation for specific reasons. It’s not just about the taste (though that’s huge). It’s about the experience of making it and the way it fits into real life.
- Zero Kneading Required — Seriously. If you can mix flour and water, you can make this. The long, cold fermentation does all the gluten development for you. I literally just stir it once and let it sit. No arm workout needed.
- Flavor That Deepens Overnight — Because I let the dough proof in the fridge overnight, the flavor gets this amazing, slightly tangy, complex depth that you just can’t get from quick breads. It tastes like it took all day, but it’s mostly passive time.
- Perfect Texture Every Time — Crisp, oily bottom. Soft, airy, bubble-filled interior. It’s the contrast that makes focaccia addictive. I’ve tried so many recipes that end up dense or flat, but this hydration level guarantees those big, irregular holes.
- Super Versatile — Yes, the rosemary and olive oil version is my favorite. But this dough is a blank canvas. You can add cherry tomatoes, caramelized onions, or even go savory with cheese. It’s also a great vehicle for leftover creamy roasted butternut squash soup—just tear off a chunk and dip it. Heaven.
- Freezes Like a Dream — Bread usually goes stale fast, but this focaccia stays moist for days. I wrap leftovers tightly and freeze them. You can toast a slice straight from the freezer, and it tastes fresh-baked. It’s my emergency snack for busy mornings.
This is the kind of bread that makes you feel like you’ve accomplished something huge, even if you’re sitting on your couch eating it with your feet up. It’s comforting, it’s satisfying, and it’s genuinely fuel that keeps you going without weighing you down.
Ingredients You’ll Need
Here’s the beautiful part: you probably have most of this already. Focaccia is deceptively simple. The quality of your ingredients matters more than the quantity, especially when you’re dealing with just a few things.
For the Dough
Bread Flour (360g / about 2 ¾ cups) — I use bread flour because of the higher protein content. It gives you that chewy, airy structure. All-purpose works, but the texture will be slightly softer and less structured. I like King Arthur brand for consistency.
Water (320g / about 1 ⅓ cups) — Lukewarm, not hot. You want it around 75-80°F (24-27°C). This helps kickstart the yeast activity in your starter. If your water is too cold, the dough won’t rise as well.
Active Sourdough Starter (60g / about ¼ cup) — This needs to be bubbly and active. Feed it 4-6 hours before you plan to mix. It should pass the float test (drop a spoonful in water; if it floats, it’s ready). If your starter is sluggish, your bread will be too.
Kosher Salt (8g / about 1 ½ teaspoons) — I use Diamond Crystal. If you use Morton’s, reduce to 1 teaspoon because it’s denser. Salt controls fermentation and adds flavor.
For the Topping
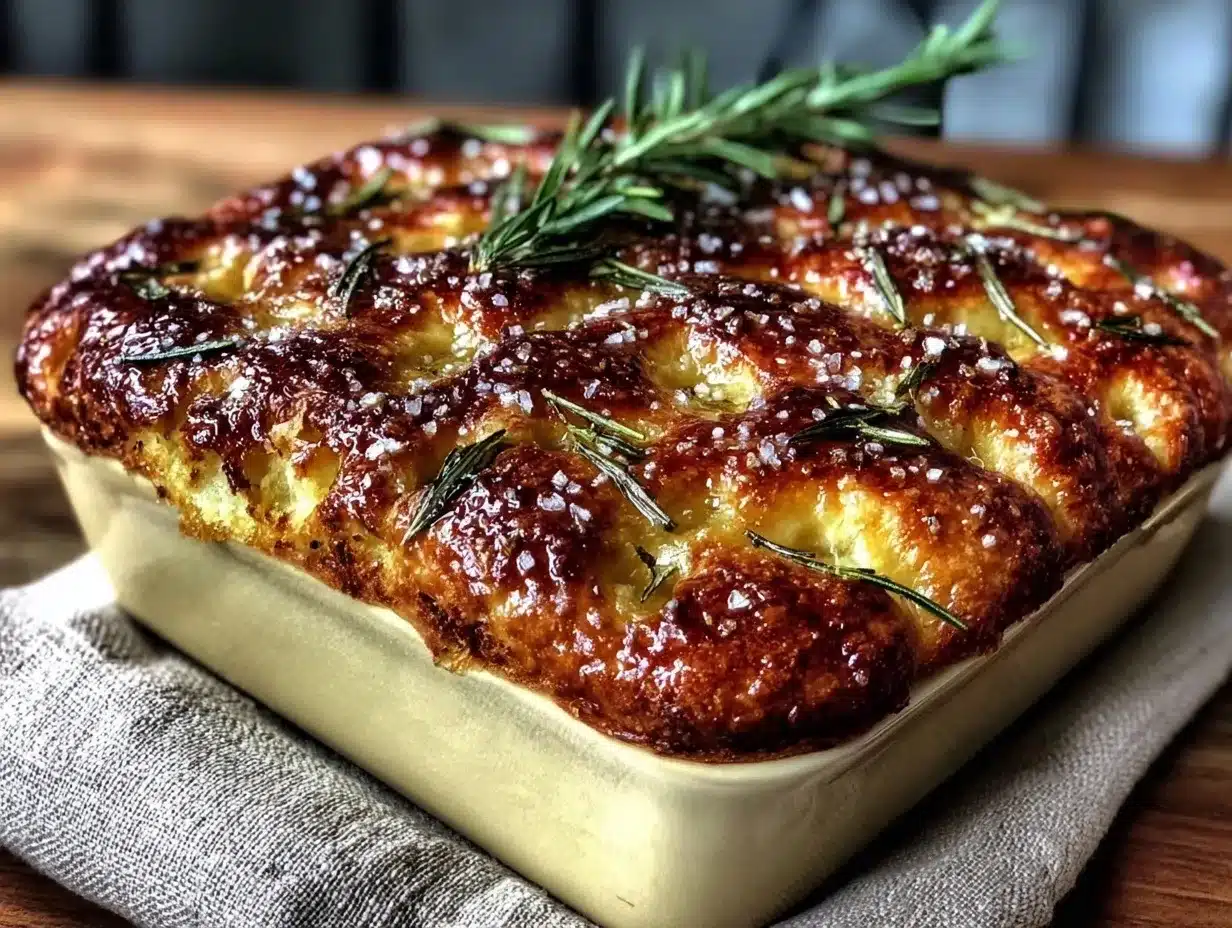
Extra Virgin Olive Oil (about ¼ cup + more for drizzling) — Don’t skimp here. The oil goes into the pan and on top. It creates that crispy, golden crust. Use a good quality oil that you’d actually eat raw. Cheap oil tastes bitter when baked.
Fresh Rosemary (2 tablespoons, chopped) — Fresh is non-negotiable. Dried rosemary has a different, sharper flavor that doesn’t meld with the oil the same way. If you can’t find fresh, use 1 teaspoon dried, but fresh is best.
Flaky Sea Salt (for finishing) — Maldon is my go-to. It adds those beautiful crunchy bursts of salt on top of the soft bread. It’s a texture game-changer.
Optional Add-ins — Cherry tomatoes, sliced olives, caramelized onions, or grated Parmesan. I keep it simple with just rosemary and oil most of the time, but feel free to get creative.
Common Questions
Can I use all-purpose flour? Yes, but the bread will be softer and less chewy. If you use AP, reduce the water by 10g (about 1 tablespoon) because AP absorbs less water than bread flour.
What if my starter isn’t active? Don’t risk it. Feed it and wait. Weak starter = flat bread. It’s better to wait an extra few hours than to waste your ingredients.
Equipment Needed
You don’t need fancy tools. Here’s what I actually use in my kitchen.
9×13 Inch Baking Pan — I use a metal pan. It conducts heat well and gives you that crispy bottom. Glass or ceramic pans work but might need a slightly longer bake time. Avoid dark non-stick pans if possible; they can burn the bottom.
Stand Mixer or Large Bowl — A stand mixer with a dough hook is easiest, but a large bowl and a sturdy spoon work fine. The dough is wet, so you need something that can handle it.
Plastic Wrap or Damp Towel — To cover the dough during rising. Plastic wrap is easier for the fridge.
Pastry Brush — For brushing oil on top. A silicone brush is great because it doesn’t shed bristles.
Offset Spatula — Optional, but helpful for spreading the wet dough into the pan without sticking to your hands.
Cooling Rack — Essential. You need air circulation underneath so the bottom doesn’t get soggy.
How to Make It: Step-by-Step
Alright, let’s make this! I’m walking you through exactly how I do it, including the little tricks I’ve picked up over the years.
Step 1: Mix the Dough (10 minutes)
In a large bowl or stand mixer, combine the water and sourdough starter. Whisk until the starter is dissolved and the water looks cloudy. Add the flour and salt. Mix on low speed (or by hand) until no dry flour remains. The dough will be very shaggy and sticky. That’s normal. Cover and let it rest for 30 minutes. This autolyse period helps the flour hydrate.
Step 2: Stretch and Fold (10 minutes, spread over 3 hours)
After 30 minutes, wet your hands (water prevents sticking) and gently stretch the dough from all four sides, folding it into the center. Do this four times, once every 30 minutes, for a total of four sets. You’ll feel the dough becoming smoother and more elastic. By the end, it should hold its shape a bit better but still be soft.
Step 3: Cold Proof (8-12 hours)
After the final fold, cover the bowl tightly with plastic wrap. Place it in the refrigerator overnight (or up to 12 hours). This slow fermentation develops flavor and makes the dough easier to handle. The dough will rise slightly and fill with bubbles.
Step 4: Prep the Pan (5 minutes)
The next day, take the dough out of the fridge. Pour about 3 tablespoons of olive oil into your 9×13 pan. Tilt the pan to coat the bottom and sides. Let the oil sit while you work.
Step 5: Transfer and Stretch (10 minutes)
Gently pour the dough into the oiled pan. It will be sticky. Use oiled hands or an offset spatula to gently press and stretch the dough toward the edges. Don’t worry if it’s not perfect or if it springs back. Let it rest for 5 minutes, then try again. Eventually, it will reach the corners. If it’s too tight, just leave it—it will expand during the final rise.
Step 6: Dimple and Rest (30-60 minutes)
Brush the top generously with olive oil. Use your fingertips to press deep dimples into the dough all over. This is the fun part. Don’t be shy. Then, let it rise on the counter for 30-60 minutes until it looks puffy and jiggly. It should look like it’s filled with air.
Step 7: Bake (30-35 minutes)
Preheat your oven to 425°F (220°C). Sprinkle the chopped rosemary and flaky sea salt over the top. Bake for 30-35 minutes until the bottom is golden brown and crisp, and the top is deep golden. Rotate the pan halfway through for even browning.
Step 8: Cool and Serve
Let it cool in the pan for 10 minutes, then transfer to a wire rack. Slice, tear, or cut into squares. Serve warm with more olive oil for dipping if you want to be fancy.
Expert Tips & Tricks
Here’s everything I’ve learned from making this dozens of times. These tips will save you from my mistakes.
- Hydration is Key — This dough is wetter than pizza dough. Don’t add extra flour to make it less sticky. The stickiness is what creates those big air bubbles. Wet hands are your friend.
- Don’t Skip the Cold Proof — I know it’s tempting to bake it right away. But the overnight fridge rest is what gives you that complex sourdough flavor and the tender crumb. It’s worth the wait.
- Watch the Bubbles — When you dimple the dough, you’re releasing some gas, but you want to keep as many bubbles as possible. Press gently but firmly. You want those holes!
- Test for Doneness — The color isn’t always enough. Tap the bottom of the loaf. If it sounds hollow, it’s done. If it sounds dense, bake for 5 more minutes.
- Oil Quality Matters — Since olive oil is a main ingredient, use something you love. It’s the flavor backbone of the bread.
Common Mistakes:
- Dough is too stiff: Your flour might be absorbing more water. Add 1-2 tablespoons of water next time.
- Bread is dense: Under-proofed. Let it rise longer in step 6. Or your starter wasn’t active enough.
- Bottom is burnt: Oven was too hot, or pan is too dark. Lower temp by 25°F or use a lighter pan.
Variations & Substitutions
Once you’ve nailed the basic version, here’s how you can mix it up. I’ve tried all of these.
- Tomato & Basil Focaccia — Add halved cherry tomatoes before baking. Sprinkle fresh basil after baking.
- Caramelized Onion & Rosemary — Sauté onions until sweet and dark. Spread over dough before dimpling.
- Garlic & Herb — Skip the rosemary. Use minced garlic and thyme. Great with pasta.
- Sweet Version — Skip the salt and rosemary. Add honey to the dough. Top with cinnamon sugar after baking.
Dietary Notes: This contains gluten and dairy (if you add cheese). For a gluten-free version, use a 1:1 gluten-free flour blend, but expect a denser texture.
Serving & Storage
How to Serve: I usually serve this straight from the pan at the dinner table. It looks rustic and stays warm. It’s perfect alongside creamy roasted butternut squash soup or a simple green salad.
Storage: Store in an airtight container at room temperature for up to 3 days. It stays moist and soft. For longer storage, wrap tightly in plastic and freeze for up to 3 months. Thaw at room temperature or toast from frozen.
Reheating: Warm in a 350°F oven for 10 minutes to crisp up the crust. Microwave will make it soft and chewy, which some people prefer.
Nutrition Information
I’m not a nutritionist, but here’s the breakdown if you’re tracking. Per serving (based on 12 squares):
- Calories: 210
- Protein: 5g
- Carbs: 28g
- Fiber: 1g
- Fat: 9g
- Sodium: 180mg
This is whole-food fuel. The olive oil provides healthy fats, and the sourdough fermentation makes the carbs easier to digest. It’s not a diet food, but it’s a wholesome, satisfying choice that keeps you full.
Final Thoughts
So that’s my go-to sourdough focaccia! I’ve probably talked your ear off at this point, but when you make a recipe this often, you have a lot to say about it. This bread has saved weeknight dinners more times than I can count. It’s my answer to “what’s for dinner” when I’m tired, don’t want takeout, and still want something that tastes really good. My family is happy, and I’m happy because I’m not stressed about cooking.
Make it yours! Try different add-ins, swap in your favorite herbs, adjust the garlic (though more is always better in my opinion). The best recipes are the ones you adapt to your family’s tastes. If you make this, drop a comment and let me know what you think! I love hearing how recipes turn out in your kitchen. And if something doesn’t work, tell me that too—I’m here to help troubleshoot.
Happy cooking! And I hope your kitchen smells half as good as mine does right now.
Frequently Asked Questions
Can I use bread flour instead of all-purpose?
Yes! In fact, I recommend it. Bread flour has more protein, which creates a stronger gluten network. This gives you that chewy, airy texture that focaccia is famous for. All-purpose will work, but the result will be softer and less structured.
My dough didn’t rise in the fridge—what happened?
This usually means your sourdough starter wasn’t active enough. Make sure you feed it 4-6 hours before mixing, and it should be doubling in size and bubbly. If your kitchen is very cold, the dough might rise slower. Give it an extra hour or two.
Can I make this ahead for a party?
Absolutely. You can mix the dough the night before, let it proof in the fridge, then take it out the next morning, let it rise, and bake it. It’s perfect for meal prep. You can also bake it fully, let it cool, and reheat it before serving.
Why did my focaccia turn out dense?
Check your starter activity. If the starter was weak, the dough won’t rise. Also, make sure you’re not over-folding or deflating the dough during the stretch-and-fold stage. Be gentle. And don’t skip the cold proof—it develops the gluten and flavor.
Can I freeze this bread?
Yes! Focaccia freezes beautifully. Wrap it tightly in plastic wrap and then foil. It will keep for up to 3 months. Thaw at room temperature or toast slices from frozen. It tastes almost as good as fresh.
Do I have to use rosemary?
No! Rosemary is classic, but you can use thyme, oregano, or even just sea salt and olive oil. Try adding cherry tomatoes, sliced olives, or caramelized onions for different flavors. The base dough is very versatile.
Pin This Recipe!
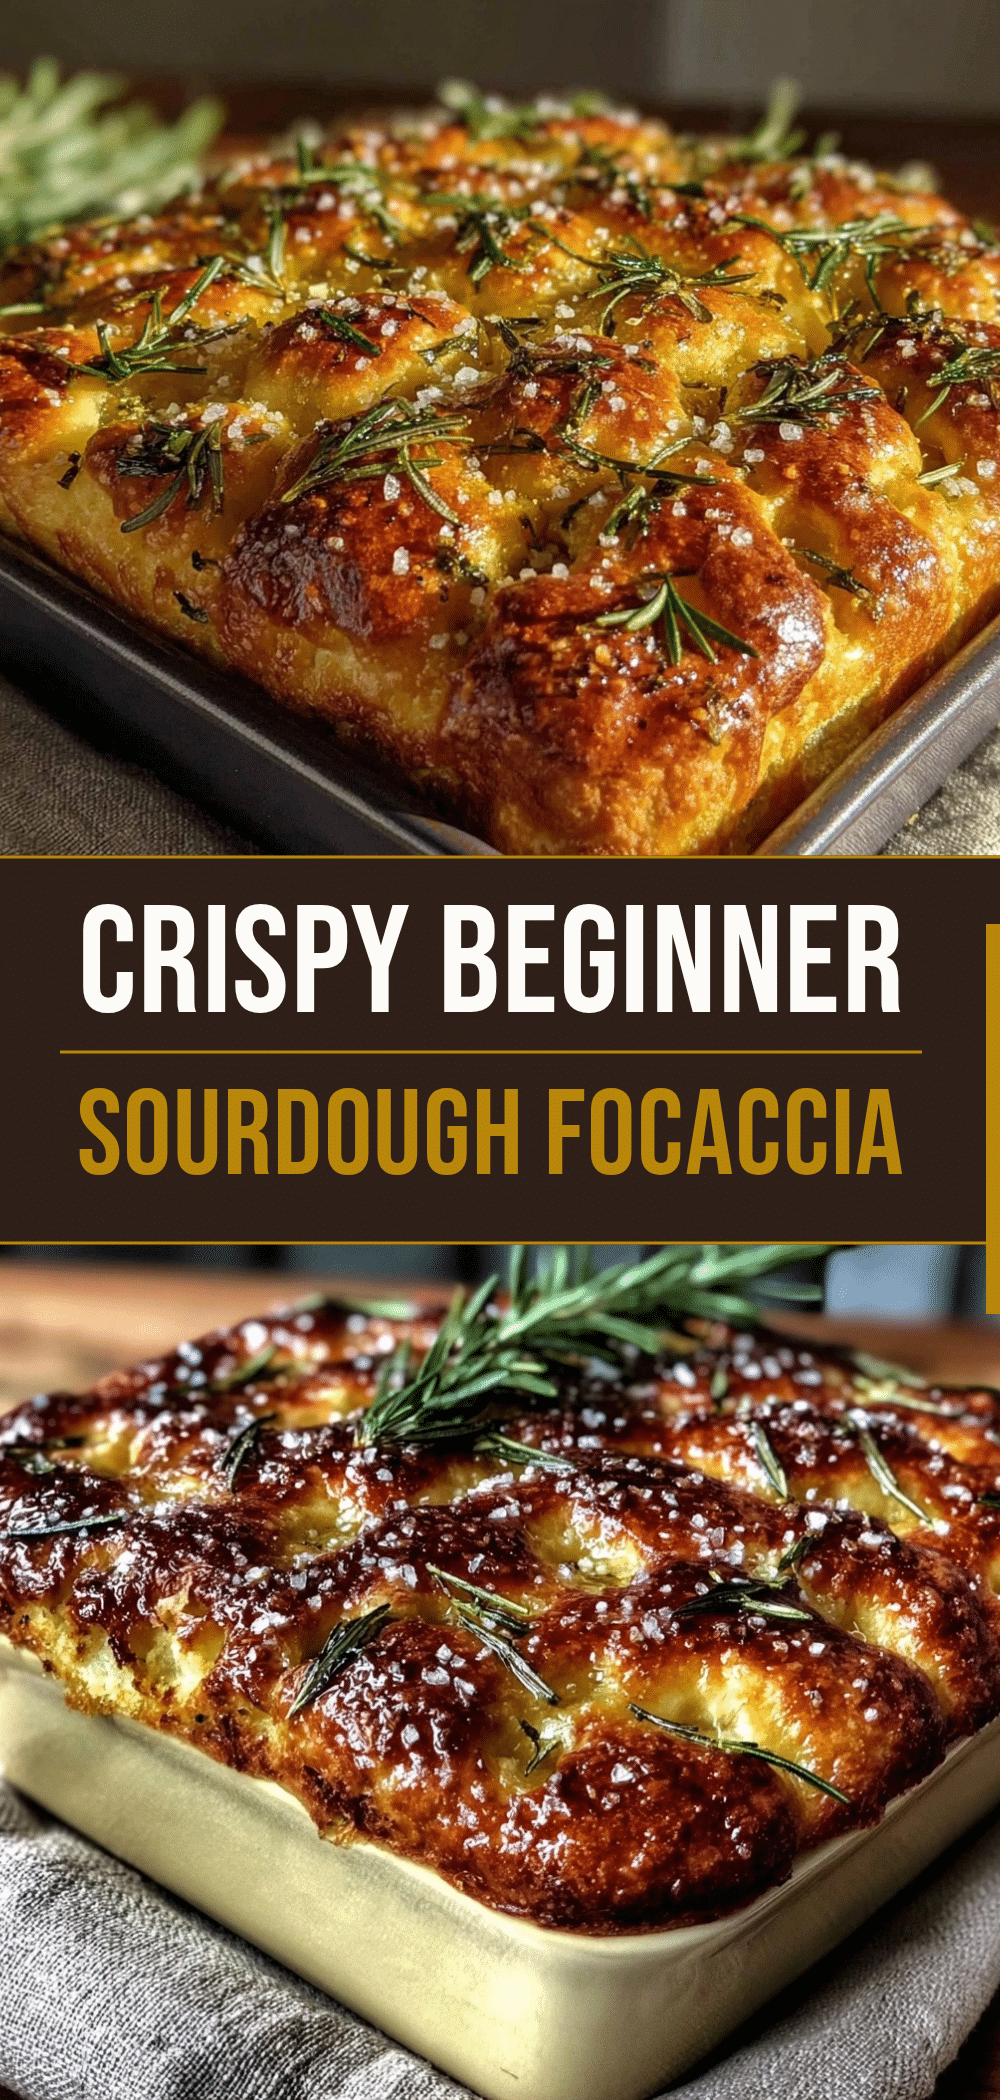

Beginner-Friendly Sourdough Focaccia: Easy 3-Ingredient Fuel
- Total Time: 12 hours 20 minutes
- Yield: 12 servings 1x
Description
A foolproof, beginner-friendly sourdough focaccia recipe that requires zero kneading. This bread features a crisp, oily bottom, a pillowy interior, and is flavored with fresh rosemary and olive oil.
Ingredients
- 360g (about 2 ¾ cups) Bread Flour
- 320g (about 1 ⅓ cups) Lukewarm Water (75-80°F)
- 60g (about ¼ cup) Active Sourdough Starter
- 8g (about 1 ½ teaspoons) Kosher Salt
- ¼ cup Extra Virgin Olive Oil (plus more for drizzling)
- 2 tablespoons Fresh Rosemary, chopped
- Flaky Sea Salt (for finishing)
Instructions
- In a large bowl or stand mixer, combine water and sourdough starter. Whisk until dissolved.
- Add flour and salt. Mix on low speed or by hand until no dry flour remains. The dough will be shaggy and sticky.
- Cover and let rest for 30 minutes (autolyse).
- Wet hands and gently stretch the dough from all four sides, folding into the center. Repeat this four times, once every 30 minutes, for a total of four sets.
- Cover the bowl tightly with plastic wrap and place in the refrigerator for 8-12 hours (overnight proof).
- Preheat oven to 425°F (220°C).
- Pour 3 tablespoons of olive oil into a 9×13 inch baking pan. Tilt to coat bottom and sides.
- Gently pour the dough into the oiled pan. Use oiled hands or an offset spatula to press and stretch dough toward the edges. Let rest 5 minutes, then stretch again if needed.
- Brush the top generously with olive oil. Use fingertips to press deep dimples into the dough all over.
- Let rise on the counter for 30-60 minutes until puffy and jiggly.
- Sprinkle chopped rosemary and flaky sea salt over the top.
- Bake for 30-35 minutes until the bottom is golden brown and crisp, and the top is deep golden. Rotate pan halfway through.
- Let cool in the pan for 10 minutes, then transfer to a wire rack to cool completely before slicing.
Notes
Ensure your sourdough starter is active and passes the float test before using. Do not skip the cold proof as it develops flavor and texture. If using all-purpose flour, reduce water by 10g. For best results, use high-quality extra virgin olive oil.
- Prep Time: 45 minutes
- Cook Time: 35 minutes
- Category: Side Dish
- Cuisine: Italian
Nutrition
- Serving Size: 1 square
- Calories: 210
- Sodium: 180
- Fat: 9
- Saturated Fat: 1
- Carbohydrates: 28
- Fiber: 1
- Protein: 5
Keywords: sourdough focaccia, easy bread recipe, no knead bread, rosemary focaccia, beginner sourdough, rustic bread



