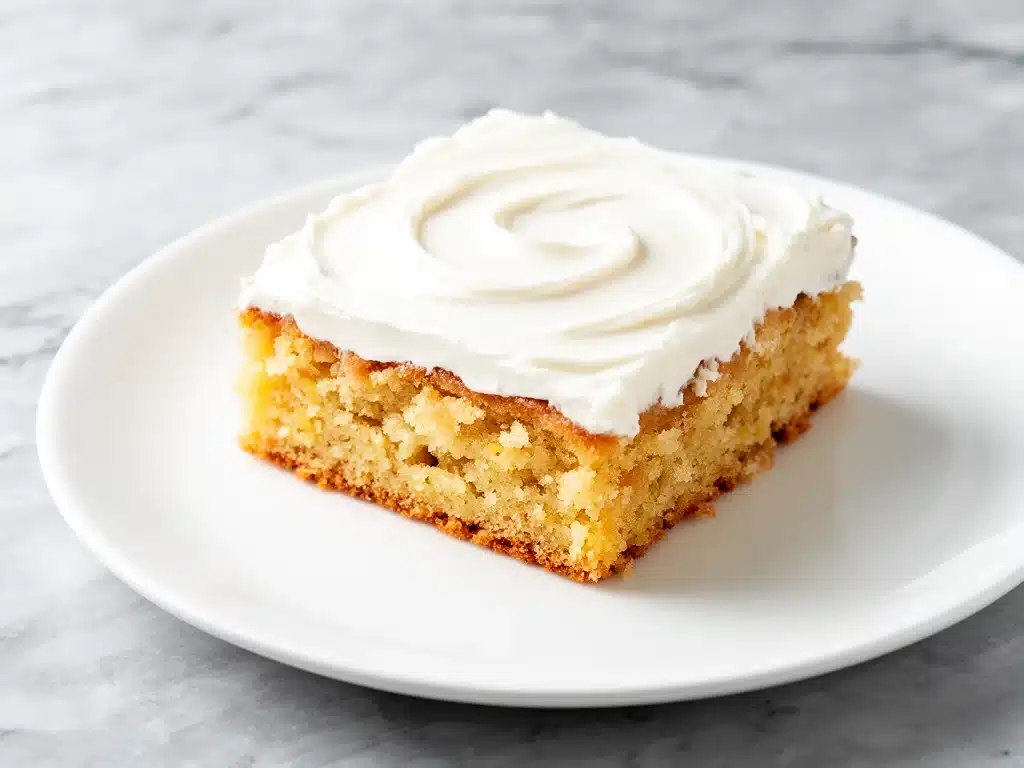
I have a confession to make. Last month, I went through a phase where I made these chewy sugar cookie bars four times in ten days. Four times. My kids started looking at me with that mix of love and suspicion that says, “Mom, are we never going to eat anything else but this?” The answer, unfortunately for them, was probably yes. At least for a while.
Here’s the thing about sugar cookies. Everyone has a version. Some are crisp and snappy, like shortbread. Others are cakey and light, perfect for a tea party with your aunt. But I was hunting for something else entirely. I wanted that specific texture you get from a soft-baked cookie—chewy in the middle, slightly crisp at the edges, loaded with vanilla flavor, and topped with a frosting that doesn’t melt into a greasy mess the second it hits room temperature.
I spent weeks testing batters, tweaking the ratio of brown sugar to white sugar, and experimenting with different frosting consistencies. I burned three batches of cookies (don’t ask about the smoke alarm incident) before I finally nailed it. And now? This recipe for chewy sugar cookie bars with vanilla frosting is the one I make on repeat. It’s easier than rolling individual cookies, it bakes up in a single pan, and it tastes like pure comfort.
If you’re looking for a dessert that feels homemade but doesn’t require an hour of standing over a counter, this is it. It’s the kind of treat that disappears from the counter faster than cinnamon French toast sticks do on a lazy Saturday morning. Let’s get into why these bars are worth the oven space.
Why You’ll Love This Recipe
There are about a dozen reasons I keep making these chewy sugar cookie bars, but here are the big ones that convinced me to add them to my permanent rotation.
Zero Rolling Required — Seriously. If you’re tired of chilling cookie dough for two hours and then dealing with sticky dough balls, this is your savior. You just mix the batter, spread it into a pan, and bake. It’s that simple. I’ve made these while my kids were doing homework right next to me, and I wasn’t stressed once.
That Perfect Texture — Most bar cookies turn out either too cakey or too hard. These hit the sweet spot. They’re dense and chewy in the center, with those beautiful slightly crisp edges that form where the sugar caramelizes against the pan. It’s the texture of a soft-baked sugar cookie, but in bar form.
Make-Ahead Friendly — These bars actually taste better the next day. The flavors meld together, and the frosting sets up perfectly. I love making them on Sunday so they’re ready for the week. They hold up well in the fridge, which is great for lunchbox desserts (unlike chicken Caesar wraps, which are better fresh, but hey, we all have priorities).
Customizable — While the vanilla frosting is classic, you can add sprinkles, swirl in jam, or even add a hint of almond extract. They’re a blank canvas for your creativity. I’ve made them with pink sprinkles for birthdays and plain for random Tuesday treats.
Crowd-Pleaser — I’ve served these to picky eaters and dessert snobs alike. Everyone loves sugar cookies. It’s a flavor profile that rarely disappoints. My husband’s coworkers actually asked me for the recipe after I brought them to a meeting. That’s the seal of approval right there.
This is my go-to when I need a dessert that feels special but doesn’t require a trip to the bakery. No complicated techniques, no weird ingredients, just reliable, delicious food that makes everyone happy.
Ingredients You’ll Need
Here’s the best part: you probably have most of these ingredients already. This isn’t a recipe that requires a special trip to the store for obscure items. It’s pantry-friendly, which is exactly why I make it so often.
For the Chewy Sugar Cookie Bars
Unsalted Butter (1 cup / 226g) — Softened to room temperature. This is crucial. If your butter is too cold, it won’t cream properly with the sugar, and you’ll end up with dense bars. If it’s melted, the texture will be greasy. Aim for soft but still solid.
Granulated White Sugar (1 cup / 200g) — This provides the structure and the slight crispness at the edges. Don’t substitute with brown sugar if you want that specific chewy-crisp balance.
Packed Brown Sugar (1 cup / 220g) — This is the secret to the chewiness. The molasses in the brown sugar keeps the bars moist and tender. Light or dark brown sugar both work; I usually just use whatever is in my pantry.
Large Eggs (2) — Room temperature eggs incorporate better into the batter. If I forget, I just run them under warm water for a minute. Don’t skip this step; it affects the emulsion of the dough.
Vanilla Extract (2 teaspoons) — Use real vanilla extract, not imitation. The flavor of these bars is simple, so the vanilla really shines through. I use pure vanilla bean extract if I have it, but regular pure extract works great.
All-Purpose Flour (3 cups / 375g) — Don’t overmeasure! Spoon the flour into your measuring cup and level it off. If you scoop directly from the bag, you’ll pack too much flour and get dry, crumbly bars. I use Gold Medal AP flour, but any brand works.
Baking Powder (1 teaspoon) — This gives the bars a slight lift without making them cakey. Just enough to keep them tender.
Salt (½ teaspoon) — Even though these are sweet, salt is essential to balance the flavor and enhance the vanilla. Don’t skip it.
For the Vanilla Frosting
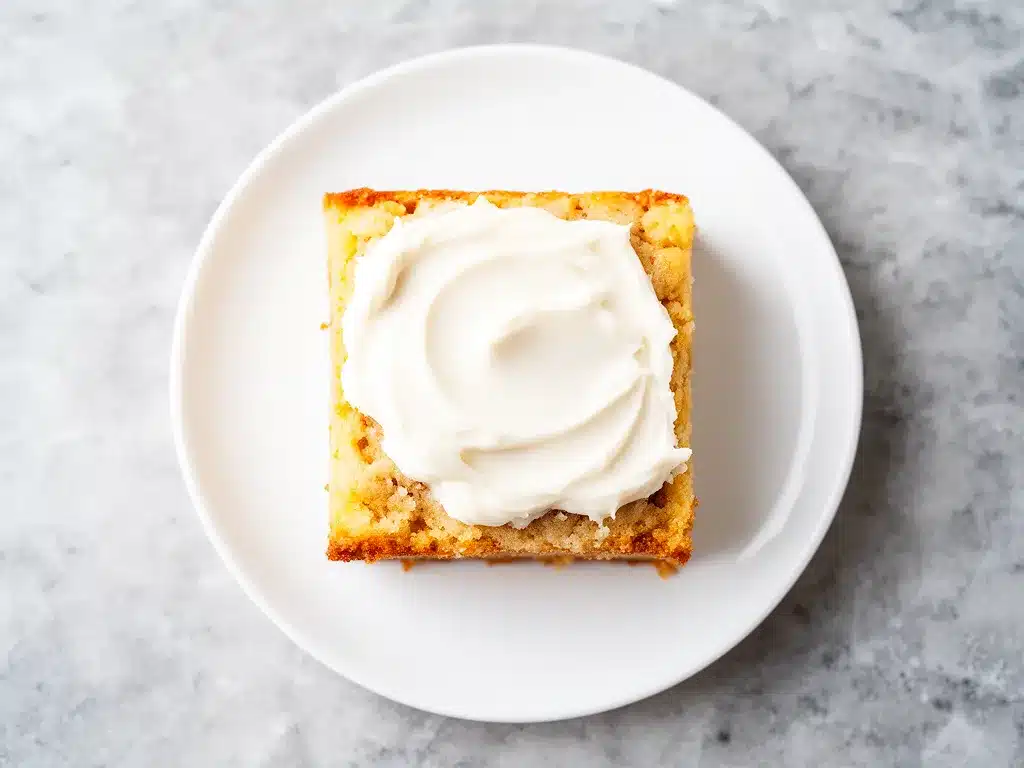
Unsalted Butter (½ cup / 113g) — Softened to room temperature. Again, texture matters here.
Confectioners’ Sugar (3-4 cups / 360-480g) — Sifted if it’s lumpy. I usually use about 3½ cups for a frosting that’s sweet but spreadable.
Heavy Cream (2-3 tablespoons) — Adjust for consistency. More cream makes it softer; less makes it thicker.
Vanilla Extract (1 teaspoon) — Just a touch to tie it all together.
Pinch of Salt — To cut the sweetness.
Optional: Sprinkles, edible glitter, or a drizzle of caramel for extra flair.
Equipment Needed
You don’t need fancy equipment for this. Here’s what I actually use.
9×13 Inch Baking Pan — I prefer a glass Pyrex pan because it bakes evenly and I can see the bottom edges browning. Metal pans work too, but they might brown the edges faster, so keep an eye on them.
Electric Mixer — A hand mixer or stand mixer makes creaming the butter and sugars much easier. You can do it by hand, but it takes arm strength. I’ve done it by hand when my mixer broke, and I’m not doing it again unless I have to.
Spatula — A sturdy silicone spatula for scraping the bowl and spreading the batter evenly. This is important for uniform baking.
Whisk — For the frosting. Or you can use the beaters from your mixer.
Cooling Rack — Essential for cooling the bars before frosting. If you frost warm bars, the frosting will melt into the dough. I learned this the hard way with a mess that looked like a sugar cookie lava flow.
Knife or Pizza Cutter — For cutting the bars. A pizza cutter makes clean cuts without squishing the bars. I also use a sharp knife for precise squares.
How to Make It: Step-by-Step
Alright, let’s make these chewy sugar cookie bars! I’m walking you through exactly how I do it, including the little tricks I’ve picked up over dozens of batches.
Step 1: Prep Your Pan and Oven (5 minutes)
Preheat your oven to 350°F (175°C). Grease a 9×13 inch baking pan with butter or non-stick spray. I line the pan with parchment paper leaving an overhang on the sides—it makes lifting the bars out later a breeze. If you don’t have parchment, just grease it well. Trust me, you’ll thank me later.
Step 2: Cream the Butter and Sugars (3-4 minutes)
In a large bowl, beat the softened butter, granulated sugar, and brown sugar together until light and fluffy. This takes about 3-4 minutes with a mixer. You want the mixture to look pale and airy. This step incorporates air, which helps with the texture. If you’re doing it by hand, it’ll take about 10 minutes of vigorous stirring. You’re looking for a creamy, homogeneous mixture.
Step 3: Add Eggs and Vanilla (2 minutes)
Add the eggs one at a time, beating well after each addition. Mix in the vanilla extract. Scrape down the sides of the bowl with your spatula to make sure everything is incorporated. The mixture might look slightly curdled at first—that’s okay. It’ll come together once you add the flour.
Step 4: Mix in Dry Ingredients (2 minutes)
In a separate bowl, whisk together the flour, baking powder, and salt. Gradually add the dry ingredients to the wet ingredients, mixing on low speed just until combined. Do not overmix! Overmixing develops gluten, which makes the bars tough. You want them tender and chewy. Stop mixing as soon as you don’t see streaks of flour. It’s better to undermix slightly than overmix.
Step 5: Spread and Bake (20-25 minutes)
Spread the batter evenly into your prepared pan. Use your spatula to smooth the top. Bake for 20-25 minutes, or until the edges are lightly golden and the center is set but still slightly soft. A toothpick inserted into the center should come out with a few moist crumbs, not wet batter. If it comes out clean, they might be overbaked. I take mine out when the center still has a tiny bit of give.
Step 6: Cool Completely (1-2 hours)
Let the bars cool in the pan on a wire rack. This is the hardest part, I know. But if you try to frost them warm, the frosting will melt and slide off. I usually let them cool for at least an hour, but overnight is even better. The bars firm up and become chewier as they cool.
Step 7: Make the Frosting (5 minutes)
While the bars cool, make the frosting. Beat the softened butter until creamy. Gradually add the confectioners’ sugar, alternating with heavy cream, until you reach your desired consistency. Add vanilla and salt. Beat on high for 2 minutes until fluffy. If it’s too thick, add more cream. If it’s too thin, add more sugar.
Step 8: Frost and Cut
Spread the frosting evenly over the cooled bars. Use an offset spatula for a smooth finish, or leave it rustic with swirls. Sprinkle with sprinkles if you’re feeling festive. Let the frosting set for 15-20 minutes before cutting. Use a sharp knife or pizza cutter to slice into squares. Enjoy!
Expert Tips & Tricks
Here’s everything I’ve learned from making these dozens of times. These tips will save you from my mistakes.
Room Temperature Ingredients Are Key — I cannot stress this enough. Cold butter won’t cream properly. Cold eggs will cause the batter to separate. Take your butter and eggs out of the fridge 30 minutes before you start. If you forget, microwave the butter in 5-second bursts until soft, and run eggs under warm water.
Don’t Overbake — These bars continue to cook slightly after you take them out of the oven. If the center looks completely set when you pull them out, they’ll be dry. Aim for a slightly soft center. They’ll firm up as they cool.
Sift Your Powdered Sugar — If your confectioners’ sugar is lumpy, your frosting will be grainy. Sift it into the bowl before mixing. It takes 30 seconds and makes a huge difference in texture.
Frosting Consistency — The amount of heavy cream you need will vary depending on the humidity in your kitchen and the brand of sugar. Add it one tablespoon at a time. You want a frosting that spreads easily but doesn’t run off the sides of the bars.
Storage Matters — Store the bars in an airtight container at room temperature for up to 3 days. If it’s hot and humid, refrigerate them. They’ll taste better at room temperature, so take them out 30 minutes before serving.
Variations & Substitutions
Once you’ve nailed the basic version, here’s how you can mix it up. I’ve tried all of these.
Lemon Sugar Cookie Bars — Add the zest of one lemon to the batter and 1 tablespoon of lemon juice to the frosting. Swap the vanilla extract for lemon extract. It’s bright and refreshing.
Chocolate Chip Sugar Cookie Bars — Stir in 1 cup of chocolate chips before baking. They turn into a cross between a sugar cookie and a chocolate chip cookie. My kids’ favorite variation.
Red Velvet Sugar Cookie Bars — Add 1 tablespoon of cocoa powder and 1 teaspoon of red food coloring to the batter. Top with cream cheese frosting instead of vanilla. It’s festive and delicious.
Peanut Butter Swirl — Drop spoonfuls of peanut butter on top of the batter before baking and swirl with a knife. Adds a salty-sweet contrast that’s amazing.
Gluten-Free Option — Use a 1:1 gluten-free flour blend. The texture will be slightly different but still tasty. I’ve used Bob’s Red Mill 1:1 blend with good results.
Dairy-Free Option — Use dairy-free butter and dairy-free milk in the frosting. The flavor is slightly different but still good. My lactose-intolerant friend loves this version.
Serving & Storage
How to Serve: I usually serve these straight from the pan at a party—it looks rustic and stays warm. But here are other ways I’ve enjoyed them:
Side Dishes: These bars are dessert, so they pair well with coffee or milk. I also serve them with a side of fresh berries to cut the sweetness. A simple green salad works if you’re serving a full meal, but honestly, these are the star of the show.
Toppings Bar: When I have guests, I put out: sprinkles, crushed nuts, chocolate drizzle, and edible flowers. Everyone customizes their bar. It’s fun for kids and adults alike.
Refrigerator: Store in an airtight container for up to 4 days. The frosting might firm up in the fridge—totally normal. Let them come to room temperature before serving for the best texture.
Freezing: Yes, these freeze well! Freeze the unfrosted bars for up to 3 months. Thaw at room temperature, then frost. Or freeze frosted bars in a single layer, then transfer to a container. They’ll last for 2 months. I freeze extra batches so I always have dessert ready.
Pro tip: If leftovers are drying out, add a slice of bread to the container. The bars will absorb moisture from the bread and stay soft. It’s an old baker’s trick that actually works.
Nutrition Information
I’m not a nutritionist, but here’s the breakdown if you’re tracking. Keep in mind that these are rich, sweet bars, so portion control is key.
Per Bar (based on 16 bars):
- Calories: 280
- Protein: 3g
- Carbs: 42g
- Fiber: 0.5g
- Sugar: 28g
- Fat: 12g
- Saturated Fat: 7g
- Cholesterol: 35mg
- Sodium: 120mg
What’s Good: It’s a simple ingredient list with no artificial colors or preservatives. You know exactly what’s going into your body.
What to Know: Higher in sugar and carbs from the frosting and sugar in the dough. Contains dairy and gluten. Moderate calories, but dense enough to satisfy a sweet tooth.
My Take: Look, this is a treat. It’s not a health food. But it’s way better than store-bought bars, costs less, and I know exactly what’s in it. When I want to make it lighter, I reduce the frosting or use half the sugar in the dough. But usually? I just eat one square and enjoy it.
Final Thoughts
So that’s my go-to chewy sugar cookie bars with vanilla frosting! I’ve probably talked your ear off at this point, but when you make a recipe this often, you have a lot to say about it.
This has saved dessert time more times than I can count. It’s my answer to “what’s for dessert?” when I’m tired, don’t want to bake something complicated, and still want something that tastes really good. My kids are happy, my husband’s happy, and I’m happy because I’m not stressed about cooking.
Make it yours! Try different add-ins, swap in your favorite sprinkles, or adjust the vanilla. The best recipes are the ones you adapt to your family’s tastes.
If you make this, drop a comment and let me know what you think! I love hearing how recipes turn out in your kitchen. And if something doesn’t work, tell me that too—I’m here to help troubleshoot.
Happy baking! And I hope your kitchen smells half as good as mine does right now.
Frequently Asked Questions
Can I use margarine instead of butter?
You can, but the flavor won’t be as rich. Butter has a specific fat content and water ratio that affects the texture. Margarine has more water, which can make the bars cakey. If you must use it, choose a high-fat margarine and don’t use the spreadable kind in a tub.
Why did my bars turn out cakey instead of chewy?
Usually, this means you overmixed the batter or overbaked them. It could also mean you used too much flour. Remember, spoon and level your flour! Don’t scoop it directly from the bag. Also, make sure you’re using the right ratio of brown to white sugar. More brown sugar equals chewier bars.
Can I make these ahead for a party?
Absolutely! I make them 2-3 days ahead. Store them in an airtight container at room temperature. They actually taste better after a day or two as the flavors meld. Just add the frosting the day before or the day of the party so it doesn’t get soggy.
How do I store leftover bars?
Store them in an airtight container at room temperature for up to 3 days. If it’s hot outside, refrigerate them. They’ll keep for up to 4 days in the fridge. Let them come to room temperature before serving for the best texture.
Can I freeze the frosting separately?
Yes! You can freeze the frosting in an airtight container for up to 3 months. Thaw it in the fridge overnight, then beat it again to restore the fluffy texture. It might need a splash of cream to loosen it up.
Why did my frosting melt?
This usually happens if the bars weren’t completely cool when you frosted them, or if the butter in the frosting was too warm. Make sure the bars are 100% cool to the touch. Also, make sure your frosting butter is softened, not melted. If it’s too soft, chill the frosting in the fridge for 15 minutes before spreading.
Can I double this recipe?
Yes, but you’ll need a 9×13 inch pan or two 8×8 inch pans. Double all ingredients. The baking time might increase by 2-3 minutes. Keep an eye on them to avoid overbaking.
Pin This Recipe!
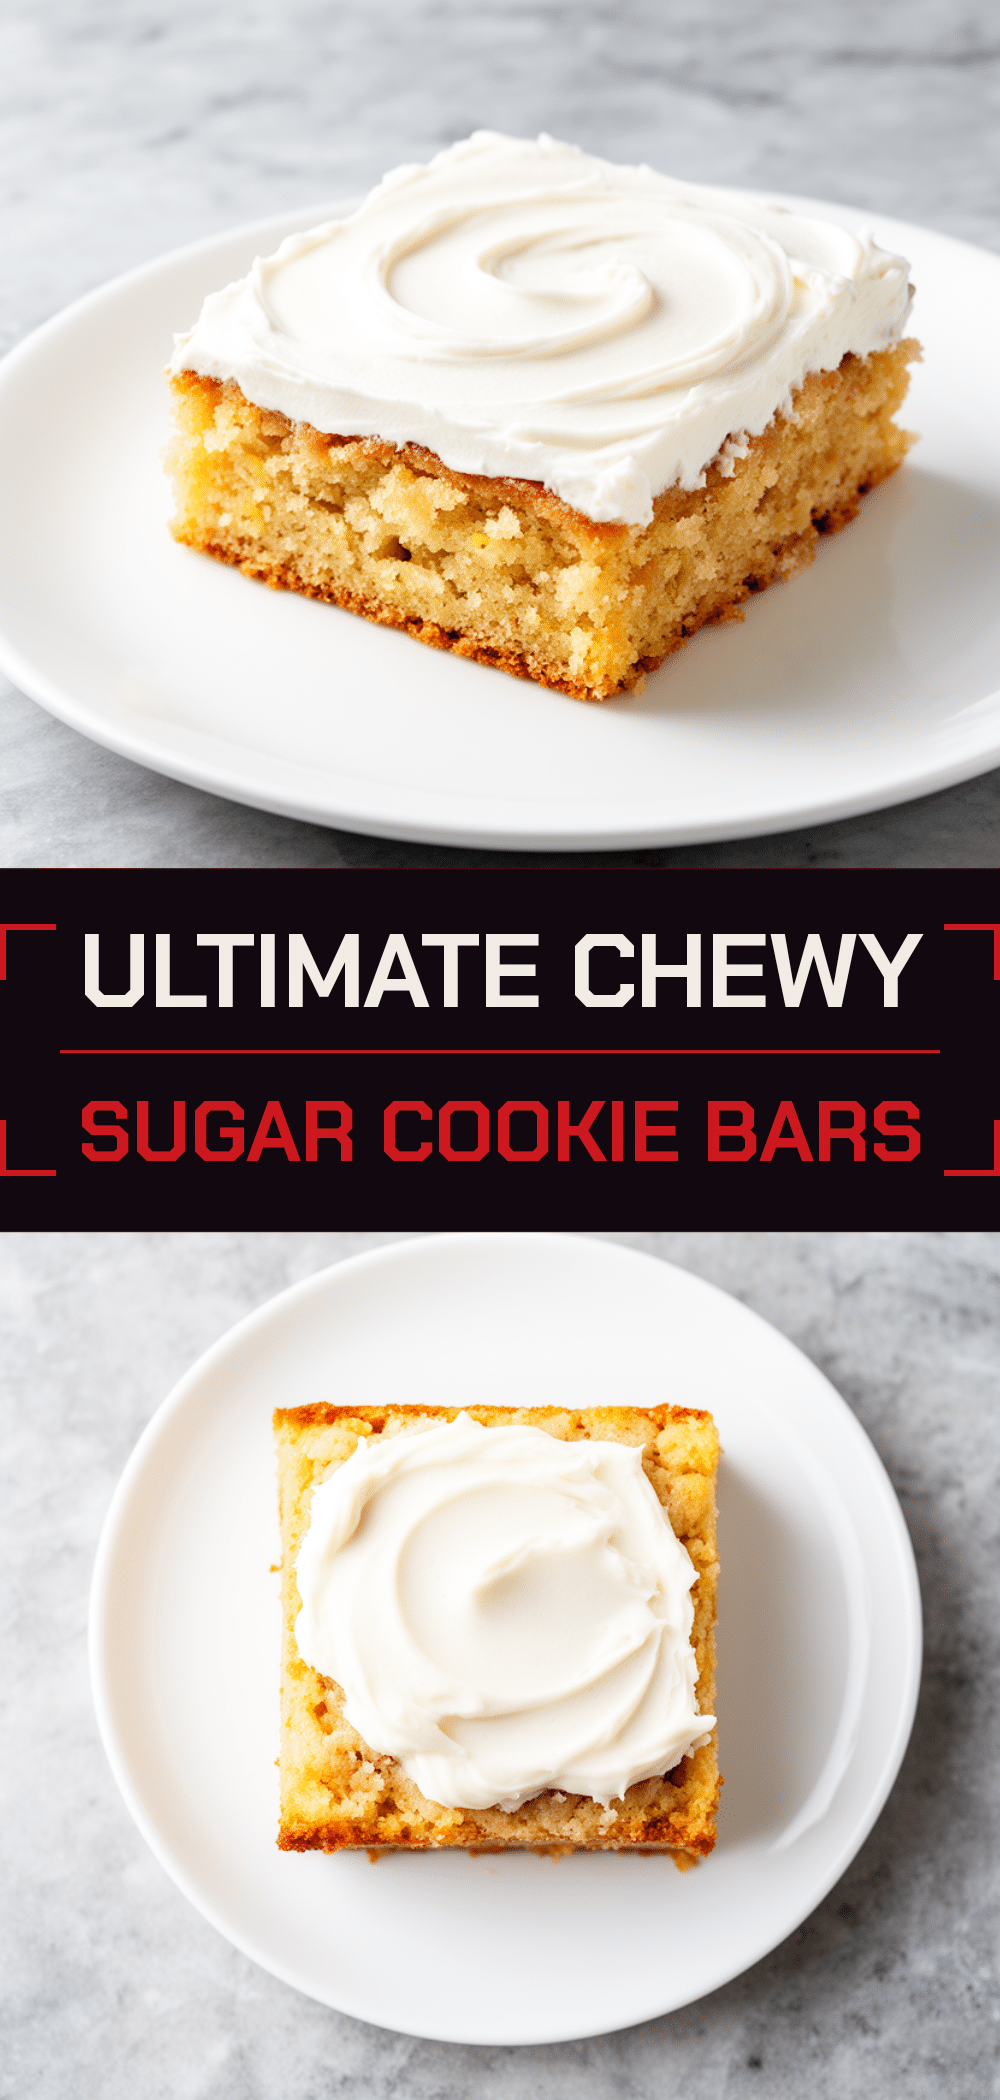
Chewy Sugar Cookie Bars: Easy Homemade Recipe
- Total Time: 40 minutes
- Yield: 16 servings 1x
Description
Soft, chewy sugar cookie bars baked in a single pan and topped with a creamy vanilla frosting. This easy dessert requires no rolling and is perfect for make-ahead treats.
Ingredients
- 1 cup (226g) unsalted butter, softened to room temperature
- 1 cup (200g) granulated white sugar
- 1 cup (220g) packed brown sugar
- 2 large eggs, room temperature
- 2 teaspoons vanilla extract
- 3 cups (375g) all-purpose flour
- 1 teaspoon baking powder
- ½ teaspoon salt
- ½ cup (113g) unsalted butter, softened for frosting
- 3–4 cups (360-480g) confectioners’ sugar, sifted
- 2–3 tablespoons heavy cream
- 1 teaspoon vanilla extract for frosting
- Pinch of salt for frosting
- Optional: Sprinkles, edible glitter, or caramel drizzle
Instructions
- Preheat oven to 350°F (175°C). Grease a 9×13 inch baking pan and line with parchment paper leaving an overhang on the sides.
- In a large bowl, beat the softened butter, granulated sugar, and brown sugar together until light and fluffy (about 3-4 minutes with a mixer).
- Add eggs one at a time, beating well after each addition. Mix in 2 teaspoons vanilla extract. Scrape down the sides of the bowl.
- In a separate bowl, whisk together flour, baking powder, and salt. Gradually add dry ingredients to wet ingredients, mixing on low speed just until combined. Do not overmix.
- Spread batter evenly into the prepared pan. Bake for 20-25 minutes until edges are lightly golden and the center is set but slightly soft.
- Let bars cool completely in the pan on a wire rack (at least 1 hour or overnight).
- While bars cool, beat frosting butter until creamy. Gradually add confectioners’ sugar and heavy cream, alternating, until desired consistency is reached. Add 1 teaspoon vanilla and pinch of salt. Beat on high until fluffy.
- Spread frosting evenly over cooled bars. Let frosting set for 15-20 minutes before cutting into squares.
Notes
Ensure butter and eggs are at room temperature for proper emulsion. Do not overmix the batter to avoid tough bars. Bars continue to cook slightly after removal from oven, so remove when center is still slightly soft. Store in an airtight container at room temperature for up to 3 days, or refrigerate if humid. For freezing, freeze unfrosted bars for up to 3 months.
- Prep Time: 15 minutes
- Cook Time: 25 minutes
- Category: Dessert
- Cuisine: American
Nutrition
- Serving Size: 1 bar
- Calories: 280
- Sugar: 28
- Sodium: 120
- Fat: 12
- Saturated Fat: 7
- Carbohydrates: 42
- Fiber: 0.5
- Protein: 3
Keywords: sugar cookie bars, chewy cookies, vanilla frosting, easy dessert, make-ahead dessert, homemade cookies, bar cookies



