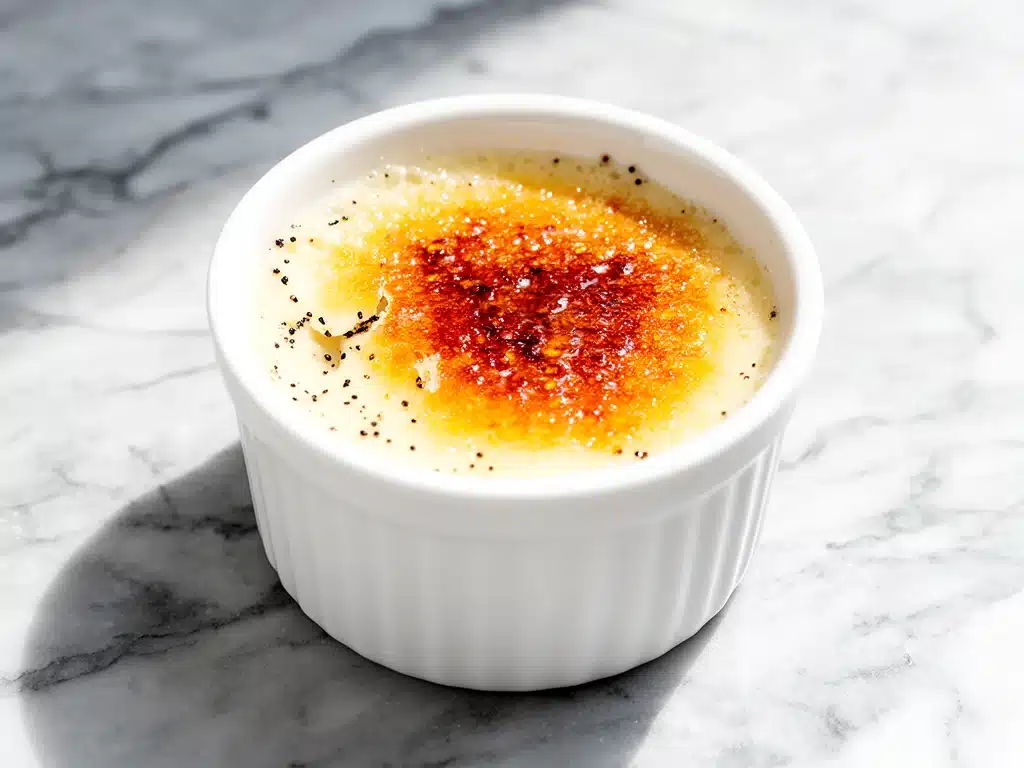
Last November, I was hosting a dinner party for six people who all claimed to have “complicated” palates. You know the type. They’re the friends who critique the texture of the bread roll and ask if the wine was decanted. I had spent the afternoon making a roast chicken that was honestly pretty good, but I was stressed. I needed a dessert that looked impressive, tasted incredible, and—most importantly—could be made the day before so I wasn’t hovering over the stove while my guests were talking.
I looked at my clock. It was 4:00 PM. I had no time to bake a complicated layered cake or temper chocolate for a mousse. I needed something elegant but forgiving. That’s when I decided to make the classic vanilla bean creme brulee. I’ve made this dessert dozens of times, but this was the batch that cemented it as my go-to for dinner parties. It’s the perfect finish to a meal because it doesn’t overwhelm the palate like a heavy cheesecake might, and the act of cracking that caramelized sugar crust right at the table? Pure theater.
Here’s the thing about creme brulee: everyone thinks it’s fancy and hard. It’s not. It’s just custard with a crunchy hat. And once you master this 5-ingredient version, you’ll never buy a dessert from a restaurant again. My guests were so impressed by the contrast of the warm, creamy custard and the sharp, brittle sugar topping that they asked for the recipe before they’d even finished their coffee. I’ve since made it for birthdays, date nights, and just because I wanted to treat myself. It’s reliable, it’s delicious, and it’s surprisingly easy.
This vanilla bean creme brulee recipe is the one I come back to every time. It uses real vanilla beans for that speckled, aromatic magic, but the method is simple enough for a beginner. You don’t need fancy equipment, just a few basic kitchen tools and a little patience. Let me walk you through how to make this elegant dessert that will have your friends asking for seconds.
Why This Recipe Works for Dinner Parties
There are a million dessert recipes out there, but this classic vanilla bean creme brulee stands out for a specific reason: it’s the ultimate make-ahead dessert. When you’re hosting, the last thing you want is to be stuck in the kitchen when your guests are relaxing with a glass of wine. This recipe lets you do all the heavy lifting days in advance.
Here’s why I keep coming back to this one:
It’s a Make-Ahead Hero — You can bake the custards up to three days ahead. Just keep them in the fridge. When it’s time to serve, you just torch the sugar. This means I can spend my dinner party time actually talking to my guests instead of scrubbing pans. It’s a game-changer for hosting.
Only Five Ingredients — Seriously. Heavy cream, egg yolks, sugar, salt, and vanilla beans. That’s it. No weird stabilizers, no gelatin, no complicated techniques. If you have these in your kitchen, you can make this tonight. It proves that simple ingredients, when treated with respect, create something extraordinary.
The “Tableside” Moment — There is nothing quite like the sound of a spoon cracking through the caramelized sugar crust. It’s satisfying, it’s loud, and it gets everyone’s attention. It turns dessert into an experience rather than just a plate of food. My friends love the ritual of it.
Rich but Not Heavy — Unlike a dense chocolate cake or a heavy fruit pie, creme brulee is light enough to enjoy after a big meal without feeling sluggish. The cream is rich, yes, but the texture is silky and smooth. It feels indulgent without being overwhelming.
Gluten-Free by Default — This is naturally gluten-free, which makes it a safe option for guests with sensitivities. I don’t have to worry about cross-contamination or separate baking dishes. It’s inclusive by nature, which is always a plus when you’re feeding a group.
I’ve served this to everyone from my picky-eater nephew to my sophisticated aunt, and it gets raves every time. It’s the dessert that says, “I put effort into this, but I’m also relaxed enough to enjoy it.” That’s the vibe I want for my home.
Ingredients You’ll Need
One of the best things about this classic vanilla bean creme brulee is how few ingredients you need. But because there are so few, quality matters. You can’t hide behind spices or complex flavors. Each ingredient needs to be good. Here’s what I use and why.
Heavy Whipping Cream (2 cups / 480ml) — This is the base. It needs to be full-fat. Low-fat cream won’t set properly and will taste watery. I buy the carton from the dairy section, not the shelf-stable kind. The higher the fat content, the richer and silkier the custard. Don’t skimp here.
Vanilla Beans (2 pods) — This is where the magic happens. I use real vanilla beans, not extract. You’ll scrape the tiny black seeds from inside the pod. Those specks are beautiful and they infuse the cream with a deep, floral aroma. If you absolutely must use extract, use 2 teaspoons of pure vanilla extract, but you’ll miss out on those gorgeous black specks and the complex flavor. I’ve tried both, and the bean is worth the extra minute of prep.
Egg Yolks (5 large yolks) — We use only yolks for that intense yellow color and rich texture. Whites would make it rubbery. I usually have a few extra whites from other baking projects (like these cinnamon French toast sticks when I’m making a big breakfast) that I freeze for meringues, so the yolks never go to waste.
Granulated Sugar (½ cup / 100g for the custard + extra for topping) — We use regular white sugar in the custard. It’s subtle and sweet. For the topping, you’ll need more sugar for torching. I prefer using regular granulated sugar for the top because it caramelizes evenly. Some people use turbinado, but it can get chunky and hard to crack. Stick to white sugar for that glass-like finish.
Salt (¼ teaspoon) — This is non-negotiable. Salt enhances the vanilla flavor and cuts through the richness of the cream. Without it, the custard tastes flat. I use fine sea salt. Just a pinch goes a long way.
Optional: A Pinch of Cornstarch — Some recipes call for a teaspoon of cornstarch to stabilize the custard. I don’t use it, but if you’re worried about overcooking, it can help. I’ve found that with careful temperature control, you don’t need it. But it’s there if you want the extra insurance.
I’m particular about the vanilla beans. I buy mine from a local spice shop where I can smell them before purchasing. They should be dark, plump, and oily-looking. Dry, brittle beans won’t give you the best flavor. It’s a small investment, but it makes a huge difference in the final taste.
Equipment Needed
You don’t need a professional kitchen to make this. Here’s what I actually use in my home kitchen.
Ramekins (6 to 8 small ramekins) — These are the little ceramic dishes you bake them in. I use 6-ounce ramekins. They’re the perfect size for a single serving. Make sure they’re oven-safe. I have a set of white ceramic ones that look elegant on the table, but any heatproof dish works.
Saucepan — For heating the cream and vanilla. I use a small heavy-bottomed saucepan. It heats evenly and doesn’t burn the cream. You don’t need anything fancy here.
Whisk — For mixing the egg yolks and sugar. A standard balloon whisk works perfectly. You need to whip the eggs until they’re pale and thick, which takes about 2 minutes.
Fine-Mesh Sieve — This is crucial. You need to strain the custard mixture before baking it. This removes any bits of cooked egg white or vanilla pod fragments. It ensures the custard is perfectly smooth. I don’t skip this step. It makes a noticeable difference in texture.
Baking Dish Large Enough for a Water Bath — You’ll need a roasting pan or a large baking dish that your ramekins fit into. It needs to be deep enough to hold the ramekins and still have room for hot water.
Kitchen Torch — For caramelizing the sugar on top. I have a handheld butane torch. It’s not strictly necessary—you can use the oven broiler—but the torch gives you more control. You can caramelize just the top without cooking the custard further. If you don’t have one, I’ve used the broiler successfully, but you have to watch it like a hawk.
Whisk and Strainer — As mentioned, these are essential for that silky texture. Don’t skip the straining step. It’s the secret to restaurant-quality results.
How to Make It: Step-by-Step
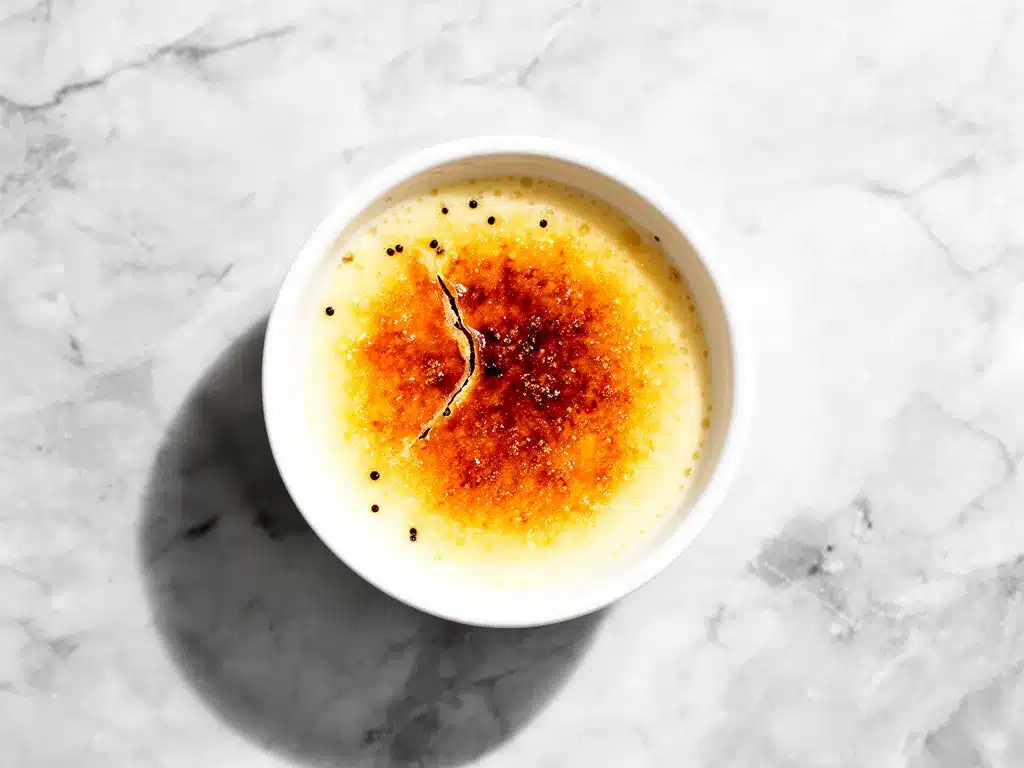
Alright, let’s make this! I’m walking you through exactly how I do it. It’s simple, but there are a few key steps that ensure success.
Step 1: Prep the Oven and Ramekins
Preheat your oven to 325°F (165°C). This is a low temperature. We’re baking gently to keep the custard smooth. If the oven is too hot, the eggs will scramble. Have your ramekins ready in the baking dish. I usually arrange them close together so they fit snugly.
Step 2: Heat the Cream and Vanilla
Pour the heavy cream into your saucepan. Slice the vanilla beans lengthwise and scrape out the seeds with the back of your knife. Drop both the seeds and the empty pods into the cream. Heat the cream over medium-low heat until it just starts to simmer. You’ll see small bubbles around the edges. Do not let it boil vigorously. Remove from heat, cover, and let it steep for 20 minutes. This infuses the cream with vanilla flavor. I usually do this while I preheat the oven and mix the eggs.
Step 3: Mix the Egg Yolks and Sugar
In a medium bowl, whisk the egg yolks and ½ cup of sugar together. Whisk vigorously for about 2 minutes until the mixture is pale yellow and slightly thickened. This incorporates air and helps the custard set properly. Add the salt and whisk again.
Step 4: Temper the Eggs
This is the most important step. Slowly pour the warm cream into the egg mixture while whisking constantly. If you pour it too fast, you’ll cook the eggs and make scrambled eggs in your bowl. Pour in a thin stream, whisking the whole time. Once all the cream is added, whisk in the vanilla pods (discard them now). The mixture should be smooth and liquid.
Step 5: Strain and Pour
Place a fine-mesh sieve over each ramekin. Pour the custard mixture through the sieve into the ramekins. This catches any stray bits of egg or vanilla. Fill each ramekin about ¾ full. This step ensures a perfectly smooth texture. I love seeing the beautiful pale yellow liquid settle into the dishes.
Step 6: The Water Bath
Place the baking dish with the ramekins in the oven. Carefully pour hot water into the baking dish until it comes halfway up the sides of the ramekins. The water bath creates a gentle, moist heat that prevents the custard from curdling. It’s the secret to that silky texture.
Step 7: Bake
Bake for 35-45 minutes. The custards are done when the edges are set but the centers still jiggle slightly like Jell-O. They will continue to set as they cool. Do not overbake. If they’re firm all the way through, they’ll be rubbery. I test mine by gently shaking the baking dish. If the center wobbles like gelatin, it’s done.
Step 8: Chill
Remove the ramekins from the water bath and let them cool to room temperature. Then, cover them with plastic wrap and refrigerate for at least 4 hours, or ideally overnight. This chilling time is crucial for the flavors to meld and the texture to firm up. I usually make these the day before the party.
Step 9: Torch the Sugar
Just before serving, sprinkle a thin, even layer of sugar over the top of each custard. Use a kitchen torch to melt and caramelize the sugar until it’s golden brown and bubbly. Let it sit for 1 minute to harden. Then, serve immediately. The contrast of the hot, crunchy sugar and the cold, creamy custard is everything.
Expert Tips & Tricks
Here’s everything I’ve learned from making this dozens of times. These tips will save you from my mistakes.
Don’t Skip the Strain
I know it’s an extra step, but straining the custard is non-negotiable for a smooth texture. It removes any bits of cooked egg or vanilla fiber. If you skip it, you might get little lumps in your custard. I’ve made this mistake once, and it was noticeable. Don’t do it.
The Water Bath is Key
The water bath creates a gentle cooking environment. Without it, the edges of the custard will overcook while the center remains runny. Make sure the water is hot when you add it to the pan. It helps maintain the oven temperature. Also, be careful not to splash water into the ramekins. It can water down the custard.
Low and Slow
325°F is the sweet spot. Higher temperatures risk curdling. If your oven runs hot, check your custards 5 minutes early. Every oven is different. I learned this the hard way when I tried 350°F and ended up with scrambled egg custard. Lesson learned.
Chill Thoroughly
The custard needs to be cold before you torch it. If it’s warm, the sugar will melt into the custard instead of forming a crisp shell. I usually torch them right before guests arrive. The temperature contrast is part of the experience.
Use Fresh Vanilla Beans
As I mentioned, the vanilla beans make a huge difference. If you’re using extract, add it after you’ve removed the cream from heat. The heat can destroy some of the delicate flavors of vanilla. But again, real beans are worth the effort.
Don’t Over-Torch
It’s easy to burn the sugar. Move the torch in a circular motion and keep it moving. You want a golden amber color, not black. If it burns, it’ll taste bitter. If you mess up, you can scrape off the burnt sugar and try again with a fresh layer.
Variations & Substitutions
Once you’ve nailed the basic version, here’s how you can mix it up. I’ve tried all of these.
Chocolate Creme Brulee
Add 2 tablespoons of high-quality cocoa powder to the egg yolk mixture. It adds a rich, chocolatey twist. My kids love this version. It’s like a fancy chocolate pudding with a crunch.
Lavender Infusion
Instead of vanilla, steep 1 tablespoon of dried culinary lavender in the cream. It adds a floral, sophisticated note. It’s beautiful and pairs well with berry sauces.
Maple Bourbon
Replace half the sugar with maple syrup and add a splash of bourbon to the cream. It’s a winter version that’s warm and cozy. The bourbon cooks off most of the alcohol, leaving just the flavor.
Gluten-Free
This recipe is naturally gluten-free. Just make sure your sugar and vanilla beans are certified gluten-free if you have celiac disease. It’s safe for most gluten-sensitive guests.
Dairy-Free
Replace the heavy cream with full-fat coconut cream. It adds a coconut flavor, which is delicious but different. The texture will be slightly less silky but still creamy. I’ve made this for dairy-free friends, and they loved it.
Different Flavors
You can infuse the cream with almost any flavor: orange zest, mint, or even Earl Grey tea. The possibilities are endless. I’ve made a matcha version that was surprisingly good.
Serving & Storage
How to Serve:
I serve these straight from the fridge. The cold custard contrasts with the warm, freshly torched sugar. I often garnish with a fresh berry or a mint leaf for a pop of color. It looks elegant on a white plate. I also like to serve them with a small spoon, as they’re meant to be scooped.
Side Dishes:
These are rich, so they don’t need much. I sometimes serve them with a simple fruit salad or some toasted nuts. But honestly, they’re perfect on their own. They’re the star of the show.
Storage:
Store covered in the fridge for up to 3 days. Do not add the sugar topping until you’re ready to serve. If you add it too early, it will dissolve into the custard. The custard itself holds up well in the fridge.
Freezing:
I don’t recommend freezing creme brulee. The texture of the custard can change, becoming grainy or watery when thawed. It’s best made fresh or chilled. The water bath method is delicate, and freezing can disrupt that structure.
Pro Tip:
If you’re hosting a large party, you can make these in a large baking dish instead of individual ramekins. Bake it as one large custard, then cut into squares. Torch the top of the whole dish. It’s easier for large groups and still looks impressive.
Nutrition Information
I’m not a nutritionist, but here’s the breakdown if you’re tracking. This is a rich dessert, so portion control is key.
Per Serving (based on 6 servings):
- Calories: 380
- Protein: 6g
- Carbs: 28g
- Fiber: 0g
- Sugar: 26g
- Fat: 28g
- Saturated Fat: 17g
- Cholesterol: 210mg
- Sodium: 45mg
What’s Good:
It’s naturally gluten-free and low in sodium. The vanilla provides antioxidants.
What to Know:
It’s high in calories and fat due to the heavy cream and egg yolks. It’s also high in sugar. This is an indulgent treat, not a health food. Enjoy it in moderation.
My Take:
Look, this is creme brulee. It’s cream, eggs, and sugar. It’s supposed to be rich and decadent. It’s not a diet recipe. But it’s so much better than store-bought desserts, and you control the ingredients. When I make it, I use high-quality ingredients, which makes it feel special. I don’t feel guilty eating it because I know exactly what’s in it.
Final Thoughts
So that’s my classic vanilla bean creme brulee! I’ve probably talked your ear off at this point, but when you make a recipe this often, you have a lot to say about it. This has saved my dinner parties more times than I can count. It’s my answer to “what’s for dessert” when I want to impress but also want to relax. My guests are happy, my family is happy, and I’m happy because I’m not stressed in the kitchen.
Make it yours! Try different infusions, swap in your favorite flavors, or just enjoy the classic version. The best recipes are the ones you adapt to your tastes. The ritual of cracking that sugar crust is something everyone loves. It’s a simple pleasure that feels luxurious.
If you make this, drop a comment and let me know what you think! I love hearing how recipes turn out in your kitchen. And if something doesn’t work, tell me that too—I’m here to help troubleshoot. Happy cooking! And I hope your kitchen smells as good as mine does right now.
Frequently Asked Questions
Can I use vanilla extract instead of vanilla beans?
You can, but the flavor won’t be as complex. If you use extract, add 2 teaspoons of pure vanilla extract to the warm cream after you’ve removed it from heat. Stir it in. You’ll miss the beautiful black specks, but it will still taste good. I recommend beans for special occasions like dinner parties.
Why did my custard turn out watery?
This usually happens if you didn’t bake it long enough or if the water bath wasn’t hot enough. The custard needs to set firmly in the center but still jiggle. If it’s watery, it might need a few more minutes in the oven. Also, make sure you’re using heavy cream, not half-and-half or milk.
Can I make this ahead for a dinner party?
Yes! This is the best part. You can bake the custards up to 3 days ahead. Just keep them covered in the fridge. When it’s time to serve, sprinkle the sugar on top and torch them. This lets you enjoy your party instead of being stuck in the kitchen.
Why did my sugar topping melt into the custard?
This happens if the custard wasn’t cold enough when you torched the sugar. The heat from the torch melts the sugar, and if the custard is warm, the sugar sinks in. Make sure the custards are thoroughly chilled (at least 4 hours) before adding the sugar. Also, don’t hold the torch too close to the surface.
Can I bake these without a water bath?
You can, but the risk of overcooking is higher. The water bath creates a gentle, even heat. Without it, the edges might cook faster than the center. If you don’t have a large enough pan, you can bake them on a rack in the oven, but keep an eye on them. I recommend the water bath for best results.
How do I store leftover creme brulee?
Store them covered in the fridge for up to 3 days. Do not add the sugar topping until you’re ready to serve. If you’ve already torched the sugar, eat it within 24 hours, as the crust will soften over time. The custard itself stays good for a few days.
Can I double this recipe?
Absolutely! Double all the ingredients and use more ramekins. The baking time might increase by 5-10 minutes. Just make sure your baking dish is large enough for the water bath. I’ve doubled this for large parties, and it works perfectly.
Pin This Recipe!
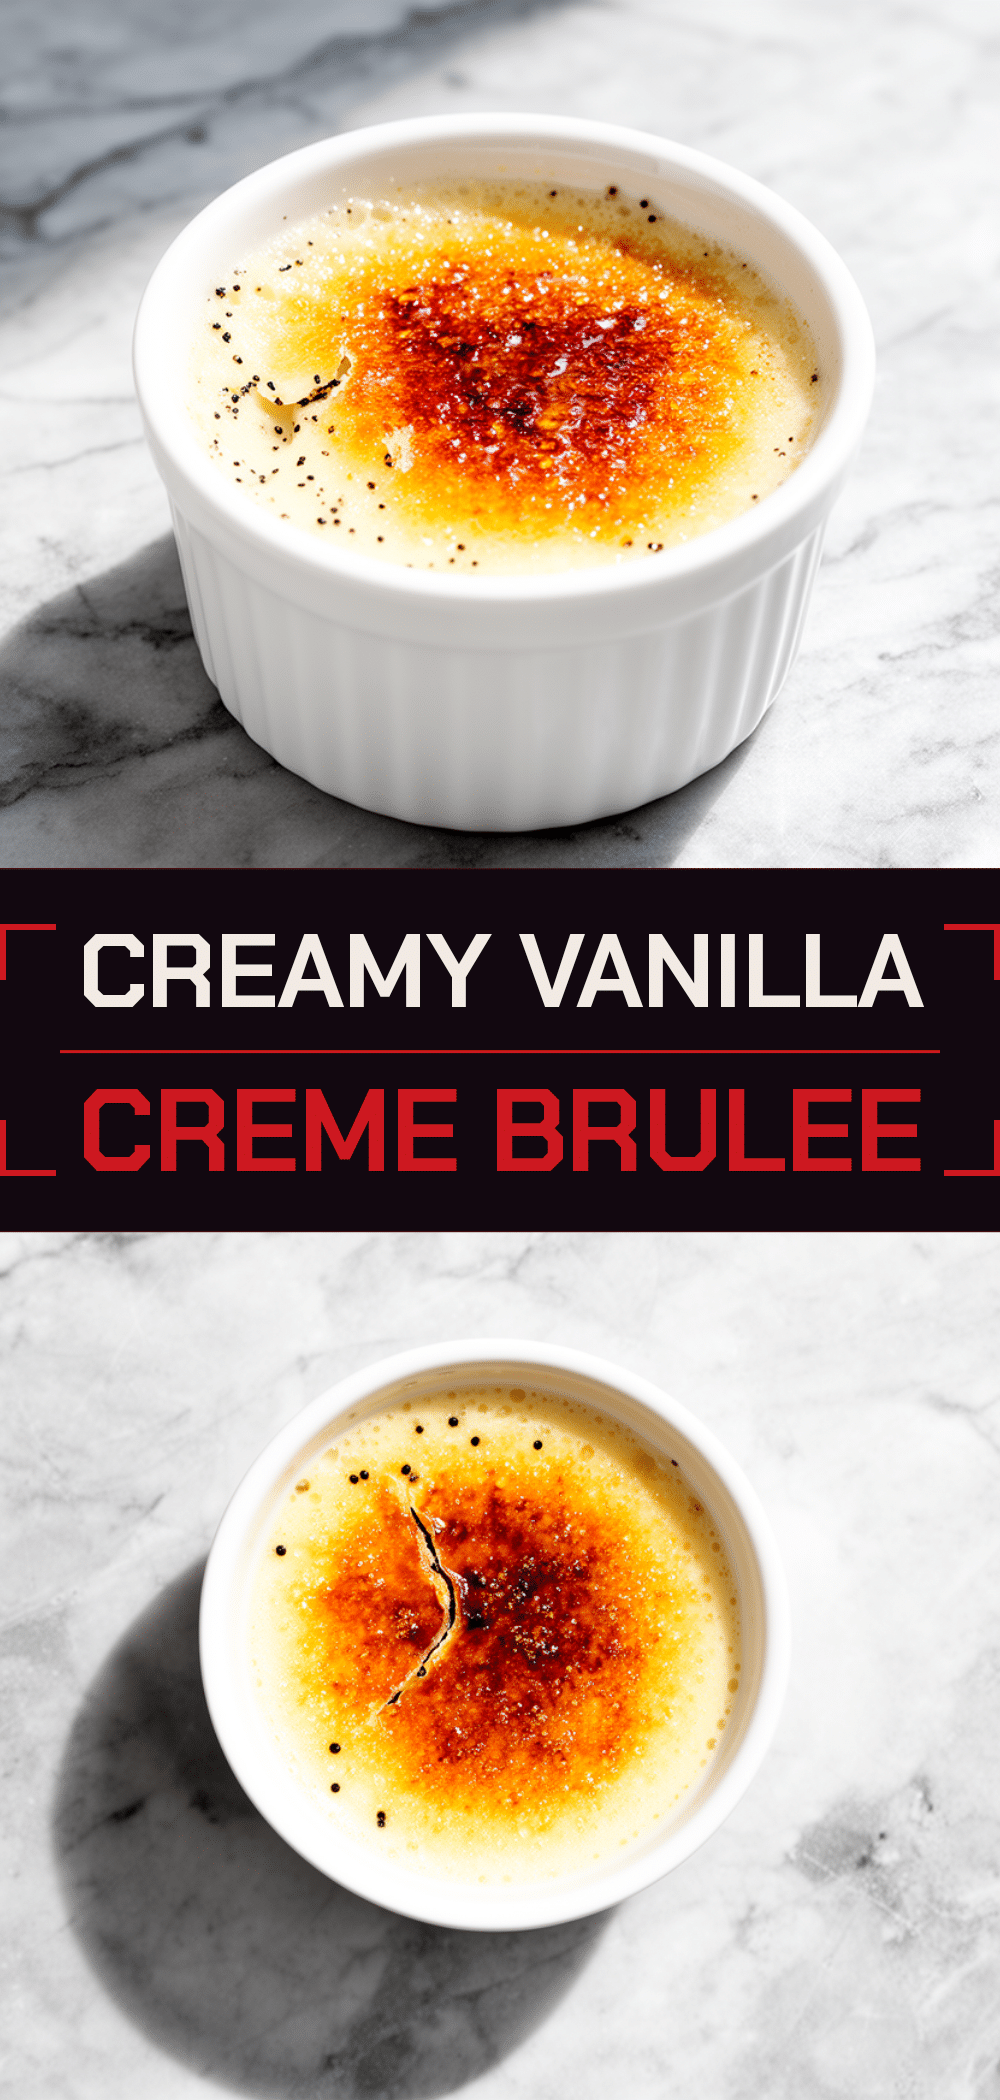
Classic Vanilla Bean Creme Brulee: Easy 5-Ingredient Dinner Party Dessert
- Total Time: 4 hours 65 minutes
- Yield: 6 servings 1x
Description
An elegant, make-ahead dessert featuring a silky smooth vanilla custard with a crunchy caramelized sugar topping. This simple 5-ingredient recipe is naturally gluten-free and perfect for dinner parties.
Ingredients
- 2 cups heavy whipping cream
- 2 vanilla beans
- 5 large egg yolks
- 1/2 cup granulated sugar (for custard)
- 1/4 teaspoon fine sea salt
- Extra granulated sugar (for topping)
Instructions
- Preheat oven to 325°F (165°C). Arrange 6-8 ramekins in a large baking dish.
- Pour heavy cream into a saucepan. Slice vanilla beans lengthwise, scrape seeds, and add seeds and pods to the cream.
- Heat cream over medium-low heat until it just starts to simmer (small bubbles around edges). Do not boil.
- Remove from heat, cover, and let steep for 20 minutes to infuse flavor.
- In a medium bowl, whisk egg yolks and 1/2 cup sugar vigorously for 2 minutes until pale and thickened. Add salt and whisk again.
- Slowly pour the warm cream into the egg mixture while whisking constantly to temper the eggs. Discard vanilla pods.
- Place a fine-mesh sieve over each ramekin and pour the custard mixture through to strain. Fill ramekins about 3/4 full.
- Place the baking dish in the oven and carefully pour hot water into the dish until it comes halfway up the sides of the ramekins (water bath).
- Bake for 35-45 minutes until edges are set but centers still jiggle slightly like Jell-O.
- Remove ramekins from the water bath and let cool to room temperature.
- Cover with plastic wrap and refrigerate for at least 4 hours or ideally overnight.
- Just before serving, sprinkle a thin, even layer of sugar over each custard.
- Use a kitchen torch to caramelize the sugar until golden brown and bubbly. Let sit for 1 minute to harden before serving.
Notes
The custard must be thoroughly chilled before torching the sugar to prevent it from melting into the custard. The water bath is crucial for gentle, even cooking. If you don’t have a torch, you can use the oven broiler, but watch closely. This recipe is naturally gluten-free.
- Prep Time: 20 minutes
- Cook Time: 45 minutes
- Category: Dessert
- Cuisine: French
Nutrition
- Serving Size: 1 ramekin
- Calories: 380
- Sugar: 26
- Sodium: 45
- Fat: 28
- Saturated Fat: 17
- Carbohydrates: 28
- Protein: 6
Keywords: vanilla bean creme brulee, dinner party dessert, make ahead dessert, gluten free dessert, easy custard recipe, 5 ingredient dessert



