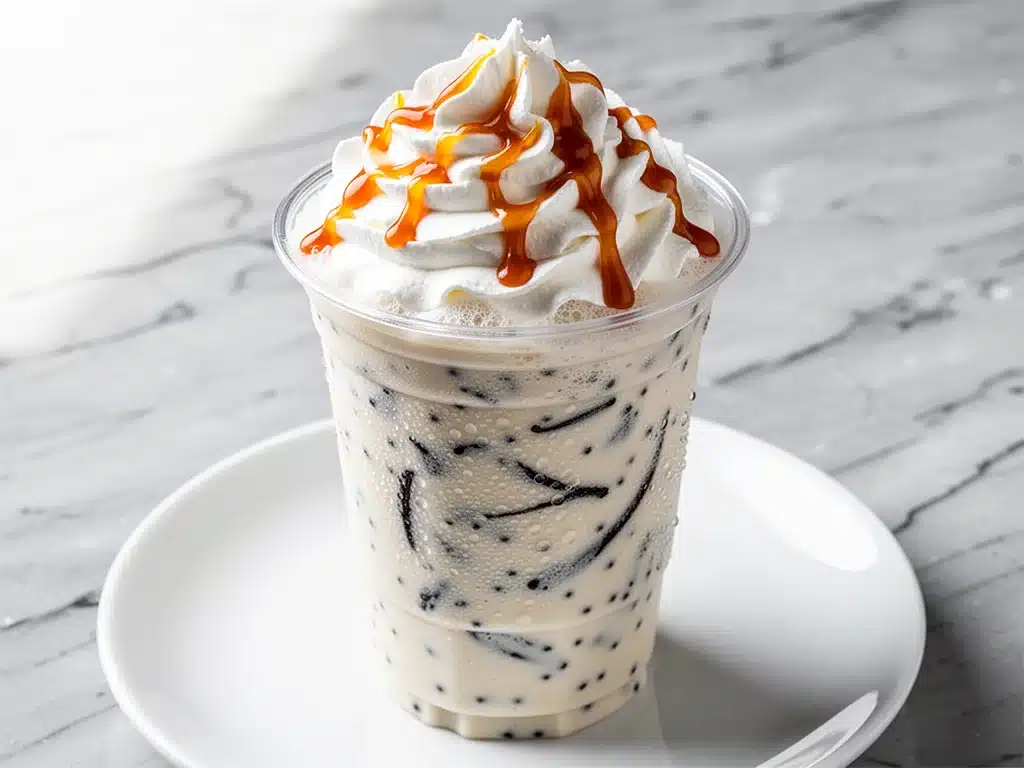
It was 7:30 PM on a Tuesday. I was standing in my kitchen, staring at the pantry like it held the secrets to the universe, while my kids demanded a snack that wasn’t “just a cookie.” I was exhausted. The kind of exhausted where the idea of chopping vegetables felt like climbing a mountain, but the idea of driving to Starbucks for a $7 iced coffee felt like a crime against my bank account. That’s when I remembered the recipe I’d been tweaking for months: the Copycat Starbucks Vanilla Bean Frappuccino.
I know what you’re thinking. “A Frappuccino? At 7:30 PM? On a weeknight?” Here’s the thing—this isn’t about caffeine jitters. It’s about that sweet, creamy, comforting ritual that keeps us sane during the chaos of modern parenting and work. I’ve made this vanilla bean drink dozens of times, and it has become my secret weapon. It tastes exactly like the coffee shop version, but it’s ready in five minutes, costs pennies, and doesn’t require a drive-thru line.
I used to think making a good Frappuccino at home was impossible. I tried blending ice with milk and syrup, and it tasted like sweetened ice water. Then I discovered the one trick that changes everything: using a small amount of coffee or espresso powder to cut the sweetness, and using the right ratio of ice. Now, this copycat Starbucks vanilla bean frappuccino is my go-to for those “I need a treat but don’t want to leave the house” moments. It’s sweet, it’s cold, and it feels like a little victory in a cup.
Why You’ll Love This Copycat Starbucks Vanilla Bean Frappuccino
There are about a dozen reasons I keep coming back to this recipe, but they all boil down to one thing: it just works. No fancy equipment, no weird ingredients you can’t find, and no hours spent standing over a blender. Here’s the real deal on why this drink deserves a spot in your weekly routine.
- Stupid Simple — Seriously, if you can pour milk into a blender, you can make this. I’ve made this while my toddler was screaming in the other room. It’s that foolproof. You don’t need to be a barista.
- Lightning Fast — From grabbing the blender to sipping the first spoonful, it takes about 5 minutes. That’s faster than waiting for the ice cream machine to freeze up at McDonald’s.
- Costs Pennies — A Starbucks Vanilla Bean Frappuccino runs you about $5 to $7 depending on the size and add-ins. This copycat version costs about $1.50 to make. That’s a 75% savings. Over a month, that’s money left over for actual groceries (or more ice cream).
- Caffeine Control — You decide how much caffeine you get. I usually use a splash of cold brew or espresso powder for the adults, and leave it out for the kids. It’s the whole family’s favorite treat.
- Customizable — Want extra vanilla? Add more. Want it sweeter? More syrup. Want it thicker? More ice. This recipe bends to your mood. If I’m having a stressful day, I go heavy on the whipped cream. It’s a coping mechanism, and I’m not ashamed.
This is my answer to “can we have a treat?” when we’re stuck at home. It’s refreshing, it’s sweet, and it tastes like a vacation from the daily grind. Plus, the smell of vanilla filling the kitchen is surprisingly soothing. It’s a small luxury that doesn’t require leaving your house.
Ingredients You’ll Need for the Best Copycat Starbucks Vanilla Bean Frappuccino
Here’s the best part: you probably have most of this already in your fridge or pantry. I’m not asking you to buy five types of exotic syrups or a special machine. Just good, simple ingredients. I’m particular about a couple of things here, and I’ll tell you exactly why.
For the Base
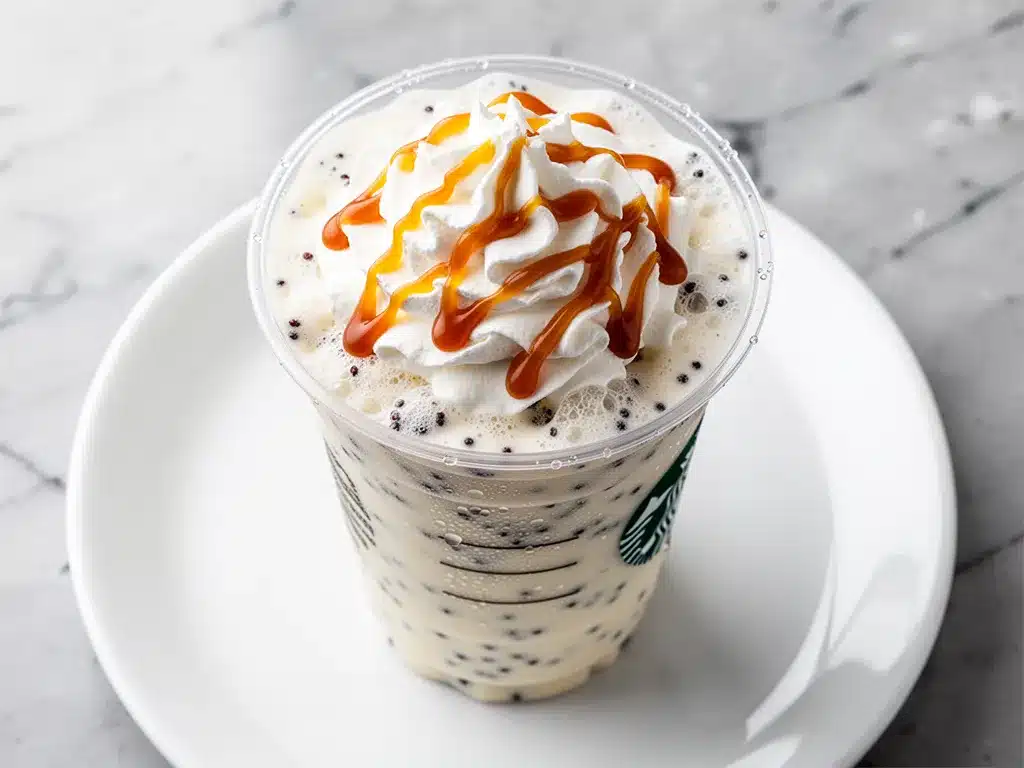
Vanilla Bean Paste or Extract (2 tablespoons / 30ml) — This is the star. I prefer vanilla bean paste because you can see the actual specks of vanilla, which gives it that authentic Frappuccino look and a deeper, more complex flavor. Pure vanilla extract works too, but paste tastes richer. Avoid imitation vanilla—it tastes chemical and cheap.
Milk (1 cup / 240ml) — I use whole milk for the creamiest texture. It’s rich and balances the sweetness. If you’re dairy-free, oat milk is your best friend here. It froths and blends beautifully, mimicking the mouthfeel of dairy better than almond milk. Almond milk can make it taste watery.
Ice (1.5 cups / about 120g) — This is the texture maker. Use fresh, cold ice. If your ice is old or freezer-burned, your drink will taste like it. I keep a dedicated bag of ice just for drinks like this.
For the Flavor
Instant Espresso Powder (1 teaspoon) — Even though it’s a “Vanilla Bean” drink, a tiny bit of coffee is the secret ingredient. It doesn’t make it taste like coffee; it enhances the vanilla and cuts the cloying sweetness. If you’re making this for kids or avoiding caffeine, skip this. But for adults, it’s non-negotiable.
Granulated Sugar (2 tablespoons / 25g) — I use white sugar because it dissolves easily in the cold liquid. Brown sugar works too but adds a molasses flavor that changes the profile. If you prefer natural sweeteners, honey or maple syrup works, but you’ll need to adjust the amount since they’re sweeter than sugar.
Heavy Cream (2 tablespoons / 30ml) — This is for body. It adds that thick, luxurious mouthfeel you get at the shop. You can skip it if you want a lighter drink, but I don’t recommend it. The fat carries the flavor.
For the Topping
Whipped Cream (As much as you want) — Real whipped cream, please. The stuff in the aerosol can has a weird chemical aftertaste that ruins the whole experience. Whip up some heavy cream with a little sugar and vanilla. It takes 2 minutes and is worth every second.
Vanilla Syrup (For drizzling) — I make a quick vanilla syrup by simmering equal parts sugar and water with vanilla bean paste. Store-bought Torani or Monin vanilla syrup works great too. This is for the final drizzle on top—it makes it look fancy and adds a burst of flavor.
Pro Tip: I always keep a jar of vanilla bean paste in my fridge. It lasts forever and makes everything taste better. If you can’t find it, buy a high-quality pure vanilla extract and use a bit more.
Equipment Needed
You don’t need fancy equipment for this. Here’s what I actually use.
Blender — A standard countertop blender works best. I use my Ninja, but any brand with a decent motor will do. A personal blender like a NutriBullet works too, but you might need to pulse it more to get the ice crushed evenly.
Measuring Cups and Spoons — Pretty standard stuff. Dollar store versions work fine for this.
Whisk and Bowl — For making the whipped cream from scratch. A balloon whisk is easiest.
Spatula — To scrape down the sides of the blender if needed.
Optional but nice:
– Cold Brew Concentrate — If you don’t have instant espresso powder, cold brew works great. It’s smoother and less bitter.
– Vanilla Bean Paste — As mentioned, this is worth the splurge for the specks and flavor.
How to Make It: Step-by-Step
Alright, let’s make this! I’m walking you through exactly how I do it, including the little tricks I’ve picked up over time.
Step 1: Prep Your Ingredients (2 minutes)
Before you start blending, make sure your milk is cold. If it’s not, stick it in the freezer for 10 minutes. Cold ingredients blend better and keep the drink icy. Also, measure out your sugar, vanilla, and espresso powder. I know it seems fussy, but it makes the actual blending way less stressful. If you’re making whipped cream, pour the heavy cream into a bowl and put it in the fridge until you’re ready.
Step 2: Blend the Base (1 minute)
Add the milk, vanilla bean paste (or extract), sugar, instant espresso powder, and heavy cream to your blender. Start blending on low speed to dissolve the sugar and mix the flavors. Then, increase to high speed and blend for 15 seconds. This creates a smooth, sweet vanilla base. Scrape down the sides with a spatula if needed.
Step 3: Add the Ice (1 minute)
Add the ice cubes to the blender. This is the crucial step. Don’t just dump it all in and blast it. Pulse the blender a few times to break up the ice, then blend on high for 30-45 seconds. You’re looking for a slushy, thick consistency. It should be pourable but thick enough to hold a spoon upright. If it’s too thick, add a splash more milk. If it’s too thin, add more ice.
Step 4: Make the Whipped Cream (2 minutes)
While the Frappuccino blends, whip up the cream. Pour the cold heavy cream into a bowl. Add a teaspoon of sugar and a dash of vanilla. Beat with a whisk or electric mixer until stiff peaks form. You want it thick enough to hold its shape but still light and airy. Don’t overbeat it into butter—stop when it’s fluffy.
Step 5: Assemble and Serve (1 minute)
Pour the blended Frappuccino into a tall glass. Top generously with whipped cream. Drizzle with vanilla syrup in a zigzag pattern. If you have vanilla bean paste, sprinkle a tiny bit on top for that authentic look. Serve immediately with a straw and a spoon. The ice will melt if you wait too long, so dig in!
Total Time: About 5 minutes (mostly hands-off)
Built-in Troubleshooting:
– Too thin? Add more ice and blend again.
– Too thick? Add milk, one tablespoon at a time.
– Not sweet enough? Add more sugar or syrup.
– Ice chunks? Blend longer. High speed is your friend.
Expert Tips & Tricks
Here’s everything I’ve learned from making this dozens of times. These tips will save you from my mistakes.
- Use Cold Ingredients — This is the #1 tip. Warm milk and warm ice equal a watery mess. Keep your milk in the fridge and your ice fresh. If you’re making this ahead, freeze the milk in ice cube trays for extra chill.
- Dissolve the Sugar First — Sugar doesn’t dissolve well in cold liquid. By blending the milk, sugar, and vanilla first, you ensure a smooth sweetness. Then add the ice last.
- Don’t Skimp on Vanilla — The name is Vanilla Bean Frappuccino, so vanilla should be the star. If you use extract, use a good quality one. If you use paste, don’t be shy.
- The Espresso Secret — That teaspoon of espresso powder is key. It doesn’t make it taste like coffee; it makes the vanilla taste more like vanilla. It’s a flavor enhancer, not a coffee drink.
- Whip Your Own Cream — Aerosol whipped cream is convenient, but it has a strange texture and taste. Fresh whipped cream is light, sweet, and melts into the drink beautifully. It’s a game-changer.
Common Mistakes (and how to avoid them):
– Mistake: Watery Frappuccino — Fix: Use less milk or more ice. Also, ensure your ice is solid and cold.
– Mistake: Grainy Texture — Fix: Blend the sugar and milk first. Don’t skip this step.
– Mistake: Sweetness Overload — Fix: Taste the base before adding ice. Adjust sweetness then. Adding ice dilutes the sweetness, so start slightly sweeter than you think you need.
Variations & Substitutions
Once you’ve nailed the basic version, here’s how you can mix it up. I’ve tried all of these.
- Caramel Swirl — Add 2 tablespoons of caramel syrup to the blender. Drizzle caramel on top instead of vanilla. This is my husband’s favorite version.
- Chocolate Chip — Add 2 tablespoons of chocolate chips to the blender. It adds little crunchy bits of chocolate. Drizzle chocolate syrup on top.
- Mocha — Increase the espresso powder to 2 teaspoons and add 1 tablespoon of cocoa powder. It’s like a chocolate-covered vanilla bean Frappuccino.
- Strawberry — Add ½ cup of fresh or frozen strawberries to the blender. Skip the espresso powder. It’s a fruity, pink version that’s great for summer.
- Coffee-Free Version — For kids or caffeine-sensitive folks, just omit the espresso powder. It’s still deliciously creamy and sweet.
Dietary Modifications:
– Dairy-Free — Use oat milk or almond milk. Use coconut cream for whipping. It’s rich and creamy.
– Low-Sugar — Use a sugar-free vanilla syrup or stevia. It won’t be as sweet, but it’s still good.
– Gluten-Free — This recipe is naturally gluten-free. Just ensure your vanilla syrup is certified GF.
Serving & Storage
How to Serve:
I usually serve this straight from the blender into a tall glass. It looks rustic and homemade. But here are other ways I’ve enjoyed it:
- With Dessert — It pairs perfectly with a slice of apple butter cinnamon donuts or a bowl of maple cinnamon rice pudding. The cold drink contrasts beautifully with warm desserts.
- As a Snack — It’s substantial enough to be a snack, especially with the whipped cream. It’s better than a cookie.
- With Breakfast — It’s a fun weekend breakfast treat. Pair it with fluffy buttermilk blueberry pancakes for a special morning.
Storage Instructions:
Honestly, this doesn’t store well. Frappuccinos are best fresh. The ice melts quickly, and the texture changes. If you must store it, put it in an airtight container in the fridge for up to 4 hours. Stir well before drinking. It won’t be as thick, but it’s still drinkable. Don’t freeze it—the texture will be icy and unpleasant.
Pro Tip: If you’re making this for a party, blend the base (milk, sugar, vanilla, espresso) ahead of time and store in the fridge. Add ice and blend just before serving. It saves time and keeps the texture perfect.
Nutrition Information
I’m not a nutritionist, but here’s the breakdown if you’re tracking. This is a treat, so enjoy it guilt-free!
Per Serving (based on 1 large drink):
– Calories: 350
– Protein: 5g
– Carbs: 45g
– Fiber: 0g
– Sugar: 40g
– Fat: 15g
– Saturated Fat: 9g
– Cholesterol: 45mg
– Sodium: 60mg
What’s Good:
– It’s a fun treat that feels indulgent.
– You control the sugar content.
– It’s a quick energy boost.
What to Know:
– Higher in sugar and calories from the syrup and cream.
– Contains dairy.
– Moderate caffeine if you use espresso powder.
My Take:
“Look, this is a sweet, creamy drink. It’s not a health food. But it’s way better than buying it out, and you know exactly what’s in it. When I want to make it lighter, I use less sugar and skim milk. But usually? I just enjoy it as a special treat.”
Final Thoughts
So that’s my go-to Copycat Starbucks Vanilla Bean Frappuccino! I’ve probably talked your ear off at this point, but when you make a recipe this often, you have a lot to say about it. This drink has saved weeknight treats more times than I can count. It’s my answer to “can we have a treat?” when we’re stuck at home, tired, and don’t want to leave the house.
Make it yours! Try different syrups, swap in your favorite milk, adjust the sweetness. The best recipes are the ones you adapt to your family’s tastes. If you make this, drop a comment and let me know what you think! I love hearing how recipes turn out in your kitchen. And if something doesn’t work, tell me that too—I’m here to help troubleshoot.
Happy blending! And I hope your kitchen smells as good as mine does right now.
Frequently Asked Questions
Q: Can I use fresh coffee instead of espresso powder?
A: Yes! Cold brew is actually better because it’s less bitter. Use ½ cup of cold brew instead of the espresso powder and a splash of milk. It makes the drink smoother. Avoid hot coffee—it will melt the ice too fast.
Q: Why is my Frappuccino too watery?
A: This usually happens if the ice is old or the milk is warm. Use fresh, cold ice and cold milk. Also, don’t add too much milk. Start with ¾ cup and add more only if needed. The ice should be the main volume.
Q: Can I make this without a blender?
A: It’s very difficult. You’d need to crush the ice manually and mix it, which is tedious. A blender is essential for the smooth, slushy texture. If you don’t have one, consider buying a cheap one or using a store-bought version.
Q: How do I make whipped cream without a mixer?
A: You can use a whisk, but it takes arm muscles. A jar works too—put the cream in a jar and shake it vigorously for 2-3 minutes. It’s a workout, but it works!
Q: Can I use artificial vanilla?
A: You can, but it tastes chemical. Pure vanilla extract or vanilla bean paste is worth the extra cost. It makes a huge difference in the flavor profile.
Q: Is this recipe kid-friendly?
A: Absolutely! Just skip the espresso powder and maybe reduce the sugar slightly. The kids love it as a special treat. It’s a fun way to get them involved in the kitchen.
Q: Can I double this recipe?
A: Yes! Double everything and blend in batches if your blender is small. It’s great for parties or when you have multiple kids wanting a drink.
Pin This Recipe!
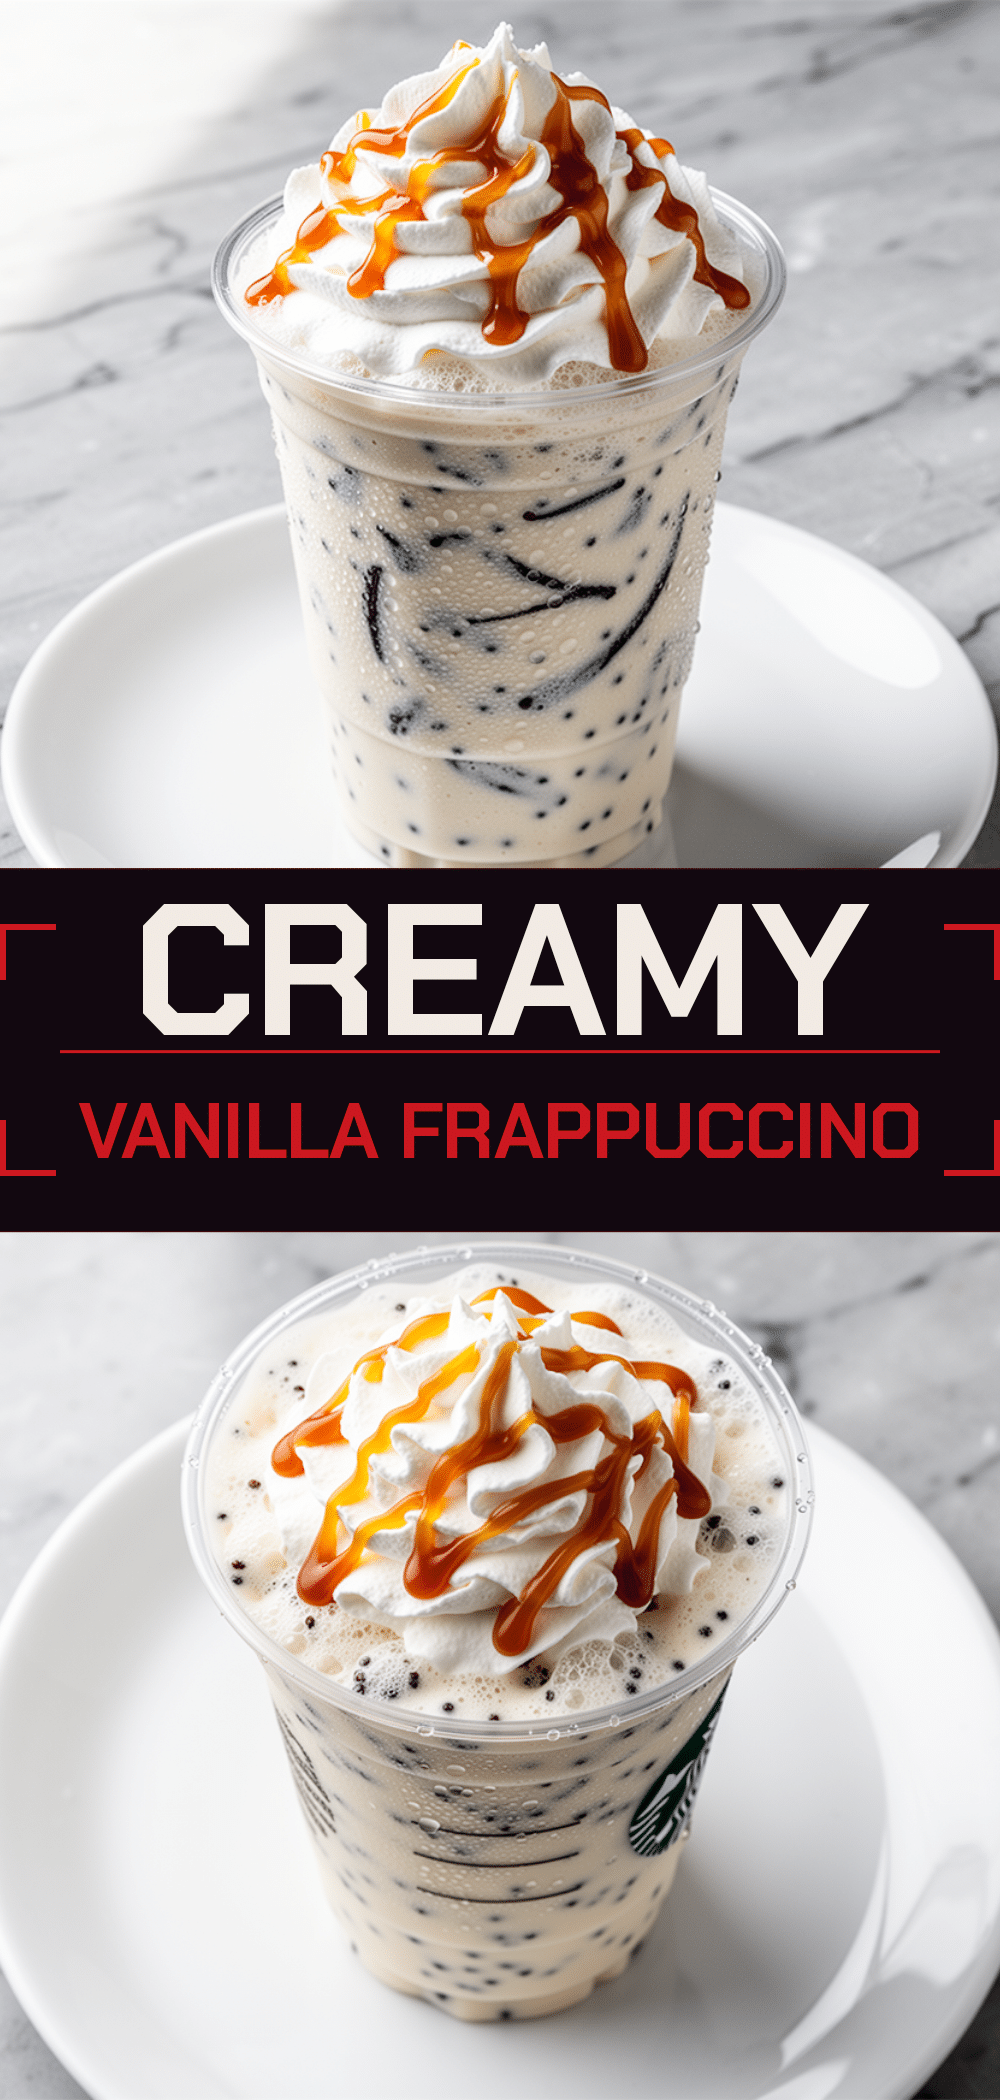
Copycat Starbucks Vanilla Bean Frappuccino
- Total Time: 5 minutes
- Yield: 1 serving 1x
Description
A quick, easy, and affordable homemade version of the popular Starbucks drink that tastes authentic and can be customized for any taste or dietary need.
Ingredients
- 1 cup whole milk (or oat milk for dairy-free)
- 2 tablespoons vanilla bean paste (or pure vanilla extract)
- 2 tablespoons granulated sugar
- 1 teaspoon instant espresso powder
- 2 tablespoons heavy cream
- 1.5 cups ice
- Whipped cream for topping
- Vanilla syrup for drizzling
Instructions
- Ensure milk is cold; if not, chill in freezer for 10 minutes.
- Add milk, vanilla bean paste, sugar, instant espresso powder, and heavy cream to a blender.
- Blend on low speed to dissolve sugar, then increase to high speed and blend for 15 seconds until smooth.
- Add ice cubes to the blender.
- Pulse briefly to break up ice, then blend on high for 30-45 seconds until thick and slushy.
- In a separate bowl, whip cold heavy cream with a teaspoon of sugar and a dash of vanilla until stiff peaks form.
- Pour the blended mixture into a tall glass.
- Top generously with fresh whipped cream.
- Drizzle with vanilla syrup and sprinkle with a little vanilla bean paste if desired.
- Serve immediately.
Notes
Use cold ingredients for the best texture. Dissolve sugar in the milk base before adding ice to avoid graininess. This drink is best served immediately as the ice will melt. For a dairy-free version, use oat milk and coconut cream. For a caffeine-free version, omit the espresso powder.
- Prep Time: 2 minutes
- Cook Time: 3 minutes
- Category: Beverage
- Cuisine: American
Nutrition
- Serving Size: 1 large drink
- Calories: 350
- Sugar: 40
- Sodium: 60
- Fat: 15
- Saturated Fat: 9
- Carbohydrates: 45
- Protein: 5
Keywords: Starbucks copycat, vanilla bean frappuccino, homemade frappuccino, iced coffee drink, quick dessert, family friendly recipe



