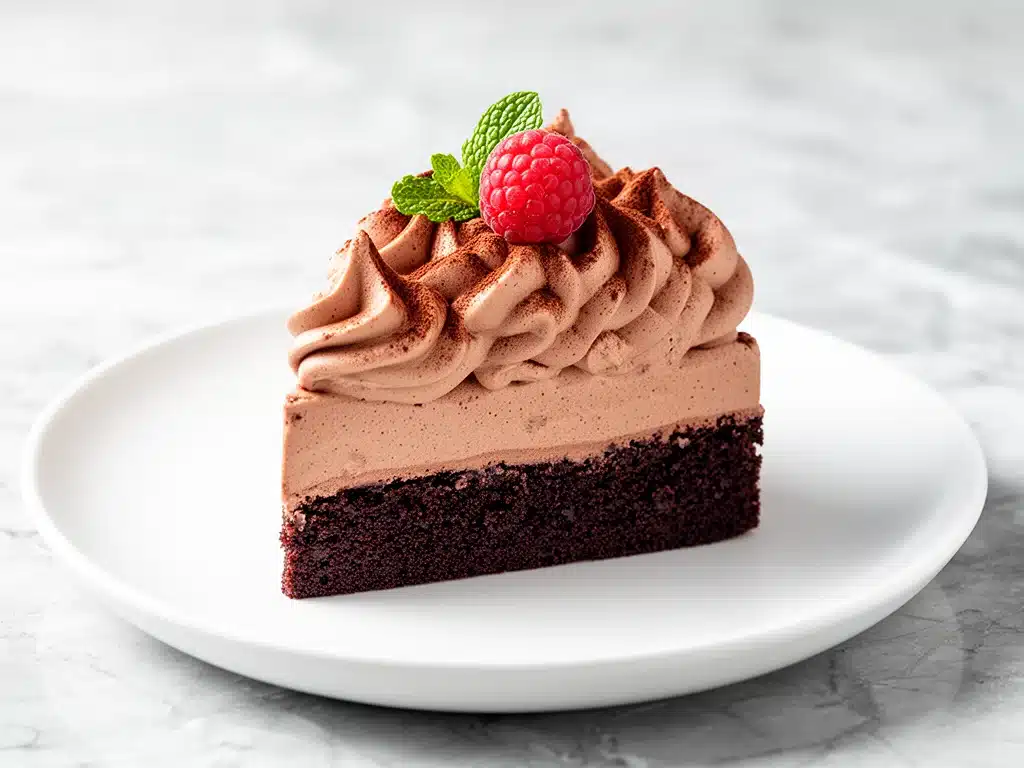
It was 11:30 PM on a Tuesday. I was standing in my kitchen, staring into the open refrigerator like it might magically produce a solution to my problem. My husband had just walked in, tired from work, and mentioned he was craving something sweet but didn’t want to order takeout or deal with a massive cleanup. I looked at the clock, then at the empty counter, and realized I had exactly zero time to bake a traditional cake from scratch. No flour to sift, no butter to cream, no eggs to separate.
But I did have chocolate. And I did have heavy cream. And I had five minutes.
So I threw together what I thought would be a mediocre chocolate pudding. I melted some chocolate, whipped up some cream, folded them together, and threw it in the freezer for an hour. What came out was not just edible—it was incredible. Dense, silky, and impossibly rich. It looked like something you’d order at a high-end chocolate shop for $12, but it cost me about $4 and took less effort than making a sandwich.
This creamy chocolate mousse cake has become my secret weapon. I’ve made it for dinner parties where people asked for the recipe, for late-night cravings when I’m alone, and even for my kids when they wanted a “special” treat after school. It’s the kind of dessert that feels like cheating because it’s so simple, but tastes like you spent hours in the kitchen. If you’re looking for a 5-ingredient dessert that actually impresses every time, this is it. No fancy gadgets, no complicated techniques, just pure chocolate joy.
Why You’ll Love This Recipe
I know what you’re thinking. “Another chocolate mousse?” But hear me out. This isn’t your average fluffy, airy mousse that collapses in five minutes. This is a cake. It holds its shape. It’s dense and fudgy. It’s the perfect balance of sweet and rich without being cloying. Here’s why this creamy chocolate mousse cake has taken over my weeknight dessert rotation:
- Zero Baking Required — Seriously. If you have a microwave or a double boiler, you can make this. I make it while watching TV. I’ve made it while helping my teenager with homework. There’s no oven to preheat, no timer to set for an hour, and no risk of burning the edges.
- Five Ingredients Only — That’s it. Chocolate, cream, butter, sugar, and eggs. You probably have most of these already. If you don’t, it’s a quick run to the store. This is my go-to when I want to impress guests but don’t want to go to the grocery store for exotic ingredients.
- Make-Ahead Magic — This is the best part. In fact, it’s *better* the next day. The flavors meld together, the texture firms up, and it becomes this perfect, sliceable cake. I often make it the night before a dinner party so I’m not stressed when guests arrive. It sits in the fridge looking gorgeous, waiting to be served.
- Gluten-Free by Default — No flour? No problem. This is naturally gluten-free. I’ve served this to friends with celiac disease, and they’ve had seconds without even realizing it was a “special diet” dessert. It’s rich and satisfying, not dry or crumbly like some GF treats.
- Looks Fancy, Tastes Humble — When you unmold it onto a plate, it looks like a professional patisserie creation. The glossy top, the clean cut, the dusting of cocoa powder—it’s stunning. But the ingredients? Basic pantry staples. It’s the ultimate power move for home cooks.
This recipe has saved me more times than I can count. It’s my answer to “What’s for dessert?” when I’m tired, broke, or just don’t feel like cooking. It’s reliable, delicious, and always a crowd-pleaser. Whether you’re feeding a family or just treating yourself, this creamy chocolate mousse cake delivers every single time.
Ingredients You’ll Need
Here’s the thing about this recipe: the quality of your ingredients matters more than anything else. Since there are only five items, each one plays a huge role. You can’t hide bad chocolate behind vanilla or spices. So, I’m particular about these choices.
The Star: Chocolate
High-Quality Semi-Sweet Chocolate (8 ounces / 225g) — This is the foundation. Do not use chocolate chips. They have stabilizers that prevent them from melting smoothly, and your mousse will end up grainy. Use real chocolate bars. I love Ghirardelli 60% Bittersweet or Lindt Excellence 70%. If you can afford it, Valrhona is divine, but it’s not necessary. The key is to find a bar that tastes good on its own. If you wouldn’t eat a square plain, don’t use it in this.
The Structure: Eggs
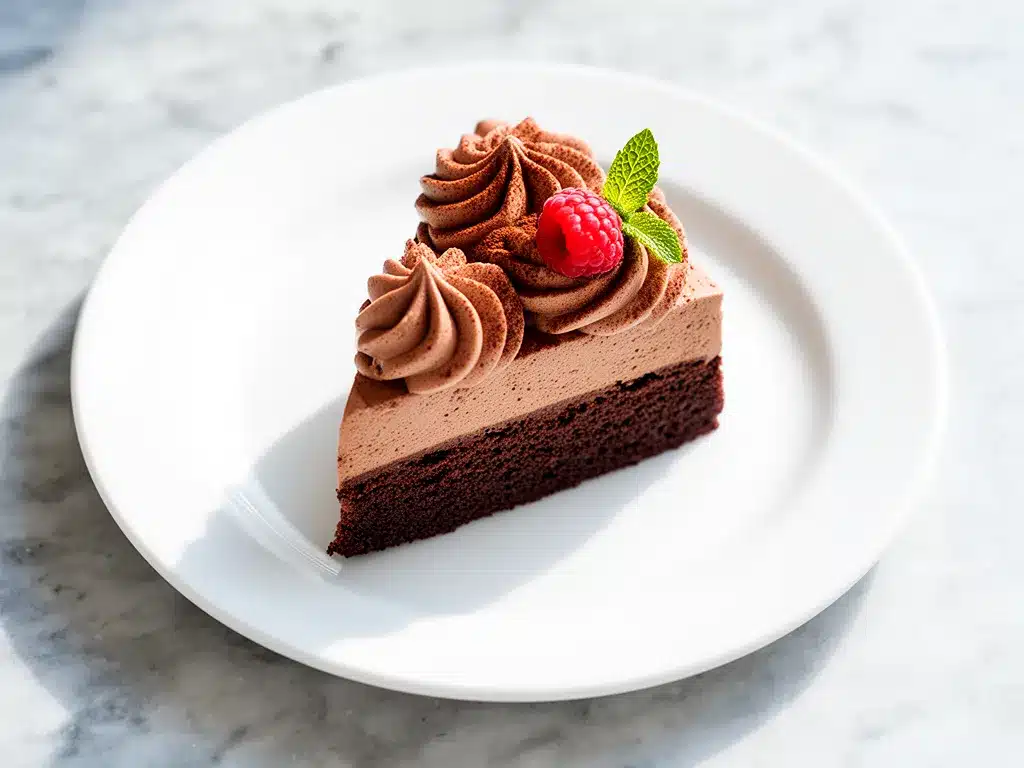
Large Eggs (2 large) — These provide structure and richness. I use large eggs, always. Room temperature eggs blend more smoothly into the melted chocolate, but if you forget, just warm them in a bowl of hot water for five minutes. Don’t skip the raw egg step—I know some people are nervous about it, but as long as your eggs are fresh and you chill the cake properly, it’s safe. If you’re still worried, use pasteurized eggs, which you can find in the dairy aisle.
The Creaminess: Heavy Cream
Heavy Whipping Cream (1 cup / 240ml) — Full-fat only. Do not try this with half-and-half or milk. You need the fat content to whip up and create that airy, light texture that contrasts with the dense chocolate. Cold cream whips best, so keep it in the fridge until the last minute.
The Sweetener: Sugar
Granulated Sugar (2 tablespoons) — Because you’re using high-quality semi-sweet chocolate, you don’t need much sugar. Two tablespoons is enough to balance the bitterness without making it cloying. If you prefer a sweeter cake, you can bump it up to 3 tablespoons, but I recommend starting with 2. You can always add more, but you can’t take it away.
The Finish: Butter
Unsalted Butter (2 tablespoons, softened) — This adds a silky mouthfeel and helps the cake set with a glossy sheen. Softened means room temperature, not melted. If you melt it, it’ll cook the eggs when you mix it. Softened butter folds in easily and creates a smooth emulsion.
Optional Garnish
Cocoa Powder (for dusting) — Just a light dusting on top adds a nice visual contrast and a hint of bitter chocolate aroma. You can also use powdered sugar if you want it sweeter, but cocoa is more elegant.
Equipment Needed
You don’t need a fancy kitchen for this. Here’s what I actually use:
- Microwave-Safe Bowl or Double Boiler — For melting the chocolate. I use a glass measuring cup with a spout in the microwave. It’s easier to stir and pour. If you use a double boiler, make sure the bottom of the bowl doesn’t touch the water.
- Mixer — A hand mixer or stand mixer with a whisk attachment. You need to whip the cream to stiff peaks, and doing this by hand is an arm workout you don’t want. A hand mixer takes about 3-4 minutes.
- Spatula — A flexible silicone spatula is essential for folding. You need to gently incorporate the whipped cream without deflating it. A wooden spoon will tear the air out of the cream.
- Loaf Pan or Small Cake Pan — A 9×5 inch loaf pan works perfectly. It gives you nice slices. You can also use a 6-inch round cake pan. Line it with parchment paper for easy removal.
- Whisk — For beating the eggs and sugar. A simple wire whisk works fine.
I’m not kidding when I say you don’t need much. No food processor, no piping bags, no special molds. Just basic tools you probably already own. This is part of why it’s such a great weeknight dessert.
How to Make It: Step-by-Step
Alright, let’s make this creamy chocolate mousse cake! It’s easier than making a batch of cookies, and the result is way more impressive. I’m walking you through exactly how I do it, including the little tricks I’ve picked up over dozens of tries.
Step 1: Prep Your Pan
Line your loaf pan or cake pan with parchment paper. Leave an overhang on the sides so you can lift the cake out later. This is crucial. Without it, you’ll be scraping the bottom of the pan for hours. I also lightly spray the parchment with non-stick spray, just in case.
Step 2: Melt the Chocolate
Break your chocolate bar into chunks. Place them in a microwave-safe bowl. Microwave in 30-second intervals, stirring well between each interval. Chocolate burns easily, so don’t rush this. It should be completely smooth and glossy when you’re done. If you’re using a double boiler, place the bowl over simmering water and stir until melted. Set aside to cool slightly—it should be warm, not hot. If it’s too hot, it’ll scramble the eggs later.
Step 3: Beat the Eggs and Sugar
In a separate bowl, whisk the eggs and granulated sugar together vigorously. You want to whisk for about 2 minutes until the mixture is pale and slightly thickened. This incorporates air and dissolves the sugar. It’s a small step, but it makes a big difference in texture. Don’t skip it.
Step 4: Combine Chocolate and Eggs
Slowly pour the warm melted chocolate into the egg mixture while whisking constantly. This tempers the eggs so they don’t cook. Once combined, stir in the softened butter. The mixture should be smooth, glossy, and uniform. If there are lumps of butter, keep stirring until they melt into the chocolate. Set this aside.
Step 5: Whip the Cream
In a clean, cold bowl, pour the heavy cream. Whip it with your mixer on medium-high speed. Watch it closely. You want stiff peaks. This means when you lift the whisk, the cream stands up straight and doesn’t droop. Do not over-whip it into butter. It should be light and airy. This usually takes 3-4 minutes with a hand mixer.
Step 6: Fold Everything Together
This is the most important step. Add about one-third of the whipped cream to the chocolate mixture and stir it in to lighten the dense chocolate. Then, gently fold in the remaining cream using your spatula. Use a figure-eight motion, cutting down through the center and folding over the top. Stop as soon as you see no more white streaks. You want to keep as much air in the cream as possible. Over-mixing will make your mousse dense and heavy.
Step 7: Chill and Set
Pour the mixture into your prepared pan. Smooth the top with the spatula. Cover loosely with plastic wrap and refrigerate for at least 4 hours, but ideally overnight. The cake needs time to set. If you try to unmold it too soon, it’ll be a mess. Patience is key here.
Step 8: Unmold and Serve
When you’re ready to serve, run a knife around the edges to loosen it. Lift the cake out using the parchment paper overhang. Place it on a cutting board or serving plate. Dust with cocoa powder using a fine-mesh sieve. Slice with a sharp knife dipped in hot water for clean cuts. Serve immediately.
Total active time is about 15 minutes. The rest is just chilling. It’s the perfect dessert for someone who wants results without the effort.
Expert Tips & Tricks
Here’s everything I’ve learned from making this dozens of times. These tips will save you from my mistakes.
Don’t Use Chocolate Chips
I can’t stress this enough. Chocolate chips are designed to hold their shape in cookies. They contain soy lecithin and other stabilizers that make them melt unevenly. Your mousse will have little chunks of unmelted chocolate, and the texture will be gritty. Use real chocolate bars. It’s worth the extra dollar.
Keep Your Cream Cold
If your cream is warm, it won’t whip. Put your mixing bowl in the fridge for 15 minutes before you start. If you’re in a hurry, you can put the bowl in the freezer for 5 minutes. Cold cream whips faster and holds its shape better. This is a common mistake—using room temp cream and wondering why it’s not thickening.
Temper Your Eggs
When you add the chocolate to the eggs, do it slowly. If you dump the hot chocolate in all at once, you’ll get scrambled eggs in your mousse. Whisk constantly and add the chocolate in a thin stream. This ensures a smooth, custard-like base.
Fold, Don’t Stir
When combining the cream and chocolate, use a gentle folding motion. Stirring vigorously will deflate the air you worked so hard to whip into the cream. You want a light, airy mousse, not a dense fudge. Be gentle. It’s okay if it takes a few minutes. The goal is to remove white streaks, not to beat the mixture.
Chill Longer Than You Think
Four hours is the minimum, but overnight is best. The cake continues to set and firm up in the fridge. If you make it in the morning for dinner, it’ll be softer. If you make it the night before, it’ll be perfect for slicing. Plan ahead.
Room Temperature Butter
Make sure your butter is softened, not melted. Softened butter blends into the chocolate smoothly. Melted butter can seize the chocolate or cook the eggs. If you forgot to take it out, cut it into small cubes and let it sit for 10 minutes. It’ll soften up fast.
Variations & Substitutions
Once you’ve nailed the basic version, here’s how you can mix it up. I’ve tried all of these, and they all work.
Mint Chocolate Mousse Cake
Add 1 teaspoon of peppermint extract to the cream before whipping. It tastes like a mint chocolate bar. Garnish with crushed peppermint candies. This is a favorite during the holidays.
Orange Chocolate Mousse Cake
Add the zest of one orange to the melted chocolate. The citrus cuts through the richness and adds a bright flavor. It’s sophisticated and unexpected.
Espresso Chocolate Mousse Cake
Stir 1 teaspoon of instant espresso powder into the melted chocolate. It intensifies the chocolate flavor without tasting like coffee. Perfect for coffee lovers.
Nutty Version
Fold in ½ cup of chopped toasted hazelnuts or almonds before chilling. Adds crunch and visual appeal. It’s like a gianduja bar.
Dairy-Free Option
Use coconut cream instead of heavy cream, and vegan chocolate. The texture will be slightly denser, but still delicious. I’ve made this for lactose-intolerant friends, and they loved it.
Sugar-Free Option
Use a sugar-free chocolate bar and a sugar substitute like erythritol. It’s not as sweet, but still satisfying. Great for low-carb diets.
Serving & Storage
How to serve this creamy chocolate mousse cake is half the fun. It’s elegant and simple.
How to Serve
I usually serve it straight from the loaf pan, sliced into thick pieces. It looks rustic and homemade. But if you want to fancy it up, unmold it onto a plate and garnish with fresh raspberries, strawberries, or a dollop of whipped cream. The tartness of berries balances the rich chocolate perfectly. I also like a sprinkle of sea salt on top—it enhances the chocolate flavor.
Side Dishes
This cake is rich, so it doesn’t need much. A simple green salad with a light vinaigrette works well if you’re serving it after dinner. Or just serve it with black coffee or tea. It’s a standalone dessert.
Storage Instructions
Refrigerator: Store the cake in the pan, covered tightly with plastic wrap, for up to 5 days. It actually gets firmer and more flavorful after a day or two. This is why it’s great for meal prep desserts.
Freezing: Yes, you can freeze it! Wrap the entire loaf (in the pan) tightly in plastic wrap, then in foil. Freeze for up to 2 months. Thaw overnight in the fridge before serving. The texture remains creamy. I freeze this all the time for unexpected guests.
Reheating: Do not reheat this cake. It’s meant to be served cold. Warming it will melt the structure and make it soupy. Eat it cold or at room temperature.
Nutrition Information
I’m not a nutritionist, but here’s the breakdown if you’re tracking. This is a rich dessert, so portion control is key.
Per Serving (based on 8 slices):
- Calories: 280
- Protein: 5g
- Carbs: 18g
- Fiber: 2g
- Sugar: 14g
- Fat: 22g
- Saturated Fat: 13g
- Cholesterol: 65mg
- Sodium: 45mg
What’s Good:
- High in antioxidants from the dark chocolate
- Gluten-free and grain-free
- Relatively low in carbs compared to traditional cakes
What to Know:
- High in saturated fat from the cream and chocolate
- Contains raw eggs (use pasteurized if concerned)
- Calorie-dense, so a small slice is satisfying
My Take:
Look, this is chocolate mousse cake. It’s not a diet food. But it’s way better than store-bought desserts, and you know exactly what’s in it. When I make this, I have one or two slices and enjoy every bite. It’s a treat, not a snack. And honestly, it’s so good that you won’t want to eat more than a couple of slices anyway.
Final Thoughts
So that’s my creamy chocolate mousse cake! I’ve probably talked your ear off at this point, but when you make a recipe this often, you have a lot to say about it. This has saved me more weeknight dessert crises than I can count. It’s my answer to “What’s for dessert?” when I’m tired, don’t want to bake, and still want something that tastes really good. My family is happy, my guests are impressed, and I’m happy because I’m not stressed about cooking.
Make it yours! Try different garnishes, swap in your favorite chocolate, or add a layer of fruit in the middle. The best recipes are the ones you adapt to your tastes. This is a blank canvas for chocolate lovers.
If you make this, drop a comment and let me know what you think! I love hearing how recipes turn out in your kitchen. And if something doesn’t work, tell me that too—I’m here to help troubleshoot. Happy cooking! And I hope your kitchen smells half as good as mine does right now.
Frequently Asked Questions
Can I use milk chocolate instead of semi-sweet?
You can, but the cake will be much sweeter and less rich. Milk chocolate has more sugar and milk solids, which can make the texture softer. If you use milk chocolate, reduce the added sugar to 1 tablespoon or even 0. I prefer semi-sweet or bittersweet for the best balance of flavor and texture.
Is it safe to eat raw eggs in this recipe?
The eggs are not cooked, but they are chilled for several hours, which reduces bacterial risk. If you’re concerned, use pasteurized eggs, which are heat-treated to kill bacteria but still liquid. You can find them in the dairy section. Most people eat this recipe without issue, but it’s up to your comfort level.
Why is my mousse too soft?
This usually means the cream wasn’t whipped to stiff peaks, or the chocolate was too warm when mixed. Make sure your cream is very cold and whip it until it holds stiff peaks. Also, let the chocolate cool slightly before adding it to the eggs. If it’s still too soft, chill it for a few more hours.
Can I make this in individual portions?
Absolutely! Use ramekins or small glasses. Fill them and chill for at least 3 hours. They’ll be ready to serve faster than the loaf version. This is great for dinner parties because you can make them ahead and they look elegant.
How long does this last in the fridge?
It lasts up to 5 days in the fridge, covered tightly. It actually gets firmer and more flavorful after a day. If it starts to dry out at the edges, cover it with plastic wrap directly on the surface.
Can I freeze this cake?
Yes! Wrap it tightly in plastic and foil. Freeze for up to 2 months. Thaw overnight in the fridge. The texture remains creamy and delicious. I freeze this all the time for unexpected guests.
What’s the best way to slice this cake?
Use a sharp knife dipped in hot water. Wipe the knife between cuts. This gives you clean, smooth slices without tearing the mousse. A dull knife will mash the cake.
Can I add nuts to this recipe?
Yes! Fold in ½ cup of chopped toasted hazelnuts, almonds, or pecans before chilling. It adds crunch and flavor. It’s like a gianduja bar. I love this variation.
Pin This Recipe!
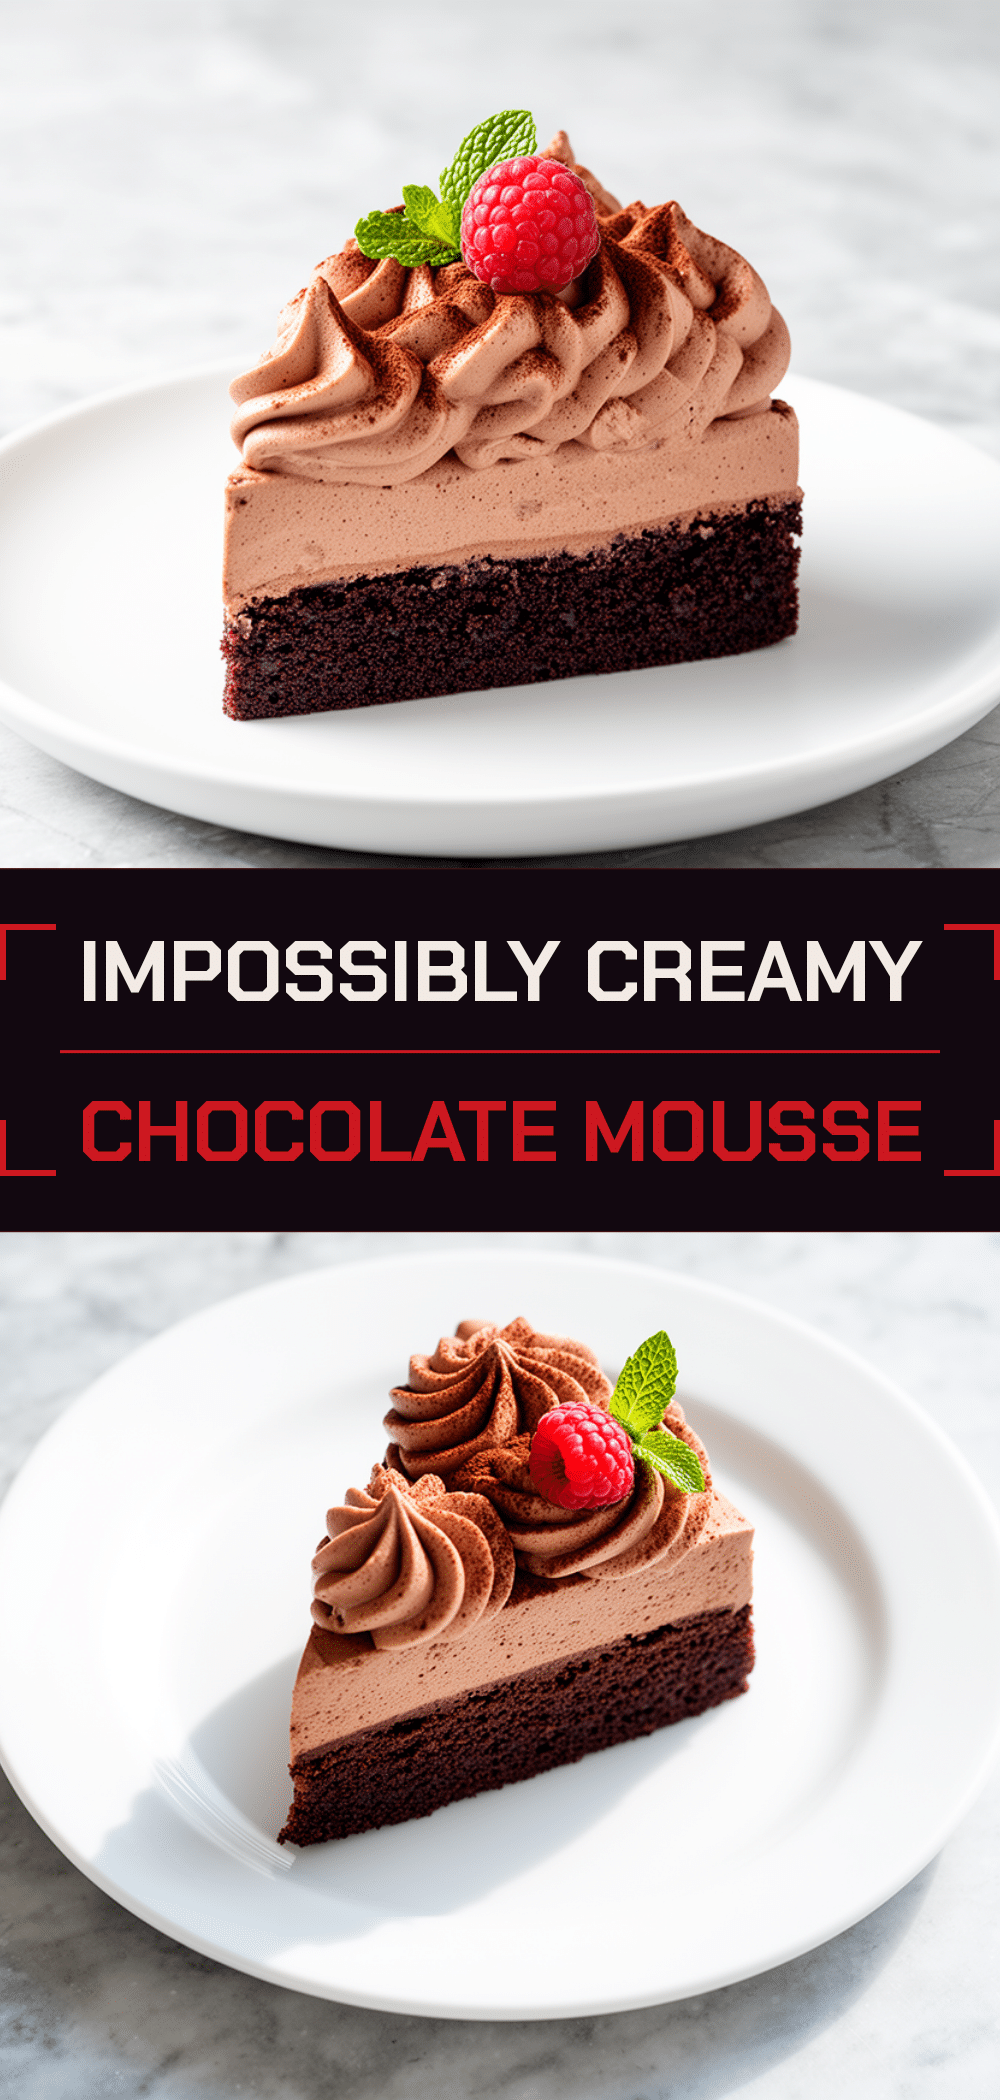
Creamy Chocolate Mousse Cake: 5-Ingredient Dessert
- Total Time: 4 hours 15 minutes
- Yield: 8 servings 1x
Description
A dense, silky, and rich chocolate mousse cake that requires no baking. Made with just five simple ingredients, this gluten-free dessert is perfect for weeknight cravings or dinner parties.
Ingredients
- 8 ounces (225g) high-quality semi-sweet chocolate bars (not chips)
- 2 large eggs, room temperature
- 1 cup (240ml) heavy whipping cream, cold
- 2 tablespoons granulated sugar
- 2 tablespoons unsalted butter, softened to room temperature
- Cocoa powder, for dusting (optional)
Instructions
- Line a 9×5 inch loaf pan or 6-inch round cake pan with parchment paper, leaving an overhang on the sides, and lightly spray with non-stick spray.
- Break the chocolate into chunks and melt in a microwave-safe bowl in 30-second intervals, stirring between each, until smooth and glossy. Alternatively, use a double boiler. Let cool slightly until warm, not hot.
- In a separate bowl, whisk the eggs and granulated sugar vigorously for about 2 minutes until pale and slightly thickened.
- Slowly pour the warm melted chocolate into the egg mixture while whisking constantly to temper the eggs. Stir in the softened butter until the mixture is smooth and glossy.
- In a clean, cold bowl, whip the heavy cream on medium-high speed until stiff peaks form (about 3-4 minutes). Do not over-whip.
- Add about one-third of the whipped cream to the chocolate mixture and stir to lighten. Gently fold in the remaining cream using a spatula with a figure-eight motion until no white streaks remain.
- Pour the mixture into the prepared pan and smooth the top. Cover loosely with plastic wrap and refrigerate for at least 4 hours, ideally overnight, until set.
- To serve, run a knife around the edges to loosen, lift the cake out using the parchment overhang, and dust with cocoa powder. Slice with a sharp knife dipped in hot water for clean cuts.
Notes
Do not use chocolate chips as they contain stabilizers that prevent smooth melting. Ensure heavy cream is very cold for best whipping results. Temper eggs by adding chocolate slowly. The cake is best made overnight to allow flavors to meld and texture to firm up. Do not reheat; serve cold.
- Prep Time: 15 minutes
- Cook Time: 0 minutes
- Category: Dessert
- Cuisine: American
Nutrition
- Serving Size: 1 slice (1/8 of cake
- Calories: 280
- Sugar: 14
- Sodium: 45
- Fat: 22
- Saturated Fat: 13
- Carbohydrates: 18
- Fiber: 2
- Protein: 5
Keywords: chocolate mousse cake, 5-ingredient dessert, gluten-free dessert, no-bake cake, creamy chocolate dessert, weeknight dessert, make-ahead dessert



