Last Tuesday, I was staring at the clock. It was 5:45 PM. I had just walked through the door, exhausted from a day that felt like it lasted three weeks, and my brain was completely fried. The last thing I wanted to do was spend an hour chopping vegetables or figuring out what to cook. I didn’t want takeout—again. I wanted something that felt special, something with flavor that would wake up my taste buds, but I had exactly thirty minutes before the kids got home from school and demanded dinner.
That’s when I decided to stop overthinking it and just throw something together in the pan. I had some ground beef in the freezer, a jar of gochujang in the back of my fridge, and a pack of small tortillas that needed to be used up. I tossed them all together with a few pantry staples, and what came out of the skillet wasn’t just dinner. It was a revelation.
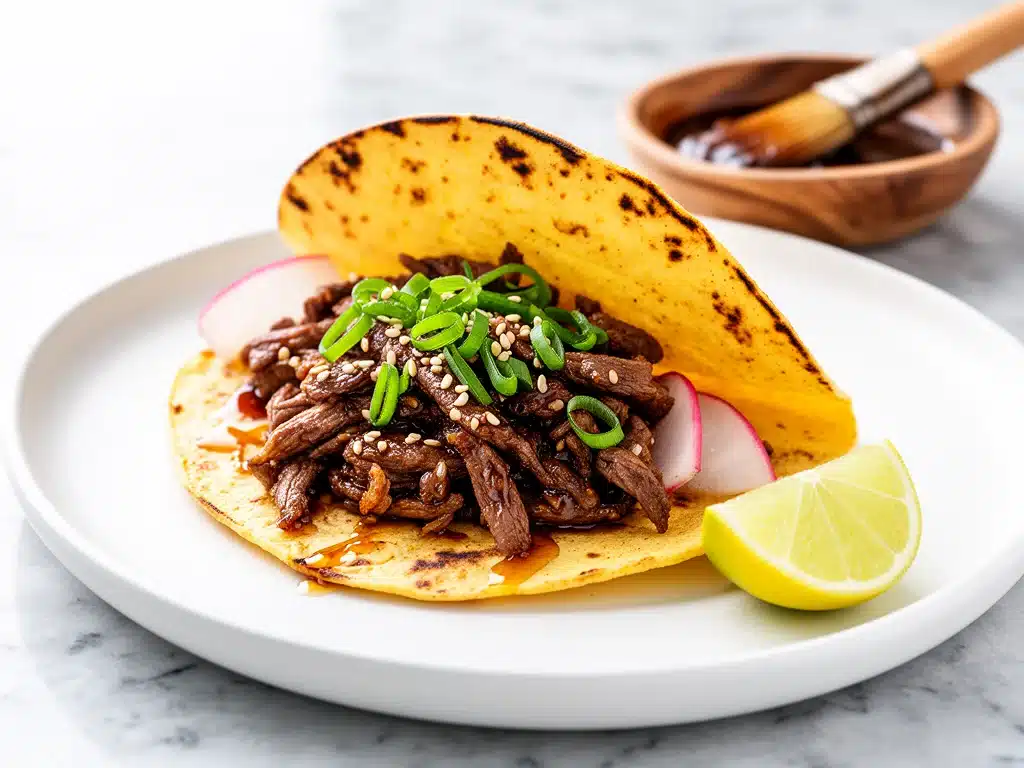
These crispy Korean beef bulgogi tacos have become my absolute go-to when I need a win. They’re sweet, savory, spicy, and have this incredible texture that you just can’t get from regular taco meat. The beef gets crispy edges from a quick sear, the sauce clings to every bite, and the crunch from the toppings makes every mouthful satisfying. I’ve made this at least a dozen times since that Tuesday, and honestly? It’s even better now. I’ve tweaked the sauce, tested different tortillas, and found the perfect balance of heat that my kids actually eat without complaining. If you’re looking for a weeknight dinner that feels like a treat but takes less time than ordering Uber Eats, this is it.
Why You’ll Love This Recipe
There are about ten reasons I keep making these tacos, but here are the big ones that keep them in my regular rotation:
- Stupid Simple — Seriously, if you can brown meat and stir a sauce, you can make this. I’ve made this while helping my kids with homework. The whole process is one pan (plus the sauce bowl). No complex techniques, no fancy equipment. Just good food.
- Lightning Fast — 30 minutes from start to finish. The beef cooks in 5 minutes. The sauce takes 2. The rest is just assembly. I make this on the nights when I get home at 7pm and still want to sit down at the table by 7:45.
- Flavor Bomb — These aren’t your average beef tacos. The bulgogi marinade creates a deep, umami-rich flavor profile that’s sweet, garlicky, and just a little bit spicy. It’s the kind of flavor that makes people ask for the recipe immediately.
- Texture Heaven — The secret is getting the beef crispy. By frying it a bit longer than usual and tossing it in the sticky sauce at the very end, you get these delicious caramelized edges. Add some crunchy slaw or pickled veggies, and it’s a mouthful of contrasting textures.
- Kid-Approved — I know, I know. “Korean” and “spicy” usually scare kids. But I keep the heat mild and the sweetness high. My kids love dipping them in the extra sauce. If they’re picky, they’ll just eat the meat and tortilla. If they’re brave, they’ll ask for seconds.
- Budget-Smart — Ground beef is affordable. Gocheujang and soy sauce are pantry staples you probably already have. This feeds 4-6 people for under $20. That’s a lot of flavor for the price.
This is my answer to “what’s for dinner” when I’m tired, don’t want takeout, and still want something that tastes really good. My family is happy, and I’m happy because I’m not stressed about cooking.
Ingredients You’ll Need
Here’s the best part: you probably have most of this already. The sauce relies on ingredients that are common in Asian pantries, but you can find everything at a regular grocery store. I’m particular about a few things here, and I’ll tell you exactly why.
For the Beef
Ground beef (1.5 pounds / 680g) — I use 80/20 fat content. The fat helps the beef crisp up and keeps it juicy. If you only have lean beef, it’ll still work, but it won’t be as flavorful. Don’t use extra lean; it’ll be dry.
Neutral oil (2 tablespoons) — I use avocado oil or vegetable oil. You need a high smoke-point oil because we’re searing the beef hard to get those crispy bits.
For the Bulgogi Sauce
Soy sauce (¼ cup / 60ml) — This is the salt and umami base. I use regular soy sauce, not low-sodium, because the sugar in regular balances the salt better. If you only have low-sodium, reduce the added salt later.
Brown sugar (3 tablespoons / 45g) — The sweetness is key. It caramelizes in the pan. I use light brown sugar for that molasses note. White sugar works, but brown is better.
Gochujang (2 tablespoons) — This is the Korean chili paste. It’s fermented, so it has a deep, complex heat. It’s not just spicy; it’s savory-spicy. You can find it in the Asian aisle. If you can’t find it, substitute with sriracha + a teaspoon of miso paste, but gochujang is the real deal.
Rice vinegar (1 tablespoon) — Adds acidity to cut through the richness. Apple cider vinegar works in a pinch, but rice vinegar is milder and more authentic.
Garlic (4 cloves, minced / about 1 tablespoon) — Fresh only. Jarred garlic has a metallic taste that really shows up in a sauce this concentrated. Minced fine so it doesn’t burn.
Fresh ginger (1 teaspoon, grated) — Adds brightness. Pre-minced ginger from a tube works if you’re lazy, but fresh tastes way better. Just a little bit goes a long way.
Sesame oil (1 tablespoon) — Toasted sesame oil. This is the aroma. It’s potent, so don’t use too much. It should smell nutty and warm.
Water (2 tablespoons) — Thins the sauce just enough so it coats the meat without being gloopy.
For Assembly
Small tortillas (12-16 small flour tortillas) — I use 6-inch flour tortillas. They’re sturdy enough to hold the juicy meat but small enough to eat with one hand. Corn tortillas work too if you’re gluten-free, but they’re more fragile.
Green onions (4 stalks, sliced) — For garnish. Adds a fresh, oniony crunch.
Sesame seeds (1 tablespoon) — Toasted sesame seeds. Adds a nice nutty crunch and looks pretty. Optional, but highly recommended.
Optional Toppings — Pickled cucumbers, shredded cabbage, sriracha mayo, or sliced radishes. These add crunch and acidity to balance the rich meat.
Equipment Needed
You don’t need fancy equipment for this. Here’s what I actually use:
Large skillet or wok — I use a 12-inch cast iron skillet. It holds heat well, which helps the beef crisp up. A non-stick skillet works too, but you won’t get the same fond (the brown bits) that adds flavor. A wok is great if you have one, as the shape helps toss the meat.
Small bowl — For whisking the sauce. Any bowl works.
Measuring cups and spoons — Standard stuff. Dollar store versions work fine.
Sharp knife — For slicing green onions and mincing garlic. Dull knives make you cry more—learned this the hard way.
Cutting board — Any size works. I use plastic for easier cleanup.
Tongs or spatula — For breaking up the beef and tossing it in the sauce. I prefer tongs for flipping the tortillas.
Plate or warm plate — To keep the tortillas warm while you assemble. I put them in the oven at 200°F while I cook the meat.
How to Make It: Step-by-Step
Alright, let’s make this! I’m walking you through exactly how I do it, including the little tricks I’ve picked up.
Step 1: Make the Sauce (5 minutes)
Before you start cooking, whisk together the soy sauce, brown sugar, gochujang, rice vinegar, minced garlic, grated ginger, sesame oil, and water in a small bowl. Stir until the brown sugar is dissolved. Taste it. It should be sweet, salty, and spicy. If it’s too spicy, add a bit more sugar. If it’s too sweet, add a splash more vinegar. Set it aside.
Step 2: Brown the Beef (5-7 minutes)
Heat the neutral oil in your large skillet over medium-high heat. Once the oil is shimmering, add the ground beef. Break it up with a spatula into small pieces. Don’t stir it too much at first. Let it sit for 2-3 minutes so it gets a nice brown crust. Then, stir and break it up more. Continue cooking until the beef is fully browned and crispy in spots. This is the key to texture. Drain any excess fat if there’s a lot, but leave a little bit for flavor.
Step 3: Add the Sauce (2 minutes)
Pour the sauce mixture over the browned beef. Stir well to coat every piece. Let it simmer for 2-3 minutes. The sauce will bubble and thicken, clinging to the beef. It should look glossy and sticky. If it’s too thick, add a splash of water. If it’s too thin, let it cook a bit longer. Turn off the heat.
Step 4: Warm the Tortillas (2 minutes)
While the beef simmers, warm your tortillas. You can do this in a dry skillet for 30 seconds per side, or wrap them in a damp paper towel and microwave for 20 seconds. They should be soft and pliable. Keep them warm in a towel or in the oven.
Step 5: Assemble and Serve
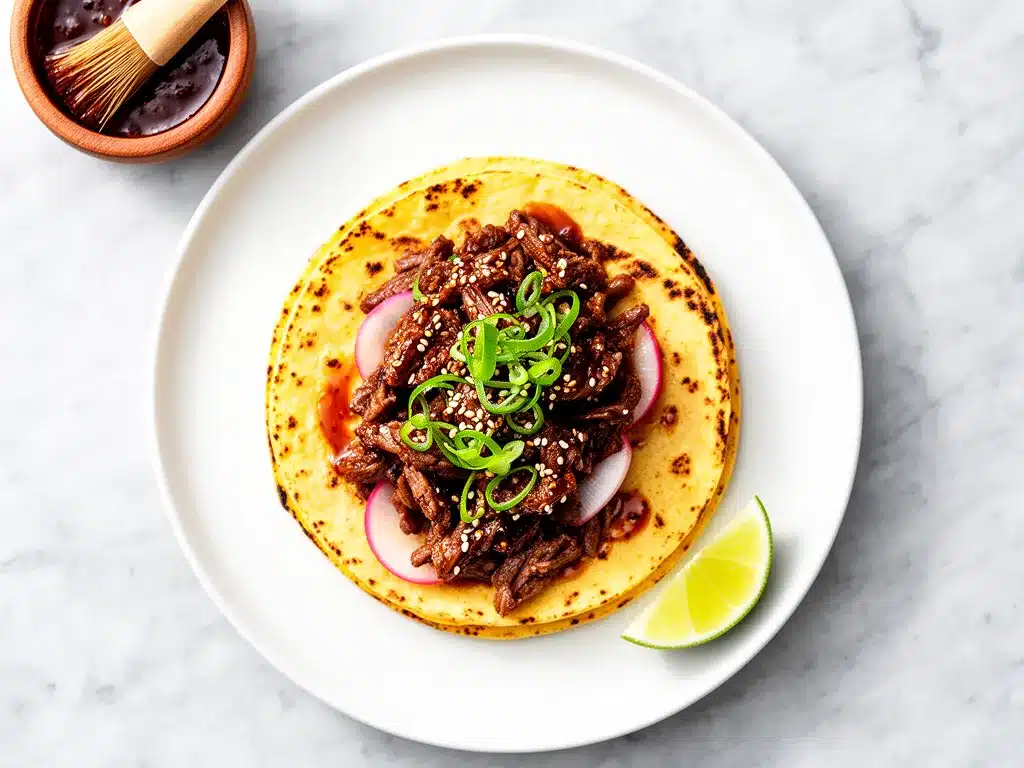
Place a spoonful of the crispy beef bulgogi onto each tortilla. Top with sliced green onions, sesame seeds, and any other toppings you like. Serve immediately while the beef is still hot and crispy. The sauce should be sticky, not soupy.
Total Time: About 30 minutes (10 minutes active, 20 minutes mostly hands-off)
Expert Tips & Tricks
Here’s everything I’ve learned from making this dozens of times. These tips will save you from my mistakes.
Get the Beef Crispy
This is the #1 tip. Don’t rush the browning. If you stir too much, the beef steams instead of sears. Let it sit in the hot pan to get those delicious caramelized edges. I forgot this once and the tacos were just “okay” instead of amazing. Now I wait for the crust.
Balance the Sauce
The sauce is sweet and salty, so it needs acid to cut through. The rice vinegar is crucial. If you skip it, the tacos will feel heavy. Taste the sauce before you add it to the beef. Adjust sugar or vinegar to your preference.
Don’t Overcrowd the Pan
If you’re doubling the recipe, cook the beef in batches. Crowding the pan lowers the temperature and makes the beef steam. You want a good sear, not a boil.
Toast Your Sesame Seeds
Raw sesame seeds are fine, but toasted ones add a nutty aroma and crunch that takes the dish to the next level. Just toss them in a dry pan for 2 minutes until they’re golden.
Common Mistakes (and how to avoid them)
- Mistake: Sauce is too runny — Fix: Let it simmer longer. The starch from the brown sugar needs time to thicken.
- Mistake: Beef is mushy — Fix: You didn’t let it brown enough. Use higher heat and less stirring.
- Mistake: Too spicy — Fix: Add more sugar or a splash of cream/yogurt to cool it down.
Variations & Substitutions
Once you’ve nailed the basic version, here’s how you can mix it up. I’ve tried all of these.
Chicken Version
Use ground chicken instead of beef. It’s leaner, so add a bit more oil. The sauce works perfectly with chicken too. My daughter prefers this version.
Turkey Version
Use ground turkey. It’s even leaner, so be careful not to overcook it. Add a teaspoon of honey to boost the sweetness.
Vegetarian Option
Use crumbled firm tofu or tempeh. Press the tofu well to remove water, then fry it until crispy before adding the sauce. It absorbs the flavor beautifully.
Gluten-Free
Use tamari instead of soy sauce and corn tortillas instead of flour tortillas. Everything else is naturally gluten-free.
Spicy Level
For more heat, add crushed red pepper flakes or a dash of sriracha to the sauce. For less heat, reduce the gochujang to 1 tablespoon.
Serving & Storage
How to Serve:
I usually serve these straight from the skillet at the dinner table. Put the beef in a bowl in the center, with the tortillas and toppings around it. Everyone builds their own. It’s interactive and fun.
Side Dishes:
- Simple green salad with sesame dressing
- Steamed rice or fried rice
- Pickled vegetables (cucumbers, carrots, radishes)
- Edamame
Storage Instructions:
Refrigerator: Store the beef and sauce in an airtight container for up to 3 days. The tortillas should be stored separately.
Reheating: Reheat the beef in a skillet over medium heat with a splash of water to loosen the sauce. Microwave works too, but the texture won’t be as crispy. Warm tortillas separately.
Freezing: The beef freezes well for up to 3 months. Thaw in the fridge and reheat in a skillet. Tortillas don’t freeze well.
Nutrition Information
I’m not a nutritionist, but here’s the breakdown if you’re tracking. These are estimates based on 6 servings.
| Nutrient | Per Serving |
|---|---|
| Calories | 380 |
| Protein | 22g |
| Carbs | 35g |
| Fat | 18g |
| Fiber | 2g |
| Sugar | 12g |
Look, this is comfort food. It’s not a diet recipe. But it’s way better than takeout, costs less, and I know exactly what’s in it. When I want to make it lighter, I use lean turkey and more veggies. But usually? I just eat a reasonable portion and enjoy it.
Final Thoughts
So that’s my go-to crispy Korean beef bulgogi tacos! I’ve probably talked your ear off at this point, but when you make a recipe this often, you have a lot to say about it.
This has saved weeknight dinners more times than I can count. It’s my answer to “what’s for dinner” when I’m tired, don’t want takeout, and still want something that tastes really good. My kids are happy, my husband’s happy, and I’m happy because I’m not stressed about cooking.
Make it yours! Try different add-ins, swap in your favorite vegetables, adjust the garlic (though more is always better in my opinion). The best recipes are the ones you adapt to your family’s tastes.
If you make this, drop a comment and let me know what you think! I love hearing how recipes turn out in your kitchen. And if something doesn’t work, tell me that too—I’m here to help troubleshoot.
Happy cooking! And I hope your kitchen smells half as good as mine does right now.
Frequently Asked Questions
Q: Can I use ground turkey instead of beef?
A: Absolutely! Ground turkey works great. Just be careful not to overcook it, as it can dry out faster. Add a little more oil to the pan, and maybe a teaspoon of honey to the sauce to boost the sweetness.
Q: What is gochujang? Can I substitute it?
A: Gochujang is a Korean chili paste made from fermented soybeans, chili powder, and rice. It’s thick, sweet, and spicy. If you can’t find it, you can mix sriracha with a teaspoon of miso paste or soy sauce. It won’t be exactly the same, but it’ll give you that spicy-savory kick.
Q: How do I make these less spicy?
A: Reduce the gochujang to 1 tablespoon. You can also add a splash of cream or yogurt to the sauce to cool it down. The sweetness from the brown sugar helps balance the heat too.
Q: Can I make the sauce ahead of time?
A: Yes! The sauce keeps in the fridge for up to a week. Just whisk it together and store it in a jar. It actually tastes better after the flavors have had time to meld.
Q: Why did my beef turn out mushy?
A: You probably stirred it too much or the pan wasn’t hot enough. Let the beef sit in the pan for a few minutes without touching it to get a good sear. Break it up only after it’s browned on the bottom.
Q: Can I freeze these tacos?
A: The beef freezes well for up to 3 months. Thaw in the fridge and reheat in a skillet. Tortillas don’t freeze well, so make fresh tortillas when you’re ready to eat.
Pin This Recipe!
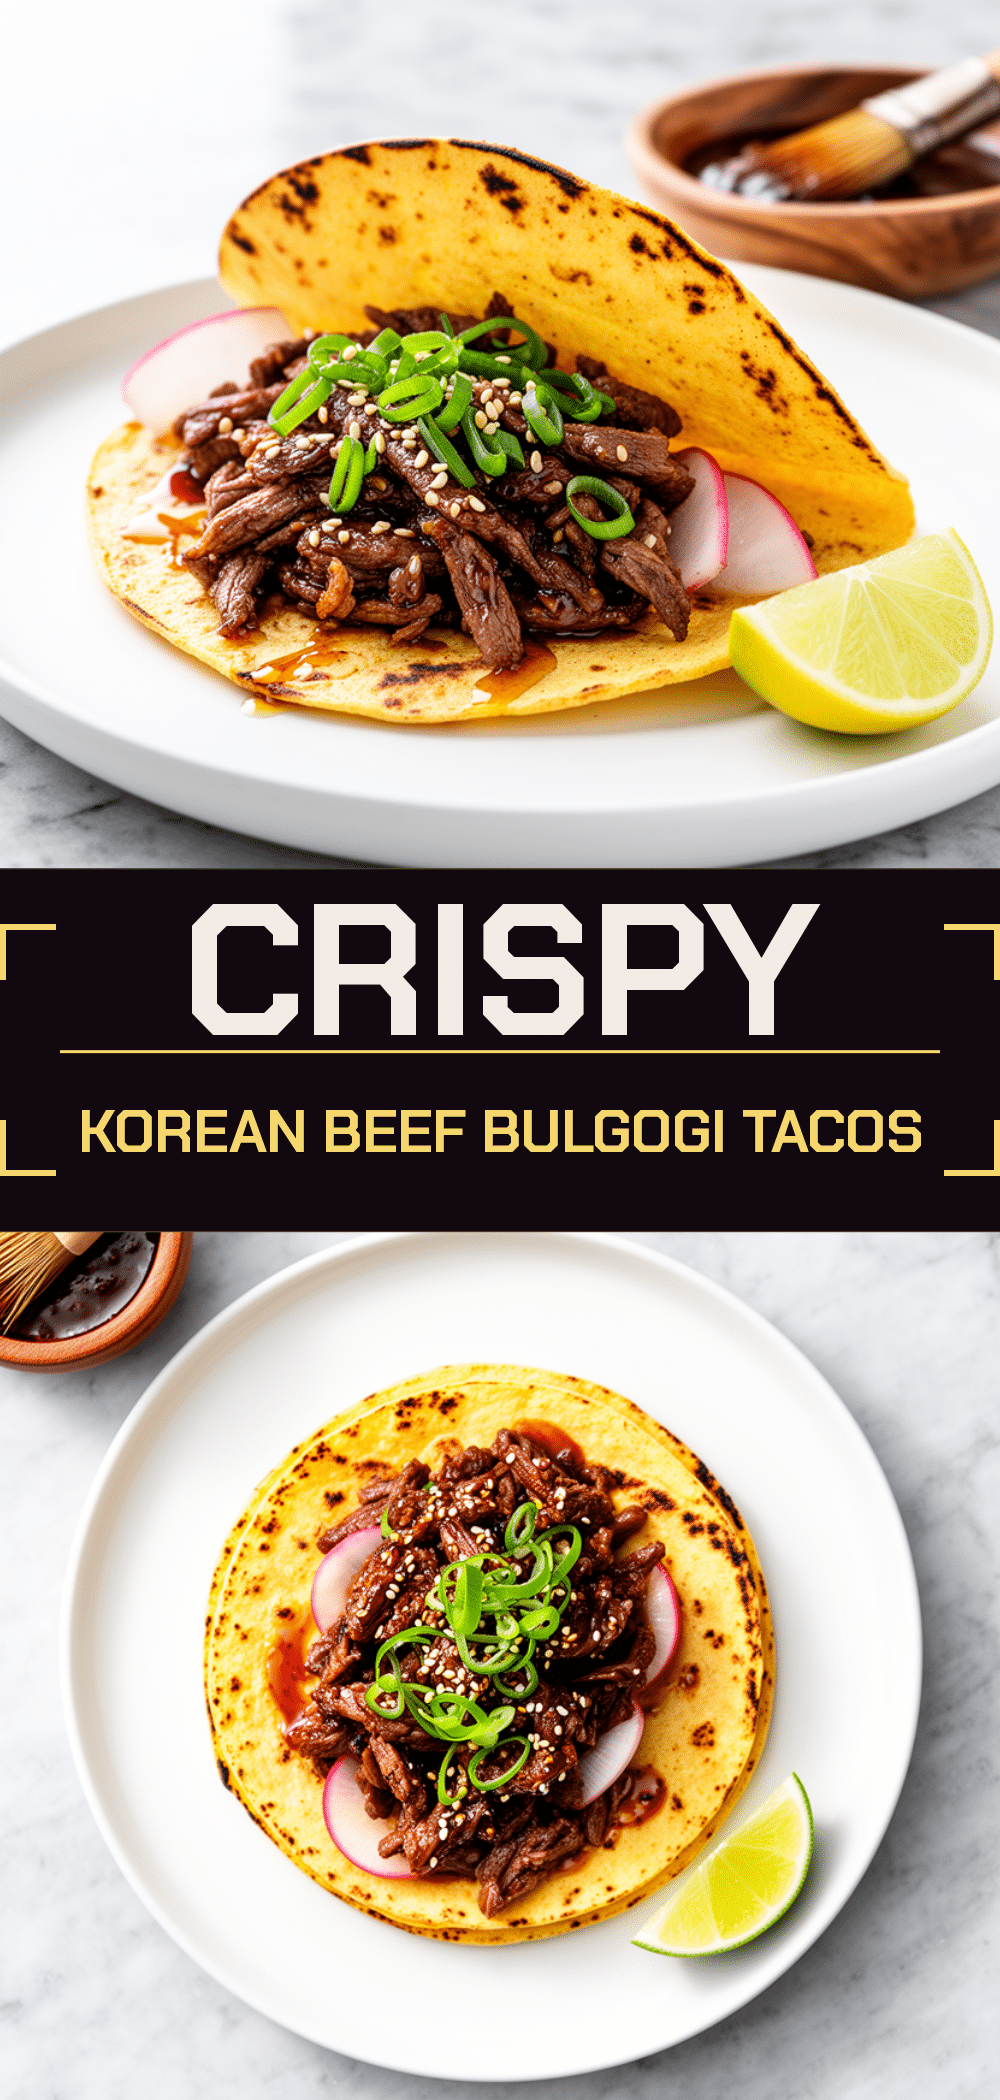
Crispy Korean Beef Bulgogi Tacos
- Total Time: 30 minutes
- Yield: 4-6 servings 1x
Description
A quick and flavorful 30-minute weeknight dinner featuring crispy ground beef in a sweet, savory, and spicy bulgogi sauce, served in warm tortillas with crunchy toppings.
Ingredients
- 1.5 pounds ground beef (80/20 fat content recommended)
- 2 tablespoons neutral oil (avocado or vegetable oil)
- 1/4 cup soy sauce
- 3 tablespoons brown sugar
- 2 tablespoons gochujang (Korean chili paste)
- 1 tablespoon rice vinegar
- 4 cloves garlic, minced
- 1 teaspoon fresh ginger, grated
- 1 tablespoon toasted sesame oil
- 2 tablespoons water
- 12–16 small flour tortillas (6-inch)
- 4 stalks green onions, sliced
- 1 tablespoon toasted sesame seeds
- Optional toppings: pickled cucumbers, shredded cabbage, sriracha mayo, sliced radishes
Instructions
- Whisk together soy sauce, brown sugar, gochujang, rice vinegar, minced garlic, grated ginger, sesame oil, and water in a small bowl until the sugar is dissolved. Taste and adjust sweetness or spice if needed. Set aside.
- Heat neutral oil in a large skillet or wok over medium-high heat.
- Add ground beef to the hot pan. Break it up with a spatula but do not stir immediately. Let it sit for 2-3 minutes to develop a brown crust.
- Stir and continue breaking up the beef. Cook until fully browned and crispy in spots. Drain excess fat if necessary, but leave some for flavor.
- Pour the prepared sauce over the browned beef. Stir to coat evenly and let it simmer for 2-3 minutes until the sauce thickens and becomes glossy.
- While the beef simmers, warm the tortillas in a dry skillet for 30 seconds per side or in the microwave wrapped in a damp paper towel for 20 seconds.
- Assemble tacos by placing a spoonful of the crispy beef bulgogi onto each warm tortilla.
- Top with sliced green onions, toasted sesame seeds, and optional toppings. Serve immediately.
Notes
For the best texture, do not rush the browning of the beef; let it sear to get crispy edges. If doubling the recipe, cook the beef in batches to avoid overcrowding the pan, which causes steaming instead of searing. The sauce can be made ahead and stored in the fridge for up to a week. For a gluten-free version, use tamari instead of soy sauce and corn tortillas.
- Prep Time: 10 minutes
- Cook Time: 20 minutes
- Category: Main Course
- Cuisine: Korean-Mexican Fusion
Nutrition
- Serving Size: 2-3 tacos per person
- Calories: 380
- Sugar: 12
- Sodium: 850
- Fat: 18
- Saturated Fat: 7
- Carbohydrates: 35
- Fiber: 2
- Protein: 22
Keywords: Korean beef tacos, bulgogi tacos, ground beef tacos, weeknight dinner, 30 minute meals, crispy beef, gochujang recipe, easy tacos



