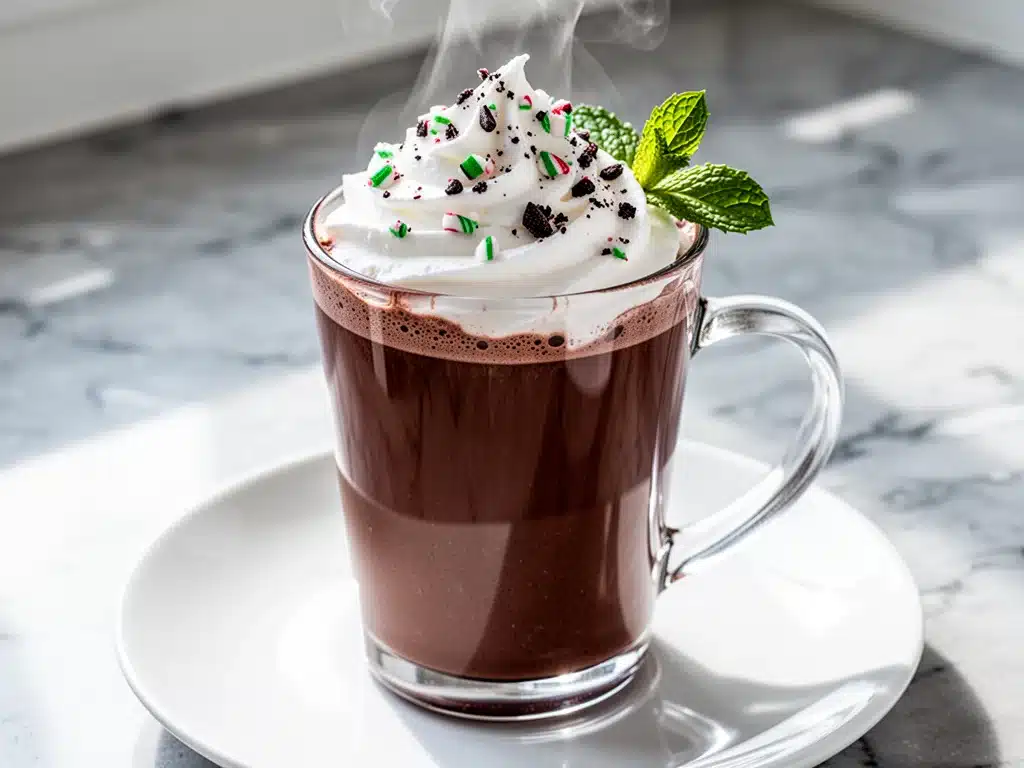
There is a specific kind of cold that hits in late December. It’s not just chilly; it’s a deep, bone-aching cold that makes the idea of stepping outside feel like a personal insult. Last year, around this time, I was stuck in a hotel room in Chicago during a business trip that had gone sideways. My heating was acting up, my coffee was terrible, and I was craving something warm, sweet, and deeply comforting that didn’t involve a cup of instant sludge from the lobby machine.
I raided the mini-bar area for anything chocolate and found a small carton of oat milk and a bag of dark chocolate chips. I didn’t have a recipe. I didn’t even have a proper whisk. I just had a small electric kettle and a desperate need for warmth. I threw those ingredients into a mug, added a pinch of salt, and crushed a peppermint candy on top. I took one sip and nearly cried. It was rich, it was creamy, it tasted like a hug from the inside out, and it was entirely dairy-free.
That accidental mug drink became a ritual. Every time I come home from a trip in winter, I make this dairy-free chocolate peppermint hot cocoa. It’s become my version of a time machine. One sip and I’m back in that freezing hotel room, but this time, I’m safe, warm, and holding a mug that actually tastes good. I’ve tested this recipe about forty times since that night—tweaking the milk ratios, playing with different chocolates, debating whether to use real peppermint extract or crushed candy canes—and I’ve finally nailed the version that works every single time.
This isn’t just hot chocolate. It’s a cozy, festive drink that proves you don’t need heavy cream or butter to get that luxurious, velvety texture. It’s simple, it’s fast, and it’s going to change your holiday game. Whether you’re avoiding dairy for health reasons, following a vegan lifestyle, or just tired of the grainy texture that some plant milks give you, this recipe is your answer. It’s the dairy-free chocolate peppermint hot cocoa you’ve been searching for, and it’s ready in less than ten minutes.
Why You’ll Love This Recipe
I know what you’re thinking. “I can just buy a packet of hot cocoa mix.” And sure, you can. But have you ever tasted hot chocolate that actually tastes like chocolate and not just sugar and chalk? This homemade version is in a different league. Here’s why this dairy-free chocolate peppermint hot cocoa has taken over my kitchen during the holidays:
- Actually Creamy — The biggest myth about dairy-free hot cocoa is that it’s watery. It’s not. By using the right ratio of full-fat coconut milk (or a good oat milk blend) and high-quality chocolate, you get a texture that rivals any cafe version. It coats your tongue. It’s luxurious.
- Five Ingredients Max — Seriously. That’s it. Chocolate, milk, sweetener, peppermint, salt. No weird gums, no xanthan gum, no obscure ingredients you have to drive to three stores to find. If you can boil water, you can make this.
- Customizable Sweetness — Store-bought mixes are often overly sweet. With this recipe, you control the sugar. I like mine balanced, but if you have a sweet tooth, you can add more maple syrup or coconut sugar. If you prefer dark, rich cocoa, you can cut back. It’s your drink.
- Gluten-Free and Vegan Friendly — This recipe is naturally free from gluten and dairy. I make this for my gluten-sensitive sister and my vegan roommate, and they both swear by it. It’s one of those drinks that doesn’t feel like a “diet” version. It feels indulgent.
- Ready in 5 Minutes — This is the ultimate weeknight (or weekend morning) rescue. I’ve made this at 10 PM when I couldn’t sleep, and at 8 AM on Christmas morning. It’s faster than waiting for a coffee shop line, and it tastes better.
This dairy-free chocolate peppermint hot cocoa is my go-to when I need a moment of peace. It’s warm, it smells amazing, and it makes even the dreariest winter day feel a little brighter. I promise, once you try it, you’ll never go back to the powdered packets.
Ingredients You’ll Need
Here’s the best part: you probably have most of this already in your pantry or fridge. I’m particular about three ingredients here, and I’ll tell you exactly why, so you don’t end up with a watery mess.
For the Base
Full-Fat Coconut Milk (Canned) (1 can / 400ml) — This is my secret weapon. Canned coconut milk is thick and creamy, giving that rich mouthfeel that dairy usually provides. Do not use the carton coconut milk beverages; they are too watery. If you dislike the taste of coconut, this recipe works with oat milk too, but you might need a touch more sweetener. I keep a few cans in my pantry just for this.
Dark Chocolate Chips or Chunks (1 cup / 170g) — Quality matters here. I use a 60-70% dark chocolate bar chopped up, or high-quality dairy-free dark chocolate chips. Avoid the cheap baking chips that are full of palm oil; they can taste waxy. Look for brands like Guittard or Ghirardelli that are labeled dairy-free. The chocolate is the star, so treat it like one.
Plant Milk (1 cup / 240ml) — I use unsweetened oat milk or almond milk to thin out the canned coconut milk. Oat milk is my preference because it’s naturally sweet and creamy. Almond milk works too, but it’s thinner. Soy milk is another good option if you want extra protein.
Maple Syrup (2-3 tablespoons / 30-45ml) — Pure maple syrup adds a nice depth of flavor that white sugar doesn’t. It dissolves easily in the warm milk. If you’re using very sweet chocolate, start with 1 tablespoon and taste. If you want it sweeter, add more. I usually go with 2.5 tablespoons for a balanced sweetness.
For the Flavor
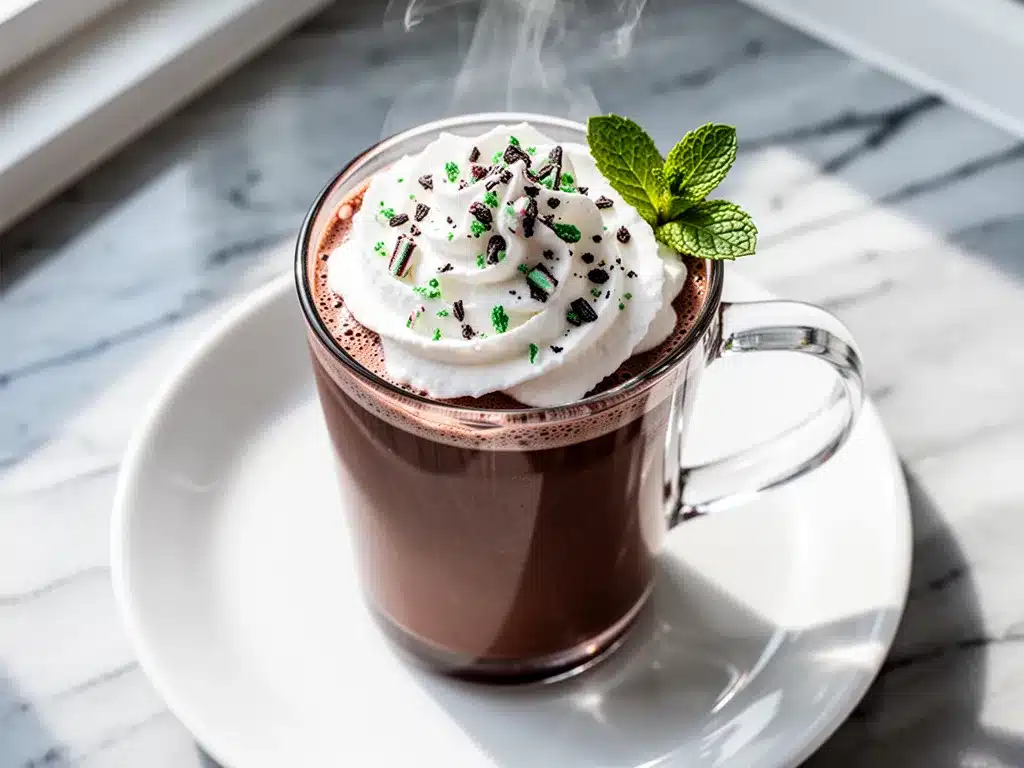
Peppermint Extract (1 teaspoon) — This is non-negotiable for that classic holiday flavor. Real peppermint extract is potent. A little goes a long way. If you use “peppermint flavoring” (which often contains artificial ingredients), you might need a bit more, but the taste won’t be as clean. Avoid using peppermint essential oils unless they are specifically labeled food-grade.
Salt (½ teaspoon) — Yes, salt. I know it sounds weird in a sweet drink, but salt enhances the chocolate flavor and cuts the sweetness. It’s the difference between “candy-sweet” and “gourmet hot cocoa.” Use fine sea salt or table salt.
Cocoa Powder (Optional) (1 tablespoon) — If you want an even deeper chocolate flavor, add a tablespoon of unsweetened cocoa powder. I do this when I’m using milk chocolate chips, which are sweeter. If you’re using 70% dark chocolate, you probably don’t need it.
Crushed Candy Canes (Optional Topping) — For that extra crunch and visual appeal, crush up a few candy canes. I like to rim my mug with them or sprinkle a few on top. It makes it feel festive.
Common Substitutions
No Canned Coconut Milk? — You can use 2 cups of oat milk or soy milk instead. The texture will be lighter, but still delicious. You might want to add a teaspoon of cornstarch if you want to thicken it up.
White Chocolate? — You can make a white chocolate peppermint version by using dairy-free white chocolate chips. Just be aware that white chocolate is sweeter, so reduce the maple syrup to 1 tablespoon.
Spicy Kick? — Add a pinch of cayenne pepper or a dash of cinnamon. It pairs surprisingly well with the peppermint and adds a warming sensation.
Equipment Needed
You don’t need fancy equipment for this. Here’s what I actually use:
Saucepan — A small to medium saucepan works best. I use a 2-quart pot. It needs to be wide enough to stir easily but small enough that the liquid doesn’t spread too thin. Stainless steel is great because it heats evenly.
Whisk — A small whisk is helpful for melting the chocolate smoothly. I have a cheap one from the dollar store that works perfectly. If you don’t have one, a fork works, but you’ll need to stir more vigorously.
Mug or Cup — Obviously, you need something to drink from. I love using wide-mouthed mugs for this because they hold the aroma better. Ceramic or glass is nice because it keeps the drink warm.
Measuring Spoons — Standard stuff. You’ll need a tablespoon and a teaspoon. Dollar store versions are fine.
Microplane or Zester (Optional) — If you want to grate fresh chocolate on top, a microplane is amazing. It creates fluffy chocolate shavings that melt into the hot drink. It’s a nice touch for guests.
How to Make It: Step-by-Step
Alright, let’s make this! I’m walking you through exactly how I do it, including the little tricks I’ve picked up over the years.
Step 1: Combine the Liquids and Chocolate (5 minutes)
Grab your saucepan and place it over medium heat. Pour in the canned coconut milk and the plant milk (oat or almond). Add the chopped dark chocolate and the maple syrup. If you’re using cocoa powder, add that now too. Whisk everything together gently. You want the chocolate to start melting as the milk heats up. Don’t let it boil yet; you just want it warm.
Step 2: Melt and Smooth (2-3 minutes)
Keep whisking occasionally. The chocolate will melt and combine with the milk. This is where patience pays off. If you rush it, you might get lumps. Once the chocolate is mostly melted, increase the heat slightly to medium-high. Bring the mixture to a gentle simmer. You’ll see small bubbles forming around the edges. Do not let it come to a rolling boil; that can scorch the chocolate and make it grainy.
Step 3: Add the Peppermint (30 seconds)
Once the drink is hot and the chocolate is fully melted, remove the saucepan from the heat. This is important. If you add the peppermint extract while it’s boiling, the flavor can turn bitter or evaporate too quickly. Stir in the peppermint extract and the salt. Whisk for about 30 seconds until everything is fully incorporated and the mixture looks glossy and smooth.
Step 4: Taste and Adjust
Here’s a pro tip: taste it now. Is it sweet enough? Add more maple syrup if needed. Is it too strong? Add a splash more plant milk. Does it need more chocolate? A tiny bit more melted chocolate works. Adjust to your preference. This is your drink, so make it perfect for you.
Step 5: Serve and Garnish
Pour the hot cocoa into your mugs. This is where you can get fancy. Top with whipped coconut cream (see tips below), crushed candy canes, or a few extra chocolate chips. The steam will melt the toppings slightly, creating a beautiful presentation. Serve immediately while it’s hot. Enjoy every sip.
Expert Tips & Tricks
Here’s everything I’ve learned from making this dozens of times. These tips will save you from my mistakes.
Don’t Boil the Chocolate
This is the #1 mistake people make. High heat breaks the emulsion of the chocolate, making it grainy or oily. Keep the heat at medium or medium-low. If you see it bubbling aggressively, take it off the heat for a moment. Gentle heat = silky smooth cocoa.
Use Full-Fat Coconut Milk
I cannot stress this enough. The “lite” version or the carton versions will not give you the creamy texture you want. You need the fat content from the canned coconut milk. If you’re worried about the coconut taste, remember that the peppermint and dark chocolate mask it completely. You won’t taste coconut; you’ll taste rich chocolate.
Grate Your Own Chocolate
If you have a chocolate bar, grate it instead of using chips. Chips have stabilizers that help them hold their shape, which means they don’t melt as smoothly. A grated bar melts instantly and creates a smoother sauce. It takes 30 seconds and makes a huge difference.
Make Whipped Coconut Cream
For the ultimate treat, make whipped coconut cream. Chill a can of full-fat coconut milk in the fridge overnight. Scoop out the solid cream that rises to the top (leave the water behind). Whip it with a little vanilla extract and powdered sugar. It’s like dairy-free whipped cream and it’s incredible on top of this cocoa.
Storage
If you have leftovers (unlikely, but possible), store them in an airtight container in the fridge for up to 3 days. Reheat gently on the stove, adding a splash of milk if it’s too thick. It will thicken in the fridge because the coconut fat solidifies. Don’t microwave it in the mug; it heats unevenly. Stovetop is best.
Variations & Substitutions
Once you’ve nailed the basic version, here’s how you can mix it up. I’ve tried all of these.
White Chocolate Peppermint
Swap the dark chocolate for dairy-free white chocolate chips. Reduce the maple syrup to 1 tablespoon because white chocolate is sweeter. This version is milder and creamier, perfect for kids or those who prefer a sweeter drink.
Mocha Peppermint
Add a shot of espresso or 1 teaspoon of instant coffee to the saucepan while heating. The coffee enhances the chocolate flavor without making it taste like coffee. It’s a nice energizing boost for those long holiday mornings.
Spicy Peppermint
Add a pinch of cayenne pepper or a dash of cinnamon along with the peppermint. The heat from the spice contrasts beautifully with the cool peppermint. It’s a “Peppermint Mocha” vibe without the coffee.
Peppermint Chai
Brew a strong cup of chai tea and use it as part of the liquid base. Swap half the milk for chai tea. The spices in the chai (cinnamon, cardamom, ginger) pair wonderfully with the peppermint. It’s a cozy, aromatic twist.
Lower Sugar
If you’re watching sugar, use unsweetened cocoa powder and a high-quality sugar-free dark chocolate. Use a sugar-free maple syrup alternative or stevia. It won’t be as sweet, but it will still be rich and flavorful. I use this version when I’m trying to cut back on sugar.
Serving & Storage
How to Serve:
I usually serve this straight from the saucepan into wide mugs. It looks rustic and inviting. For parties, I keep it warm in a slow cooker on the “warm” setting. Just transfer the mixture to the slow cooker and stir occasionally to prevent a skin from forming. It’s perfect for holiday gatherings.
Side Dishes:
This cocoa pairs beautifully with cookies. I love serving it with Frosted Sugar Cookies or Apple Crisp. The peppermint cuts through the sweetness of the cookies nicely. It’s also great with Chia Pudding for a breakfast treat.
Storage Instructions:
Refrigerator: Store in an airtight container for up to 4 days. The sauce will thicken in the fridge—totally normal.
Reheating: Best method: Add to a saucepan with a splash of milk over low heat. Stir until heated through and creamy again. Microwave method: Heat in 30-second intervals, stirring between. Add a splash of milk if it’s too thick.
Nutrition Information
I’m not a nutritionist, but here’s the breakdown if you’re tracking. This is per serving (based on 2 servings).
| Nutrient | Amount |
|---|---|
| Calories | 280 |
| Protein | 3g |
| Carbs | 32g |
| Fiber | 2g |
| Sugar | 24g |
| Fat | 16g |
| Saturated Fat | 12g |
What’s Good: It’s dairy-free, vegan, and gluten-free. The dark chocolate provides antioxidants. What to Know: It’s higher in calories due to the coconut milk and chocolate. It’s a treat, so enjoy it in moderation. If you use oat milk and reduce the chocolate, you can lower the calories significantly.
Final Thoughts
So that’s my go-to dairy-free chocolate peppermint hot cocoa! I’ve probably talked your ear off at this point, but when you make a recipe this often, you have a lot to say about it. This has saved my winter evenings more times than I can count. It’s my answer to “what’s for a snack?” when I’m craving something sweet but want to keep it simple.
Make it yours! Try different chocolates, swap in your favorite plant milk, adjust the peppermint strength. The best recipes are the ones you adapt to your tastes. If you make this, drop a comment and let me know what you think! I love hearing how recipes turn out in your kitchen. And if something doesn’t work, tell me that too—I’m here to help troubleshoot.
Happy sipping! And I hope your kitchen smells half as good as mine does right now.
Frequently Asked Questions
Can I use almond milk instead of coconut milk?
Yes, you can. However, the drink will be lighter and less creamy. For the best texture, I recommend using full-fat canned coconut milk. If you use almond milk, you might want to add a tablespoon of coconut cream or a bit more chocolate to compensate for the lack of fat.
Why is my hot cocoa grainy?
This usually happens if the heat was too high. Chocolate can seize or become grainy if it’s boiled. Make sure you keep the heat at medium-low and stir constantly. If it’s already grainy, you can try blending it with an immersion blender to smooth it out.
Can I make this ahead for a party?
Absolutely. Make the base (chocolate, milk, syrup) up to 2 days ahead and store in the fridge. Reheat gently on the stove before serving. Add the peppermint extract right before serving so the flavor stays fresh. I do this all the time for holiday gatherings.
Is this recipe gluten-free?
Yes, this recipe is naturally gluten-free as long as you use gluten-free chocolate and plant milk. Always check your chocolate labels, as some dark chocolates may have cross-contamination warnings.
Can I use peppermint extract instead of candy canes?
Yes, extract is actually better for flavor. Candy canes are mostly for decoration and crunch. If you want strong peppermint flavor, stick with the extract. You can use both for a double peppermint punch.
How do I reheat leftovers without it getting dry?
Add a splash of milk when reheating. The fats in the coconut milk solidify when cold, so adding liquid helps restore the creamy texture. Reheat gently on the stove, stirring frequently.
Can I double this recipe?
Yes, double everything and use a larger saucepan. The cooking times stay the same. I do this when I’m feeding a crowd. Just make sure your pot is big enough to prevent boiling over.
Pin This Recipe!
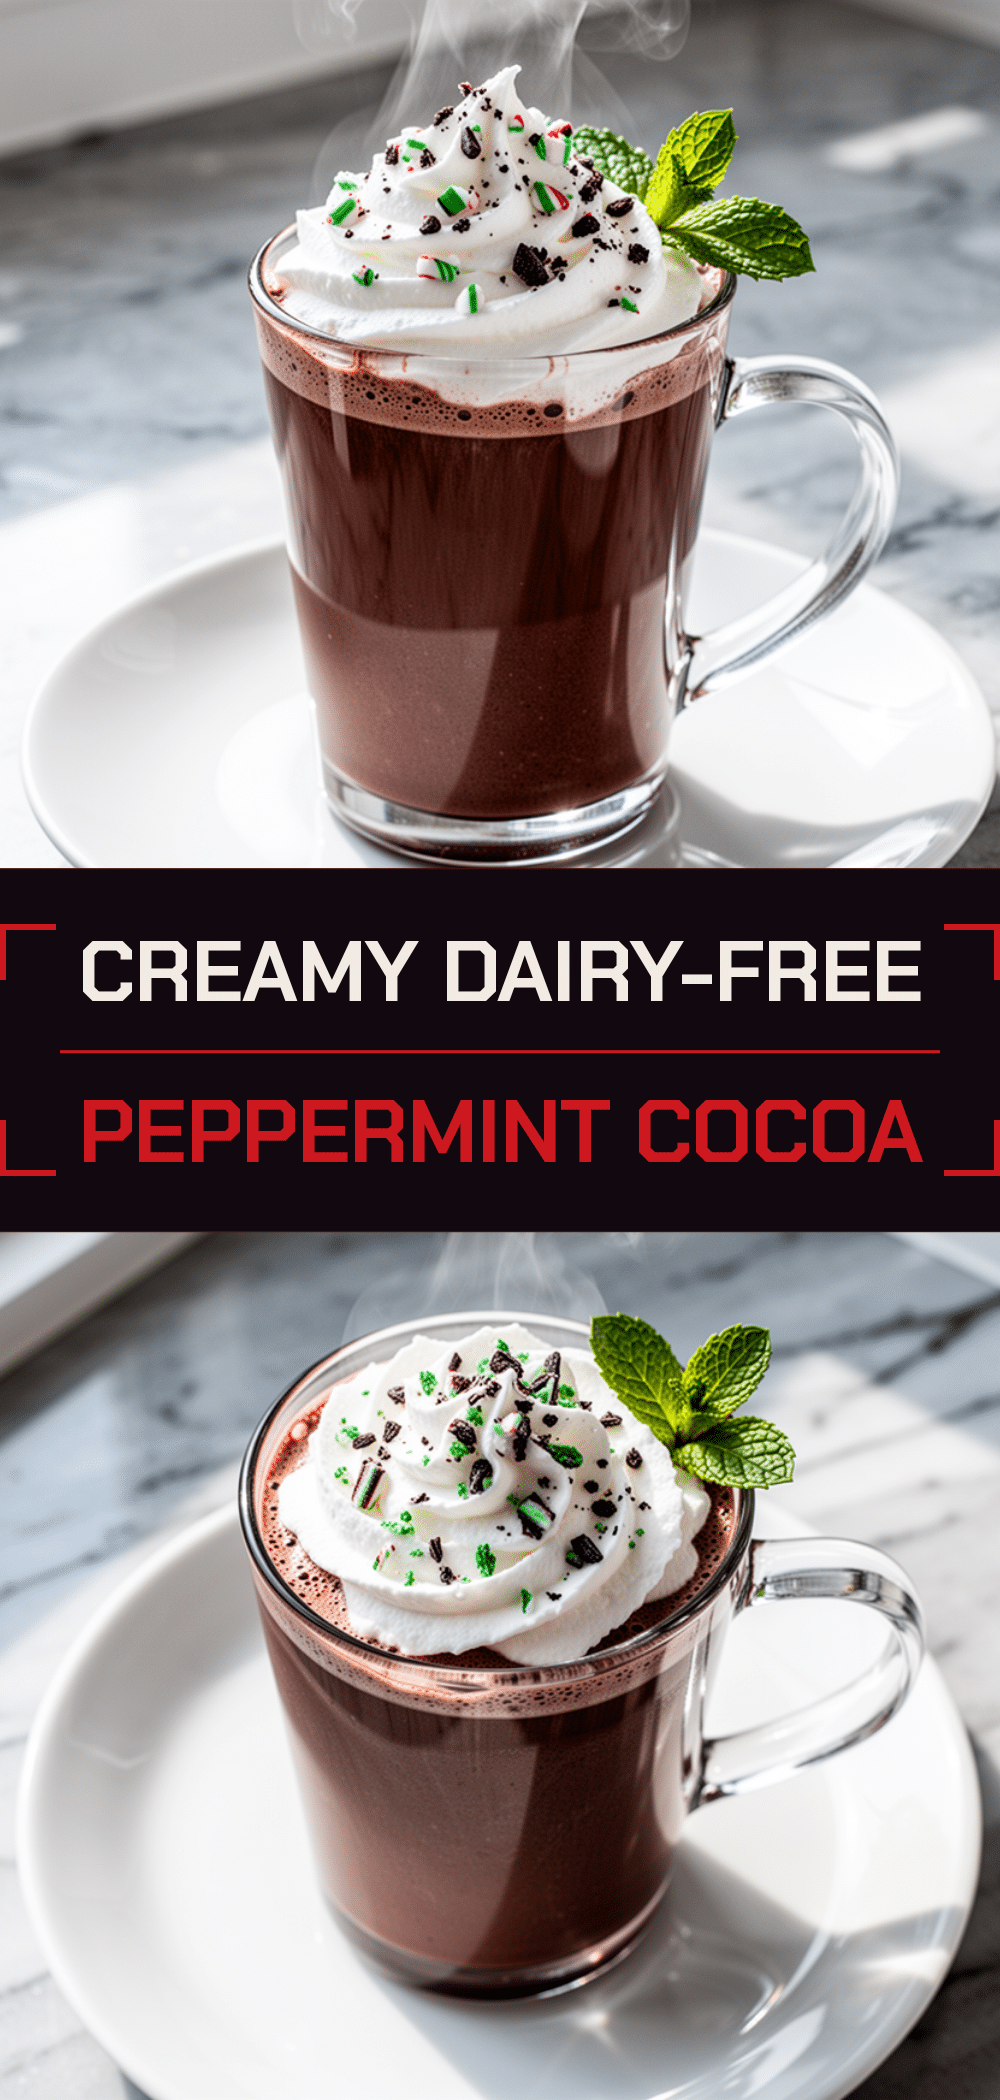

Dairy-Free Chocolate Peppermint Hot Cocoa
- Total Time: 10 minutes
- Yield: 2 servings 1x
Description
A rich, creamy, and festive dairy-free hot cocoa made with full-fat coconut milk, dark chocolate, and peppermint extract. Ready in under 10 minutes, this vegan and gluten-free drink is naturally sweetened and perfect for holiday gatherings.
Ingredients
- 1 can (400ml) full-fat coconut milk
- 1 cup (240ml) unsweetened plant milk (oat or almond)
- 1 cup (170g) dairy-free dark chocolate chips or chopped dark chocolate
- 2–3 tablespoons pure maple syrup
- 1 teaspoon peppermint extract
- 1/2 teaspoon salt
- 1 tablespoon unsweetened cocoa powder (optional, for deeper flavor)
Instructions
- Combine the canned coconut milk, plant milk, dark chocolate, maple syrup, and optional cocoa powder in a small to medium saucepan over medium heat.
- Whisk gently until the chocolate begins to melt and the mixture is warm but not boiling.
- Increase heat slightly to medium-high and bring to a gentle simmer, whisking occasionally to prevent lumps. Do not let it boil vigorously.
- Remove the saucepan from the heat once the chocolate is fully melted and the mixture is hot.
- Stir in the peppermint extract and salt until fully incorporated and the mixture is glossy.
- Taste and adjust sweetness or strength by adding more maple syrup or plant milk if desired.
- Pour into mugs and serve immediately, garnished with crushed candy canes or whipped coconut cream if desired.
Notes
Do not boil the chocolate, as high heat can make it grainy. Use full-fat canned coconut milk for the best creamy texture; carton coconut milk is too watery. If using white chocolate, reduce maple syrup to 1 tablespoon as it is sweeter. Leftovers can be stored in the fridge for up to 4 days; reheat gently on the stove with a splash of milk to restore creaminess.
- Prep Time: 5 minutes
- Cook Time: 5 minutes
- Category: Beverage
- Cuisine: American
Nutrition
- Serving Size: 1 mug (approx. 16-20
- Calories: 280
- Sugar: 24
- Fat: 16
- Saturated Fat: 12
- Carbohydrates: 32
- Fiber: 2
- Protein: 3
Keywords: dairy-free hot cocoa, vegan peppermint hot chocolate, gluten-free holiday drink, coconut milk hot cocoa, easy winter recipe, peppermint hot cocoa



