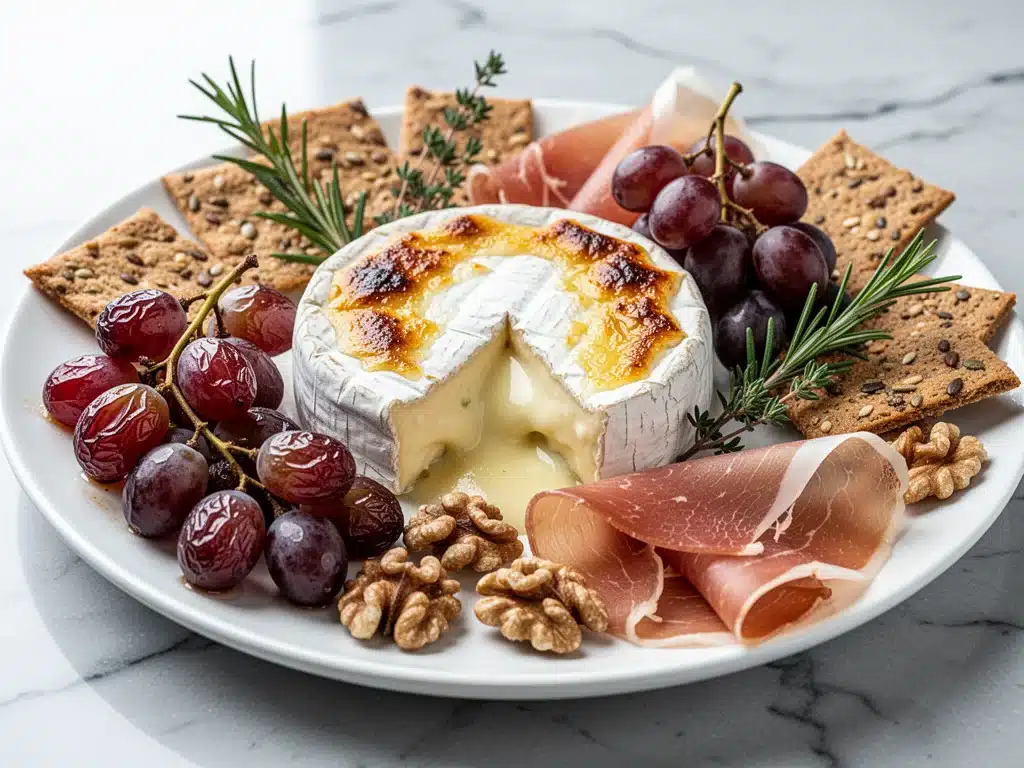
Last November, I walked into my friend’s house for a holiday party I had been stressing about for weeks. The house smelled like pine needles and expensive candles, and the table was set with crystal and silverware that looked like it belonged in a museum. I brought a store-bought cheese platter in a plastic container, feeling incredibly underdressed. My friend looked at it, then looked at me, and said, “You brought a snack?” It wasn’t mean, but it stung. I wanted to bring something that felt thoughtful, seasonal, and genuinely delicious—not just a handful of crackers and some cheddar cubes.
That was the moment I decided to stop playing it safe. I wanted a centerpiece that screamed “autumn,” not just “snack.” I wanted something that looked like I’d spent hours arranging it, even if I had actually done most of it the night before. That’s when I discovered the magic of roasted grapes. I had seen them in magazines and on Pinterest, looking all sophisticated and dark, but I was skeptical. Roasted grapes? On a cheese board? It sounded weird until I tried it.
Now, three years later, this fall charcuterie board with roasted grapes is my signature move for every holiday gathering. It’s the thing people ask about. It’s the thing that gets cleared off the table first. And the best part? It’s ridiculously easy to put together once you have the right ingredients. This isn’t about perfection. It’s about creating a vibe that feels cozy, abundant, and totally festive without sending you into a spending frenzy at the grocery store.
If you’re tired of the same old crackers and salami routine, this fall charcuterie board with roasted grapes is your new go-to. It’s colorful, it’s sweet and savory, and it pairs perfectly with everything from sharp cheddar to creamy brie. I’ve tested this setup with everything from intimate dinner parties to large holiday mixers, and it never fails to impress. Let me show you how to build it.
Why You’ll Love This Fall Charcuterie Board with Roasted Grapes
I know what you’re thinking. “Another charcuterie board? Really?” Hear me out. This one is different because it leans into the season. It’s not just cold cuts and cheese; it’s warm, it’s sweet, and it’s visually stunning. Here’s why this fall charcuterie board with roasted grapes has become the star of my holiday table:
- Roasted Grapes Are a Game-Changer — Seriously, if you haven’t roasted grapes yet, you are missing out. They turn into little jammy bursts of sweetness that cut through the saltiness of cured meats. They look fancy, but they’re just fruit and a little honey. I’ve made these for parties where people thought they were some exotic, expensive delicacy. Spoiler: they’re just grapes.
- Zero Cooking Stress — You can roast the grapes and prep the cheese the night before. When guests arrive, you just assemble. I’ve built this board in 15 minutes flat while my husband was still pouring drinks. It’s the ultimate low-effort, high-reward party food.
- Seasonal Flavors — This isn’t just any board. It’s filled with fall favorites like spiced nuts, warm spices, and rich cheeses. It feels like autumn on a plate. Think cinnamon, maple, and fig. It’s cozy food that looks elegant.
- Customizable for Any Crowd — Have vegetarian guests? Skip the meat, add more cheese and fruit. Have a cheese snob? Go for the aged gouda and prosciutto. This fall charcuterie board with roasted grapes adapts to whatever you have in your fridge. I’ve made it with budget-friendly cheeses and it still looked amazing.
- Visual Impact — The dark, glossy grapes against the creamy cheeses and golden crackers create a stunning contrast. It photographs beautifully, which is great if you’re sharing on social media or just want to feel proud of your table setting.
This is my go-to when I want to look like a party pro without actually being a party pro. It’s reliable, it’s delicious, and it makes everyone feel welcome. No complicated techniques, no weird ingredients, just good food that brings people together.
Ingredients You’ll Need for the Ultimate Fall Board
Here’s the best part: you probably have most of this already, or it’s easy to grab on a quick trip to the store. I’m particular about three ingredients here—the grapes, the cheese, and the nuts—and I’ll tell you exactly why.
For the Roasted Grapes
Red Grapes (1 pound / 450g) — Use seedless red grapes. They get sweeter and darker when roasted. Green grapes work too, but red looks more festive for fall. Look for bunches that are firm and plump, not shriveled.
Honey (2 tablespoons) — Drizzle this over the grapes before roasting. It helps them caramelize. I use clover honey because it’s mild, but wildflower works too. Avoid strong flavored honeys like buckwheat.
Fresh Rosemary (2 sprigs) — This is the secret weapon. The piney, herbal scent of rosemary balances the sweetness perfectly. You can use thyme, but rosemary feels more “fall.”
Black Pepper (1/2 teaspoon) — Freshly cracked. Just a little goes a long way to add depth.
For the Cheese Selection
Aged Cheddar (8 ounces / 225g) — Sharp or extra-sharp. I love the crumbly texture of aged cheddar. It pairs well with the sweet grapes. Block cheese tastes better than pre-shredded, obviously.
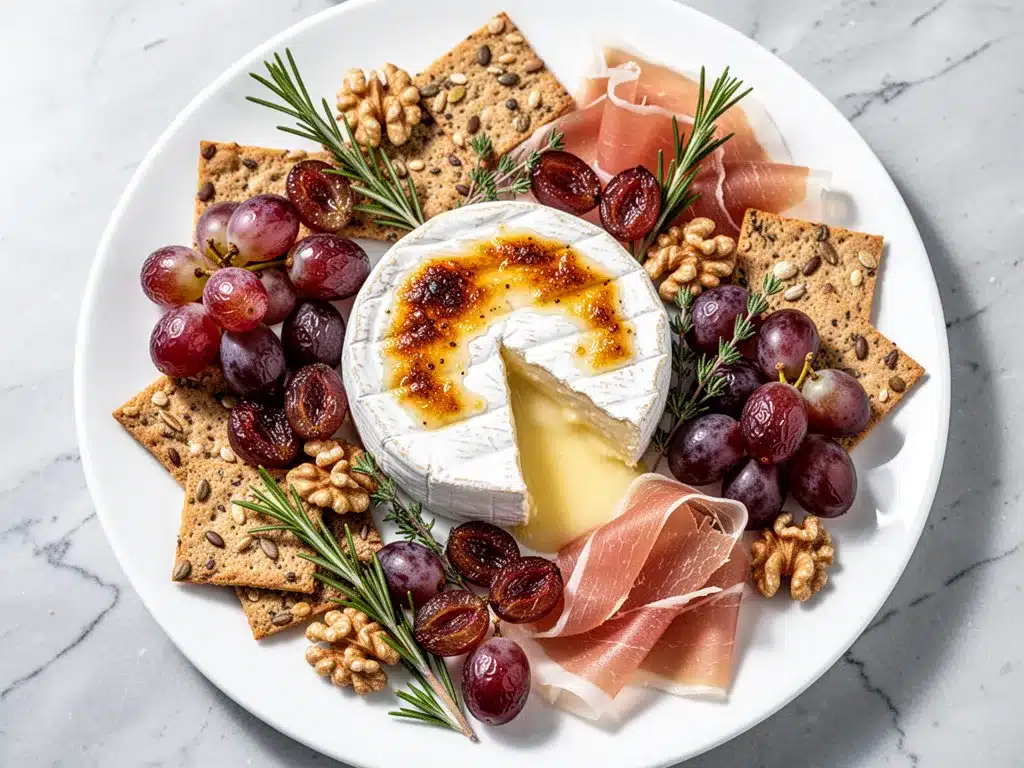
Brie or Camembert (1 small wheel / 8 ounces) — Soft, creamy, and luxurious. If you’re worried about it being too runny, buy one that’s been refrigerated properly. It should be soft to the touch but not leaking.
Aged Gouda (6 ounces / 170g) — This is my favorite fall cheese. It has those crunchy caramelized crystals inside and a butterscotch flavor. Look for gouda that’s at least 12 months aged.
For the Crunch and Sweet
Mixed Nuts (1 cup / 120g) — Walnuts, pecans, and almonds. Toast them lightly if they’re raw. I love the earthiness of walnuts with the sweetness of the grapes.
Dried Figs (1/2 cup / 60g) — Halved. They add a chewy texture and deep flavor. If you can’t find figs, dried apricots or cranberries work too.
Crackers (2 boxes / assorted) — I use a mix of water crackers (neutral), seeded crackers (texture), and maybe some ginger snaps (spice). Don’t just buy one type. Variety is key.
Fresh Figs or Pears (2-3 fruits) — Sliced thin. Fresh fruit adds brightness. I usually slice pears just before serving to keep them from browning.
Optional Add-ins
Prosciutto or Salami (4 ounces / 115g) — If you eat meat, this is essential. Prosciutto is delicate and salty. Salami adds a spicy kick. I like to fold the prosciutto into little nests.
Hot Honey (1 small bottle) — For drizzling over the cheese before serving. It’s a little spicy and sweet. My guests always fight over this.
Mustard (1 small jar) — Whole grain or spicy brown. A dollop on the board adds a tangy contrast.
Equipment Needed
You don’t need fancy equipment for this. Here’s what I actually use.
Baking Sheet — I use a standard 13×9 inch sheet. Line it with parchment paper for easy cleanup. Any sheet works, just make sure it’s big enough to hold the grapes in a single layer.
Parchment Paper — Non-negotiable. Roasted grapes get sticky. Parchment saves you from scrubbing the pan later.
Cheese Board or Large Platter — I use a wooden board because it looks rustic and warm. A large ceramic platter works too. Make sure it’s big enough to hold everything without looking cramped.
Cheese Knife — A small knife for cutting the brie and cheddar. Any sharp knife works.
Serving Spoons — One for the grapes, one for the nuts. Or just provide small forks. I usually just let people use their hands for the grapes, but spoons are nicer.
Small Bowl — For the mustard or hot honey. A little ramekin or dipping bowl works perfectly.
How to Make It: Step-by-Step
Alright, let’s make this! I’m walking you through exactly how I do it, including the little tricks I’ve picked up. The roasted grapes take a little time, but the hands-on part is minimal.
Step 1: Roast the Grapes (1 hour + cooling)
Preheat your oven to 400°F (200°C). Line a baking sheet with parchment paper. Wash the grapes and pat them completely dry—this is important, or they’ll steam instead of roast. Spread them in a single layer on the baking sheet. Drizzle with honey and sprinkle with black pepper. Tuck the rosemary sprigs in among the grapes. Roast for 25-30 minutes, until the grapes are bursting and darkened. Remove from the oven and let them cool on the pan. They’ll continue to soften as they cool. This can be done up to 24 hours ahead.
Step 2: Prep the Cheese (10 minutes)
While the grapes cool, prepare your cheeses. Take the brie out of the fridge about 30 minutes before serving so it’s soft. Slice the aged cheddar into cubes or thin slices. Slice the gouda into wedges. Arrange them on your board. Don’t stress about perfect shapes—rustic looks better. Leave some space between the cheeses for the other items.
Step 3: Assemble the Board (15 minutes)
Start with the largest items. Place the cheese wheel and large cheese slices first. Then add the crackers, grouping them by type in small piles. Scatter the nuts and dried figs in the empty spaces. Add the fresh fruit slices, fanning them out for visual appeal. Finally, add the roasted grapes. They look best in small clusters, nestled between the cheeses and crackers. If you’re using prosciutto, fold it into little nests and place it near the cheeses. Drizzle with hot honey if desired.
Step 4: Serve
Place the board on the table and let people dig in. Provide small plates and napkins. The roasted grapes are best eaten warm or room temperature, so don’t let them sit in the fridge for hours before serving. Enjoy!
Total Time: About 1 hour 15 minutes (mostly hands-off roasting)
Expert Tips & Tricks
Here’s everything I’ve learned from making this dozens of times. These tips will save you from my mistakes.
- Don’t Skip the Drying — Wet grapes won’t roast properly. They’ll just get soggy. Pat them dry with paper towels. It takes a minute, but it makes a huge difference.
- Use Parchment Paper — Roasted grapes are sticky. Like, really sticky. Parchment paper saves your sanity when cleaning up.
- Room Temperature Cheese — Cold cheese doesn’t taste as good. Take it out of the fridge early. It also makes it easier to cut.
- Balance Flavors — Make sure you have a mix of salty, sweet, and crunchy. The roasted grapes provide the sweet, the cheese provides the salty, and the nuts provide the crunch. Don’t leave out any of these elements.
- Make Ahead — The roasted grapes can be made the night before. Store them in the fridge. Take them out 30 minutes before serving to warm up slightly.
Common Mistakes:
- Mistake: Grapes are mushy — Fix: Don’t overcook them. Check them at 25 minutes. They should be bursting, not turning into sauce.
- Mistake: Board looks sparse — Fix: Fill in gaps with nuts, figs, or crackers. A full board looks more abundant and inviting.
- Mistake: Cheese is too hard to cut — Fix: Let it come to room temperature. Cold cheese is hard to slice.
Variations & Substitutions
Once you’ve nailed the basic version, here’s how you can mix it up. I’ve tried all of these.
Vegan Version — Skip the cheese and meat. Add more nuts, dried fruit, and vegan cheese if you can find good ones. The roasted grapes and crackers are naturally vegan. I’ve made this for vegan friends and they loved it.
Gluten-Free — Use gluten-free crackers. Everything else is naturally gluten-free. I use Mary’s Gone Crackers or similar brands. They hold up well to toppings.
Spicy Kick — Add spicy chorizo or jalapeño slices. Or sprinkle red pepper flakes over the roasted grapes. Great for people who like heat.
Summer Version — Swap the figs and nuts for fresh berries and melon. Use fresh herbs like basil or mint instead of rosemary. It’s lighter and fresher.
Mini Version — Make individual boards for each guest using small plates. Great for intimate dinners. Just scale down the quantities.
Serving & Storage
How to Serve: I usually place the board in the center of the table and let people graze. It’s great as an appetizer or a light dinner. Pair it with a glass of red wine or a spiced cider.
Side Dishes: This board is usually enough on its own. But if you want to add more, try these: brown butter honey roasted carrots for a warm side, or roasted honey balsamic brussels sprouts for something hearty. I also love serving it alongside cheesy spinach and artichoke stuffed bread for extra carbs.
Storage: Store roasted grapes in an airtight container in the fridge for up to 3 days. Cheese should be wrapped tightly in plastic or wax paper. Crackers stay fresh in a sealed container. Assemble the board just before serving for the best texture.
Reheating: The roasted grapes can be reheated in the microwave for 30 seconds if you want them warm. Cheese is best at room temperature.
Nutrition Information
I’m not a nutritionist, but here’s the breakdown if you’re tracking. This is a snack, so portions vary.
Per Serving (approximate):
- Calories: 350
- Protein: 12g
- Carbs: 35g
- Fat: 20g
- Fiber: 4g
- Sugar: 20g
What’s Good: High in healthy fats from nuts and cheese. Good source of calcium. The grapes provide antioxidants.
What to Know: Higher in calories due to cheese and nuts. Contains dairy and gluten. Moderate sodium from cured meats.
My Take: This is a treat. Enjoy it in moderation. It’s better than chips and better for you. Plus, it’s fun to eat.
Final Thoughts
So that’s my fall charcuterie board with roasted grapes! I’ve probably talked your ear off at this point, but when you make a recipe this often, you have a lot to say about it.
This has saved holiday parties more times than I can count. It’s my answer to “what should I bring?” when I want to impress without stressing. My friends are happy, my family is happy, and I’m happy because I’m not sweating over a hot stove while everyone else is drinking wine.
Make it yours! Try different cheeses, swap in your favorite nuts, adjust the spices. The best boards are the ones that reflect your taste. And if you’re looking for more cozy fall ideas, check out my fall spiced fig and honey ricotta tart or my fall maple cinnamon rice pudding for dessert.
If you make this, drop a comment and let me know what you think! I love hearing how recipes turn out in your kitchen. Happy cooking!
Frequently Asked Questions
Can I make the roasted grapes ahead of time?
Yes! In fact, I recommend it. Roast them up to 24 hours ahead. Store them in the fridge in an airtight container. Take them out 30 minutes before serving to let them come to room temperature. They taste best when they’re not ice cold.
What cheese goes best with roasted grapes?
Sharp cheddar and brie are my top picks. The sharpness of the cheddar contrasts nicely with the sweet grapes, while the creaminess of the brie complements them. Aged gouda is also excellent because of its caramel notes.
Can I use green grapes instead of red?
Yes, but red grapes get darker and sweeter when roasted. Green grapes stay a bit more tart and bright. If you prefer a less sweet option, go with green. But red looks more festive for fall.
How do I prevent the cheese from getting messy?
Use a cheese knife with a hole in the tip to scoop out brie. Serve the brie on a separate small plate if it’s very soft. Also, provide plenty of napkins. And don’t cut the brie until you’re ready to serve it.
Can I make this vegetarian?
Absolutely. Just skip the prosciutto or salami. Add more cheese, nuts, and fruit. The board will still be hearty and delicious. I’ve made this for vegetarian guests and they were thrilled.
What wine pairs well with this board?
Red wine is classic. A Pinot Noir or a Cabernet Sauvignon works well. If you prefer white, a Riesling or a Chenin Blanc complements the sweetness of the grapes. I also love serving this with spiced cider for a non-alcoholic option.
How long does the board last?
Assemble it just before serving. If you need to prep ahead, keep the components separate. The grapes can sit for a few hours, but the crackers can get stale if they’re exposed to air. Assemble 30 minutes before guests arrive.
Pin This Recipe!
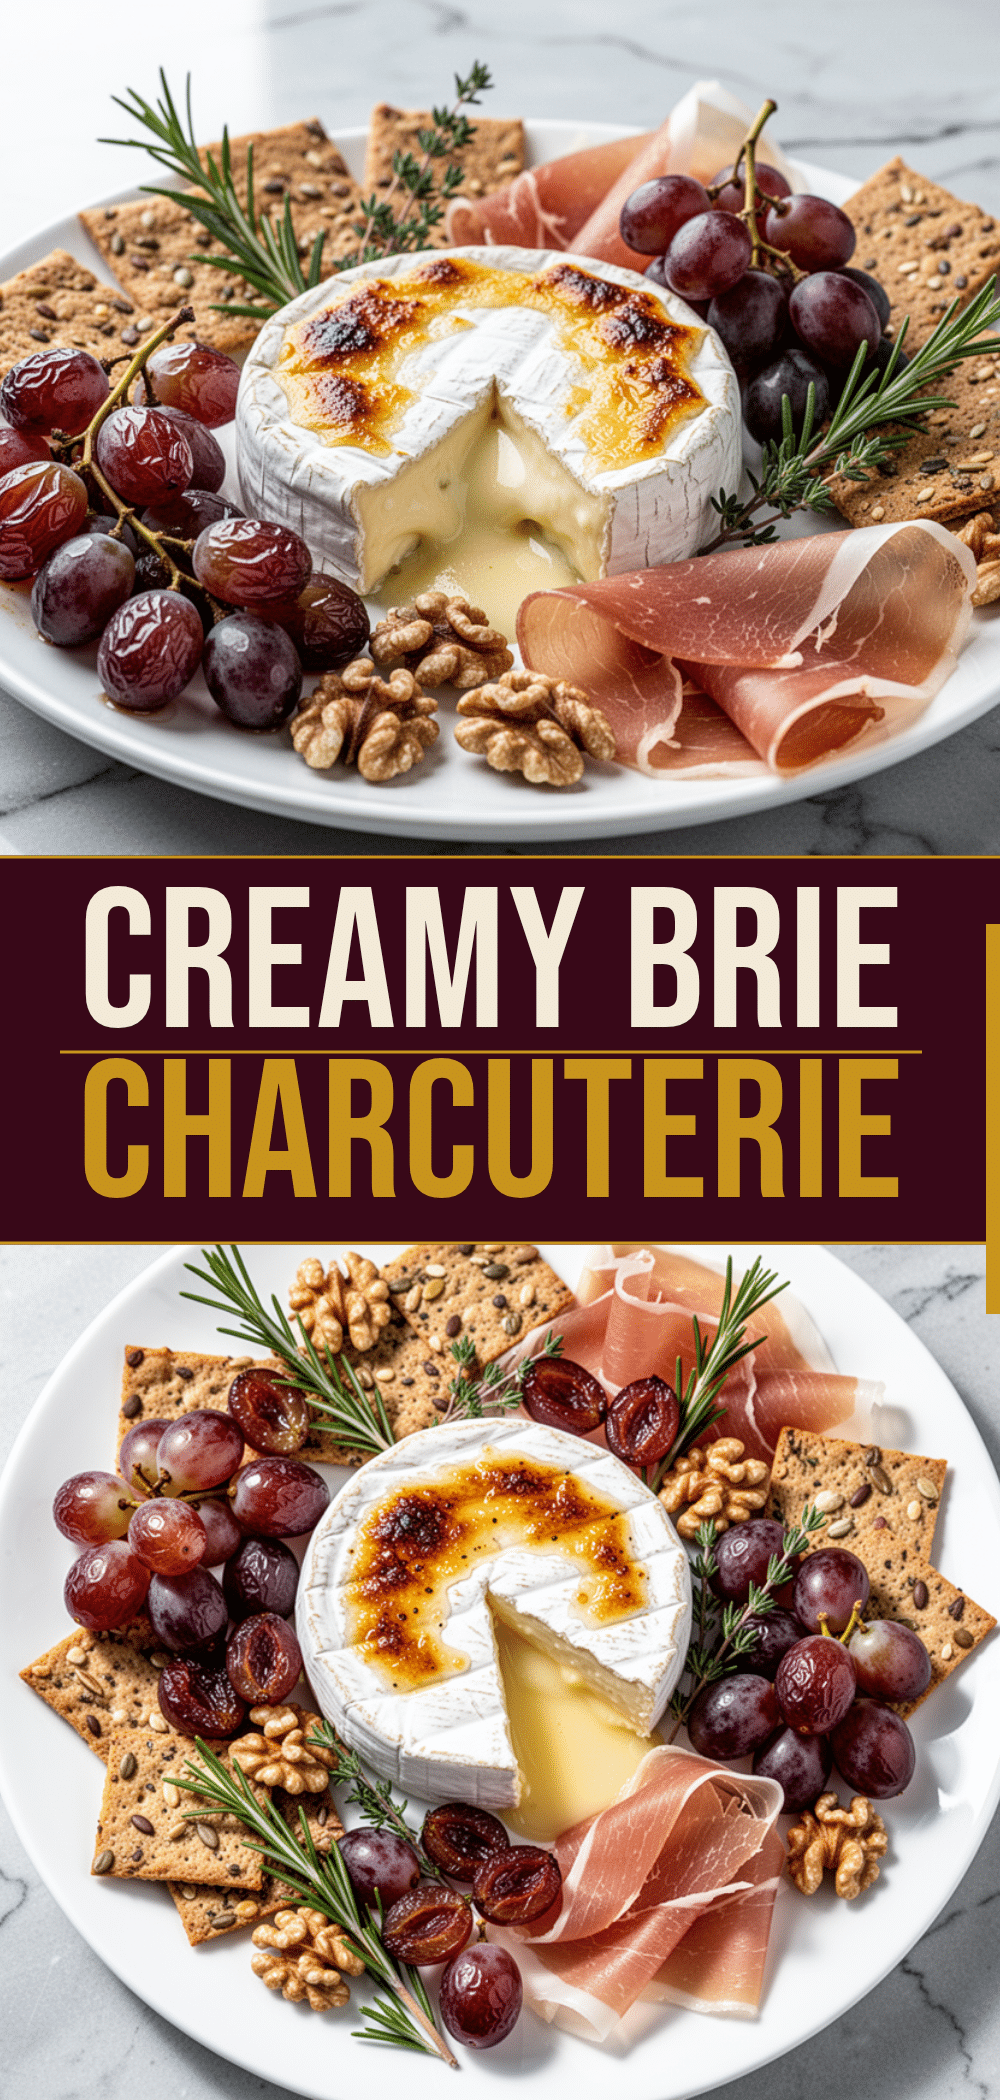

Fall Charcuterie Board with Roasted Grapes
- Total Time: 1 hour 15 minutes
- Yield: 8 servings 1x
Description
A festive and easy-to-assemble holiday appetizer featuring sweet roasted grapes, sharp cheeses, spiced nuts, and seasonal fruits. This board is designed to be visually stunning and delicious, requiring minimal active prep time.
Ingredients
- 1 pound seedless red grapes
- 2 tablespoons honey
- 2 sprigs fresh rosemary
- 1/2 teaspoon freshly cracked black pepper
- 8 ounces aged cheddar cheese
- 1 small wheel (8 ounces) Brie or Camembert
- 6 ounces aged Gouda cheese
- 1 cup mixed nuts (walnuts, pecans, almonds)
- 1/2 cup dried figs, halved
- 2 boxes assorted crackers (water, seeded, ginger snaps)
- 2–3 fresh figs or pears, sliced thin
- 4 ounces prosciutto or salami (optional)
- Hot honey for drizzling (optional)
- Whole grain or spicy brown mustard (optional)
Instructions
- Preheat oven to 400°F (200°C). Line a 13×9 inch baking sheet with parchment paper.
- Wash grapes and pat them completely dry with paper towels.
- Spread grapes in a single layer on the baking sheet.
- Drizzle grapes with honey and sprinkle with black pepper. Tuck rosemary sprigs among the grapes.
- Roast for 25-30 minutes until grapes are bursting and darkened. Remove from oven and let cool on the pan.
- While grapes cool, take Brie out of the fridge 30 minutes before serving to soften.
- Slice aged cheddar into cubes or thin slices and Gouda into wedges.
- Arrange cheeses on a large wooden board or platter.
- Place crackers in small piles, then scatter nuts and dried figs in empty spaces.
- Fan out fresh fruit slices and add roasted grapes in clusters nestled between cheeses and crackers.
- Fold prosciutto into nests and place near cheeses if using. Drizzle with hot honey and serve with mustard on the side.
Notes
Roasted grapes can be made up to 24 hours ahead and stored in the fridge. Take them out 30 minutes before serving to warm up. Ensure grapes are completely dry before roasting to prevent steaming. Cheese should be served at room temperature for best flavor. Assemble the board just before serving to keep crackers crisp.
- Prep Time: 15 minutes
- Cook Time: 30 minutes
- Category: Appetizer
- Cuisine: American
Nutrition
- Serving Size: Approximate serving
- Calories: 350
- Sugar: 20
- Sodium: 450
- Fat: 20
- Saturated Fat: 8
- Carbohydrates: 35
- Fiber: 4
- Protein: 12
Keywords: fall charcuterie board, roasted grapes, holiday party ideas, cheese board, autumn appetizer, easy entertaining, seasonal snacks



