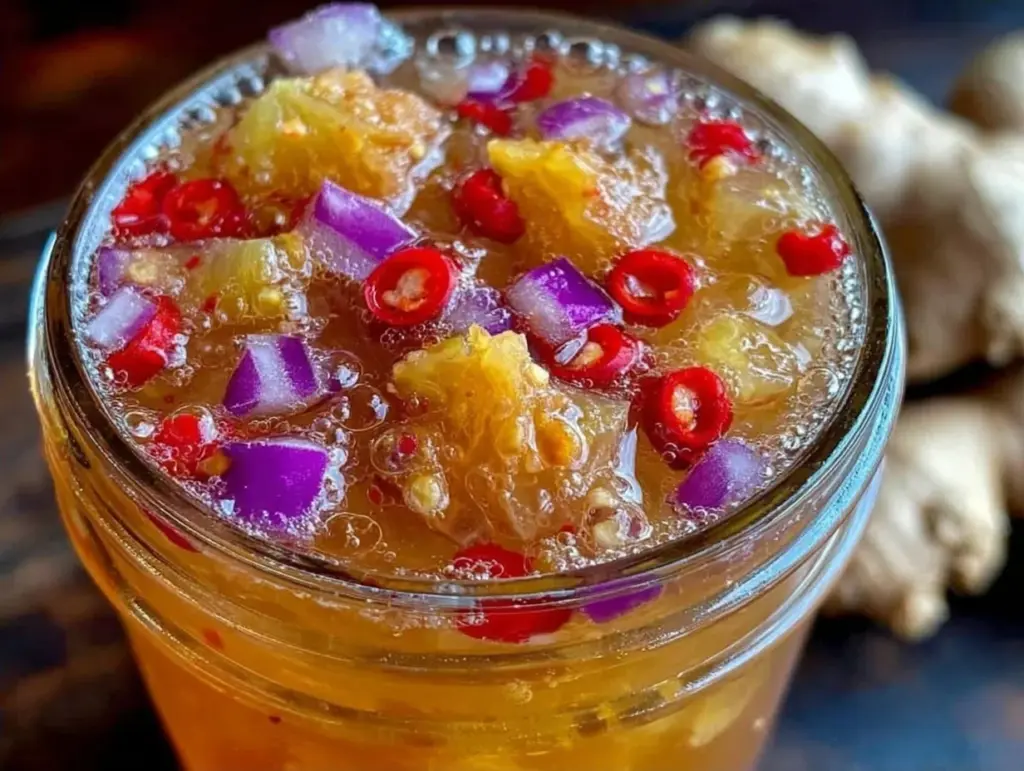
I used to think “immunity boosters” were just marketing buzzwords for overpriced supplements that tasted like dirt. I’d buy the fancy bottles, pour a tiny shot of that bitter sludge into my mouth, and immediately regret it. It felt like punishment, not nutrition. Then my sister, who’s basically a walking encyclopedia of herbal remedies, handed me a mason jar filled with something that looked like it came from a witch’s cauldron. “It’s fire cider,” she said. “Drink a tablespoon every morning when you feel a tickle. It’s not magic, but it’s close.”
I was skeptical. But I was also tired of being the first person in the office to get the flu and the last one to recover. So, I made a batch. And honestly? It was the best thing I did for my health that season.
This fire cider immunity tonic isn’t just about surviving winter; it’s about feeling strong. It’s sharp, spicy, tangy, and incredibly simple. You don’t need a pharmacy degree or a list of twenty ingredients you can’t pronounce. You just need vinegar, some spices, and a jar. It’s the kind of recipe that whispers, “if you can only make one thing this season, make this.” It’s forgiving, it’s potent, and once you get the hang of it, you’ll probably make it every year.
After testing this four-ingredient base version multiple times (and tweaking the ratios so it’s actually drinkable, not just painful), I’ve realized why people swear by it. It’s not just the ingredients; it’s the simplicity. You don’t need to chop perfectly. You don’t need to monitor temperatures. You just chop, toss, wait, and strain. Let’s get into why this tonic works and how you can make it without any stress.
Why You’ll Love This Simple Fire Cider
There’s a reason this recipe has been passed down through generations of herbalists and home cooks. It’s not complicated, but it packs a serious punch. Here’s why I keep a jar of this on my counter year-round, and why you should too.
- Stupid Simple Ingredients — Seriously, you probably have half of this in your pantry already. Apple cider vinegar, honey, ginger, and garlic. That’s the core. If you can boil water, you can make this. I’ve made it while holding a toddler, and it turned out fine.
- Zero Special Equipment — You don’t need a dehydrator, a juicer, or fancy glass bottles. Just a clean mason jar and a strainer. My grandmother used an old pickle jar for this, and it worked perfectly. Simplicity is key here.
- Costs Pennies — A bottle of store-bought “wellness shots” runs you $4-$6 each. This recipe makes a full quart for maybe $5 total, and it lasts for months. That’s way better than my fall honeycrisp apple crisp budget-wise, though obviously, you can’t eat a jar of tonic with a spoon (though I won’t judge if you try).
- Adaptable to Your Taste — Hate garlic? Use less. Love heat? Throw in more chili flakes. This recipe is a canvas. I’ve made mild versions for my kids (with extra honey) and spicy versions for myself. It’s yours to control.
- Long Shelf Life — Once strained, it keeps in the fridge for months. I make a batch in October, and I’m still drinking it in February. It’s the ultimate “set it and forget it” health hack.
- Actually Tastes Good (Mostly) — Yes, it’s spicy. But the honey balances it out perfectly. It’s not a medicine ball of bitterness. It’s zesty, warm, and satisfying. Think of it as a savory, spicy pickle juice shot. Weird? Maybe. Delicious? Surprisingly yes.
- Garlic Prep: If you’re worried about garlic breath later, don’t be. The vinegar mutes the sharpness significantly. And honestly, if you’re taking this for immunity, the benefit outweighs the breath.
- Honey Substitution: Maple syrup works, but it’s thinner and doesn’t preserve as well. Honey is best for longevity.
- Chili Choice: Dried cayenne is easier to strain out. Fresh chilies add more water content, which can dilute the vinegar slightly over time.
- Don’t have a quart jar? Any glass jar with a lid works. Just make sure it’s clean and dry.
- Lazy Strainer Hack: If you don’t have cheesecloth, just use a coffee filter over a strainer. It’s slower but gives a super clear tonic.
- Mistake: Mold on top — Fix: Make sure ingredients are fully submerged. If you see mold (fuzzy, white/green), throw the whole batch out. Don’t risk it. Clear bubbles are fine; fuzzy spots are not.
- Mistake: Too strong to drink — Fix: Dilute it! Mix 1 part fire cider with 3 parts warm water and a slice of lemon. It’s much easier on the stomach and tastes great.
- Mistake: Honey didn’t dissolve — Fix: Stir well before storing. It will dissolve over time, but stirring initially helps.
- Warm Tea: Mix 2 tablespoons with 1 cup hot water and a lemon slice. Perfect for a cold morning.
- Salad Dressing: Use it as the base for vinaigrettes. It adds a spicy kick to greens.
- Marinade: Use it to marinate chicken or tofu. The vinegar tenderizes the meat.
- Calories: 10
- Carbs: 2g
- Sugar: 2g (from honey)
- Fat: 0g
- Protein: 0g
- Probiotics from the ACV “mother”
- Anti-inflammatory compounds from ginger and garlic
- Low calorie
- High in acidity (gentle on teeth? Rinse mouth after)
- Contains garlic (strong breath potential)
- Not suitable for those with severe acid reflux (consult your doctor)
This is my go-to when I feel a cold creeping in, or just want to start my day with a kick. It’s reliable, it’s cheap, and it’s hard to mess up. No complicated techniques, no weird ingredients, just simple, potent food that makes you feel like you’re taking care of yourself.
Ingredients You’ll Need
Here’s the best part: you probably have most of this already. I’m particular about the vinegar, but the rest is flexible. This looks like a short list, but each ingredient plays a huge role in the final flavor and potency.
For the Base
Apple Cider Vinegar (2 cups / 480ml) — This is the backbone. I always use raw, unfiltered ACV with “the mother.” It adds probiotics and enzymes. The cloudy stuff at the bottom? That’s good stuff. Don’t shake it all out. Brands like Bragg work great, but any local raw brand is fine. Avoid the clear, distilled stuff meant for pickling; it lacks the depth.
Raw Honey (2-3 tablespoons) — This isn’t just for sweetness; it acts as a preservative and soothes the throat. Use raw honey if you can find it. Local honey is even better because it’s like a mini natural allergy shot. I use about 3 tablespoons because I like it less spicy, but you can cut back if you want more heat.
For the Kick
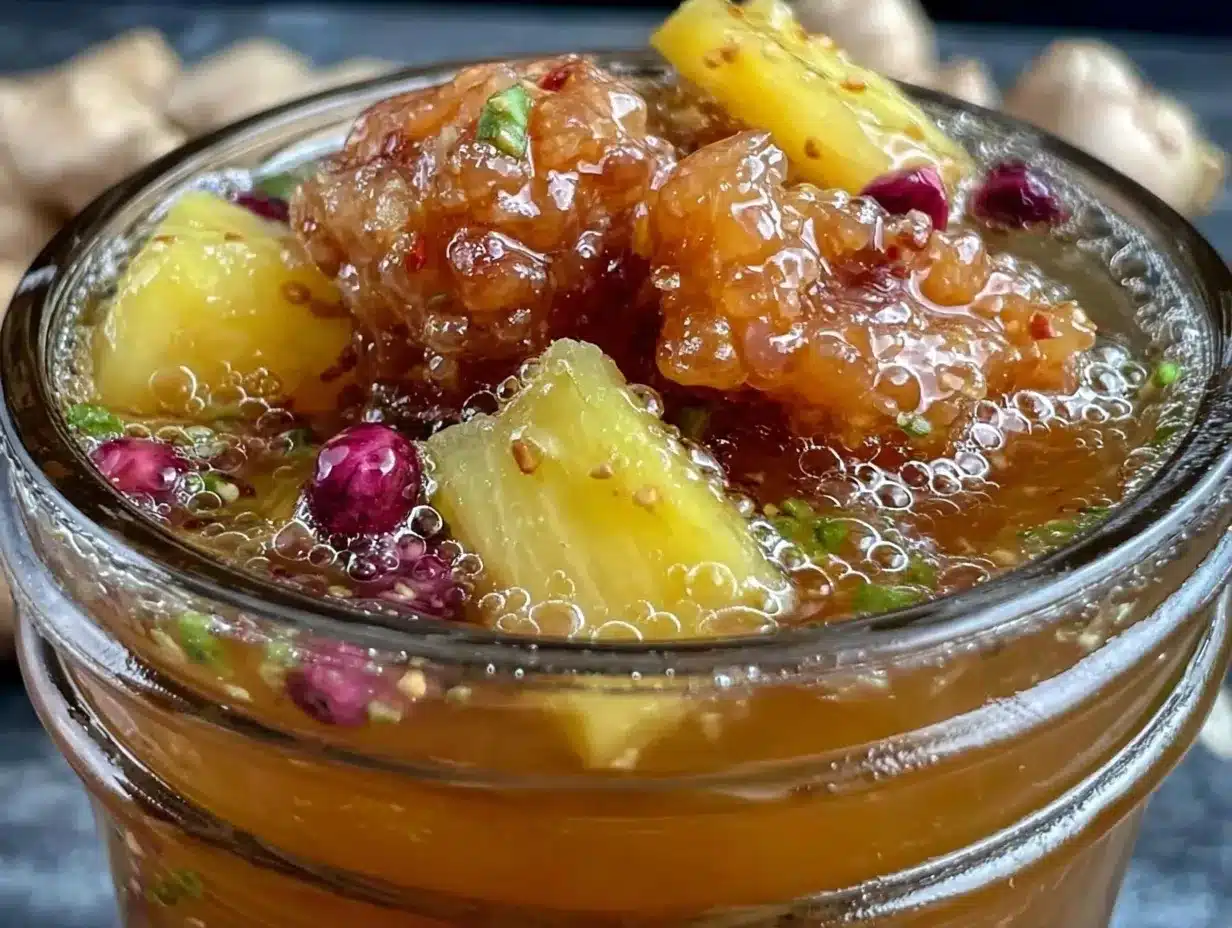
Fresh Ginger Root (1 large knob, about 3 inches) — This is non-negotiable. Fresh ginger has a bright, zingy heat that powder just can’t match. I peel it roughly (no need to be perfect) and chop it into small coins or chunks. If you can’t find fresh, you *can* use dried, but the flavor will be different and less vibrant. Stick to fresh if you can.
Fresh Garlic (6-8 cloves) — Yes, garlic. It’s antimicrobial and anti-inflammatory. I know, raw garlic in a shot? It’s strong. But it’s the engine of this tonic. Peel the cloves and leave them whole or chop them roughly. Don’t mince them too finely, or they’ll fall through the strainer and make your drink gritty.
The Optional Boosters
Dried Cayenne Pepper or Fresh Chili (1 teaspoon or 1 small chili) — This adds the “fire” to the fire cider. If you’re sensitive to spice, skip this or use a tiny pinch. If you love heat, throw in a whole dried cayenne or a sliced fresh jalapeño. I usually add half a teaspoon for a gentle warming sensation.
Dried Herbs (Optional) (1 teaspoon of thyme, oregano, or elderberry) — For extra immune support, I sometimes toss in a pinch of dried thyme or oregano. It’s not necessary for the basic recipe, but it adds an earthy layer. I keep a jar of dried herbs in my cabinet, similar to how I keep ingredients for my creamy roasted butternut squash soup, ready to go.
Personal Tips:
Equipment Needed
You don’t need fancy equipment for this. Here’s what I actually use.
Mason Jar or Glass Container (1 quart / 1 liter) — I use a standard Ball mason jar. Glass is essential because the vinegar is acidic and can react with metal or plastic over time. Make sure it has a tight-fitting lid. Plastic lids can warp or absorb the smell, so I use glass lids or plastic lids that I rinse thoroughly.
Knife and Cutting Board — For chopping ginger and garlic. A dull knife works fine here since you’re not doing precision work. Just get it into small pieces.
Peeler — Optional. You can peel the ginger, or just scrub it really well and leave the skin on. The skin has nutrients, but it can be a bit earthy. I usually peel it for a cleaner taste.
Strainer or Cheesecloth — To separate the solids from the liquid after steeping. A fine-mesh strainer works well. Cheesecloth gives a clearer liquid but takes more effort. I use a strainer and press the solids with a spoon to get every drop.
Small Glass Bottles (Optional) — For storing the finished tonic. Small glass bottles with pour spouts are nice for daily use, but a jar in the fridge works too.
Tool Tips:
How to Make It: Step-by-Step
Alright, let’s make this! I’m walking you through exactly how I do it, including the little tricks I’ve picked up. It’s really just three main steps: chop, steep, and strain.
Step 1: Prep Your Ingredients (5-8 minutes)
Wash your ginger and garlic thoroughly. If you’re peeling the ginger, do it now. Chop the ginger into small coins or rough chunks. Peel the garlic cloves and chop them roughly. You don’t need to be perfect here. Small pieces mean more surface area for the vinegar to extract the flavors. Toss them into your clean glass jar.
Step 2: Add the Vinegar and Honey (2 minutes)
Place the dried cayenne (if using) and any dried herbs into the jar with the ginger and garlic. Pour in the apple cider vinegar. It should completely cover the ingredients. If it doesn’t, add a little more vinegar. Then, stir in the raw honey. The honey might not dissolve completely right away, but that’s okay. It will blend in during the steeping process. Seal the jar tightly with the lid.
Step 3: The Wait (4-6 weeks)
This is the hardest part: waiting. Store the jar in a cool, dark place like a pantry or cupboard. Shake it gently every few days. This helps distribute the honey and ensures the ingredients are fully submerged. You don’t need to check it every day, just give it a shake when you remember. The vinegar will change color slightly, turning a bit more golden or cloudy as the flavors infuse. Don’t worry if you see bubbles; that’s just the fermentation process starting, which is normal and healthy.
Step 4: Strain and Bottle (10 minutes)
After 4 weeks (or up to 6 weeks), it’s ready. Place a strainer over a clean bowl or jug. Pour the contents of the jar into the strainer. Use a spoon to press down on the solids. This is crucial! You want to get all that potent liquid out of the ginger and garlic. Don’t just let it drip; press it. If you’re using cheesecloth, wring it out gently to extract the last drops.
Discard the solids (or compost them). Pour the finished fire cider into your storage bottles. Label it with the date. It’s ready to drink!
How to Use It
Take 1-2 teaspoons daily as a preventative measure. When you feel a tickle in your throat or the sniffles starting, take 1-2 tablespoons every few hours for a day or two. You can mix it into warm water with lemon for a tea, or take it straight as a shot. I prefer the shot method because it’s fast and effective.
Expert Tips & Tricks
Here’s everything I’ve learned from making this dozens of times. These tips will save you from my mistakes.
Keep It Submerged
This is the #1 rule. The vinegar must cover all the ingredients. If any part of the ginger or garlic sticks out, it can mold. If your ingredients float, weigh them down with a small, clean glass weight or just push them down with a spoon every time you shake. I learned this the hard way with a batch that got moldy on top. Now I pack the jar tight.
Be Patient
Don’t rush the steeping. Two weeks is okay, but four weeks is where the magic happens. The flavors meld, the heat mellows, and the potency increases. If you’re impatient, you can taste it after two weeks, but I recommend waiting. The longer it sits, the better it gets.
Hygiene is Key
Make sure your jar and utensils are clean. Any water left in the jar can introduce bacteria. I rinse my jar with boiling water before starting. Dry it completely. This ensures your fire cider lasts for months without spoiling.
Adjust the Heat
If you find it too spicy, add more honey next time. If it’s not spicy enough, add more cayenne or ginger. Everyone’s tolerance is different. I like it hot, but my husband likes it mild. We both love it, just in different amounts.
Common Mistakes (and how to avoid them):
Variations & Substitutions
Once you’ve nailed the basic version, here’s how you can mix it up. I’ve tried all of these.
Spicy Turmeric Version
Add 1 tablespoon of fresh turmeric (or 1 teaspoon of powder) and a pinch of black pepper. Turmeric is anti-inflammatory, and the pepper helps your body absorb it. This adds an earthy, golden hue and is great for joint pain too.
Elderberry Boost
Add 1 tablespoon of dried elderberries. They’re famous for immune support. Just make sure they’re food-grade dried elderberries, not the ones used in crafts. This adds a berry-like tartness.
Mild Ginger Version
For kids or sensitive stomachs, use less ginger and no cayenne. Add a cinnamon stick instead. It’s still potent but much milder and sweeter. My kids actually ask for this version (mixed in warm water).
Dairy-Free & Vegan
This recipe is naturally dairy-free and vegan. Just ensure your honey is if you’re strict vegan (use maple syrup instead). Everything else is plant-based.
Different Vinegars
While apple cider vinegar is traditional, you can use white wine vinegar for a lighter flavor. However, ACV has the “mother” which adds probiotic benefits. Stick with ACV if you can.
Serving & Storage
How to Serve:
I usually take it straight as a shot. But here are other ways I’ve enjoyed it:
Storage Instructions:
Refrigerator: Store in an airtight glass bottle in the fridge. It will keep for 6 months to a year. The potency might decrease slightly over time, but it’s still good.
Room Temperature: You can store it in a cool, dark pantry, but refrigeration extends its life and keeps the flavor fresh. I keep mine in the fridge to be safe.
Pro tip: If the honey crystallizes in the bottle, just place the bottle in warm water for a few minutes. It will melt right back down.
Nutrition Information
I’m not a nutritionist, but here’s the breakdown if you’re tracking. Keep in mind, you’re only consuming a small amount daily.
Per 1 Teaspoon Serving:
What’s Good:
What to Know:
My Take:
Look, this is a functional food. It’s not a meal replacement. But it’s a powerful tool in your health toolkit. It’s way better than synthetic supplements, and you know exactly what’s in it. When I feel off, this is my first line of defense.
Final Thoughts
So that’s my go-to fire cider immunity tonic! I’ve probably talked your ear off at this point, but when you make a recipe this often, you have a lot to say about it.
This has saved me from getting sick more times than I can count. It’s my answer to “how do I stay healthy this winter?” when I don’t want to take pills and still want something that tastes really good. My immune system is stronger, and I feel more energetic. Plus, it’s cheap and easy.
Make it yours! Try different spices, adjust the honey, or add extra garlic. The best recipes are the ones you adapt to your body’s needs.
If you make this, drop a comment and let me know what you think! I love hearing how recipes turn out in your kitchen. And if something doesn’t work, tell me that too—I’m here to help troubleshoot.
Happy brewing! And I hope your kitchen smells half as zesty as mine does right now.
Frequently Asked Questions
Q: Can I use distilled white vinegar instead of apple cider vinegar?
A: You can, but the flavor will be harsher and you’ll miss out on the probiotic benefits of the “mother” in raw ACV. Apple cider vinegar has a mellower, fruitier taste that pairs better with honey and spices. If you must use white vinegar, reduce the cayenne slightly as it’s more pungent.
Q: How long does it take for the fire cider to be ready?
A: I recommend steeping it for 4 weeks. This allows the flavors to fully infuse and the potency to build. You can taste it after 2 weeks, but 4 weeks is the sweet spot for maximum benefit and best flavor.
Q: Can I give this to my kids?
A: Yes, but use a mild version. Reduce the garlic and cayenne, and increase the honey. Mix 1 teaspoon with warm water and lemon. It’s a great way to introduce them to immune-boosting foods without the burn.
Q: What if I see bubbles in the jar?
A: Bubbles are normal! It’s a sign of fermentation, which means the beneficial bacteria are active. Just make sure the ingredients are still submerged. If you see fuzzy mold, discard the batch.
Q: Can I make a smaller batch?
A: Absolutely! Use a half-pint jar and halve the ingredients. The ratio of vinegar to honey to spices should stay the same. It’s perfect if you’re just testing it out.
Q: Does it need to be refrigerated?
A: For best quality and to prevent any potential spoilage, yes, store it in the fridge after straining. The high acidity of vinegar preserves it well, but refrigeration keeps it fresh longer.
Pin This Recipe!

Fire Cider Immunity Tonic: Easy 4-Ingredient Recipe
- Total Time: 4 weeks (steeping time)
- Yield: 1 quart (approx. 4 servings per week) 1x
Description
A simple, potent immunity booster made with apple cider vinegar, honey, ginger, and garlic. This easy-to-make tonic is adaptable to your taste, costs pennies, and keeps for months in the fridge.
Ingredients
- 2 cups (480ml) raw, unfiltered apple cider vinegar
- 2–3 tablespoons raw honey
- 1 large knob of fresh ginger root (about 3 inches)
- 6–8 cloves fresh garlic
- 1 teaspoon dried cayenne pepper or 1 small fresh chili (optional)
- 1 teaspoon dried herbs like thyme, oregano, or elderberry (optional)
Instructions
- Wash and chop the ginger into small coins or rough chunks. Peel and roughly chop the garlic cloves.
- Place the ginger, garlic, and optional cayenne/herbs into a clean quart-sized glass mason jar.
- Pour the apple cider vinegar over the ingredients, ensuring they are completely submerged.
- Stir in the raw honey until partially dissolved.
- Seal the jar tightly and store it in a cool, dark place for 4-6 weeks, shaking gently every few days.
- Strain the liquid through a fine-mesh strainer or cheesecloth, pressing the solids to extract all the liquid.
- Discard the solids and bottle the finished fire cider in glass containers.
- Store in the refrigerator and consume 1-2 teaspoons daily for prevention or 1-2 tablespoons when feeling sick.
Notes
Ensure all ingredients are fully submerged in vinegar to prevent mold. Use raw, unfiltered apple cider vinegar with ‘the mother’ for best results. If using fresh chili, note that it adds water content which may dilute the vinegar slightly over time. Honey acts as a preservative; maple syrup can be substituted but has a shorter shelf life.
- Prep Time: 10 minutes
- Cook Time: 0 minutes
- Category: Beverage
- Cuisine: American
Nutrition
- Serving Size: 1-2 teaspoons
- Calories: 10
- Sugar: 2
- Carbohydrates: 2
Keywords: fire cider, immunity tonic, apple cider vinegar, ginger garlic, natural remedies, wellness shot, homemade tonic, immune support



