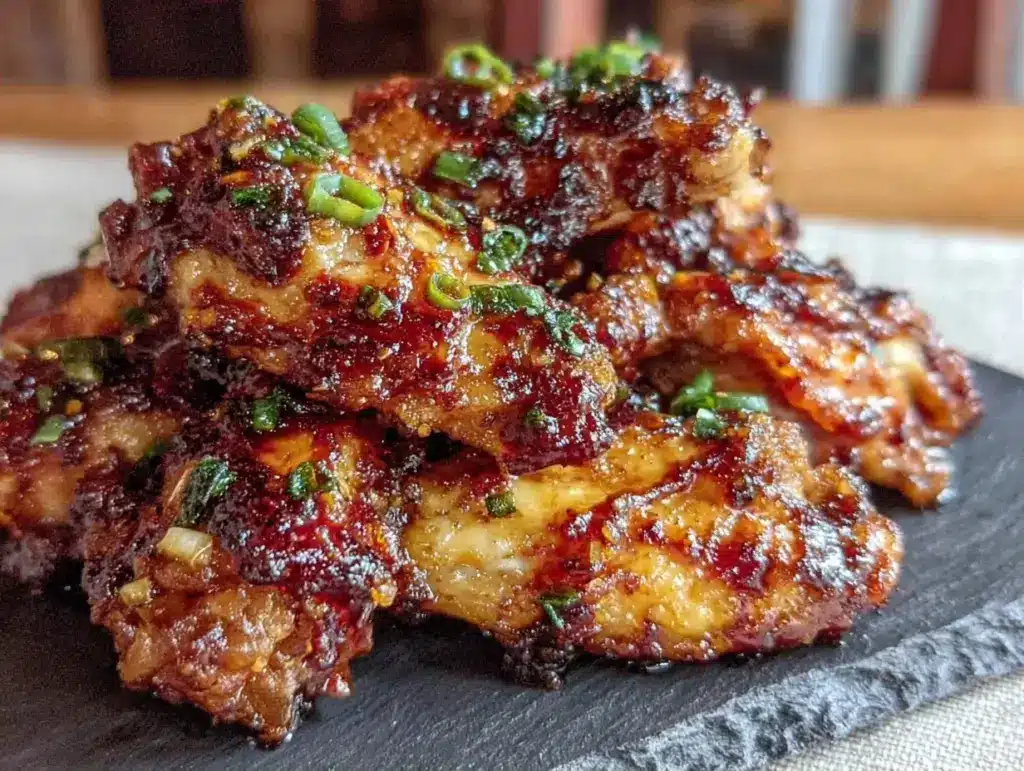
I have a confession to make. For years, I was the person who bought the frozen wings, threw them in the oven, and hoped for the best. Then I’d buy a bucket of takeout because my “homemade” attempt looked sad and tasted like cardboard. It wasn’t until last season, when I was staring at a half-empty fridge and a growing crowd of friends waiting for kickoff, that I decided to stop being lazy and actually make wings that didn’t suck.
I whipped up a batch of honey garlic wings using ingredients I already had. I didn’t have fancy wing sauces or specialty glazes. Just honey, garlic, soy sauce, and a little heat. I tossed them in the air fryer, and the smell that filled the house was so good my neighbors actually knocked on the door asking what I was cooking.
These Football Tailgate Honey Garlic Chicken Wings better than takeout are the real deal. They’re sticky, sweet, savory, and crispy enough to make you forget you ever bought frozen nuggets. I’ve made these for every game since that day, and they’ve become the undisputed MVP of my tailgate spread. If you’re looking for a crowd-pleaser that’s hard to mess up, this is it.
Why You’ll Love This Recipe
There are plenty of wing recipes out there, but this one sticks with you. It’s not just about the flavor; it’s about how easy it is to pull off when you’re trying to watch the game. Here’s why these honey garlic wings have taken over my kitchen:
- Sticky, Sweet, and Salty — The sauce is perfectly balanced. It’s not cloyingly sweet like some honey recipes, and the garlic gives it that savory punch you crave. It’s the kind of flavor that makes you lick your fingers before you even realize it.
- Beginner-Proof — Seriously, if you can boil water and mix ingredients in a bowl, you can make this. I’ve taught my teenage nephew to make these, and he hasn’t burned anything yet. That’s saying something.
- Fast and Forgiving — You don’t need to marinate for hours. You just toss, cook, and toss again. The sauce clings to the wings whether you use an air fryer or an oven. I’ve made mistakes with timing, and they still turned out delicious.
- Perfect for Sharing — These wings disappear fast. I’ve served them at parties where people ignored the main dish to grab a plate of wings. They’re finger food at its best—messy, satisfying, and totally shareable.
- Budget-Friendly — Chicken wings are one of the most affordable cuts of meat, especially when you buy them in bulk. You’re getting restaurant-quality flavor for a fraction of the price.
This recipe has saved me more times than I can count. It’s my go-to when I need to impress without stressing. No fancy techniques, no weird ingredients, just reliable, delicious food that makes everyone happy.
Ingredients You’ll Need
Here’s the best part: you probably have most of this already. I’m particular about three ingredients here, and I’ll tell you exactly why.
For the Wings
Chicken wings (3 pounds / 1.4 kg) — I buy the “party cut” style (drumettes and flats mixed). They’re easier to eat than whole wings and cook evenly. Look for fresh wings if you can; frozen works but needs to be fully thawed. Pat them dry! Moisture is the enemy of crispiness.
Cornstarch (2 tablespoons) — This is the secret weapon. Tossing the wings in cornstarch before cooking creates that irresistible crispy exterior. It’s not necessary for flavor, but it’s essential for texture. Don’t skip it.
Salt and black pepper — Just a light seasoning before cooking. The sauce will add plenty of flavor later.
For the Honey Garlic Sauce
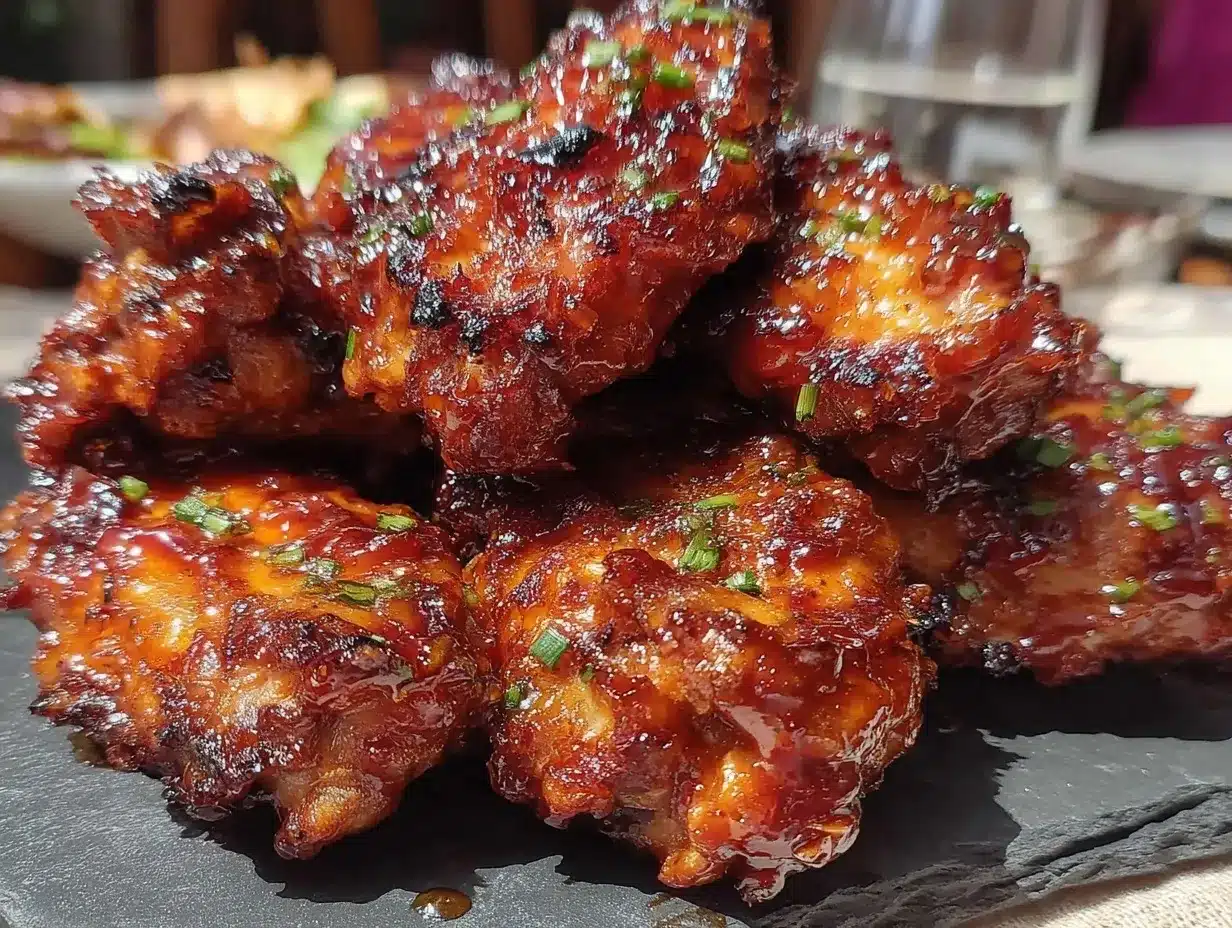
Honey (½ cup / 120ml) — Use real honey. Artificial sweeteners don’t caramelize the same way. I keep a cheap jug of honey in the pantry just for this.
Soy sauce (¼ cup / 60ml) — I use low-sodium soy sauce so I can control the saltiness. If you use regular soy sauce, reduce the added salt in the recipe. It provides that deep, savory umami base.
Garlic (6 cloves, minced / about 2 tablespoons) — Yes, six cloves. Don’t skimp. Fresh only—no jarred garlic in this recipe. It tastes too metallic and lacks the bright punch you need. Mince it finely so it distributes evenly.
Rice vinegar (1 tablespoon) — This cuts through the sweetness of the honey and adds a little tang. Apple cider vinegar works in a pinch, but rice vinegar is more authentic to this flavor profile.
Sesame oil (1 teaspoon) — Just a little goes a long way. It adds that nutty aroma that makes these wings smell like they came from a Asian-fusion restaurant.
Red pepper flakes (½ teaspoon) — Optional but recommended. They add a subtle kick that balances the sweet. If you’re serving kids, start with less or omit it.
Green onions (2, sliced) — For garnish. They add color and a fresh, oniony bite that brightens up the rich sauce.
Sesame seeds (1 tablespoon) — Optional, but they make the dish look finished and professional. Toasting them first makes a huge difference.
Equipment Needed
You don’t need fancy equipment for this. Here’s what I actually use.
Air Fryer — I prefer the air fryer because it circulates hot air and crisps the wings without oil. It’s faster than the oven and uses less energy. If you don’t have one, see notes below for oven instructions.
Large mixing bowls — One for tossing the wings in cornstarch, one for mixing the sauce. I use a big one for the wings so I don’t spill.
Small saucepan — For simmering the sauce. Or you can just mix the sauce ingredients in a bowl and microwave them for 30 seconds to thin them out. I usually just whisk them together and pour over the hot wings.
Tongs — For flipping the wings and tossing them in sauce. Metal tongs work best for grip.
Paper towels — For drying the wings. This is crucial. Wet wings steam instead of crisp.
How to Make It: Step-by-Step
Alright, let’s make this! I’m walking you through exactly how I do it, including the little tricks I’ve picked up.
Step 1: Prep the Wings (5 minutes)
Take your wings out of the packaging and pat them completely dry with paper towels. I know it’s tedious, but removing moisture is the single most important step for crispy skin. If they’re wet, they’ll steam. Cut them into drumettes and flats if they’re whole wings. Season lightly with salt and pepper.
Step 2: Coat with Cornstarch (2 minutes)
Put the wings in a large bowl. Sprinkle the cornstarch over them. Toss until every wing is lightly dusted. You don’t need a thick coating; just a fine layer. Shake off any excess. The cornstarch will turn golden and crunchy in the heat.
Step 3: Cook the Wings (20-25 minutes)
Preheat your air fryer to 380°F (190°C). Arrange the wings in a single layer in the basket. Don’t overcrowd them! Cook in batches if necessary. Cook for 20-25 minutes, flipping halfway through. The wings are done when the skin is golden brown and crispy. If you’re using an oven, preheat to 400°F (200°C), place wings on a wire rack over a baking sheet, and bake for 40-45 minutes, flipping halfway.
Step 4: Make the Sauce (2 minutes)
While the wings cook, mix the honey, soy sauce, minced garlic, rice vinegar, sesame oil, and red pepper flakes in a small bowl. Whisk until combined. If you want a thinner sauce for dipping, add a teaspoon of warm water. If you want it thicker, just mix it as is.
Step 5: Toss and Serve (2 minutes)
When the wings are crispy, transfer them to a large clean bowl. Pour the sauce over the hot wings. Toss immediately so the sauce melts slightly and clings to the crispy skin. The heat from the wings will help the sauce stick.
Step 6: Garnish and Eat
Sprinkle with sliced green onions and toasted sesame seeds. Serve immediately while hot and crispy. These are best eaten with your hands, so have plenty of napkins ready.
Expert Tips & Tricks
Here’s everything I’ve learned from making this dozens of times. These tips will save you from my mistakes.
- Dry Those Wings — I can’t stress this enough. Use paper towels. Press down hard. If the wings are damp, the skin won’t crisp. I’ve made this mistake before, and the wings came out soggy. Don’t be that person.
- Don’t Skip the Cornstarch — It’s not just a thickener; it’s a crisping agent. It creates a thin shell that gets crunchy. If you’re avoiding corn, you can use potato starch, but cornstarch is the gold standard.
- Flip Halfway — Whether you’re air frying or baking, flipping ensures even browning. If you don’t flip, one side will be dark and burnt while the other is pale.
- Toss While Hot — The sauce adheres best to hot wings. If you let them cool before saucing, the sauce will slide off. Toss them the second they come out of the heat.
- Toast Your Sesame Seeds — It takes 30 seconds in a dry pan, but it transforms the flavor. Raw sesame seeds are bland. Toasted ones are nutty and aromatic.
Variations & Substitutions
Once you’ve nailed the basic version, here’s how you can mix it up. I’ve tried all of these.
Spicy Honey Garlic
Add 1 teaspoon of gochujang (Korean chili paste) or sriracha to the sauce. It adds a deep, fermented heat that pairs perfectly with the honey. This is my favorite version when I want a little kick.
Teriyaki Style
Swap the rice vinegar for mirin (sweet rice wine) and add a tablespoon of brown sugar. It’s sweeter and more traditional. If you like one-pan creamy mushroom chicken, you’ll appreciate this savory-sweet balance.
Gluten-Free
Use tamari instead of soy sauce, and make sure your cornstarch is certified gluten-free (most are, but check the label). Everything else is naturally gluten-free.
Baked Option
If you don’t have an air fryer, bake them on a wire rack at 400°F for 40-45 minutes. Flip halfway. They won’t be *quite* as crispy as air-fried, but they’re still delicious. I use this method when I’m cooking for a crowd and the air fryer basket is too small.
Other Sauces
You can use this same method for smoky honey garlic BBQ ribs techniques. Swap the honey for BBQ sauce, or mix half honey and half hot sauce for a Nashville-style wing. The cornstarch trick works for any wing recipe.
Serving & Storage
I usually serve these straight from the bowl at the party—it looks rustic and stays warm. But here are other ways I’ve enjoyed them:
Side Dishes
- Loaded baked potato salad — The cool, creamy salad balances the sticky, warm wings perfectly. Check out my loaded baked potato salad with bacon for a side that’s easy to make ahead.
- Coleslaw — A simple vinegar-based slaw cuts the richness of the wings.
- Steamed rice — Some people like to dip their wings in rice or serve them over rice for a heartier meal.
Storage Instructions
Refrigerator: Store leftover wings in an airtight container for up to 3 days. The skin will soften in the fridge, which is normal.
Reheating: Reheat in the air fryer at 375°F for 5-7 minutes to restore crispiness. If you use a microwave, the skin will get chewy. I avoid the microwave at all costs for wings. Oven reheating at 350°F for 10 minutes also works.
Sauce: Keep the sauce separate if you’re meal prepping. Toss the wings in fresh sauce when you reheat them.
Nutrition Information
I’m not a nutritionist, but here’s the breakdown if you’re tracking.
Per Serving (based on 6 servings, 4 wings each):
- Calories: 320
- Protein: 22g
- Carbs: 28g
- Fiber: 0g
- Sugar: 24g
- Fat: 16g
- Saturated Fat: 4g
- Cholesterol: 85mg
- Sodium: 580mg
Look, these are wings. They’re indulgent. But they’re made with real ingredients, no deep frying oil, and moderate sugar. It’s a better choice than takeout. When I want to make it lighter, I skip the extra honey and use more garlic. But usually? I just eat a reasonable portion and enjoy it.
Final Thoughts
So that’s my go-to Football Tailgate Honey Garlic Chicken Wings better than takeout! I’ve probably talked your ear off at this point, but when you make a recipe this often, you have a lot to say about it.
This has saved game days more times than I can count. It’s my answer to “what do I bring?” when I’m invited to a tailgate. My friends are happy, my family is happy, and I’m happy because I’m not stressed about cooking something complicated.
Make it yours! Try different heat levels, swap in your favorite garnishes, or adjust the honey. The best recipes are the ones you adapt to your tastes.
If you make this, drop a comment and let me know what you think! I love hearing how recipes turn out in your kitchen. And if something doesn’t work, tell me that too—I’m here to help troubleshoot.
Happy tailgating! And I hope your kitchen smells half as good as mine does right now.
Frequently Asked Questions
Can I use frozen wings?
Yes, but they must be fully thawed. If you try to cook frozen wings, they’ll release too much water and steam instead of crisp. Thaw them in the fridge overnight and pat them dry thoroughly. I’ve made this mistake, and the result was soggy wings.
Why are my wings not crispy?
Usually, this means they weren’t dry enough before cooking, or you overcrowded the air fryer basket. Moisture is the enemy. Pat them dry, use cornstarch, and give them space in the basket so air can circulate.
Can I make the sauce ahead of time?
Yes! Mix the sauce ingredients and store in the fridge for up to 3 days. Just bring it to room temperature before tossing with the hot wings. It saves time on game day.
What if I don’t have an air fryer?
Use an oven. Preheat to 400°F, place wings on a wire rack over a baking sheet, and bake for 40-45 minutes, flipping halfway. They won’t be quite as crispy as air-fried, but they’ll still be delicious. I use this method when I’m cooking for a crowd.
How spicy are these wings?
They’re mild with just a hint of heat from the red pepper flakes. If you want them spicy, add more red pepper flakes, a dash of cayenne, or a spoonful of sriracha to the sauce. I usually add a little extra for myself!
Can I freeze these wings?
It’s not recommended. The sauce can separate when frozen and reheated, and the texture of the skin suffers. It’s best to make them fresh. If you have leftovers, store them in the fridge for up to 3 days.
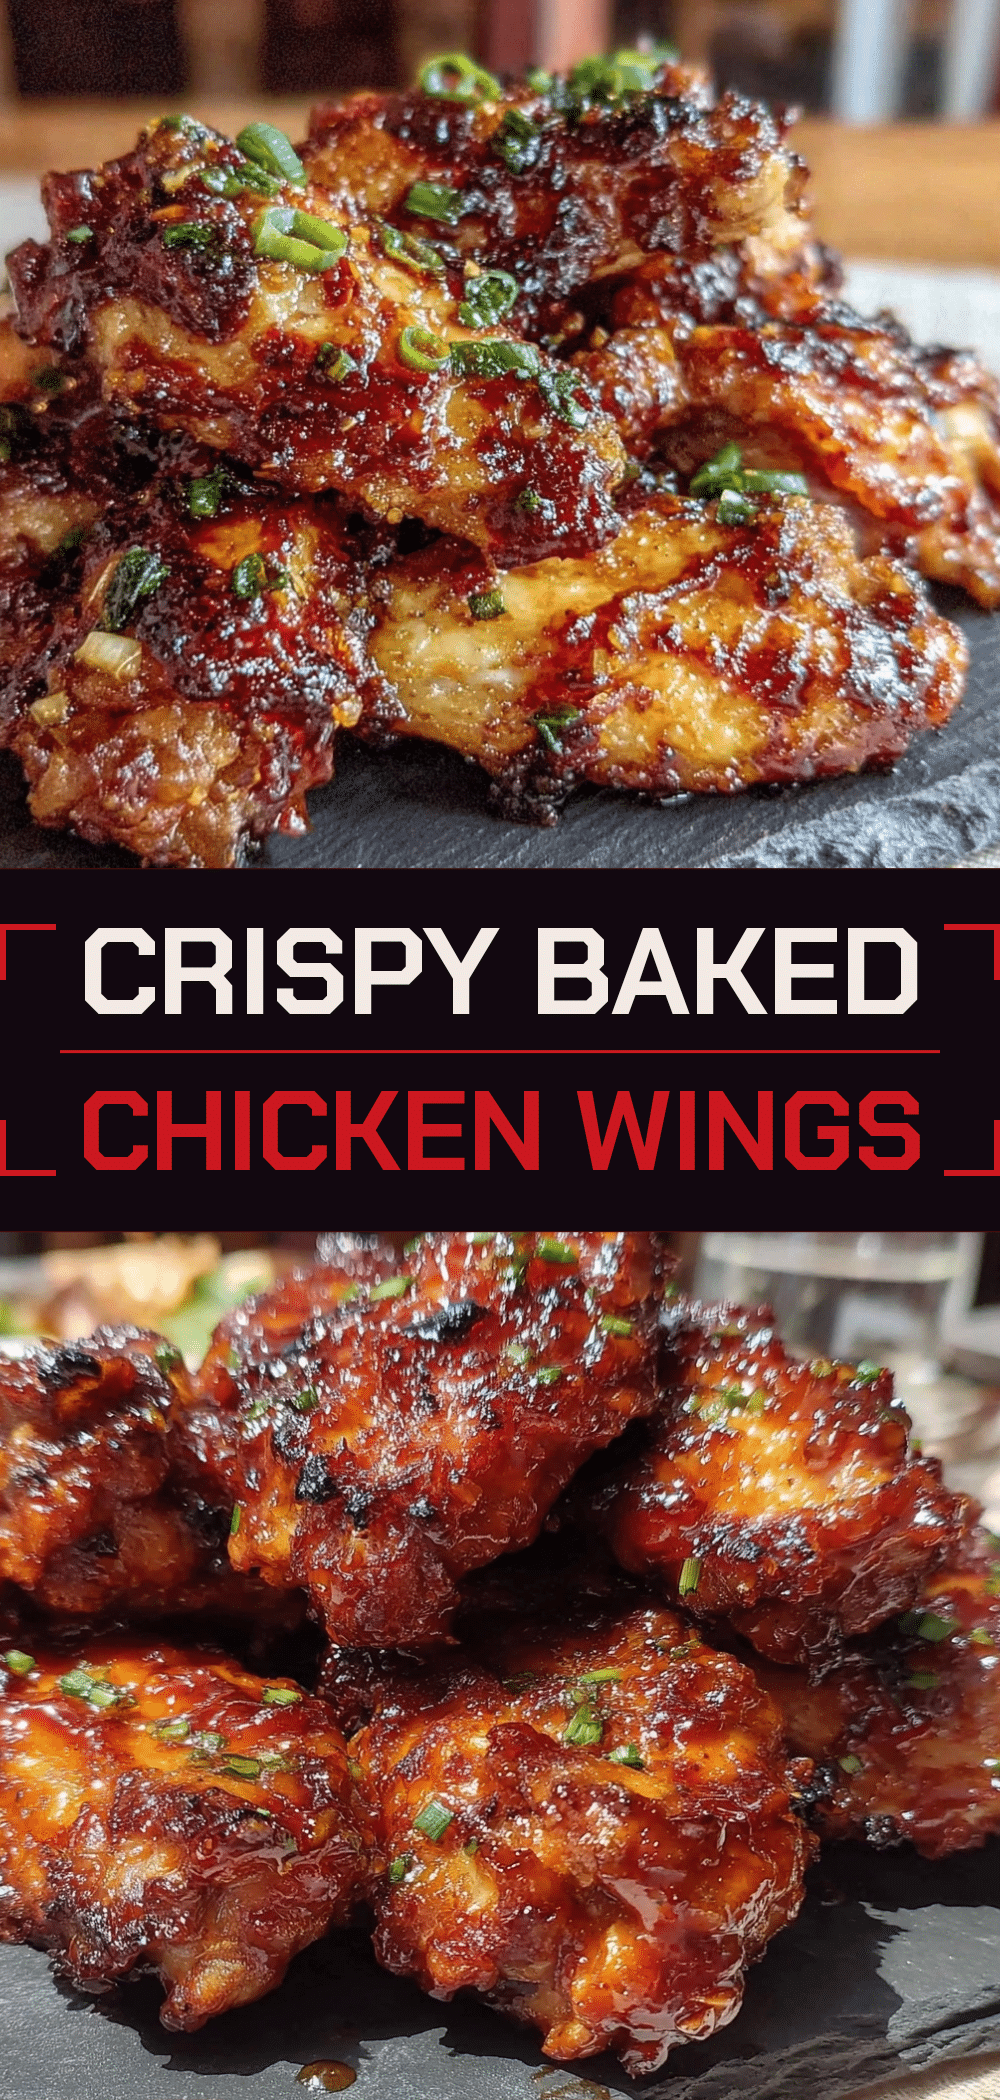
Pin This Recipe!
Football Tailgate Honey Garlic Chicken Wings
- Total Time: 27-32 minutes
- Yield: 6 servings 1x
Description
Sticky, sweet, and crispy honey garlic chicken wings made in an air fryer or oven. These beginner-proof wings are perfect for tailgating and taste better than takeout.
Ingredients
- 3 pounds chicken wings (party cut: drumettes and flats)
- 2 tablespoons cornstarch
- Salt and black pepper (for light seasoning)
- ½ cup honey
- ¼ cup soy sauce (low-sodium recommended)
- 6 cloves garlic, minced
- 1 tablespoon rice vinegar
- 1 teaspoon sesame oil
- ½ teaspoon red pepper flakes (optional)
- 2 green onions, sliced (for garnish)
- 1 tablespoon sesame seeds (optional, toasted)
Instructions
- Pat chicken wings completely dry with paper towels to ensure crispiness. Season lightly with salt and pepper.
- Place wings in a large bowl and sprinkle with cornstarch. Toss until lightly dusted, shaking off any excess.
- Preheat air fryer to 380°F (190°C). Arrange wings in a single layer in the basket, ensuring they are not overcrowded. Cook for 20-25 minutes, flipping halfway through, until golden brown and crispy.
- While wings cook, whisk together honey, soy sauce, minced garlic, rice vinegar, sesame oil, and red pepper flakes in a small bowl.
- Transfer crispy wings to a large clean bowl. Pour the sauce over the hot wings and toss immediately to coat.
- Garnish with sliced green onions and toasted sesame seeds. Serve immediately.
Notes
For oven baking: Preheat to 400°F (200°C), place wings on a wire rack over a baking sheet, and bake for 40-45 minutes, flipping halfway. Ensure wings are very dry before cooking to prevent steaming. Do not overcrowd the air fryer basket. Reheat leftovers in an air fryer at 375°F for 5-7 minutes to restore crispiness.
- Prep Time: 7 minutes
- Cook Time: 20-25 minutes
- Category: Appetizer
- Cuisine: Asian-Fusion
Nutrition
- Serving Size: 4 wings per serving
- Calories: 320
- Sugar: 24
- Sodium: 580
- Fat: 16
- Saturated Fat: 4
- Carbohydrates: 28
- Protein: 22
Keywords: honey garlic wings, air fryer wings, chicken wings recipe, tailgate food, football snacks, crispy wings, easy appetizer



