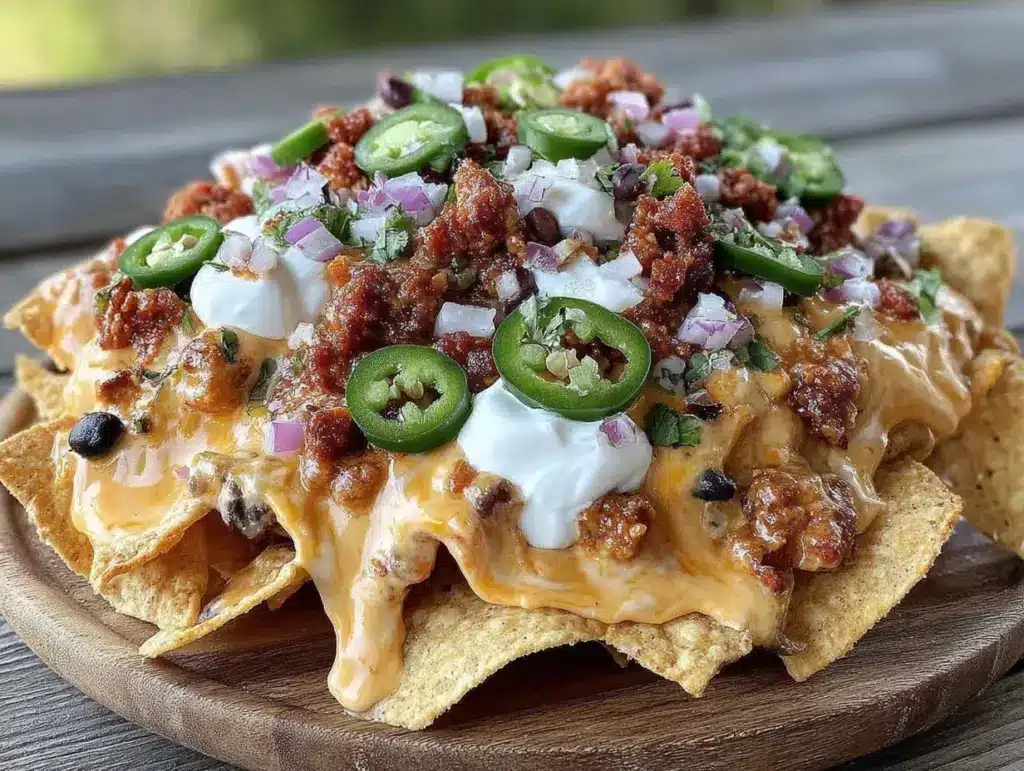
I used to think making queso from scratch was just too much work for a Sunday game day. You know the kind of hassle—melting cheese, hoping it doesn’t separate, dealing with a stove full of pots. So for years, I just bought the little cans of yellow liquid cheese from the grocery store. It tasted fine, I guess, but it also tasted like… well, canned cheese. And not in a good way.
Then last season, my brother-in-law showed up with a bowl of queso that was actually creamy, rich, and loaded with flavor. I asked him what the secret was, and he just shrugged and said, “Velveeta, rotel, and a little beer.” I tried it, and honestly? It was a game-changer. But I’m particular. I wanted something that felt a bit more elevated without adding a ton of extra steps or ingredients.
That’s when I developed this Football Tailgate Loaded Nacho Bar with Queso. I’ve made it for every Super Bowl, playoff game, and random Sunday hangout since. It’s become the centerpiece of our tailgates. People line up for it. Kids love it. Adults love it even more because it’s actually good queso. The best part? You really can’t mess this up. It’s beginner-proof, forgiving, and uses only five main ingredients to make the star: the queso.
If you’re looking for a dish that brings everyone together and takes the stress out of party planning, this is it. I promise you’ll never go back to the canned stuff again.
Why You’ll Love This Recipe
There are a dozen reasons I keep coming back to this nacho bar, but let’s get straight to the good stuff. This isn’t just about dipping chips; it’s about having a crowd-pleaser that works every single time.
Zero Fancy Skills Needed — Seriously. If you can melt cheese in a saucepan, you can make this. I’ve walked my teenage niece through it over the phone while she was at her own house. She made it perfectly. No special techniques, no tricky tempering.
Five Ingredients, Maximum Flavor — I’m not saying “five ingredients” to be cute. I literally use Velveeta, Rotel, cream cheese, jalapeños, and cheese. That’s it. Simple ingredients, but combined in the right way, they taste like a restaurant appetizer. It’s the simplicity that wins people over.
Stays Warm for Hours — One of the biggest headaches with party food is keeping it hot. Because this queso is so rich and creamy, it holds heat incredibly well in a slow cooker or a fondue pot. I’ve left it out for three hours during a game, and it was still perfect. No separation, no weird skin forming.
The “Loaded” Factor — The base queso is amazing on its own, but turning it into a “bar” lets everyone customize their bowl. It feels interactive and fun. I’ve seen people build nacho towers that are actually three inches tall. It’s satisfying to eat.
Make-Ahead Friendly — You can prep all the toppings the day before. On game day, your only job is to melt the cheese and set out the bowls. This makes it the easiest party host ever.
This is my go-to when I want to impress friends without spending hours in the kitchen. It’s reliable, delicious, and honestly, it’s the best thing you can serve with a bag of tortilla chips.
Ingredients You’ll Need
Here’s the best part: you probably have most of this already. I keep these staples in my pantry and fridge specifically for game days. Let’s break down exactly what you need and why.
For the Star-Queso:
Velveeta cheese (1 box, 16oz / 450g) — Yes, the pink box. Don’t judge me. It contains emulsifiers that keep the queso smooth and creamy without breaking. You can use a block of processed cheese if you prefer, but Velveeta is the gold standard for a reason. Cube it up before melting.
Rotel diced tomatoes and green chiles (1 can, 10oz / 280g) — This is the flavor base. I always use the “Original” heat level. If you want it milder, use “Mild,” and for spicy lovers, “Hot.” The green chiles add that classic nacho flavor. Drain the liquid off if you want a thicker queso, but I usually leave it in for extra flavor.
Cream cheese (8oz block / 225g) — This is the secret weapon. It adds tang and makes the queso incredibly thick and rich. Soften it slightly before adding so it melts evenly. It prevents the queso from being too runny.
Heavy cream (½ cup / 120ml) — Just a little bit helps loosen everything up and makes it silky. You can use milk, but heavy cream gives that restaurant-quality gloss. Don’t skip it if you can help it.
Jalapeños (½ cup, sliced / 75g) — Fresh jalapeños add a bright, fresh heat that cuts through the richness of the cheese. I like to keep the seeds in for extra kick. If you’re sensitive to spice, remove the seeds and white ribs.
For the Loaded Bar:
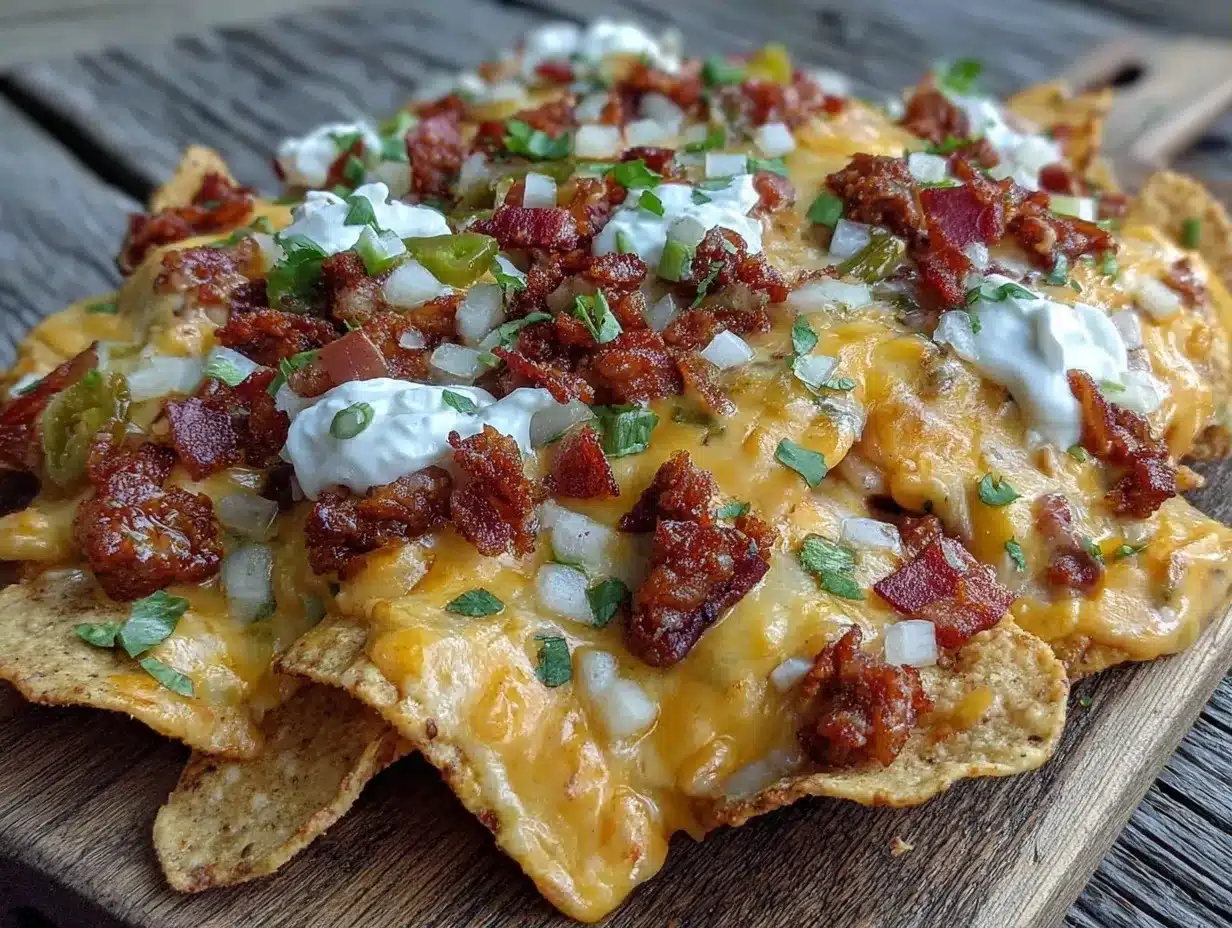
Tortilla chips (2-3 large bags / approx. 1.5 lbs / 680g) — Use sturdy, thick chips. Thin chips break when you scoop. I like the restaurant-style blue corn chips or classic kettle-cooked. Keep plenty on hand; they disappear fast.
Ground beef (1 lb / 450g) — Optional but recommended. Brown it with taco seasoning. It adds protein and makes the nachos more filling. If you want a vegetarian version, skip this or swap for black beans.
Shredded cheese (2 cups / 200g) — I use a Mexican blend or cheddar. This is for topping the nachos, not mixing into the queso. It adds texture and extra gooeyness.
Black olives (1 can, sliced / 12oz / 340g) — The salty, briny contrast is essential. Don’t skip the olives. They balance the richness of the cheese.
Salsa (1 cup / 240g) — Use a medium or hot salsa. Fresh pico de gallo works too, but jarred salsa holds up better in a bowl. It adds moisture and freshness.
Green onions (4 stalks, chopped / 50g) — For garnish. They add a fresh onion bite that cuts through the heavy cheese. Essential for finishing.
Sour cream (½ cup / 120g) — Optional dollop. Cool and tangy against the hot queso. A classic combo.
Cilantro (½ cup, chopped / 30g) — Fresh herb. Sprinkle it on top for color and flavor. If you hate cilantro, skip it or use parsley.
Equipment Needed
You don’t need fancy equipment for this. Here’s what I actually use.
Saucepan or Dutch oven — I use a 3-quart saucepan. It needs to be big enough to hold all the cheese without spilling. Non-stick is nice for cleanup, but stainless steel works fine too.
Wooden spoon — For stirring. Silicone works too. Don’t use metal on non-stick.
Slow cooker (optional) — If you’re serving this at a tailgate, a slow cooker is perfect. Set it to “Warm” and it stays liquid for hours. I love this for large gatherings.
Baking sheet — For making the loaded nachos. A large rimmed sheet pan works best so you can pile high without spilling.
Knife and cutting board — For slicing jalapeños and chopping green onions.
Spatula — For spreading the nachos and serving.
Small bowls — For holding each topping. Presentation matters, so use small bowls that are easy to reach.
How to Make It: Step-by-Step
Alright, let’s make this! I’m walking you through exactly how I do it, including the little tricks I’ve picked up.
Step 1: Prep Your Ingredients (5 minutes)
Cube your Velveeta into 1-inch cubes. This helps it melt evenly. Drain the Rotel if you want a thicker queso, or leave the liquid for a looser dip. Slice the jalapeños and chop the green onions. If you’re using ground beef, brown it now with taco seasoning and drain any excess grease. Set everything aside.
Step 2: Melt the Base (10 minutes)
Place the cubed Velveeta in your saucepan over medium-low heat. Stir frequently. It will start to melt into a thick paste. This takes about 5 minutes. Don’t rush it with high heat, or the cheese can seize up. Be patient.
Step 3: Add the Cream and Rotel (5 minutes)
Once the Velveeta is mostly melted, add the softened cream cheese, heavy cream, and the can of Rotel. Stir constantly. The cream cheese will take a minute to melt in. Keep stirring until everything is smooth and combined. This should take another 5 minutes. The mixture will be thick and glossy.
Step 4: Fold in the Jalapeños (1 minute)
Remove the pan from heat. Stir in the sliced jalapeños. They’ll cook slightly in the residual heat, releasing their flavor without turning mushy. Taste the queso. If you want more heat, add more jalapeños. If you want it milder, add a splash of milk.
Step 5: Assemble the Loaded Nachos
Preheat your oven to 350°F (175°C). On a large baking sheet, spread a layer of tortilla chips. Spoon a generous amount of the warm queso over the chips. Sprinkle with shredded cheese, browned ground beef, sliced black olives, and salsa. Repeat layers if you’re making a big batch.
Step 6: Bake and Serve
Bake for 10-15 minutes until the cheese is bubbly and the chips are slightly crispy. Remove from oven and immediately top with chopped green onions, fresh cilantro, and a dollop of sour cream. Serve warm. The queso should be pourable but thick enough to hold the toppings.
Total Time: About 30 minutes (10 minutes active, 20 mostly hands-off)
Expert Tips & Tricks
Here’s everything I’ve learned from making this dozens of times. These tips will save you from my mistakes.
Low and Slow for Melting
The #1 mistake people make is turning up the heat too high. Cheese breaks when it gets too hot. Always melt Velveeta over medium-low heat. It’s worth the extra 5 minutes of stirring for a silky smooth result.
Drain the Rotel
If you want a queso that stays on the chip and doesn’t make it soggy, drain the liquid from the Rotel can. I usually do this. It makes the queso thicker and more intense.
Keep It Warm
Transfer the queso to a slow cooker set to “Warm” for serving. It stays liquid and perfect for hours. This is crucial for tailgates where people graze over time.
Use Sturdy Chips
Thin chips will break under the weight of loaded toppings. Use thick, sturdy tortilla chips. Restaurant-style blue corn chips are my favorite because they’re sturdy and flavorful.
Customize the Heat
Keep extra jalapeños on the side. Some people love heat, some don’t. Letting them add their own jalapeños ensures everyone is happy.
Variations & Substitutions
Once you’ve nailed the basic version, here’s how you can mix it up. I’ve tried all of these.
Vegetarian Version
Skip the ground beef and add a can of black beans or pinto beans. Rinse and drain them well. They add protein and heartiness without meat.
Spicy Version
Use “Hot” Rotel and add diced habaneros or a dash of cayenne pepper. For extra heat, use pepper jack cheese instead of cheddar.
Chicken Version
Swap ground beef for shredded rotisserie chicken. Toss it with taco seasoning before adding it to the nachos. It’s lighter but still flavorful.
Bacon Lovers
Add crispy bacon bits to the toppings. Bacon and queso is a classic combo. I always have extra bacon on hand for this.
Dairy-Free Option
Use dairy-free Velveeta-style squares and dairy-free cream cheese. It’s not quite the same texture, but it works in a pinch. I haven’t tested this much, so proceed with caution.
Serving & Storage
How to Serve:
I usually set up the queso in a slow cooker in the center of the table, surrounded by small bowls of toppings. Let everyone build their own nachos. It’s interactive and fun. Pair it with cold drinks and maybe some smoky honey garlic BBQ ribs for a full feast.
Side Dishes:
Since nachos are heavy, I often serve lighter sides like a simple green salad or garlic butter beef and broccoli noodles if I’m making a full dinner. For drinks, try a sparkling cranberry orange mocktail to cut the richness.
Refrigerator:
Store leftovers in an airtight container for up to 3 days. The queso will thicken in the fridge. Reheat gently in a saucepan with a splash of milk to loosen it up.
Freezing:
I don’t recommend freezing this. The cheese texture can become grainy after thawing. It’s best eaten fresh.
Pro Tip:
If you’re making the nachos ahead, keep the toppings separate until just before serving. This keeps the chips crispy. Assemble right before baking.
Nutrition Information
I’m not a nutritionist, but here’s the breakdown if you’re tracking. Keep in mind, this is rich and indulgent, so portion control is key.
Per Serving (approx. 1 cup loaded nachos):
- Calories: 450
- Protein: 18g
- Carbs: 35g
- Fiber: 3g
- Sugar: 4g
- Fat: 28g
- Sodium: 650mg
This is comfort food. It’s not a diet recipe. But it’s homemade, so you know exactly what’s in it. When I want to make it lighter, I use less cheese and more veggies like peppers and tomatoes. But usually? I just enjoy a reasonable portion and savor it.
Final Thoughts
So that’s my Football Tailgate Loaded Nacho Bar with Queso! I’ve probably talked your ear off at this point, but when you make a recipe this often, you have a lot to say about it.
This has saved my tailgates more times than I can count. It’s my answer to “what should I bring?” when I’m invited to a game day party. It’s easy, delicious, and always a hit. My friends love it, my family loves it, and I love that I can make it with minimal effort.
Make it yours! Try different toppings, swap in your favorite salsa, or adjust the spice level. The best recipes are the ones you adapt to your tastes. If you make this, drop a comment and let me know what you think! I love hearing how recipes turn out in your kitchen.
Happy tailgating! And I hope your kitchen smells half as good as mine does right now.
Frequently Asked Questions
Can I use a slow cooker for the queso?
Absolutely. Cube the Velveeta and add it to the slow cooker with the other queso ingredients. Cook on low for 2 hours, stirring every 30 minutes. This is perfect for keeping it warm during a long game.
Why did my queso separate?
Usually, this happens if the heat was too high. Cheese separates when it gets too hot. Always melt over medium-low heat. If it does separate, whisk in a splash of heavy cream to bring it back together.
Can I make this ahead of time?
You can make the queso up to 2 days ahead and store it in the fridge. Reheat gently before serving. The toppings should be prepped ahead but added fresh.
What kind of chips work best?
Thick, sturdy chips are best. Restaurant-style blue corn chips or kettle-cooked tortilla chips hold up well under heavy toppings. Avoid thin chips as they break easily.
Can I freeze the loaded nachos?
No, I don’t recommend it. The chips will get soggy and the cheese will separate. It’s best eaten fresh.
How spicy is this queso?
It depends on the Rotel you use. Original Rotel gives a mild heat. Hot Rotel makes it spicy. You can always add more jalapeños for extra heat or leave them out for a milder version.
Can I use fresh tomatoes instead of Rotel?
You can, but Rotel has green chiles which add a specific flavor. If you use fresh tomatoes, add diced green chiles or jalapeños to mimic the flavor. It won’t be exactly the same, but it works.
Pin This Recipe!
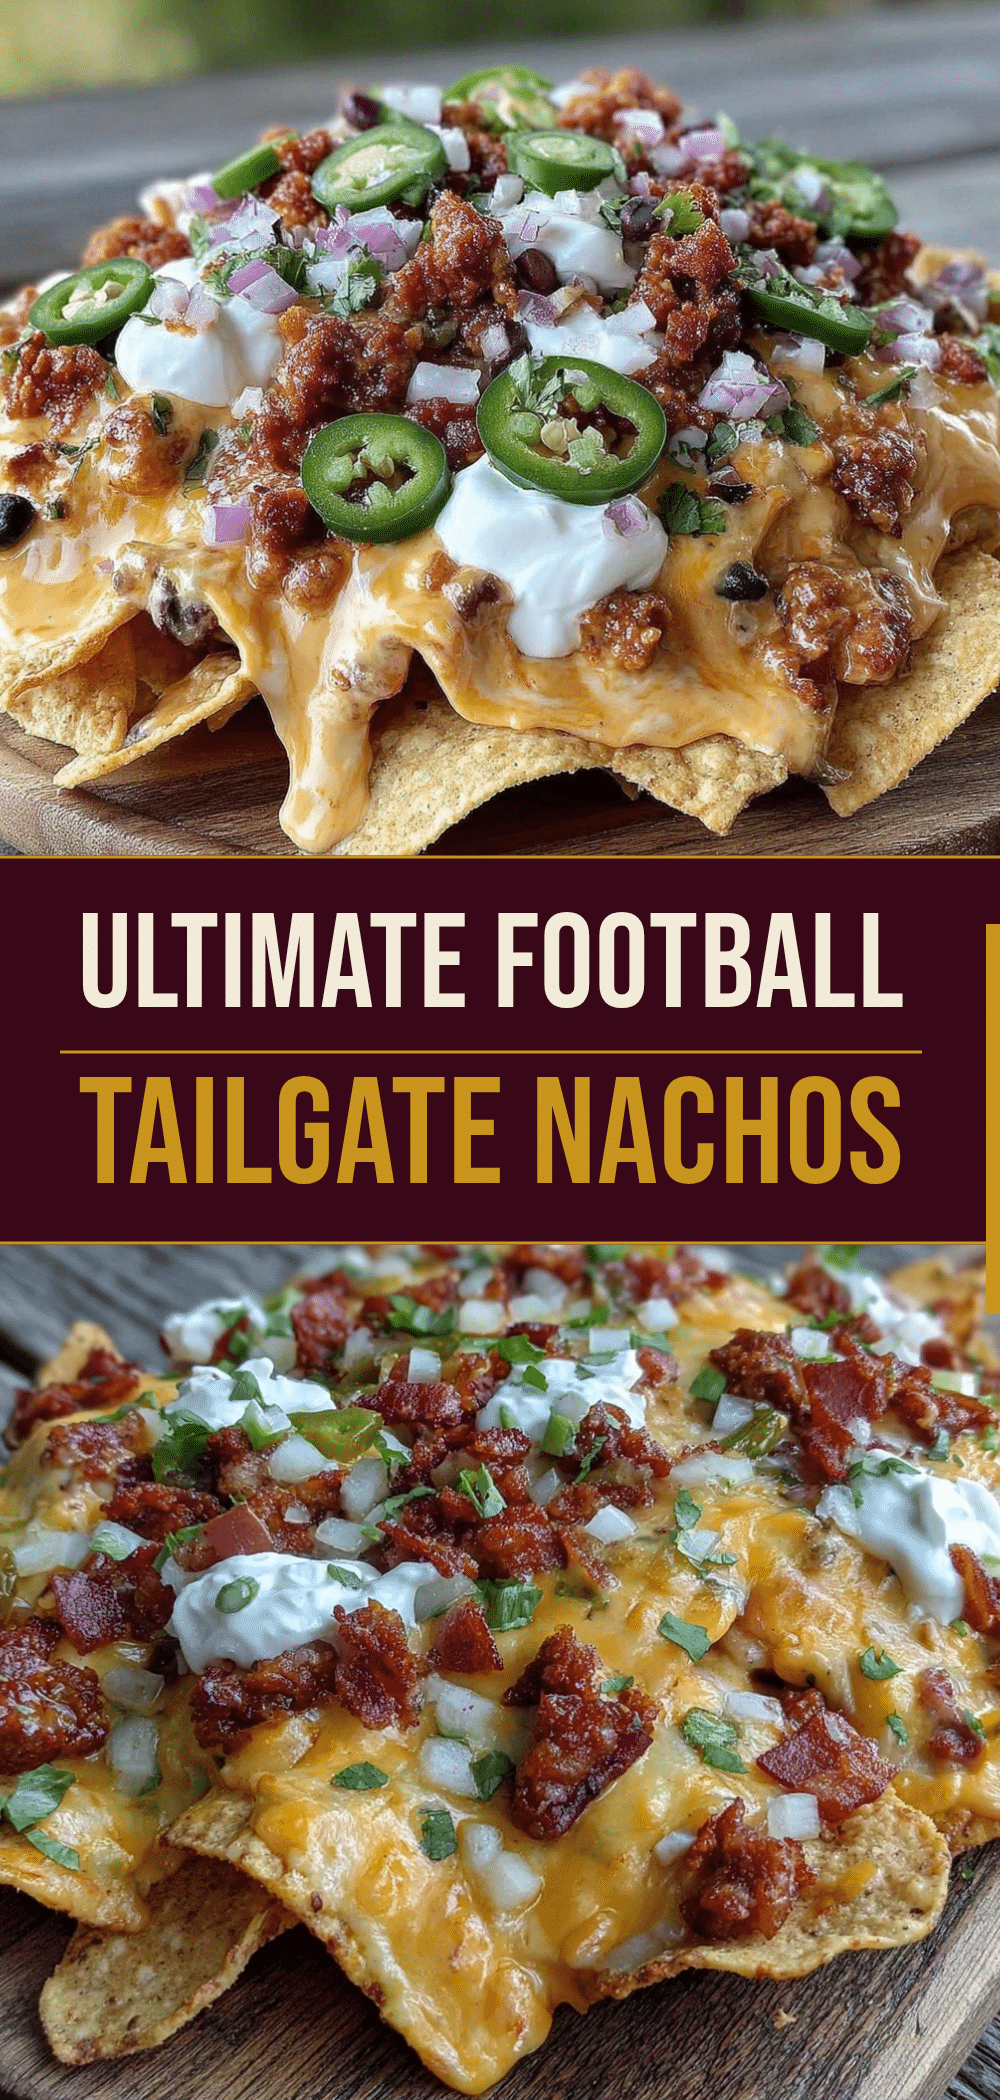

Football Tailgate Loaded Nacho Bar with Queso: 5 Ingredients
- Total Time: 30 minutes
- Yield: 8 servings 1x
Description
A beginner-proof, crowd-pleasing queso dip made with just five main ingredients, served as a customizable loaded nacho bar perfect for game day tailgates and parties.
Ingredients
- 1 box (16oz / 450g) Velveeta cheese, cubed
- 1 can (10oz / 280g) Rotel diced tomatoes and green chiles (Original, Mild, or Hot)
- 1 block (8oz / 225g) cream cheese, softened
- 1/2 cup (120ml) heavy cream
- 1/2 cup (75g) fresh jalapeños, sliced
- 2–3 large bags (approx. 1.5 lbs / 680g) sturdy tortilla chips
- 1 lb (450g) ground beef, browned with taco seasoning (optional)
- 2 cups (200g) shredded Mexican blend or cheddar cheese
- 1 can (12oz / 340g) black olives, sliced
- 1 cup (240g) medium or hot salsa
- 4 stalks green onions, chopped
- 1/2 cup (120g) sour cream
- 1/2 cup (30g) fresh cilantro, chopped
Instructions
- Cube the Velveeta into 1-inch cubes. Slice jalapeños and chop green onions. If using ground beef, brown it with taco seasoning and drain excess grease.
- Place cubed Velveeta in a saucepan over medium-low heat. Stir frequently for about 5 minutes until melted into a thick paste. Do not rush with high heat.
- Add softened cream cheese, heavy cream, and the can of Rotel to the melted Velveeta. Stir constantly for another 5 minutes until smooth and combined.
- Remove the pan from heat and stir in the sliced jalapeños. Taste and adjust spice level if needed.
- Preheat oven to 350°F (175°C). Spread a layer of tortilla chips on a large baking sheet.
- Spoon warm queso over the chips. Sprinkle with shredded cheese, browned ground beef, black olives, and salsa. Repeat layers for a big batch.
- Bake for 10-15 minutes until cheese is bubbly and chips are slightly crispy.
- Remove from oven and immediately top with green onions, cilantro, and dollops of sour cream. Serve warm.
Notes
For a thicker queso, drain the liquid from the Rotel can. To keep the queso warm for hours during a tailgate, transfer it to a slow cooker set to ‘Warm’. Use sturdy chips like blue corn or kettle-cooked to prevent breaking under heavy toppings. Do not freeze the finished nachos as chips will become soggy and cheese may separate.
- Prep Time: 10 minutes
- Cook Time: 20 minutes
- Category: Appetizer
- Cuisine: American
Nutrition
- Serving Size: 1 cup loaded nachos
- Calories: 450
- Sugar: 4
- Sodium: 650
- Fat: 28
- Saturated Fat: 14
- Carbohydrates: 35
- Fiber: 3
- Protein: 18
Keywords: nacho bar, queso dip, tailgate food, game day snacks, Velveeta queso, loaded nachos, easy appetizer, party food



