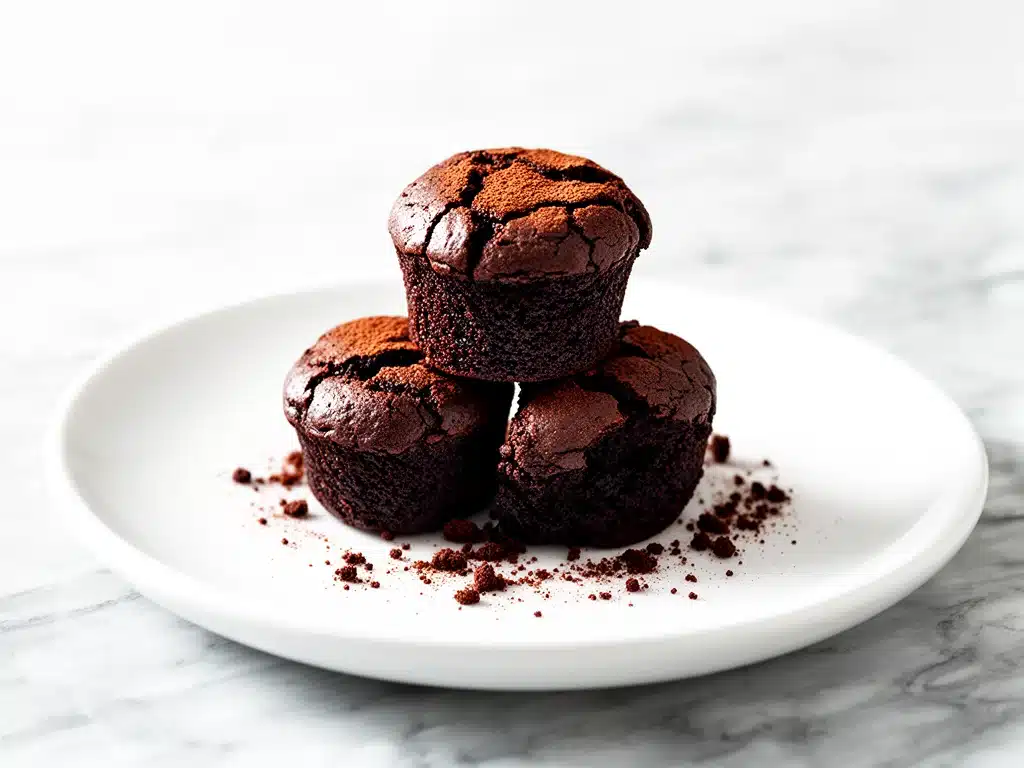
I was standing in my kitchen at 11:30 PM on a Tuesday, staring into the abyss of my pantry, when I decided to ruin my sleep schedule for the sake of dessert. It wasn’t supposed to be a big deal. I just wanted something chocolatey. Something fast. Something that didn’t involve washing a mountain of dishes because I was already too tired to function. That’s when I grabbed the leftover espresso grounds from my morning brew and tossed them into a batch of brownie batter I’d whipped up in a mug.
Here’s the thing about coffee and chocolate: they’re basically best friends. They get each other. But I hadn’t tried making bites with it before. Just regular brownies. I wanted something I could pop into my mouth while scrolling through my phone, without getting chocolate all over my hands. So I poured that weird, mocha-scented batter into a mini muffin tin. I expected a weird, bitter experiment. What I got was the most addictive thing I’ve ever tasted.
These fudgy espresso brownie bites have become my secret weapon. They’re tiny, intense bursts of chocolate and coffee that hit you like a warm hug. I’ve made them for movie nights, for last-minute guests (who never knew they were 5 minutes away from being made), and just for myself when I needed a sugar fix that felt slightly sophisticated. They’re dense, chewy, and have that deep, dark flavor profile that makes regular chocolate taste kind of… plain.
I’ve tested this recipe at least a dozen times. I’ve messed up the ratios, I’ve overbaked them, I’ve tried using instant coffee granules, and I’ve tried using liquid espresso. Each time, I learned something new. And now? Now I have the perfect formula. It’s simple, it’s fast, and it tastes like you spent hours in a fancy Parisian bakery. But honestly? It takes less time than it takes to order takeout.
Why You’ll Love These Espresso Brownie Bites
Look, I’m not going to lie to you. There are a thousand brownie recipes out there. But these bites are different. They’re not just brownies in small form. They’re an experience. Here’s why I keep coming back to them, and why I think you will too.
Lightning Fast — Seriously, if you can melt butter and stir, you can make these. From start to finish, including cooling time, they’re ready in under 20 minutes. But the active work? Maybe 5 minutes. I’ve made these while my kids were doing homework at the table. It’s that easy.
Intense Flavor — Coffee doesn’t make them taste like coffee. It makes them taste like *more* chocolate. It amplifies the cocoa flavor in a way that’s hard to explain until you’ve tasted it. It’s that deep, dark, rich vibe that regular brownies just can’t quite hit. It’s subtle, but it changes everything.
Perfect Portion Control — Because they’re tiny, you don’t feel guilty eating two. Or four. Or six. They’re the perfect size for a quick energy boost or a late-night treat. They’re not heavy. They’re dense, yes, but they’re also airy in a fudgy way. I love that I can grab one or two without committing to a whole square.
Impressive But Easy — If you serve these to friends, they will ask for the recipe. They’ll think you went to a specialty dessert shop. But you won’t. You’ll just smile and say, “Oh, it’s nothing.” It’s the ultimate low-effort, high-reward dessert. It makes you look like a pro chef with minimal effort.
Pantry-Friendly — You probably have most of these ingredients already. Flour, sugar, cocoa powder, butter, eggs, coffee. If you don’t have coffee, you can skip it, but I promise you’ll miss it. It’s the secret ingredient that ties it all together.
This recipe has completely changed my dessert game. I used to rely on store-bought cookies or cereal bars. Now? I have these bites in the fridge, ready to go. They’re my go-to when I need something sweet, fast, and genuinely delicious. No complicated techniques, no weird ingredients, just reliable, mouth-watering food.
Ingredients You’ll Need
Here’s the best part: you probably have most of this already. This isn’t a recipe that requires a trip to three different specialty stores. It’s simple, honest ingredients that come together to make something magical. I’m particular about a few things here, and I’ll tell you exactly why.
Unsalted Butter (½ cup / 113g) — Use good quality butter. This is a big part of the flavor. I use European-style butter if I have it because it’s richer, but regular unsalted works fine. Melt it gently. Don’t burn it.
Semi-Sweet Chocolate Chips (1 cup / 170g) — I use high-quality chips, like Ghirardelli or Godiva. They melt better and give a smoother texture. Semi-sweet is perfect because it balances the sugar. Dark chocolate chips work too if you want it less sweet.
Cocoa Powder (¼ cup / 25g) — Unsweetened cocoa powder. I use Hershey’s or Dutch-processed. Dutch-processed is darker and has a deeper flavor, which pairs beautifully with the espresso. Make sure it’s not expired—old cocoa tastes flat.
Granulated Sugar (¾ cup / 150g) — White sugar gives that crispy edge and chewy center. I’ve tried brown sugar, but it makes them too cakey. Stick with white for the fudgy texture.
Espresso Powder or Instant Coffee (1 tablespoon) — This is the star. I use instant espresso powder because it dissolves completely. If you don’t have it, instant coffee granules work too. Just make sure they’re fine. Don’t use brewed coffee—it adds too much liquid.
Eggs (2 large) — Room temperature eggs mix better. Don’t skip this step. Cold eggs can make the batter seize up a bit. Crack them into a bowl and let them sit for 10 minutes while you melt the butter.
Vanilla Extract (1 teaspoon) — Pure vanilla, please. Imitation vanilla tastes artificial and clashes with the coffee. A little bit goes a long way.
All-Purpose Flour (½ cup / 60g) — Just regular flour. Don’t use whole wheat—it makes them too dense. Sift it if you can, but it’s not mandatory. I usually just whisk it in to break up lumps.
Salt (¼ teaspoon) — Essential. It balances the sweetness and makes the chocolate pop. Don’t skip it. I use fine sea salt.
Optional: Mini Chocolate Chips (¼ cup) — For extra gooeyness. I throw these in at the end for pockets of melted chocolate. It’s like a bonus surprise in every bite.
Pro Tip: I always measure my flour by spooning it into the cup and leveling it off. Scooping directly from the bag packs it down and can make your brownies dry. Trust me on this.
Equipment Needed
You don’t need fancy equipment for this. Here’s what I actually use.
Mini Muffin Tin — This is crucial. Regular muffin tins make big brownies. Mini tins make bites. I use a non-stick mini muffin tin. If you don’t have one, you can use a regular tin and make 12 large brownies, but the timing will change.
Microwave-Safe Bowl — For melting the butter and chocolate. I prefer the microwave because it’s faster. You can do it on the stove, but it takes more effort and cleanup.
Mixing Bowls — One medium bowl for wet ingredients, one small for dry. I use glass bowls because I can see what’s going on. Plastic works too.
Whisk — For mixing the eggs and sugar. A small whisk is perfect. You don’t need an electric mixer for this. Hand-mixing actually helps keep them fudgy.
Silicone Spatula — For scraping the bowl. Don’t waste any batter! I use a flexible spatula to get every bit of chocolate out of the bowl.
Cooling Rack — Optional, but nice. If you don’t have one, just let them cool in the tin on the counter. They’ll firm up enough to remove.
Parchment Paper Liners — I love using these for mini muffin tins. They make cleanup a breeze. If you don’t have them, grease the tin well with butter or cooking spray.
Tool Tip: If you don’t have a mini muffin tin, you can use a regular one, but expect longer baking times (12-15 minutes). Or, you can bake them in a small square pan and cut them into 16 squares. But the bites are just more fun.
How to Make It: Step-by-Step
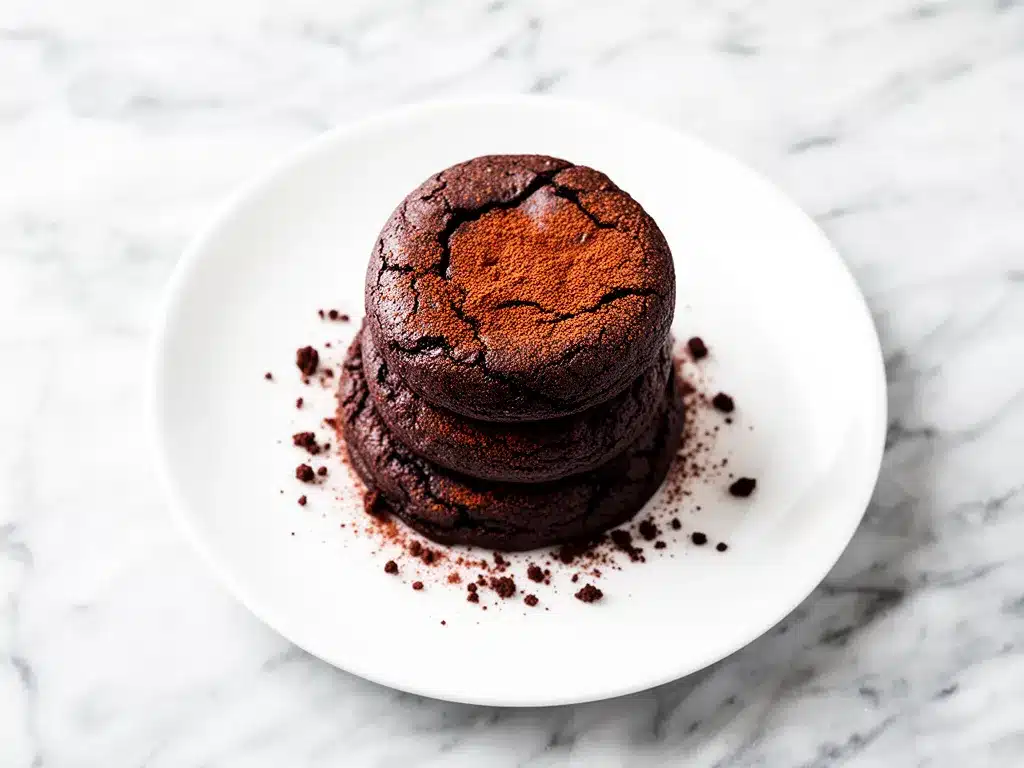
Alright, let’s make this! I’m walking you through exactly how I do it, including the little tricks I’ve picked up. This is going to be quick, so keep your ingredients ready.
Step 1: Prep Your Oven and Pan (2 minutes)
Preheat your oven to 350°F (175°C). Line your mini muffin tin with parchment paper liners or grease them well. I use the liners because they’re easier, but greasing works if you’re in a pinch. Get that oven hot while you do the next steps.
Step 2: Melt the Butter and Chocolate (2 minutes)
In a microwave-safe bowl, combine the melted butter and semi-sweet chocolate chips. Microwave in 30-second intervals, stirring in between, until smooth. This should take about 1-2 minutes. Don’t overheat it—the chocolate can seize if it gets too hot. Stir until it’s glossy and smooth. Set aside to cool slightly.
Step 3: Mix the Wet Ingredients (1 minute)
In a medium bowl, whisk together the eggs and granulated sugar. Whisk vigorously for about a minute. You want the mixture to look pale and slightly thick. This step is important for that shiny crust. Add the melted chocolate-butter mixture and the vanilla extract. Whisk until combined. It should look like a thick, dark paste.
Step 4: Add the Dry Ingredients (1 minute)
In a small bowl, whisk together the cocoa powder, espresso powder, flour, and salt. Sprinkle this dry mixture over the wet ingredients. Gently fold it in with your spatula. Do not overmix! Stop as soon as you no longer see streaks of flour. Overmixing makes them cakey. You want them fudgy, not fluffy.
Step 5: Fold in the Extras (30 seconds)
If you’re adding mini chocolate chips, fold them in now. They’ll melt into pockets of gooeyness. If you want a sprinkle of sea salt on top, keep that ready.
Step 6: Fill the Tins (2 minutes)
Divide the batter evenly among the mini muffin cups. They should be about ¾ full. Use a small spoon or your fingers to smooth the tops. If you want them pretty, sprinkle a few chocolate chips on top of each one.
Step 7: Bake (8-10 minutes)
Place the tin in the oven and bake for 8-10 minutes. They’re done when the tops are set and slightly cracked, but the centers still jiggle a little. They will firm up as they cool. Do not overbake! If they’re dry in the oven, they’ll be dry when they cool. I usually pull them at 8 minutes and check. If they look underdone, give them another minute.
Step 8: Cool and Serve
Let them cool in the tin for 5 minutes, then transfer to a wire rack. They’re best served warm, but they’re also great at room temperature. Store them in an airtight container.
Visual Cue: You’ll know they’re ready when the tops look like they have a thin, crinkly skin. The smell will be incredible—like a coffee shop dessert.
Expert Tips & Tricks
Here’s everything I’ve learned from making these dozens of times. These tips will save you from my mistakes.
Don’t Overmix the Batter
This is the #1 mistake people make. Once you add the flour, mix gently. Overmixing develops gluten, which makes brownies cakey instead of fudgy. I learned this the hard way with a batch that tasted like a muffin. Now I fold until just combined.
Use Good Chocolate
I know it’s tempting to use cheap chips, but good chocolate makes a huge difference. It melts smoother and tastes richer. I use Ghirardelli 60% Cacao. It’s worth the extra dollar.
Cool Completely for Best Texture
I know it’s hard to wait, but these brownies are fudgiest when they’re completely cool. Warm, they’re gooey. Cool, they’re dense and chewy. I usually make them ahead and store them in the fridge. They taste even better the next day.
Room Temperature Eggs
Cold eggs can cause the melted chocolate to seize up. Let your eggs sit out for 10 minutes before you start. It’s a small step that makes a big difference in texture.
Storage Hack
If you’re meal-prepping, bake them and store them in an airtight container in the fridge for up to 5 days. They reheat beautifully in the microwave for 10 seconds. Or, freeze them for up to 3 months. Thaw at room temperature.
Pro Trick: Add a pinch of cayenne pepper if you like a little kick. It pairs amazingly with coffee and chocolate. It’s subtle, but it adds complexity. I tried it once and never looked back.
Variations & Substitutions
Once you’ve nailed the basic version, here’s how you can mix it up. I’ve tried all of these.
White Chocolate Espresso
Swap the semi-sweet chips for white chocolate chips. Use dark cocoa powder. It’s sweeter and creamier. My kids love this version. It’s like a mocha chip cookie.
Double Chocolate
Add ¼ cup of cocoa powder to the dry ingredients. Use dark chocolate chips. It’s for serious chocolate lovers. It’s intense, dark, and rich.
Nutty Version
Fold in ½ cup of chopped walnuts or pecans. Toast them first for extra flavor. It adds crunch and pairs well with the coffee. I like walnuts because they’re slightly bitter.
Gluten-Free
Use a 1:1 gluten-free flour blend. Everything else stays the same. I’ve used Bob’s Red Mill and it works great. The texture is slightly different, but still fudgy.
Vegan
Use vegan butter and vegan chocolate chips. Replace eggs with 2 flax eggs (2 tablespoons ground flaxseed + 6 tablespoons water). Let sit for 5 minutes. They’re still delicious, though slightly denser.
Coffee-Forward
Increase the espresso powder to 2 tablespoons. For coffee lovers who want that extra jolt. It’s strong, but amazing.
Other Protein Sources:
– Peanut butter chips (for a peanut butter mocha vibe)
– Macadamia nuts (for a tropical twist)
– Dried cherries (for a tart contrast)
Serving & Storage
These bites are incredibly versatile. Here’s how I enjoy them and how to keep them fresh.
How to Serve:
I usually serve them straight from the tin, warm, with a glass of cold milk. But here are other ways I’ve enjoyed them:
Side Dishes:
– A scoop of vanilla ice cream (hot fudge brownie bites!)
– A dollop of whipped cream
– A drizzle of caramel sauce
– A side of fresh berries for contrast
Wine Pairing:
Not a wine expert, but a bold red like Cabernet Sauvignon or a dessert wine like Port works great with the coffee notes.
Storage Instructions:
Refrigerator:
Store in an airtight container for up to 5 days. They get firmer in the fridge, so let them sit out for 10 minutes before eating.
Freezer:
These freeze beautifully! Place them in a single layer on a baking sheet to freeze, then transfer to a freezer bag. They’ll last for 3 months. Thaw at room temperature or microwave for 15 seconds.
Reheating:
Microwave for 10-15 seconds to restore that gooey texture. Oven at 300°F for 5 minutes also works.
Pro Tip: If you’re serving them at a party, keep them in a nice bowl on the counter. They disappear fast. I’ve had guests ask for the recipe before they’ve even finished one.
Nutrition Information
I’m not a nutritionist, but here’s the breakdown if you’re tracking. Keep in mind, these are estimates based on standard ingredients.
Per Bite (based on 24 bites):
– Calories: 75
– Protein: 1g
– Carbs: 10g
– Fiber: 1g
– Sugar: 8g
– Fat: 4g
– Saturated Fat: 2.5g
– Cholesterol: 15mg
– Sodium: 25mg
– Calcium: 20mg
What’s Good:
– Small portion size helps with calorie control
– Some antioxidants from cocoa and coffee
– Quick energy boost from sugar and caffeine
What to Know:
– Higher in sugar and fat due to chocolate and butter
– Contains dairy and gluten
– Moderate caffeine content (about 5-10mg per bite, depending on coffee strength)
My Take:
Look, these are treats. They’re not health food. But they’re better than most store-bought cookies, and you know exactly what’s in them. When I make them, I use high-quality ingredients, which makes a difference. I enjoy them in moderation, usually as a post-dinner treat. If you want to lighten them up, use less sugar and more dark chocolate. But usually? I just enjoy them for what they are—delicious, fudgy, coffee-infused bites.
Dietary Notes:
– Contains: gluten, dairy, eggs
– Can be made: gluten-free, vegan (with substitutions)
– Not suitable for: nut-free (if adding nuts), sugar-free (without substitutions)
Final Thoughts
So that’s my go-to fudgy espresso brownie bites! I’ve probably talked your ear off at this point, but when you make a recipe this often, you have a lot to say about it.
This has saved late-night cravings more times than I can count. It’s my answer to “I want something sweet” when I’m tired, don’t want to order delivery, and still want something that tastes really good. My family is happy, my friends are impressed, and I’m happy because I’m not stressed about cooking.
Make it yours! Try different add-ins, swap in your favorite chocolate, adjust the coffee (though more is always better in my opinion). The best recipes are the ones you adapt to your tastes. If you’re looking for other quick snacks, you might also enjoy these fruit and cheese snack boxes for a lighter option, or these mozzarella pizza pockets if you’re in the mood for something savory.
If you make this, drop a comment and let me know what you think! I love hearing how recipes turn out in your kitchen. And if something doesn’t work, tell me that too—I’m here to help troubleshoot.
Happy baking! And I hope your kitchen smells half as good as mine does right now.
Frequently Asked Questions
Q: Can I use regular coffee instead of espresso powder?
A: You can, but it needs to be instant coffee granules, not brewed coffee. Brewed coffee adds too much liquid and will throw off the batter. Instant coffee works fine, but espresso powder has a more concentrated flavor, which is better for brownies. If you use instant coffee, use slightly less—maybe 1 teaspoon.
Q: Why did my brownies turn out cakey instead of fudgy?
A: Usually, this means you overmixed the batter or used too much flour. Remember, fold the flour in until just combined. Also, make sure you’re measuring your flour correctly—spoon it into the cup, don’t scoop directly from the bag. And don’t overbake them! They should still jiggle slightly when you take them out.
Q: Can I make these ahead of time?
A: Absolutely! I often bake them on Sunday and store them in the fridge for the week. They taste even better the next day as the flavors meld. You can also freeze them for up to 3 months. Just thaw at room temperature or microwave briefly.
Q: Why did my brownies crack on top?
A: Cracking is normal! It’s actually a sign of a fudgy brownie. The top sets while the inside is still gooey, causing the crust to crack as it cools. If you want a smoother top, you can reduce the baking time by 1-2 minutes. But the cracks are part of the charm.
Q: Can I double this recipe?
A: Yes! Just use a larger mixing bowl and make sure your mini muffin tin is big enough. You might need two tins if you’re doubling a large batch. The baking time stays the same.
Q: How do I store leftover brownie bites?
A: Store them in an airtight container at room temperature for up to 3 days, or in the fridge for up to 5 days. If you want them softer, keep them in the fridge. If you want them chewier, keep them at room temperature.
Q: Can I use dark chocolate chips instead of semi-sweet?
A: Yes! Dark chocolate chips will make them less sweet and more intense. I recommend 60-70% cacao for the best balance. If you use very dark chocolate (85%+), you might want to add a tablespoon more sugar to balance the bitterness.
Pin This Recipe!
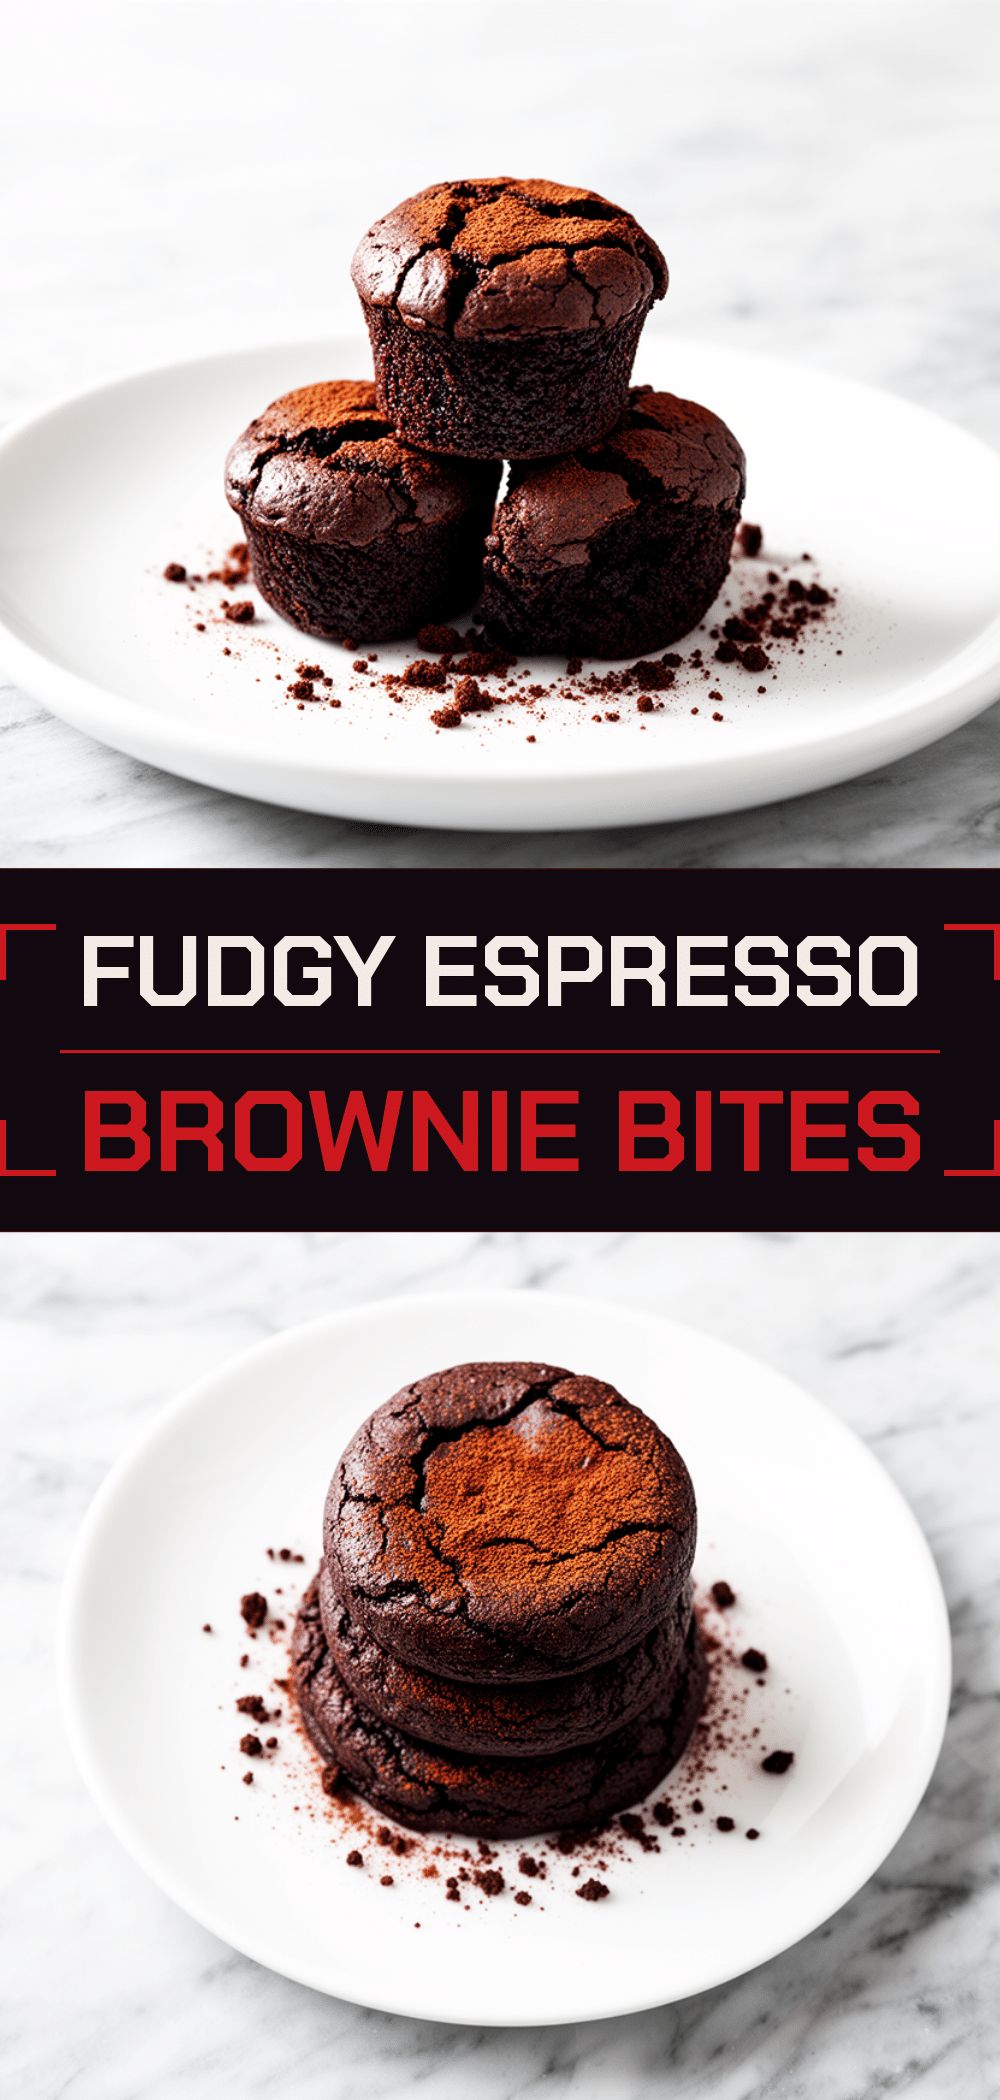
Fudgy Espresso Brownie Bites: 5-Min Easy Dessert
- Total Time: 20 minutes
- Yield: 24 servings 1x
Description
These fudgy espresso brownie bites are a lightning-fast, intense chocolate dessert that takes only 5 minutes of active prep time. Perfect for late-night cravings, they offer portion control with a deep, mocha-infused flavor profile.
Ingredients
- 1/2 cup (113g) unsalted butter
- 1 cup (170g) semi-sweet chocolate chips
- 1/4 cup (25g) unsweetened cocoa powder
- 3/4 cup (150g) granulated sugar
- 1 tablespoon espresso powder or instant coffee
- 2 large eggs, room temperature
- 1 teaspoon pure vanilla extract
- 1/2 cup (60g) all-purpose flour
- 1/4 teaspoon fine sea salt
- 1/4 cup mini chocolate chips (optional)
Instructions
- Preheat oven to 350°F (175°C). Line a mini muffin tin with parchment paper liners or grease well.
- In a microwave-safe bowl, combine butter and semi-sweet chocolate chips. Microwave in 30-second intervals, stirring until smooth. Set aside to cool slightly.
- In a medium bowl, whisk eggs and granulated sugar vigorously for about a minute until pale and thick. Whisk in the melted chocolate-butter mixture and vanilla extract.
- In a small bowl, whisk together cocoa powder, espresso powder, flour, and salt.
- Gently fold the dry ingredients into the wet ingredients using a spatula until just combined. Do not overmix.
- Fold in mini chocolate chips if using.
- Divide batter evenly among mini muffin cups, filling them about 3/4 full.
- Bake for 8-10 minutes until tops are set and slightly cracked but centers still jiggle.
- Let cool in the tin for 5 minutes, then transfer to a wire rack to cool completely.
Notes
Do not overmix the batter to maintain a fudgy texture. Use room temperature eggs to prevent the chocolate from seizing. For best texture, let brownies cool completely before eating. They can be stored in the fridge for up to 5 days or frozen for up to 3 months.
- Prep Time: 5 minutes
- Cook Time: 10 minutes
- Category: Dessert
- Cuisine: American
Nutrition
- Serving Size: 1 bite
- Calories: 75
- Sugar: 8
- Sodium: 25
- Fat: 4
- Saturated Fat: 2.5
- Carbohydrates: 10
- Fiber: 1
- Protein: 1
Keywords: espresso brownies, brownie bites, quick dessert, fudgy brownies, coffee dessert, 5 minute dessert, mini brownies, chocolate dessert



